[Project Log] "Blue Morpho"

It's Build Time Again !!
Hi Guys,
Finally time to start a new project!
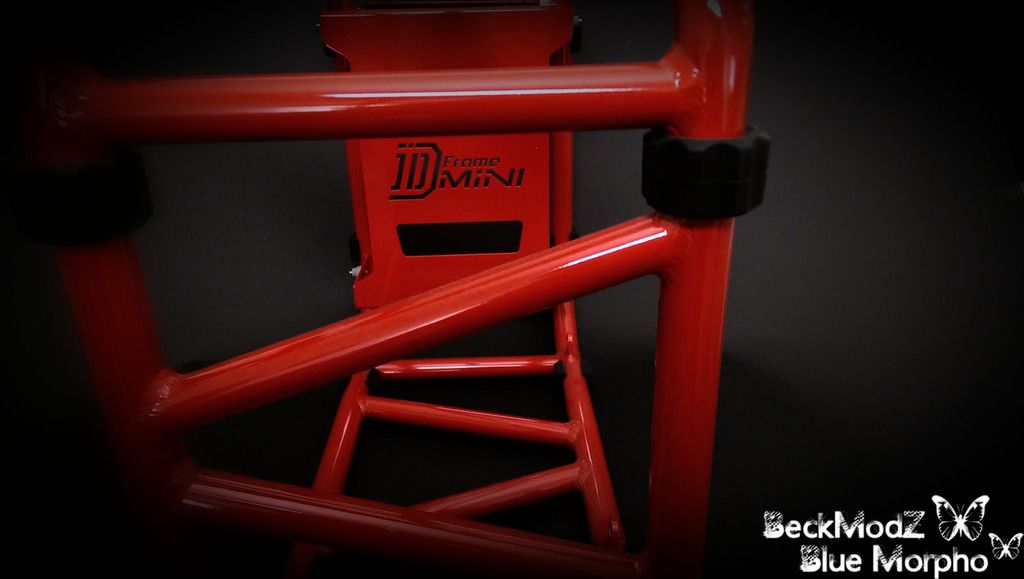
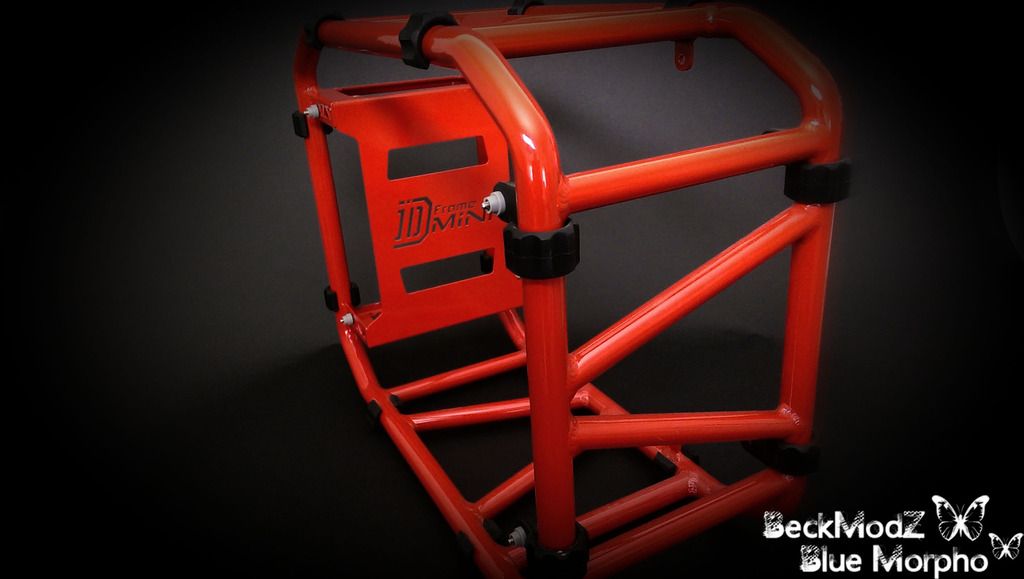
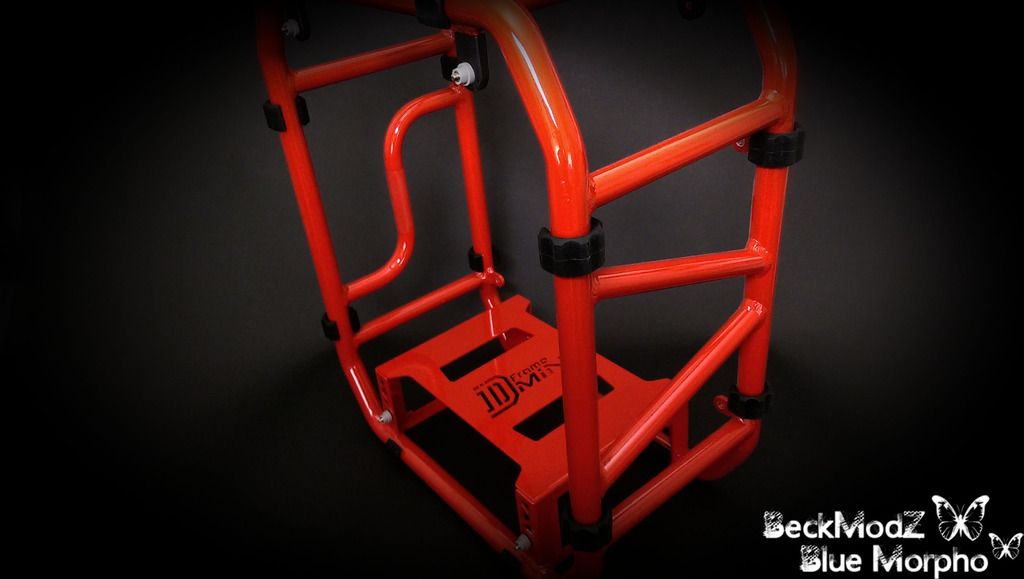
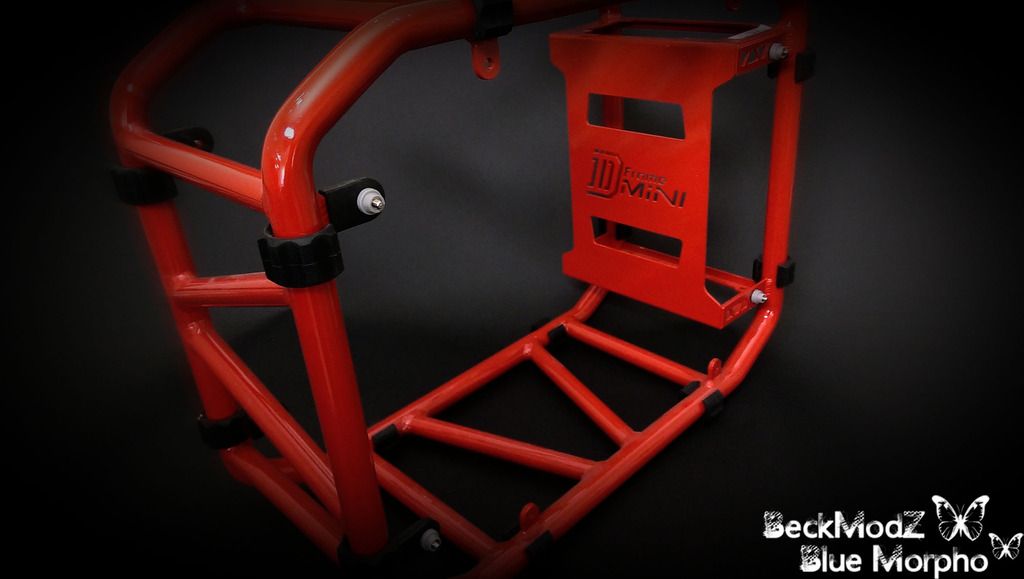
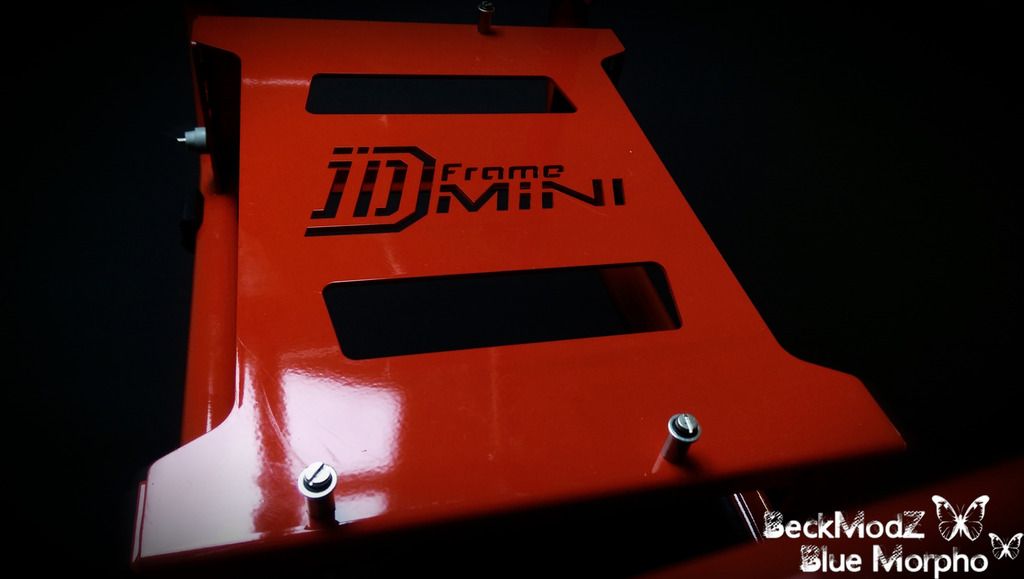
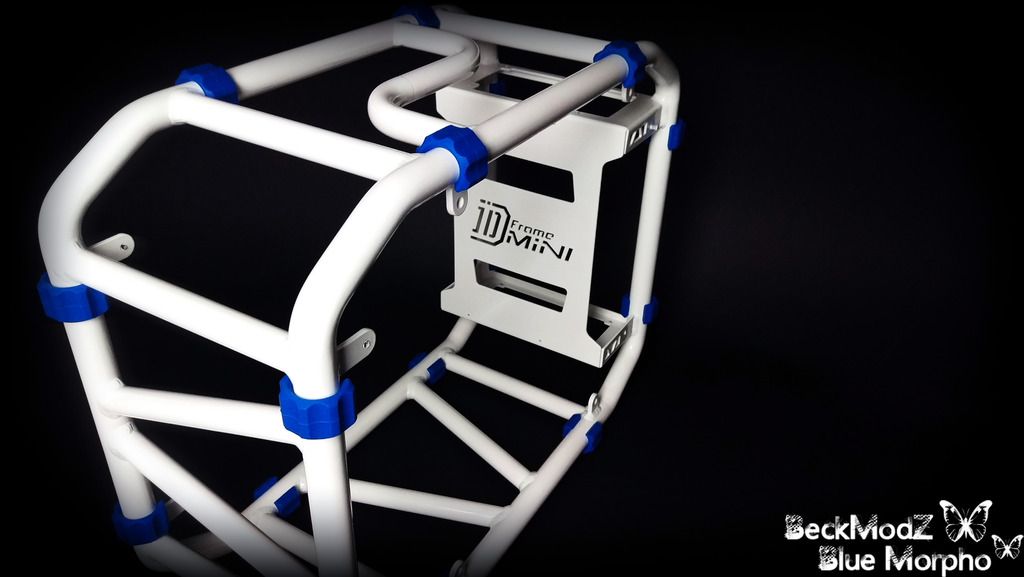
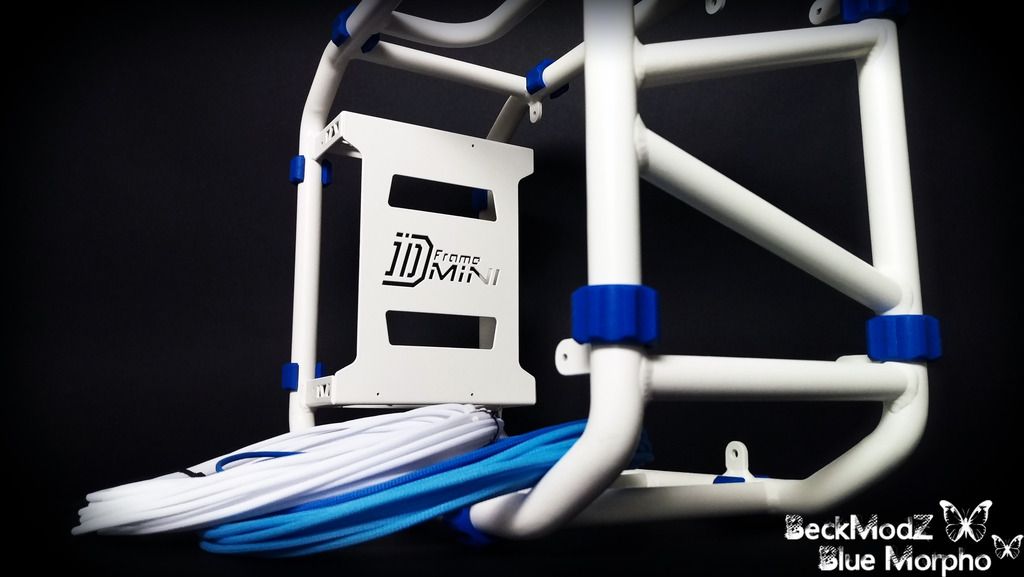
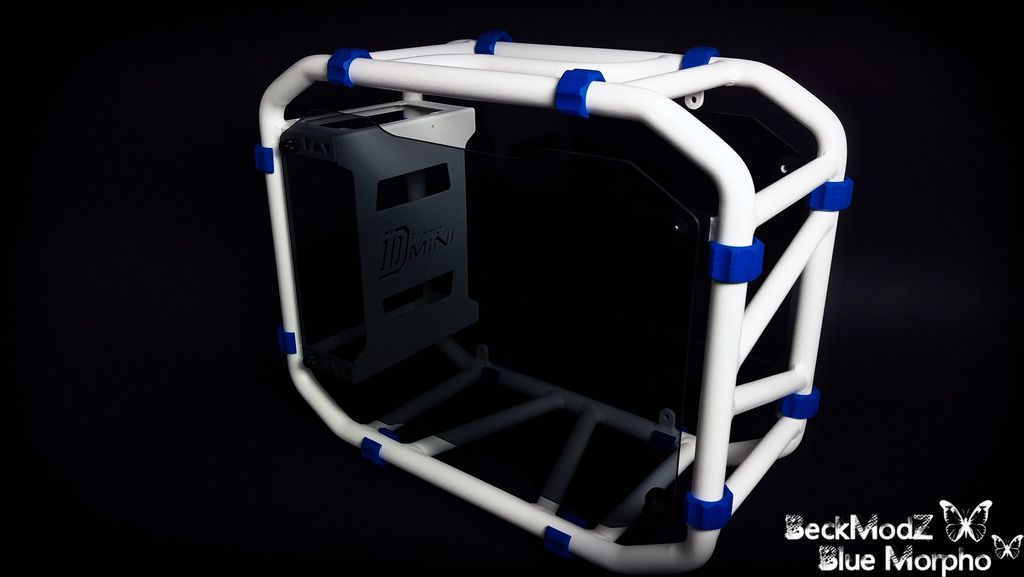
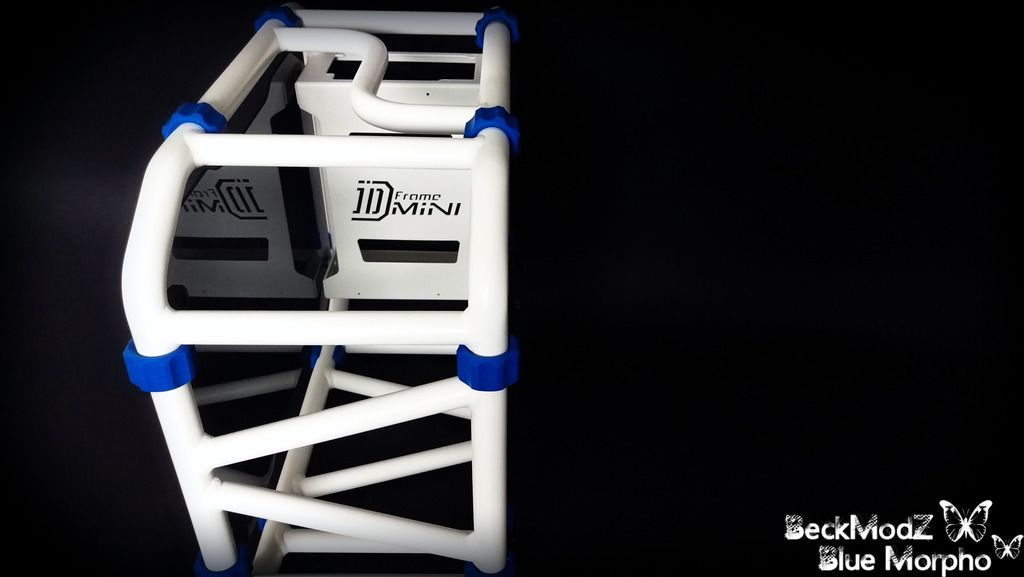
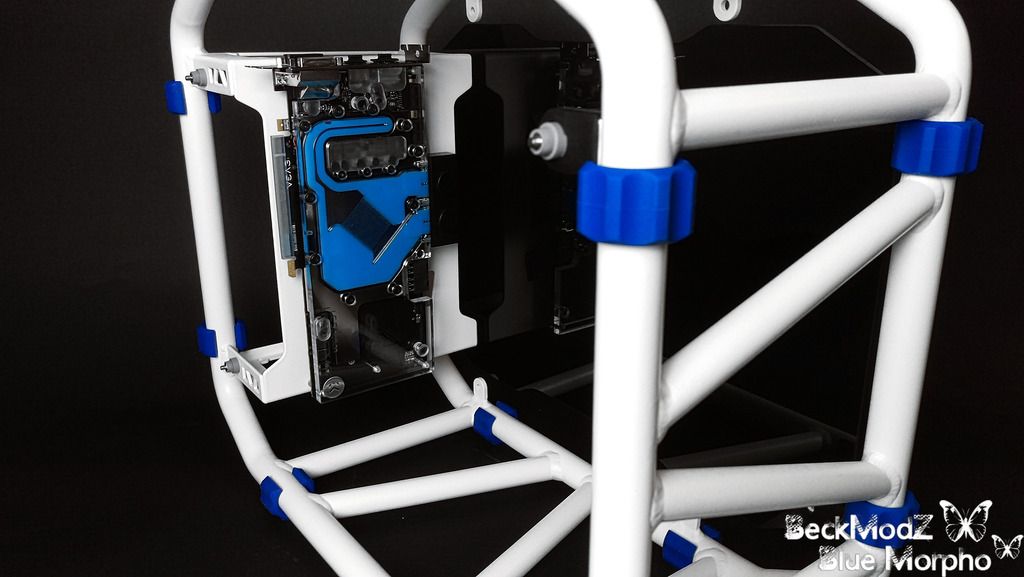
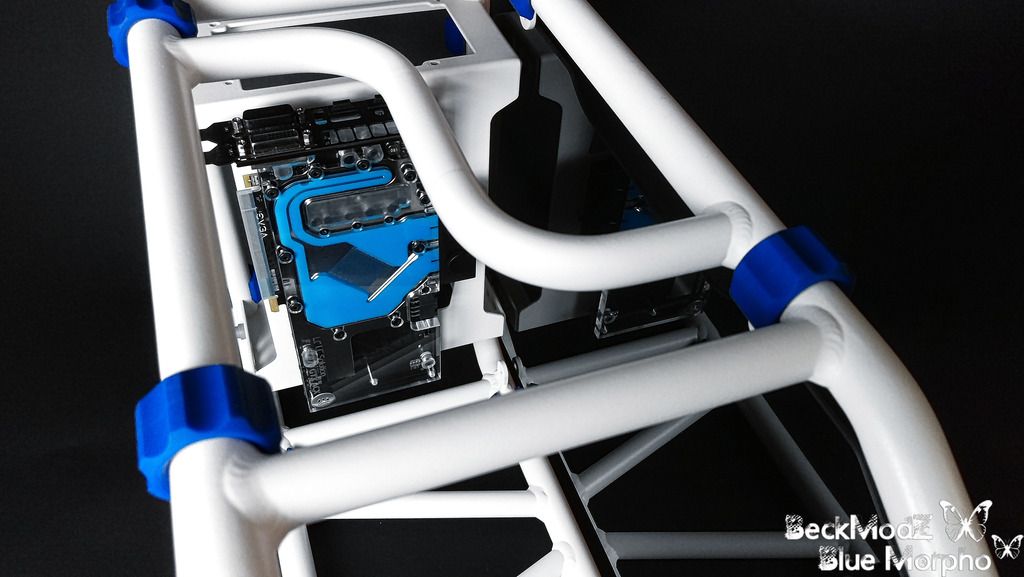
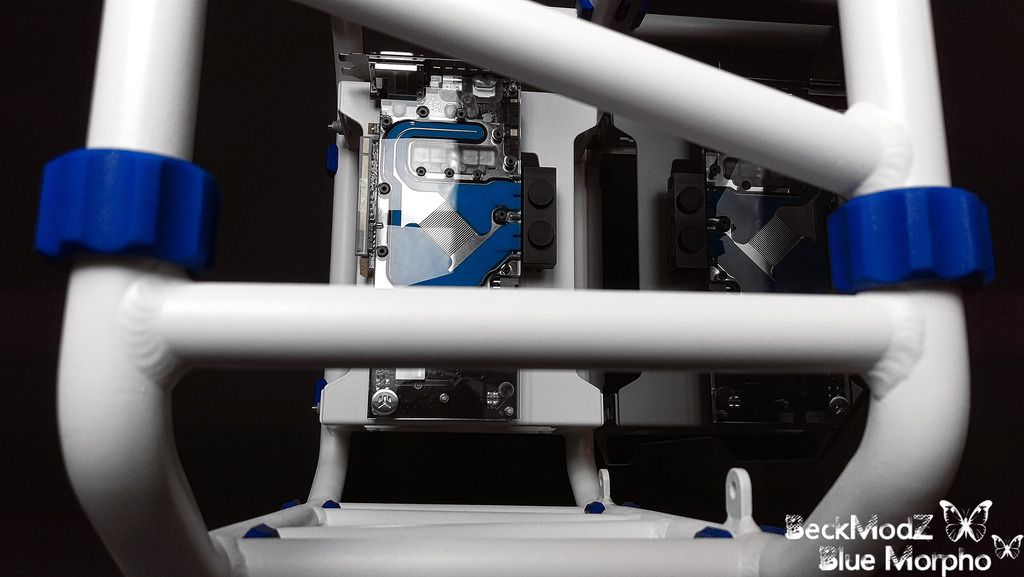
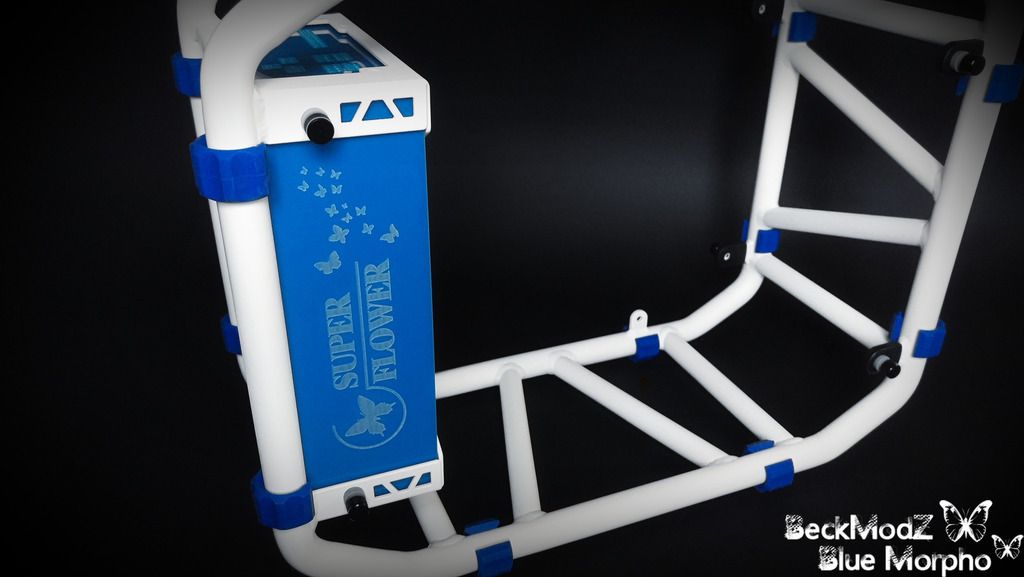
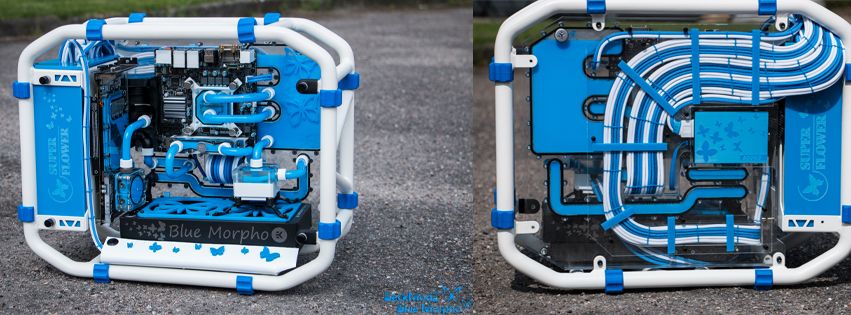
This time i bought an In-Win D-Frame Mini case, and started brainstorming about the Design layout.
Usually when i am about to start a new project, i just go crazy on google and search for all kinds of stuff,
and this time i fell upon an image of a beautifull Blue butterfly sitting on a bunch of small white rocks..
And BOOM there it was, my head was loving the white and blue colors, and it didnt take me long to make an image collage
of all the hardware and designs i wanted for this build.
I knew i didnt just want the Red D-frame to be standard, and found some inspiration from B-negative's LUMO build (AMAZING BUILD!)..
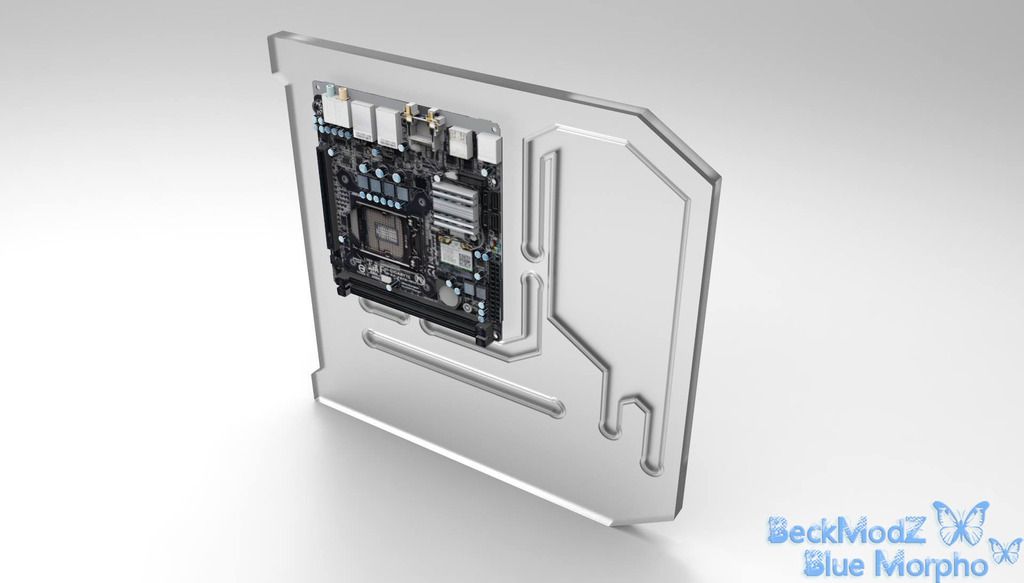
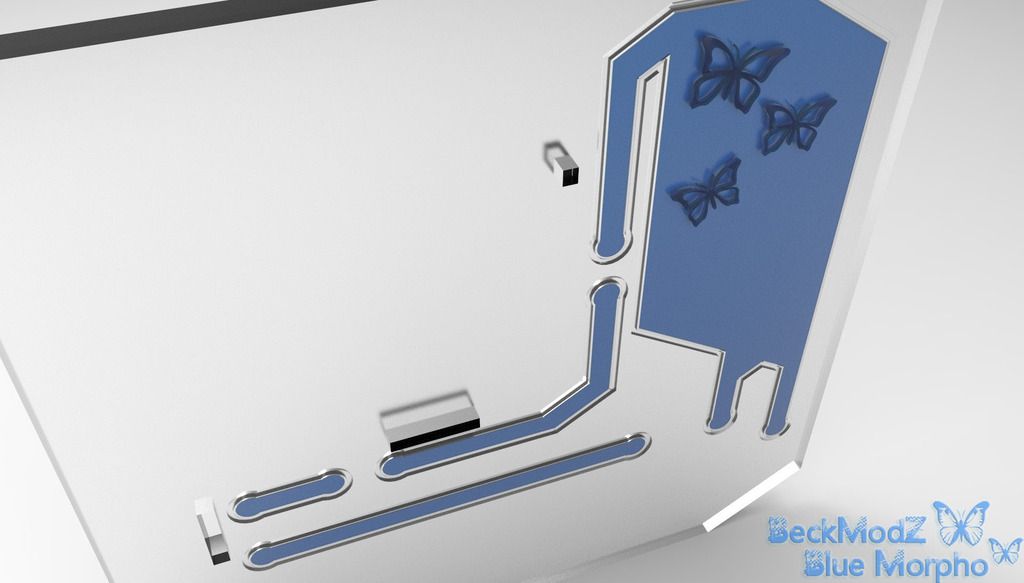
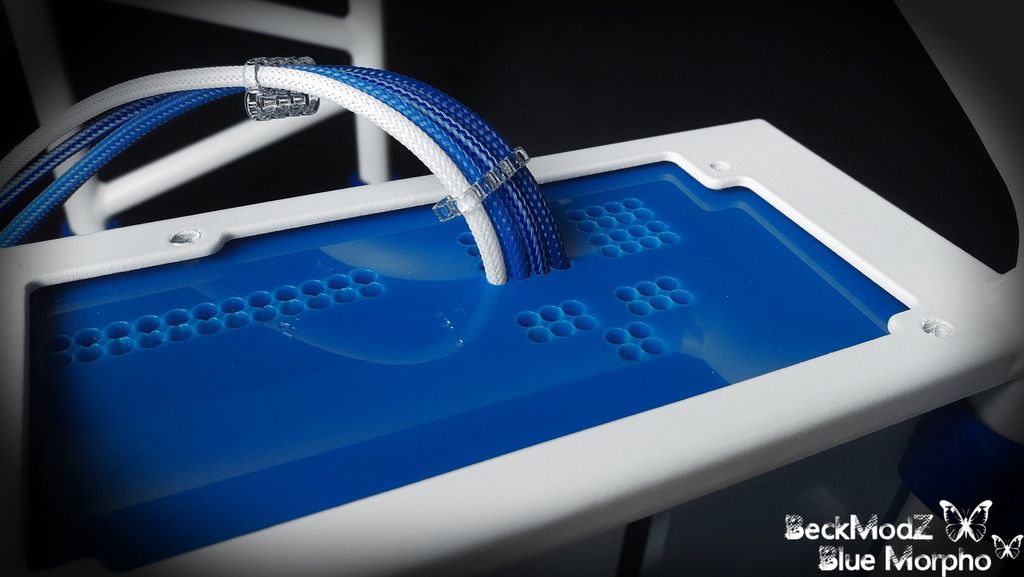
I then contacted my good friends at Parvum Systems, and came up with a nice reservoir design to replace the existing mainboard tray.
(Rendering teaser below)
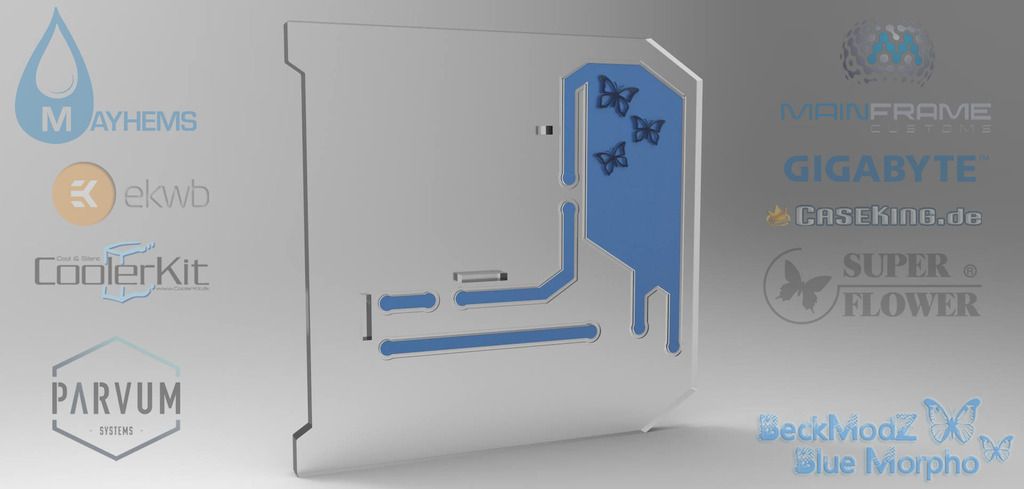
So thats the reservoir/mainboard tray idea
The plan is to run the tubing from the watercooled parts into the reservoir, and the water will flow through the tunnels in the
res tray, making use of as little bends and tubing as possible.
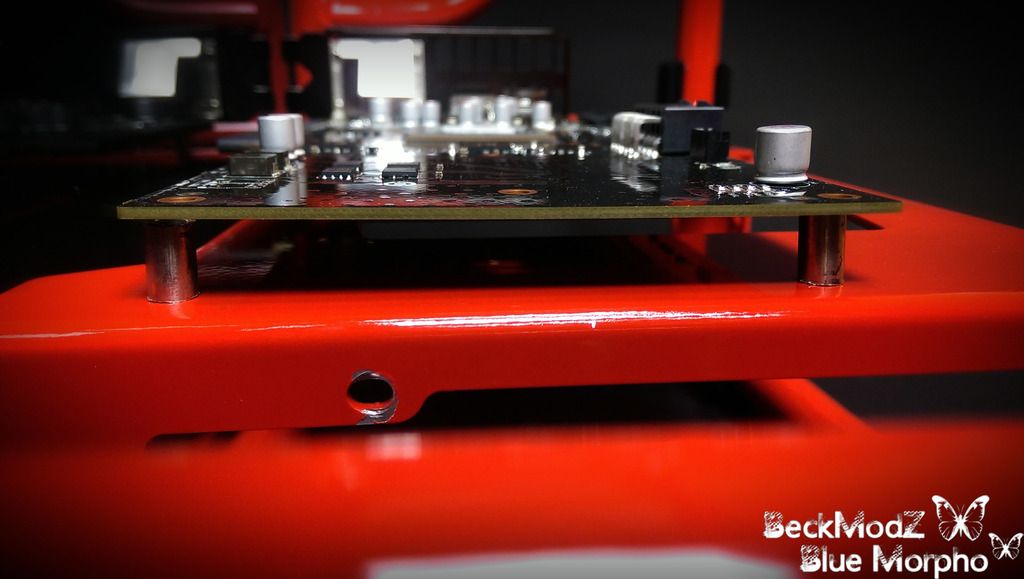
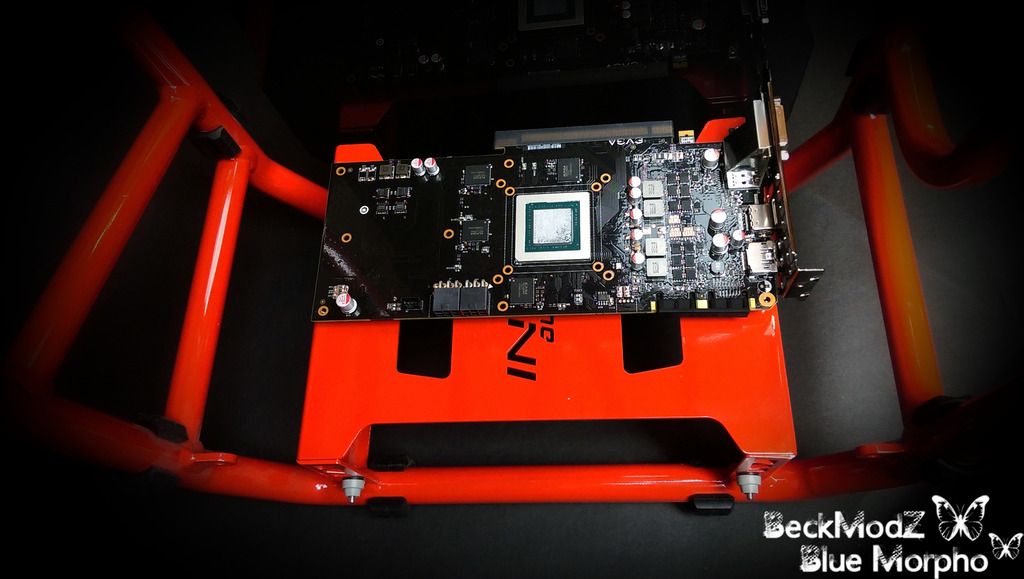
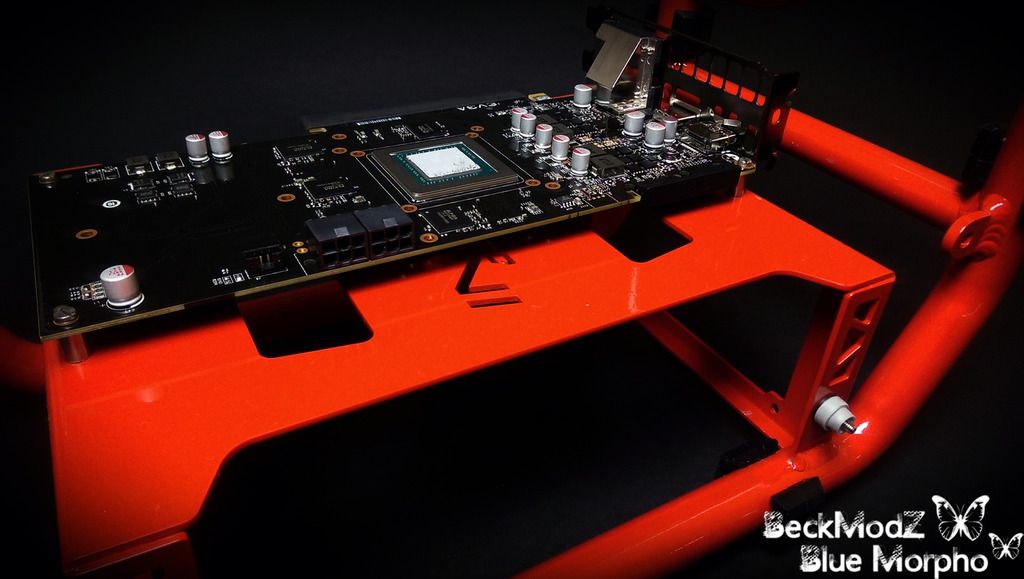
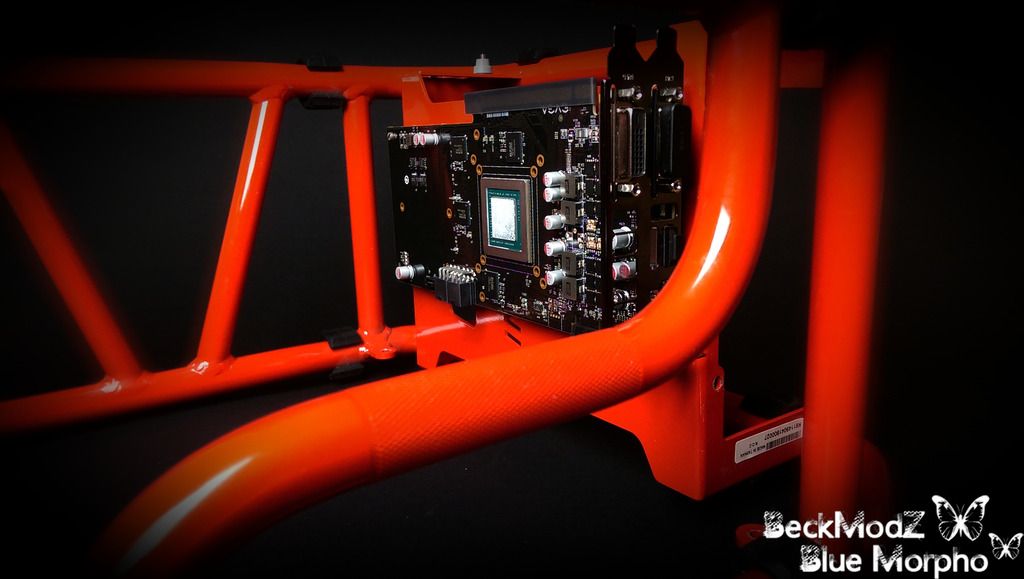
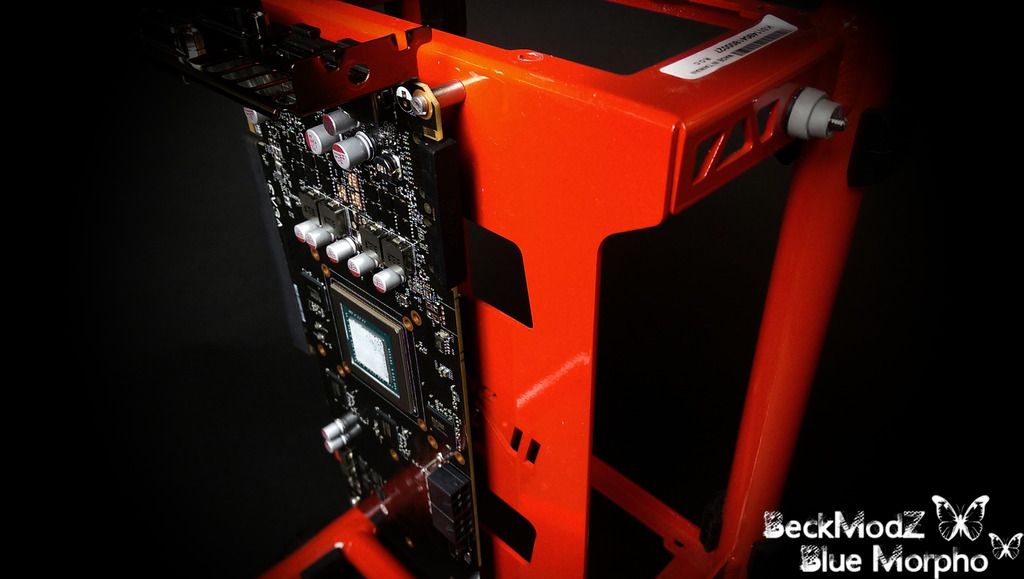
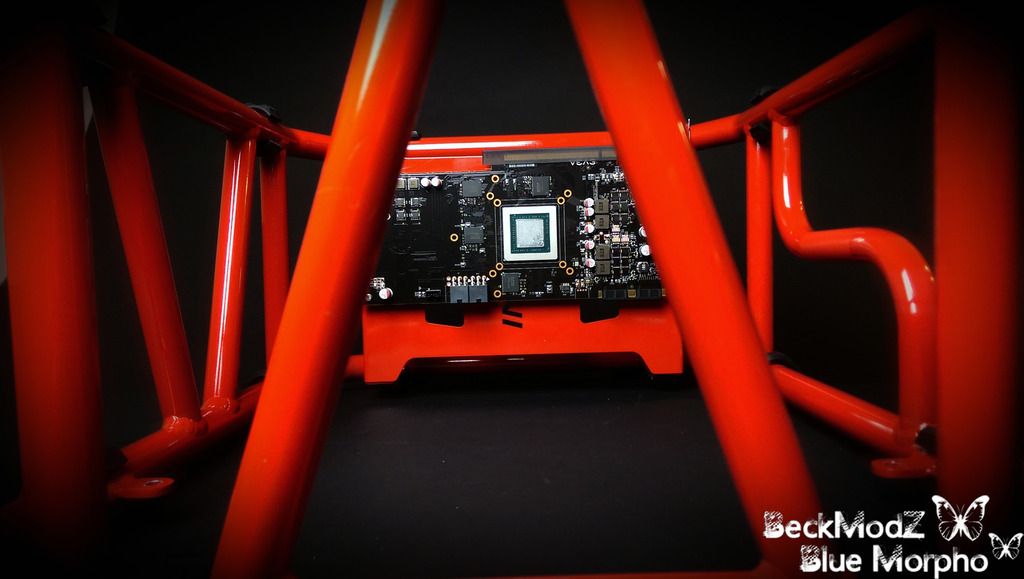
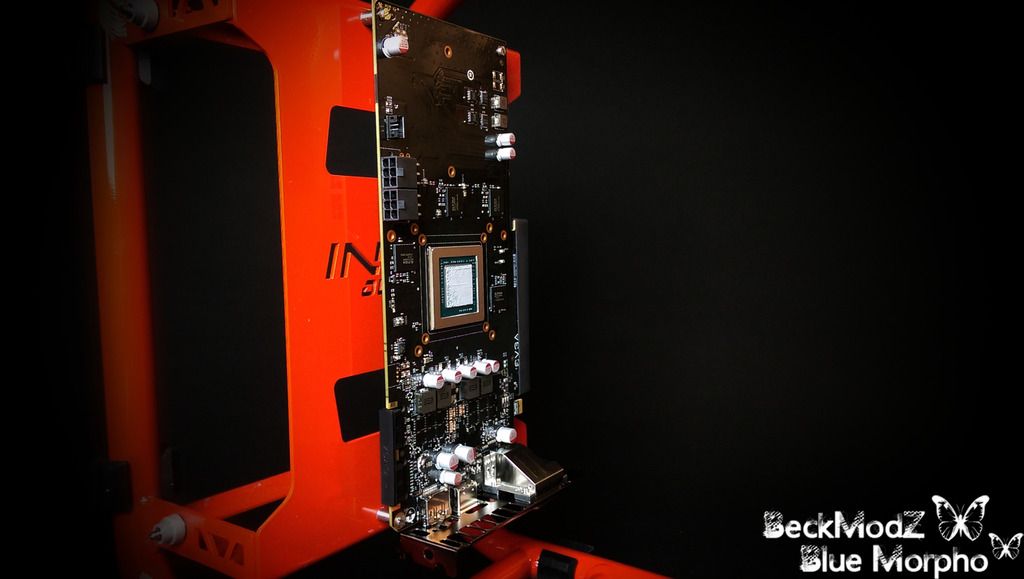
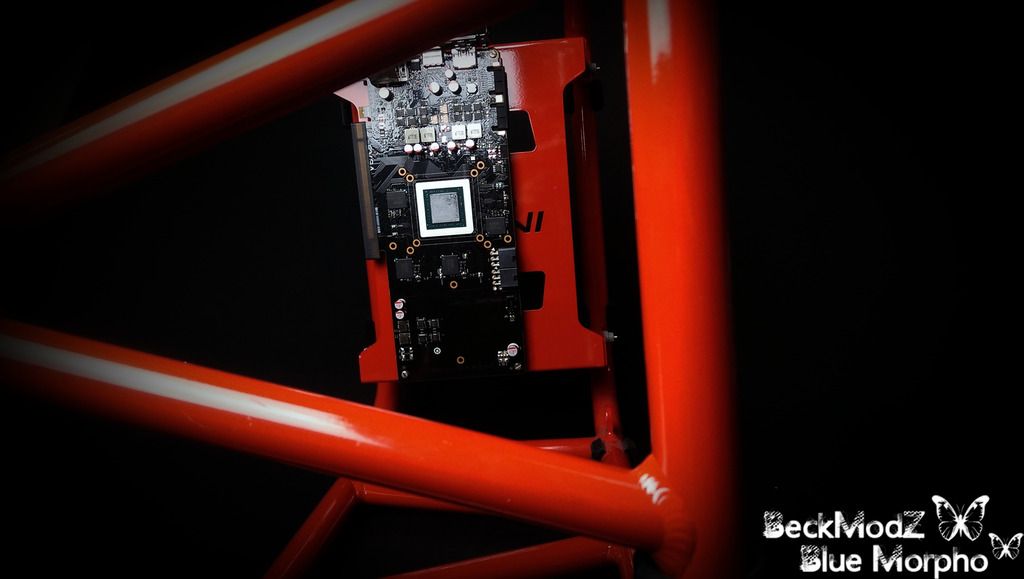
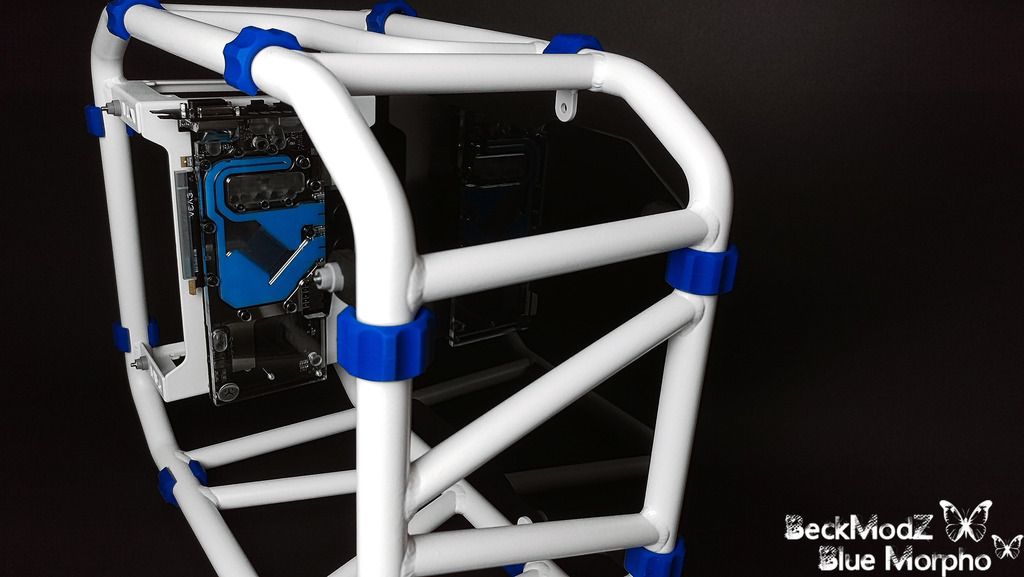
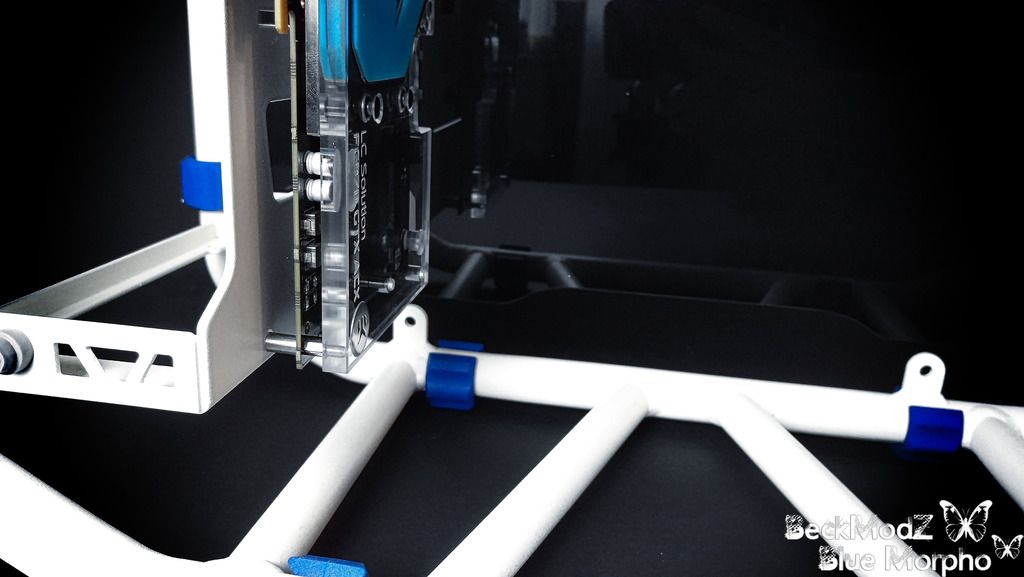
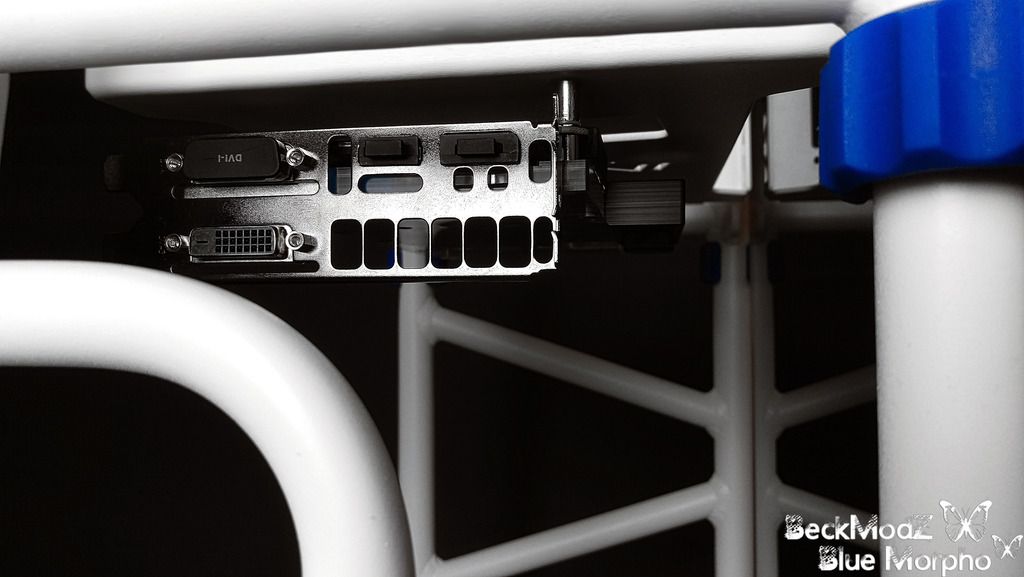
Also, I am not a big fan of just standard GPU mounting options, and like to do whatever i can to place the GPU any other place
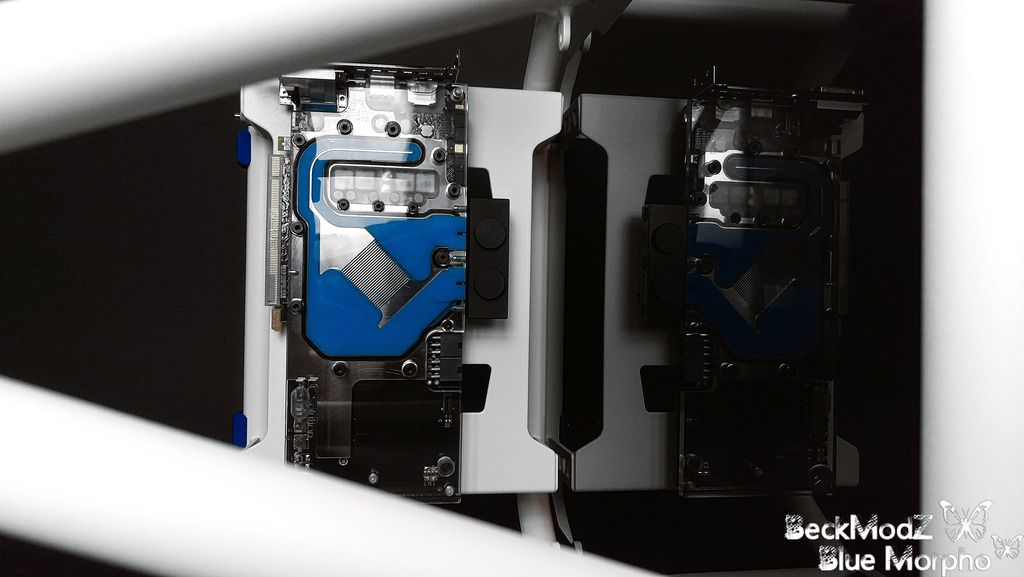
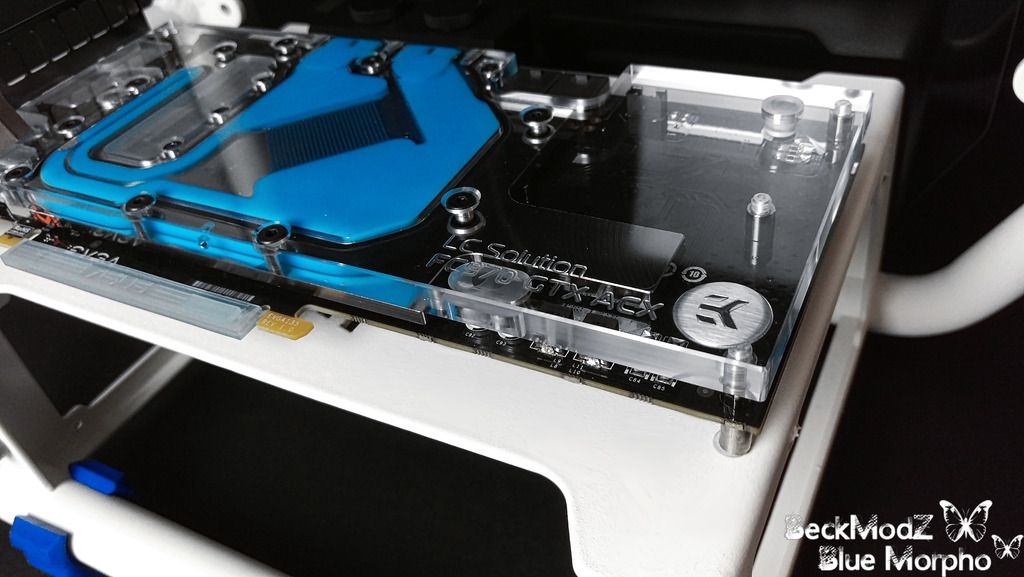
that makes the beautifull water block visible instead.
This time i will try to flip the GPU and mount it on the PSU housing, making the GPU Waterblock fully visible.
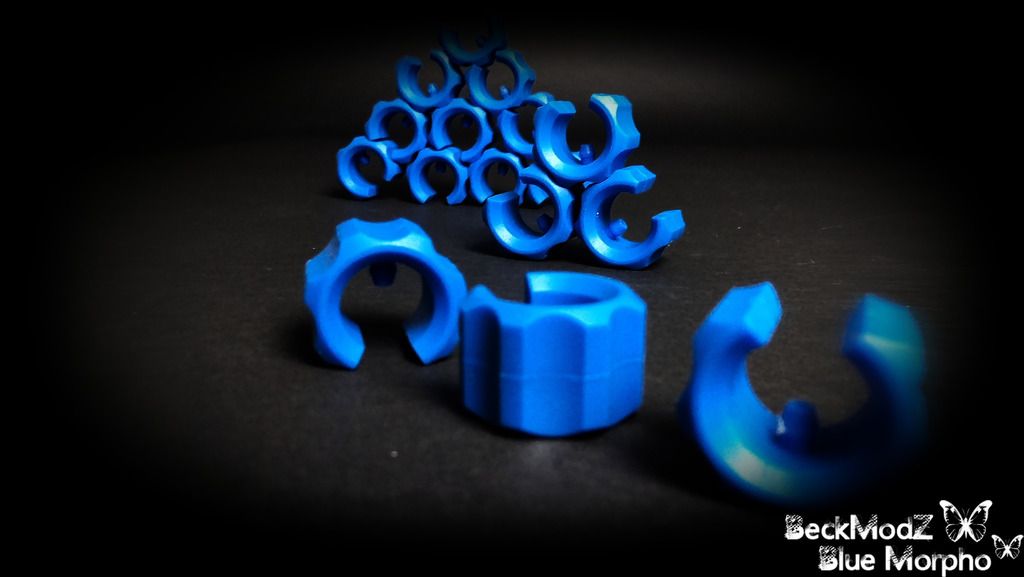
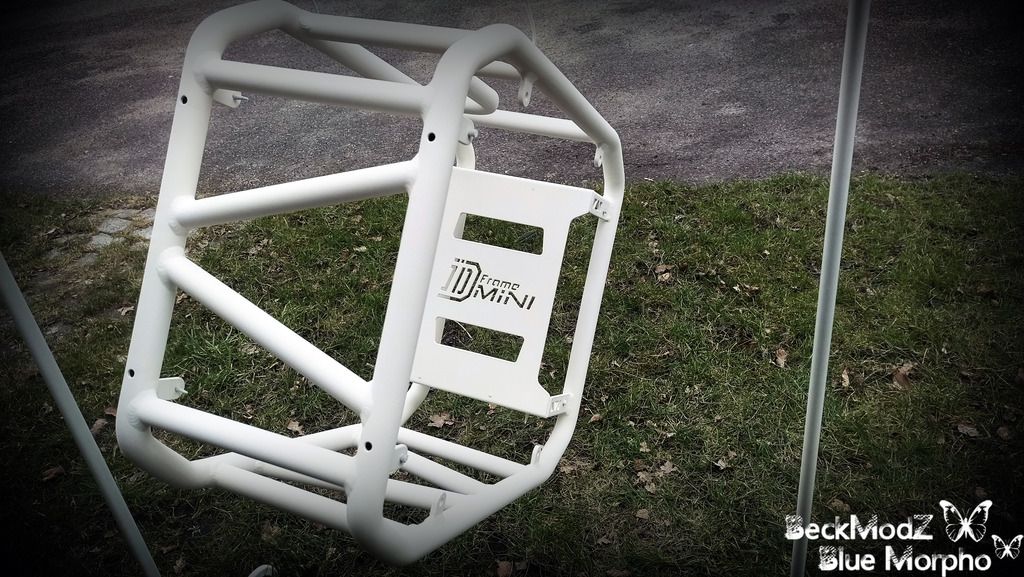
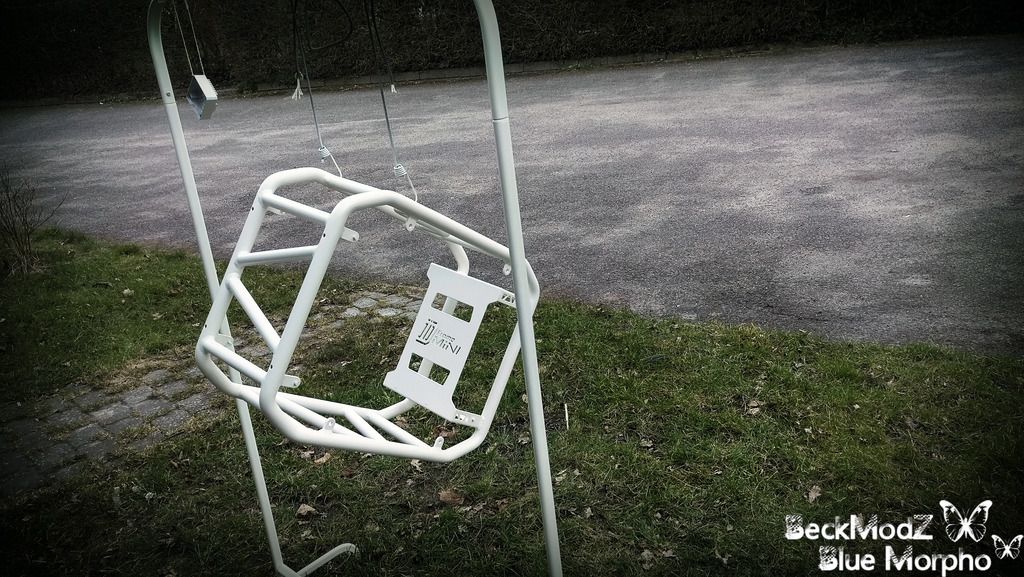
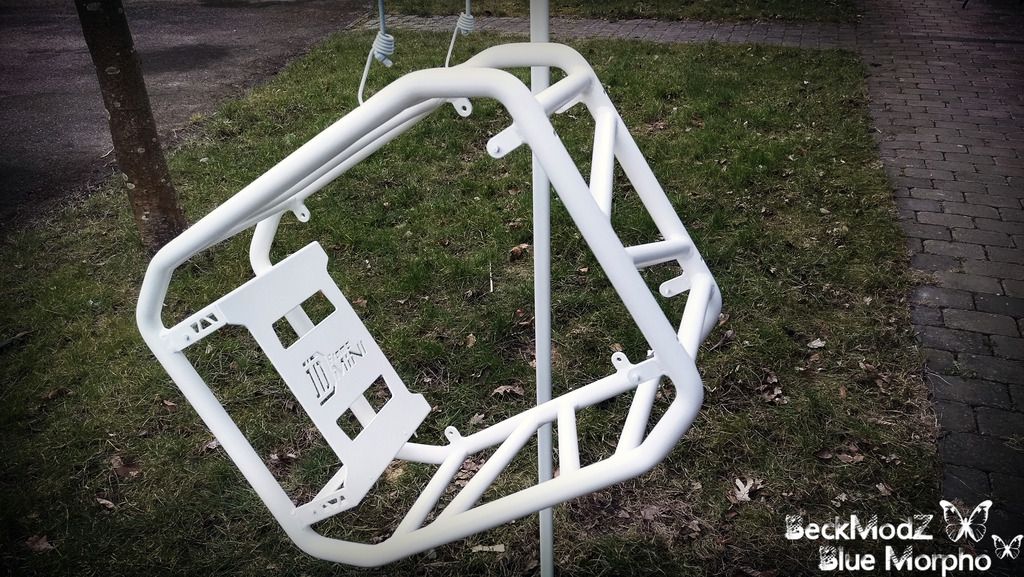
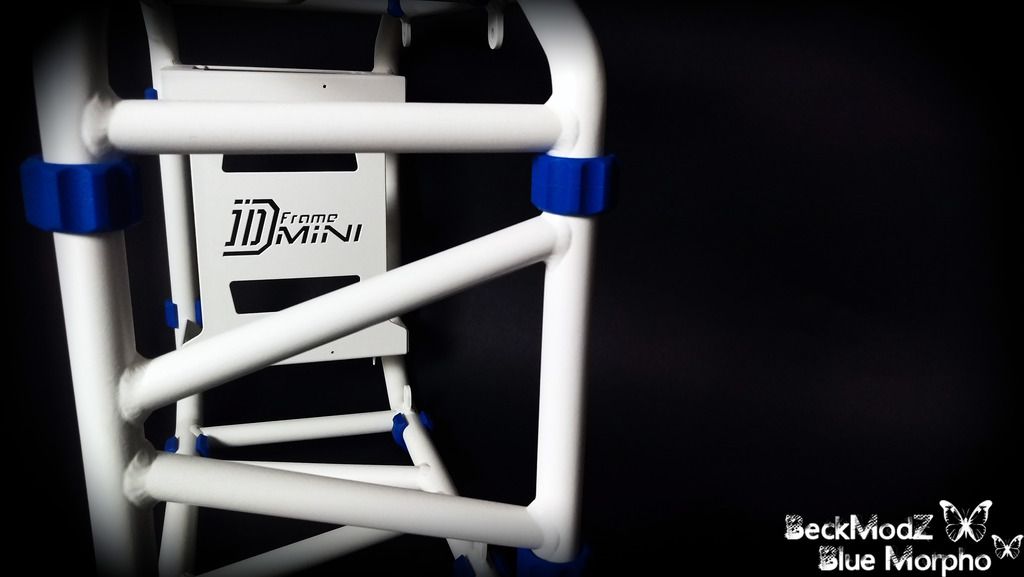
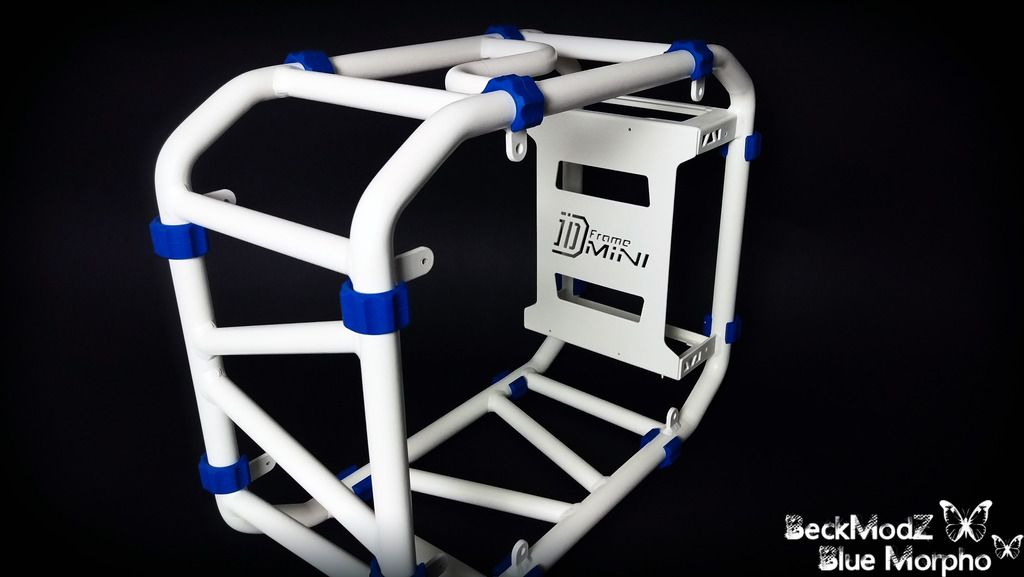
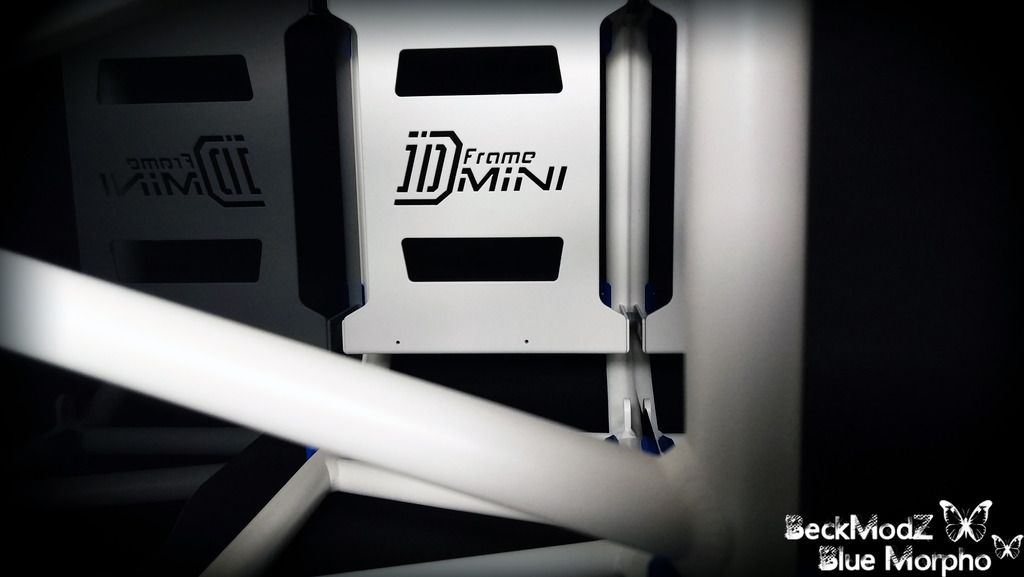
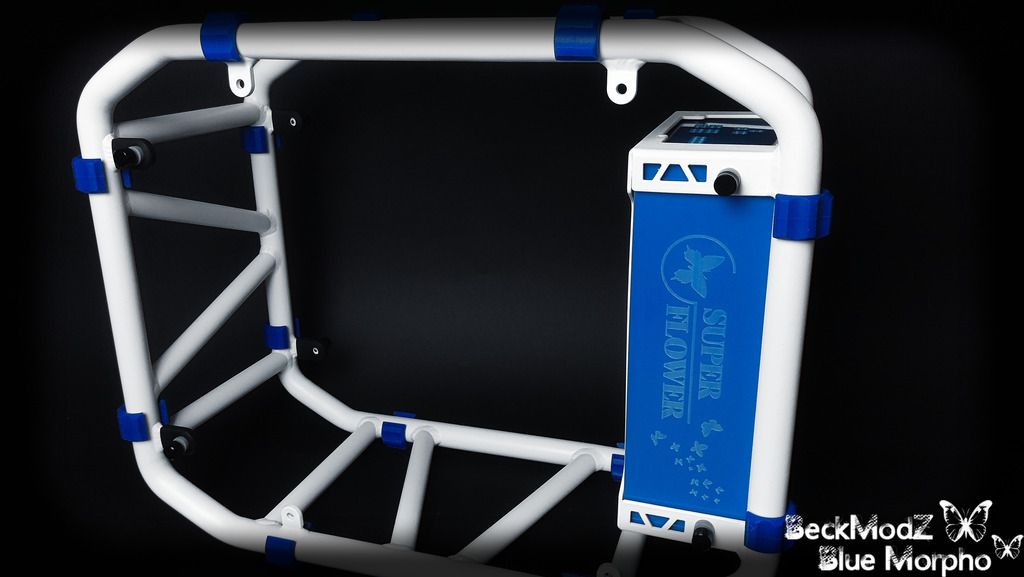
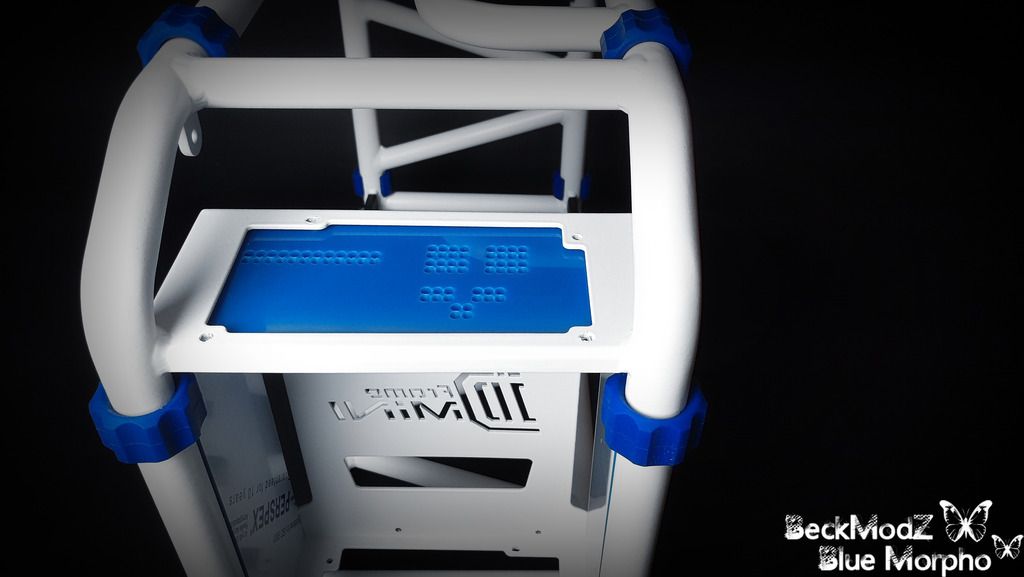
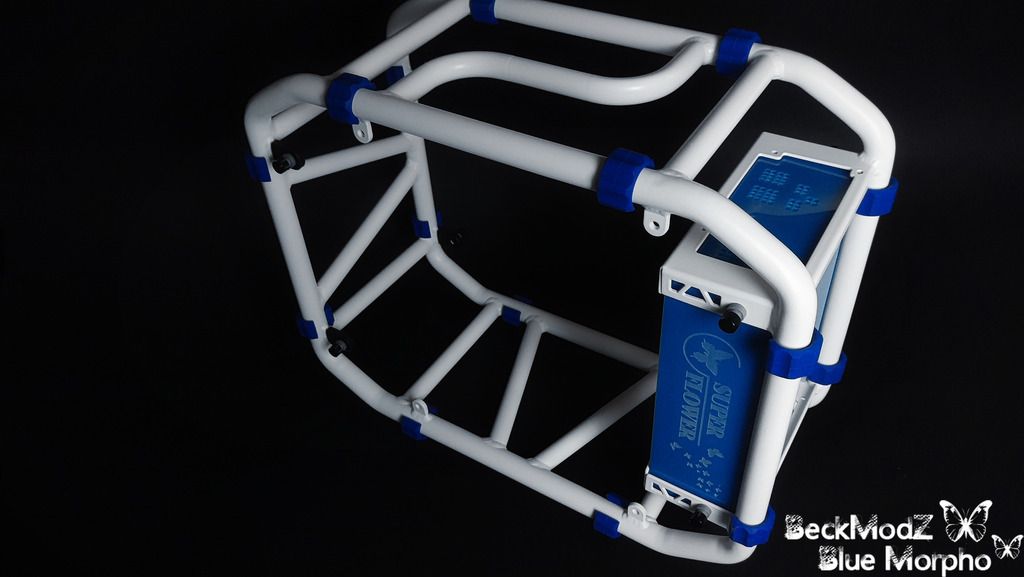
The D-Frame mini case itself, is going to get powder coated white, or at least thats the idea so far.
maybe i will change the color later on or do something else mixing white and blue
That should be enough info for a start
Status updates and Build Progress links will be further down in this post, and will be updated everytime i upload new images
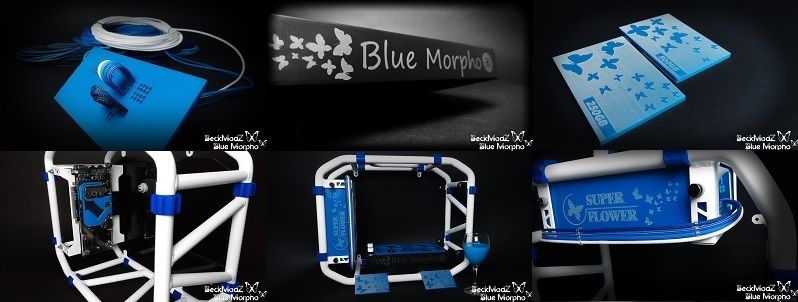
OOH WAIT .. allmost forgot.. the name for this project is "Blue Morpho" the name of the butterfly i found :)..
Just a small "What to come" Teaser
Everything in the Blue Morpho is going to be watercooled with parts from EKWB.com, Led's and other cool stuff from Coolerkit.com,
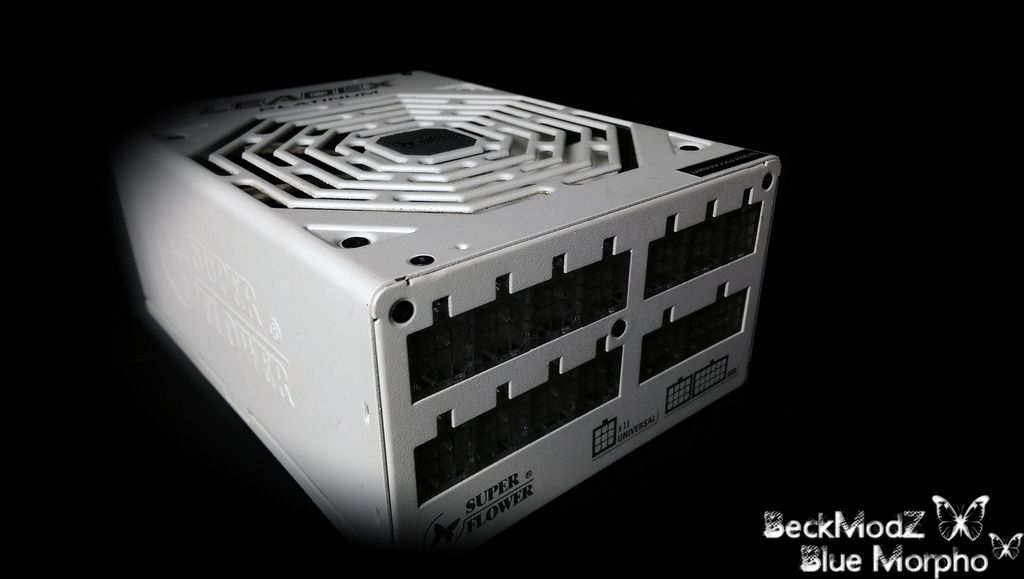
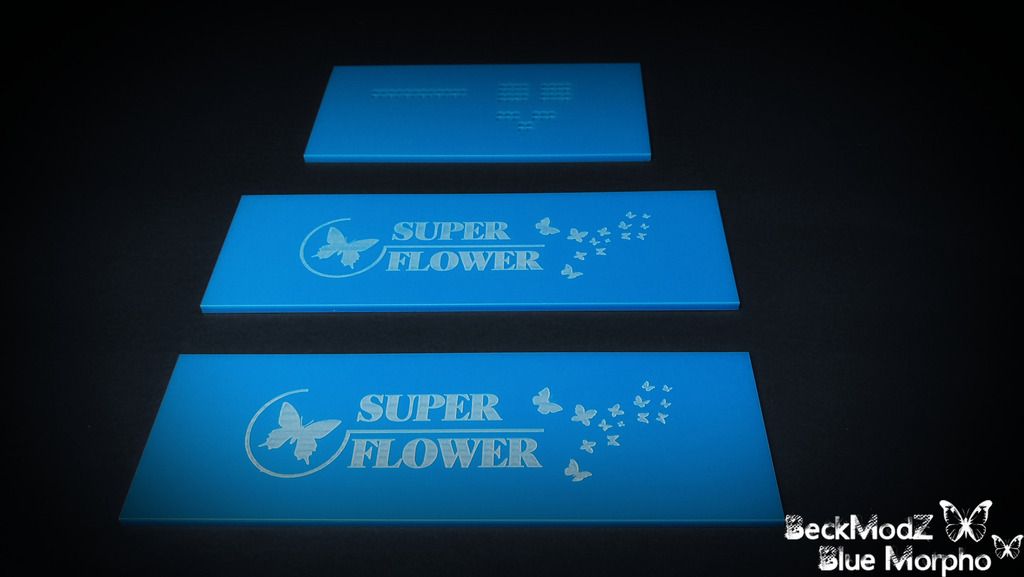
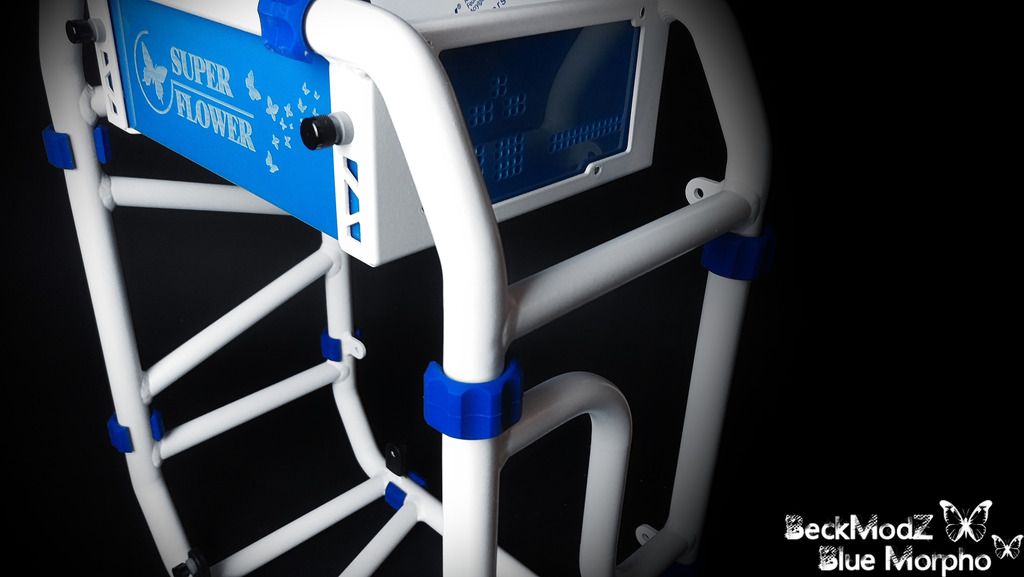
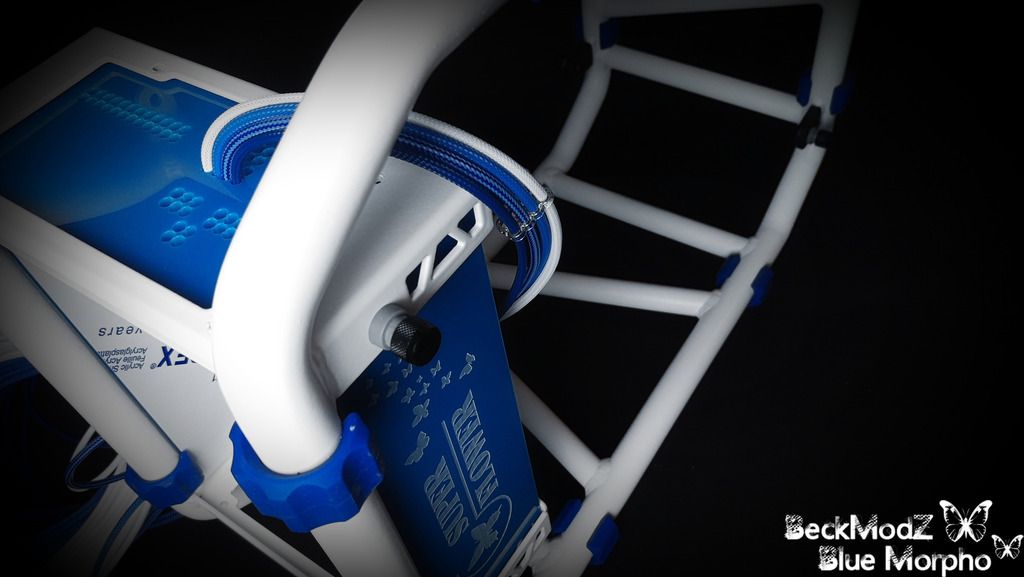
the fluids is from Mayhems.co.uk, The Mainboard is from Gigabyte Nordic, Caseking.de and Super Flower handed over the 1000w Power Supply for this build,
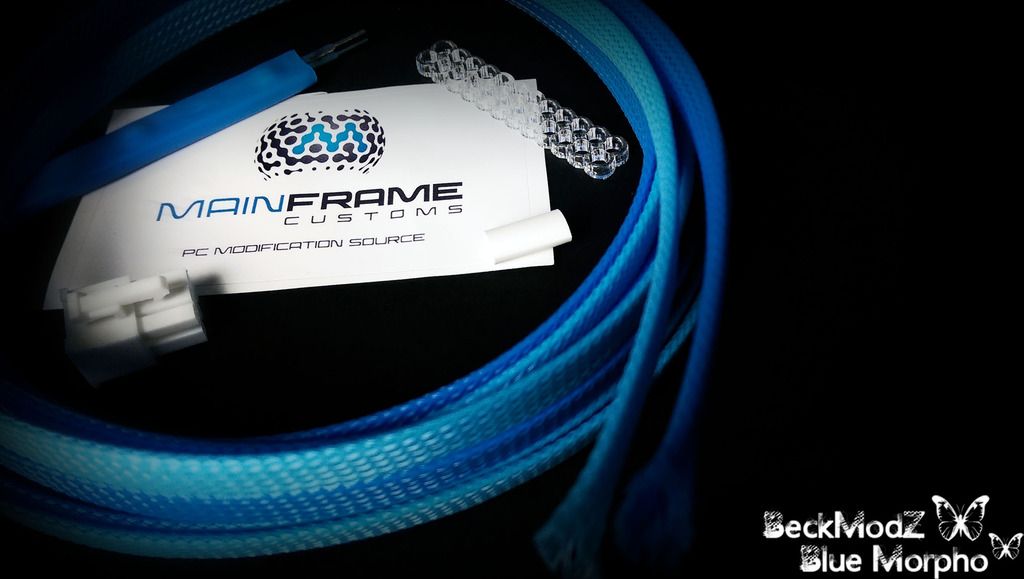
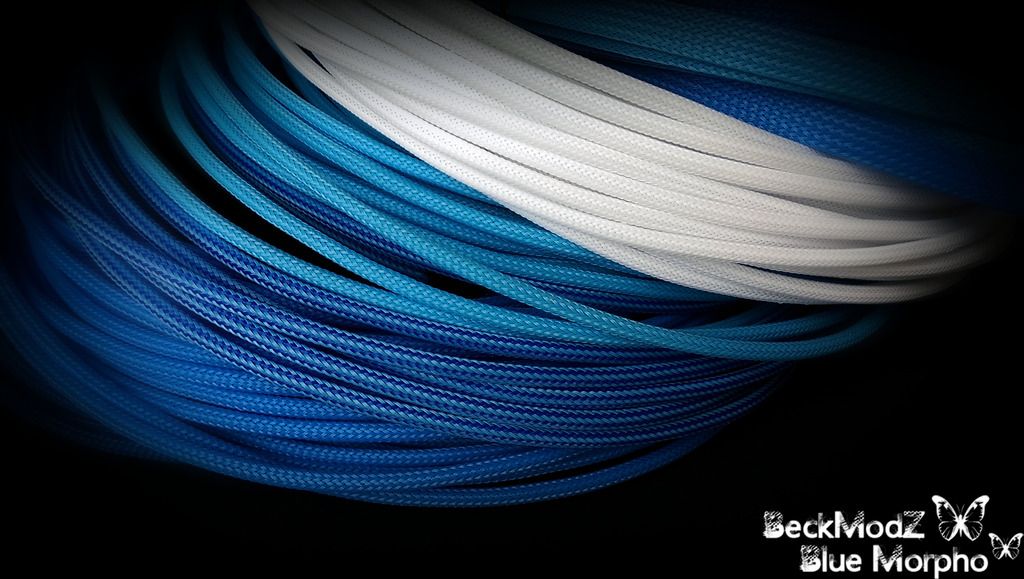
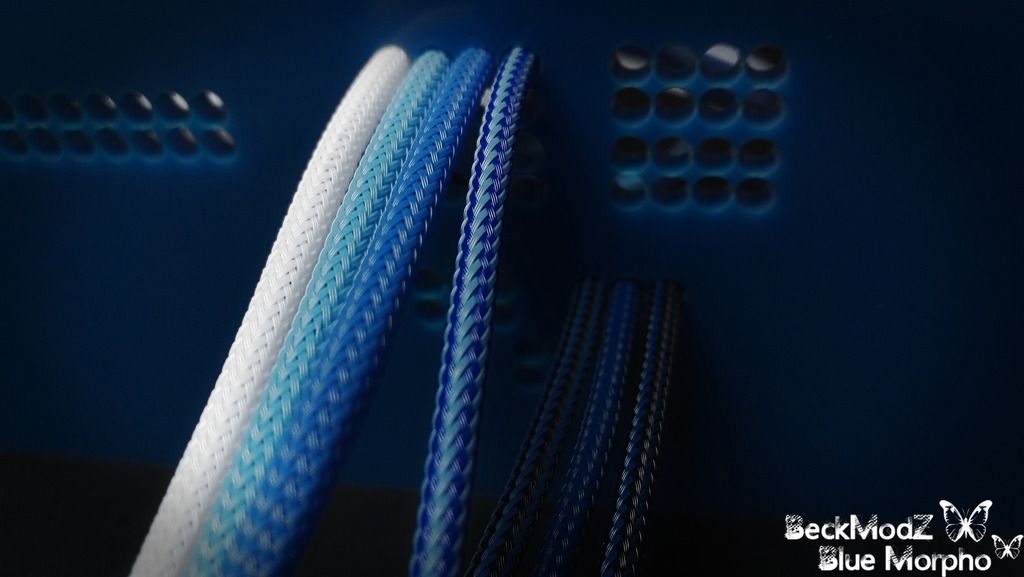
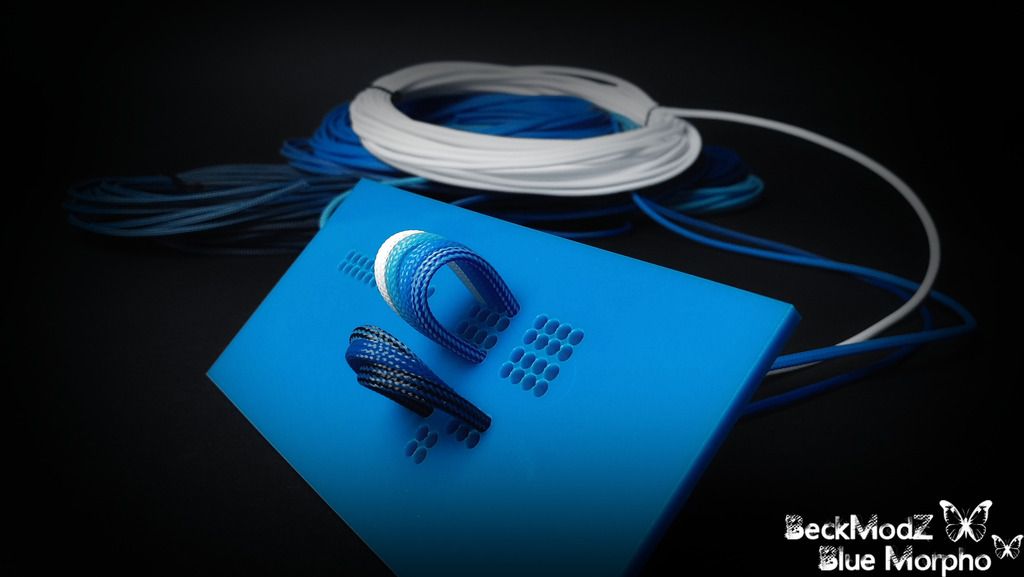
And all the PSU sleeving is from MainframeCustom.com, and again Parvum Systems is the shizzle when it comes to custom parts!
Also E22.biz did some small parts for the build, the finishing touches
-------------------------------------------------------------------------------------------------
Progress Links :
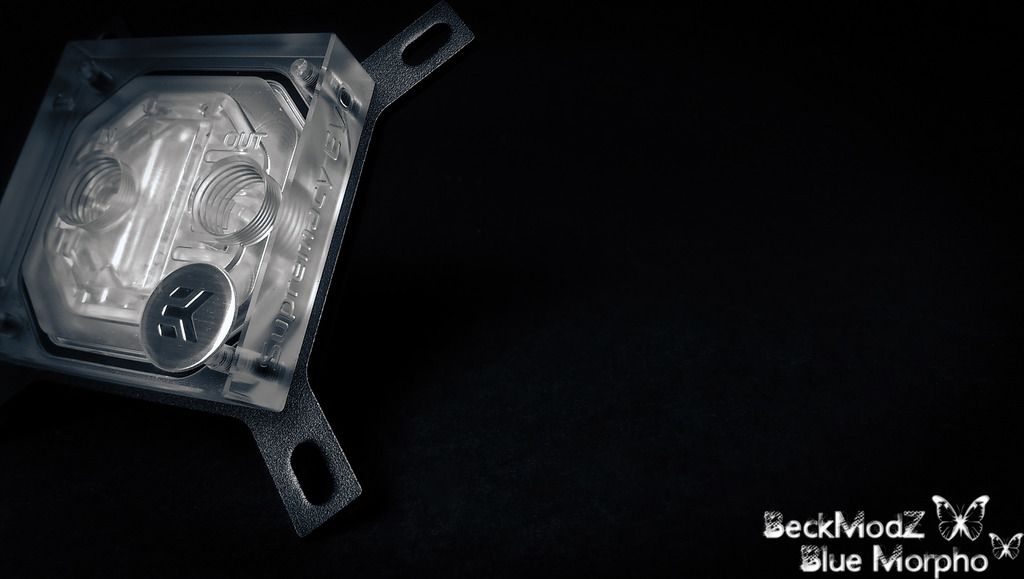
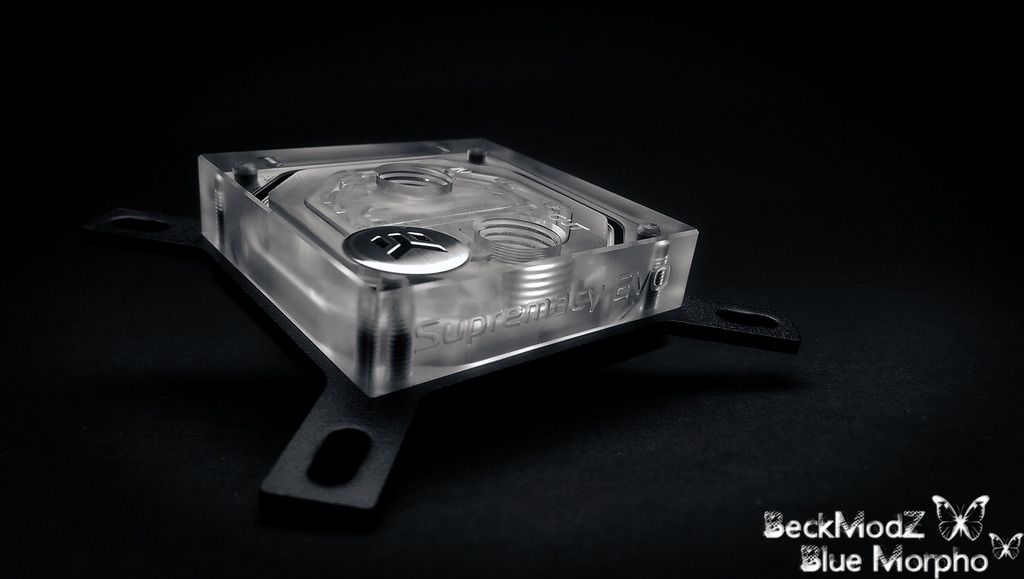
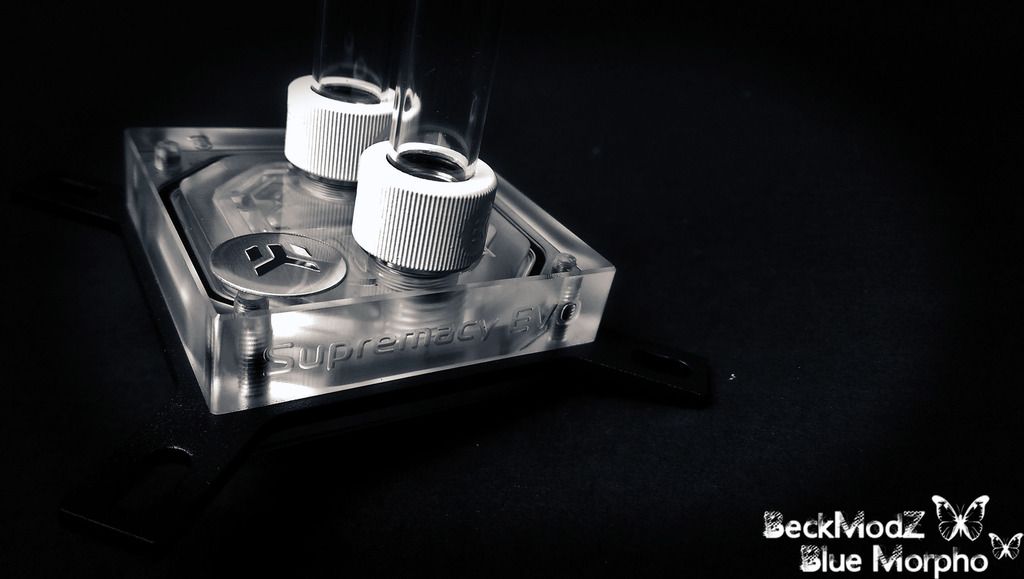
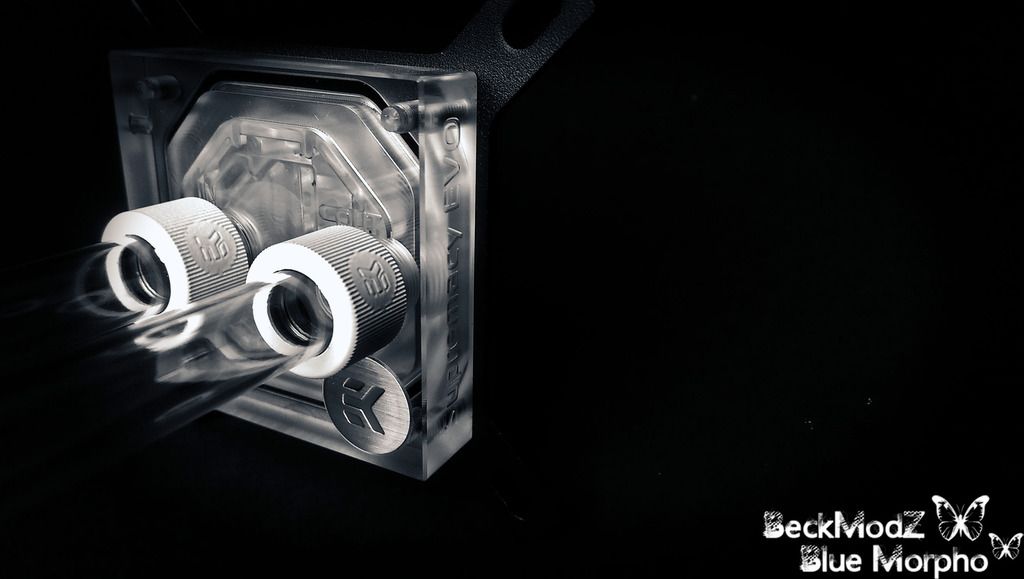
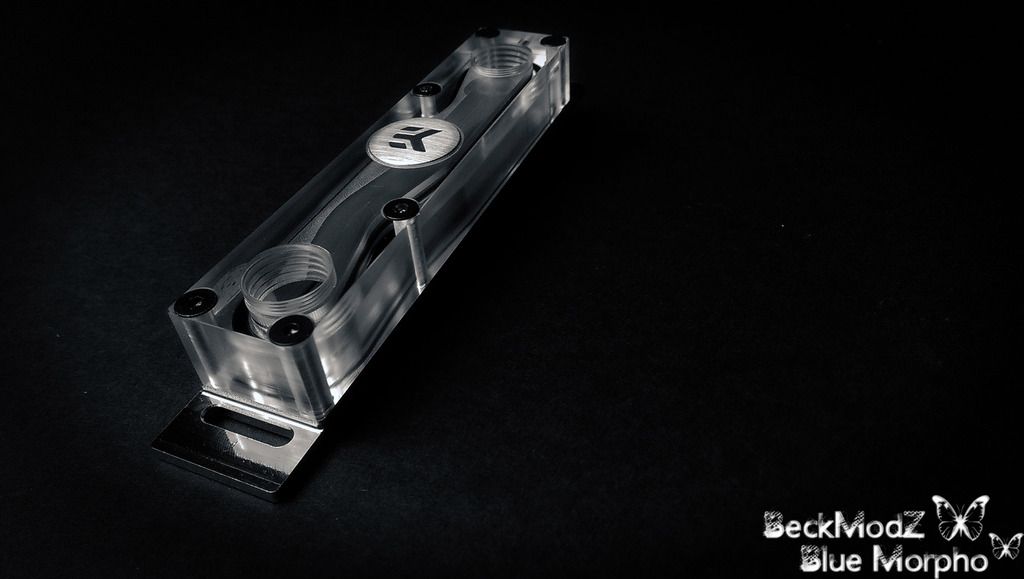
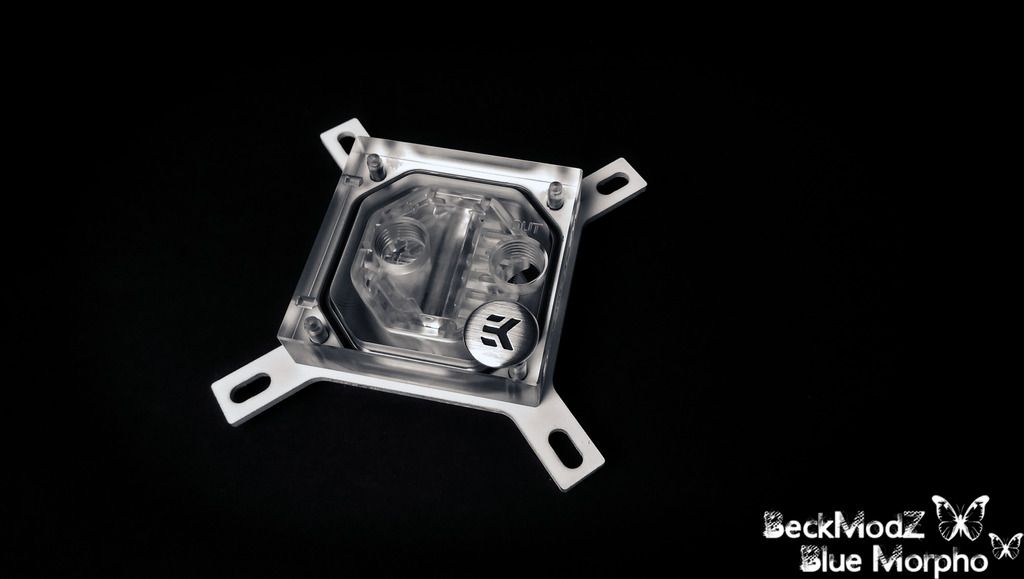
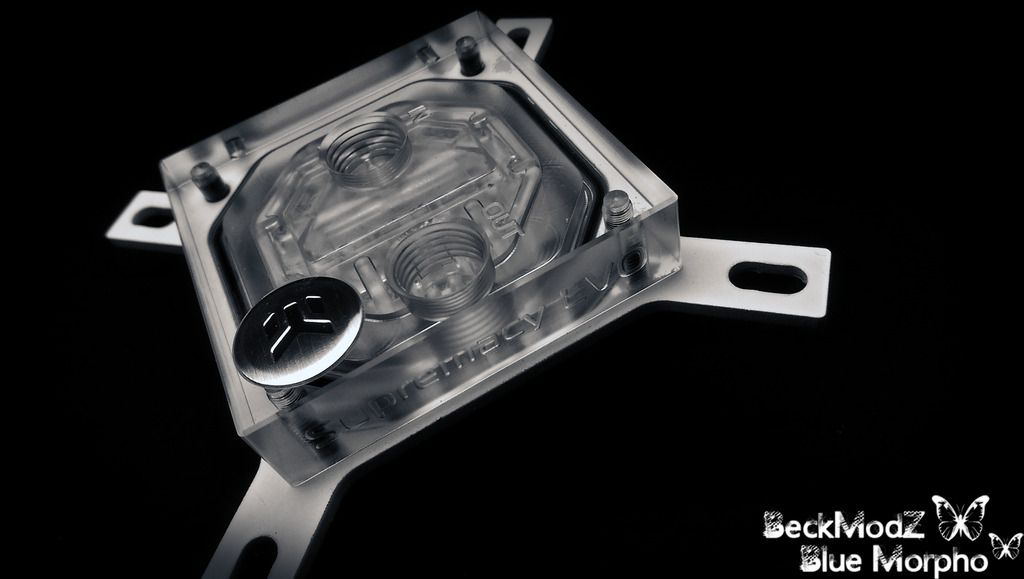
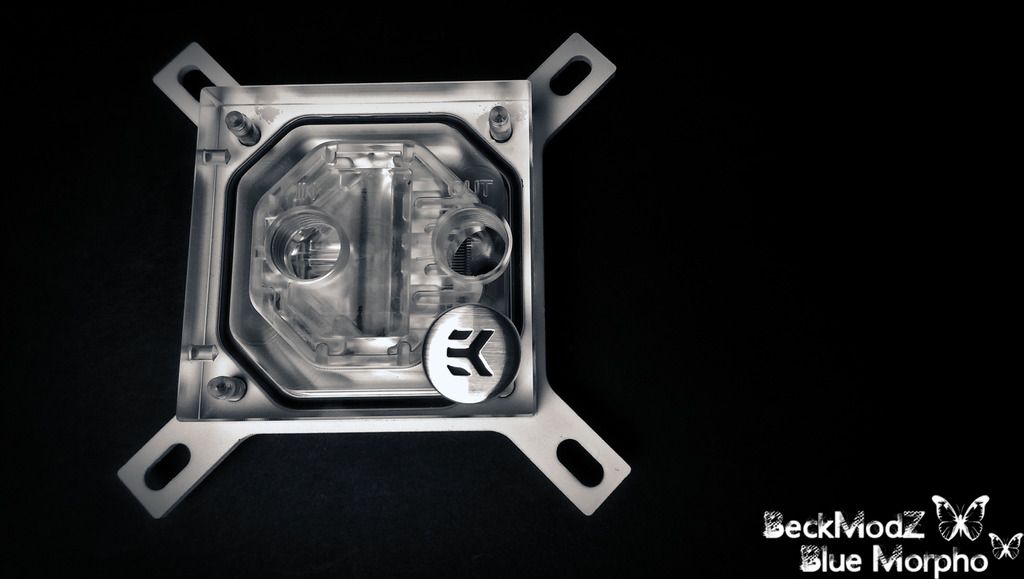
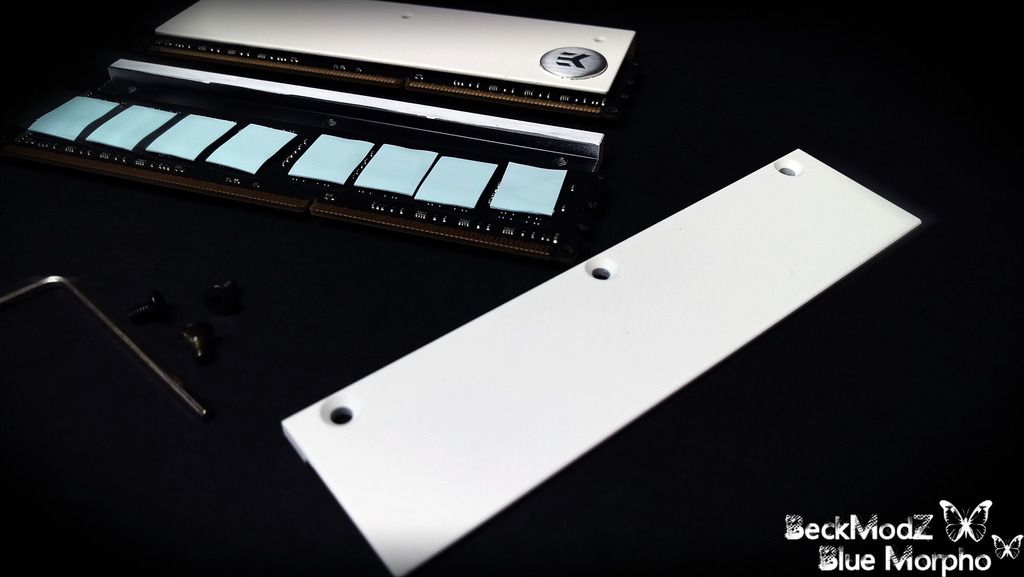
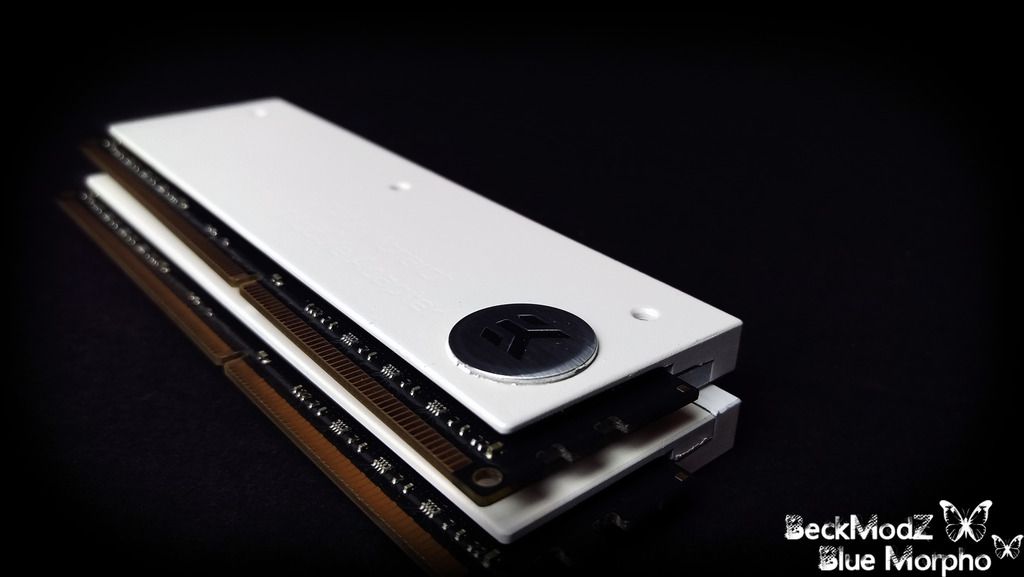
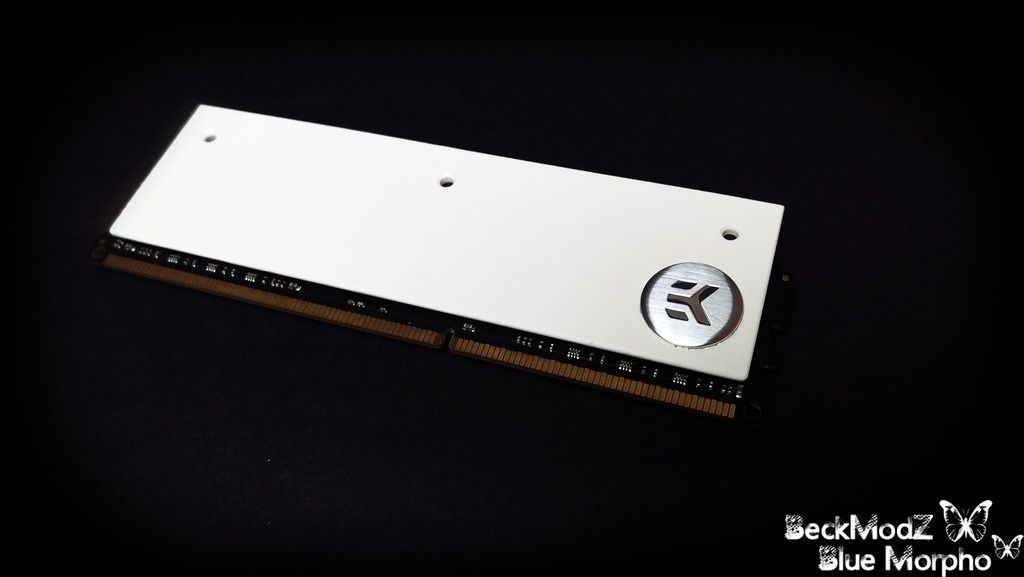
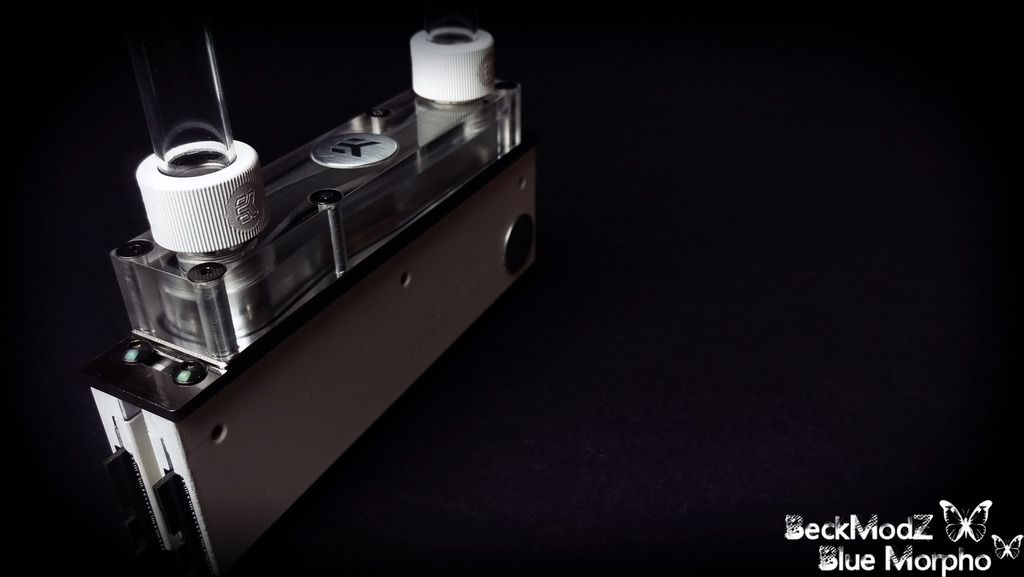
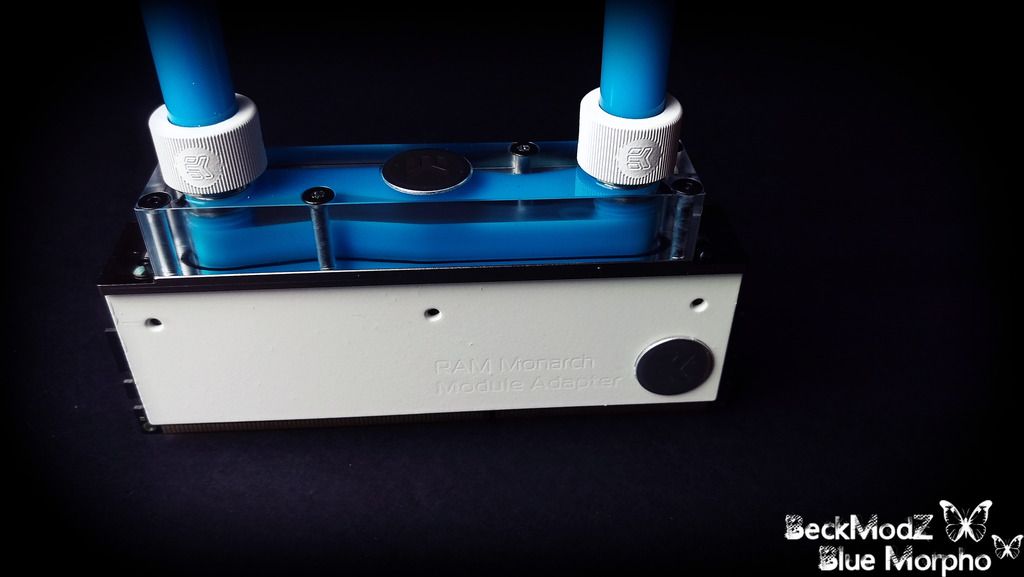
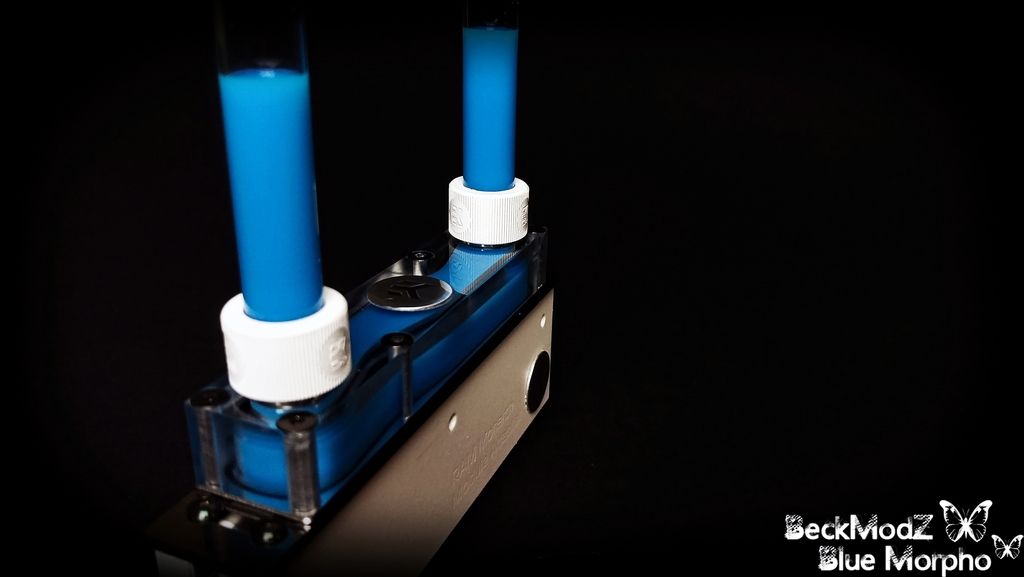
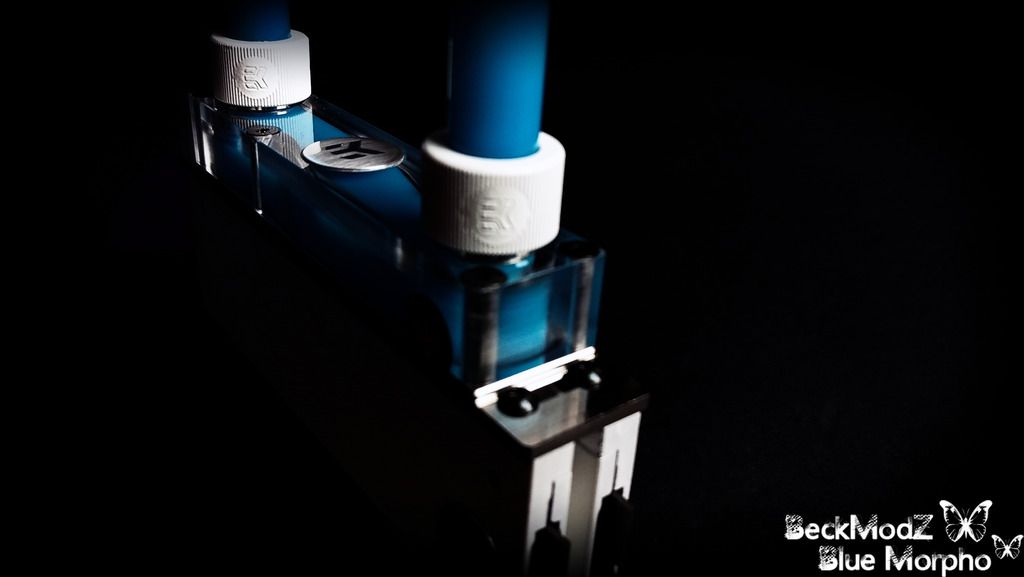
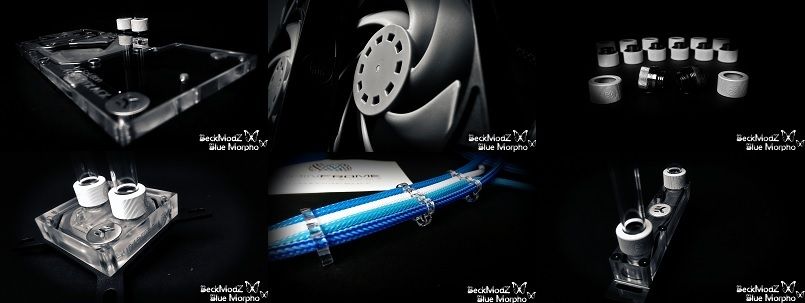
The Supremacy Evo and Ek-Ram Monarch x2
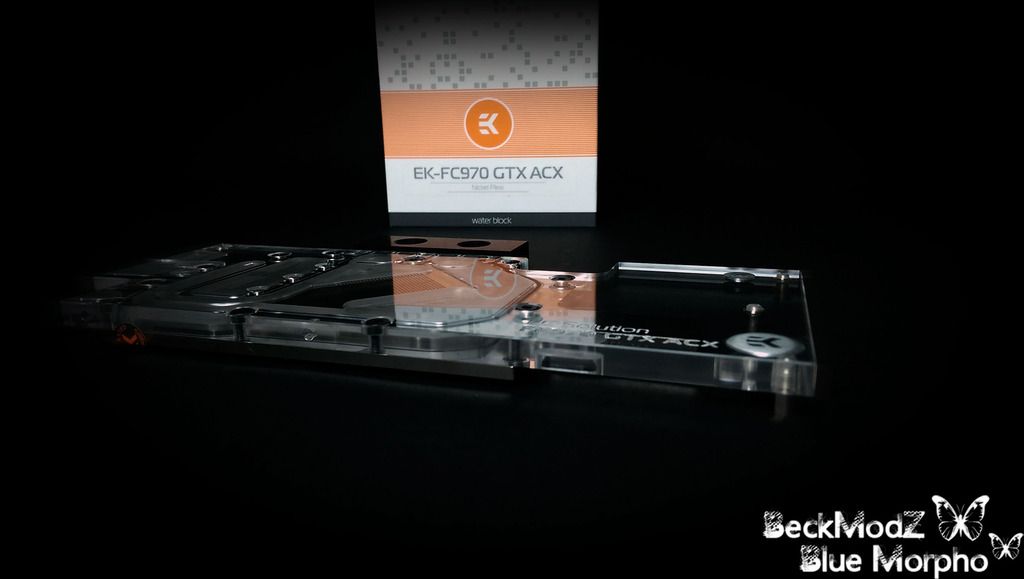
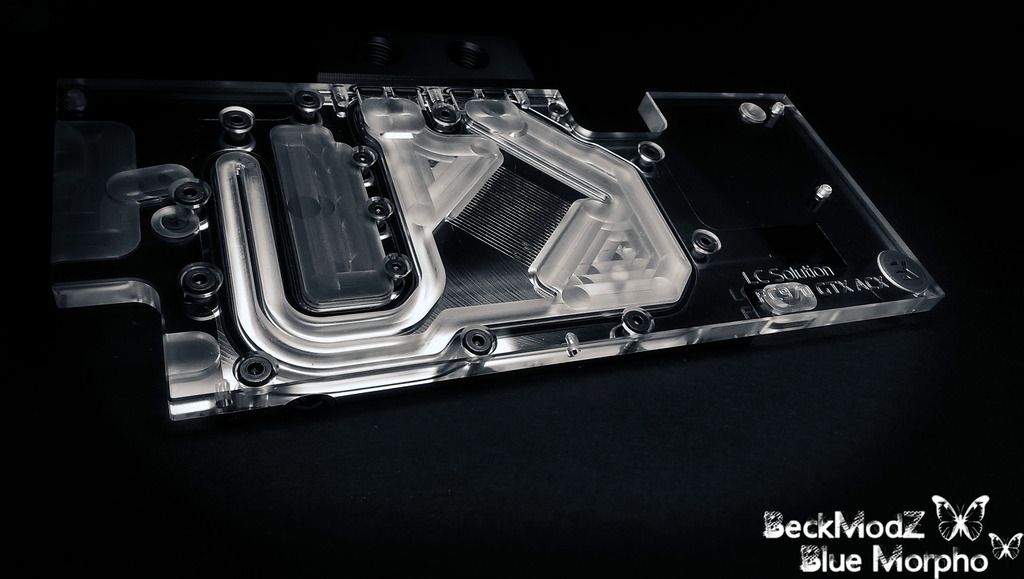
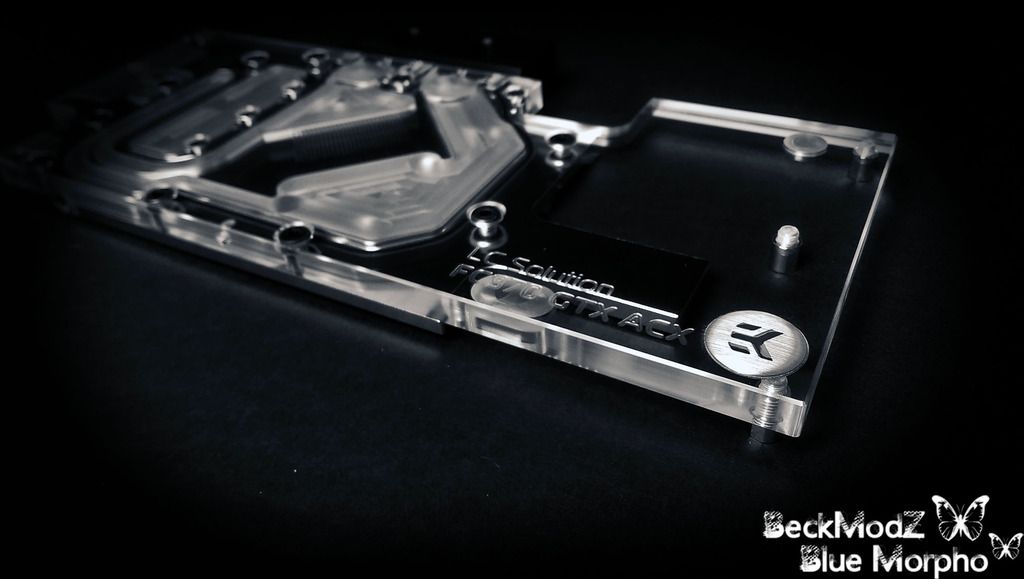
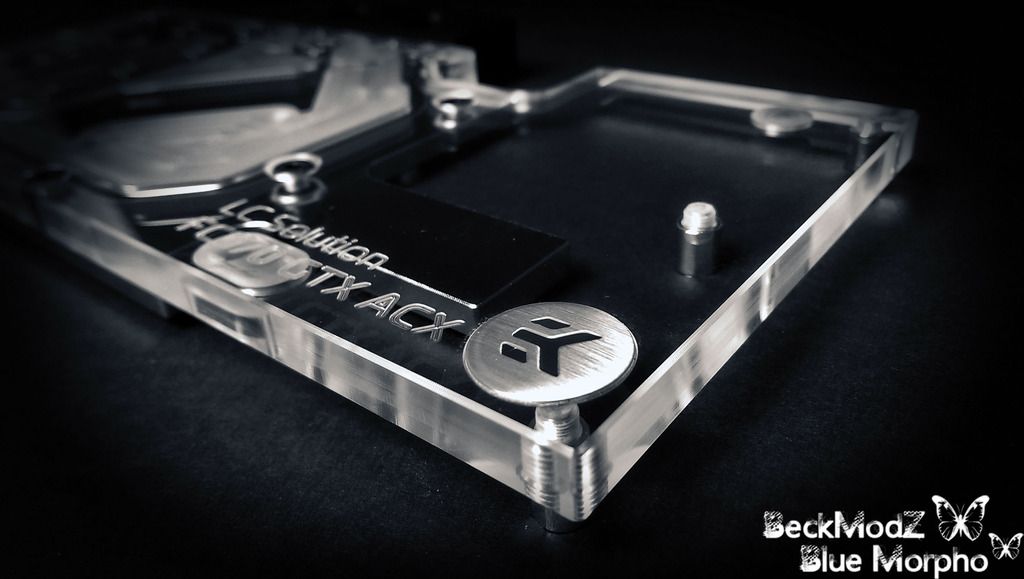
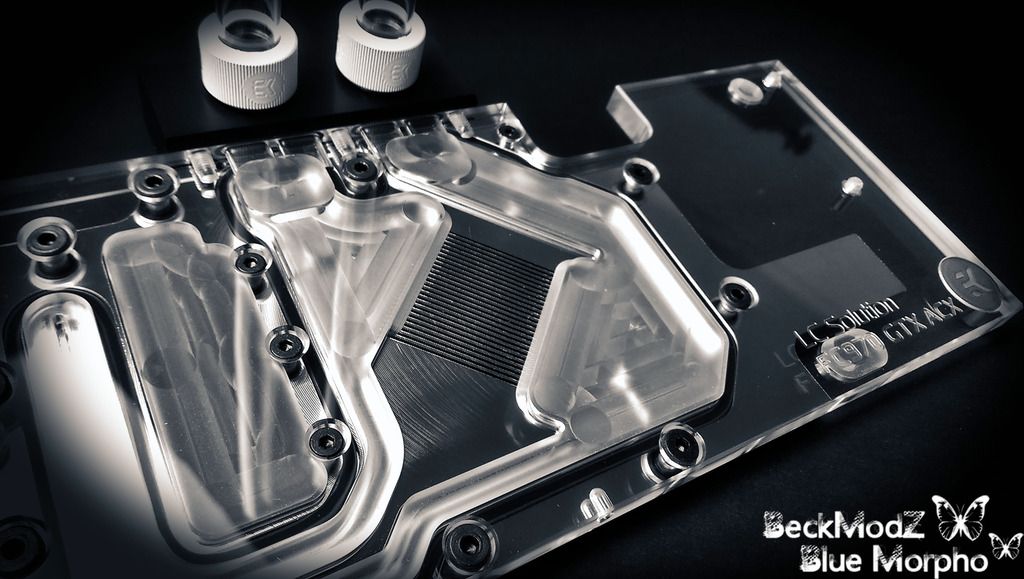
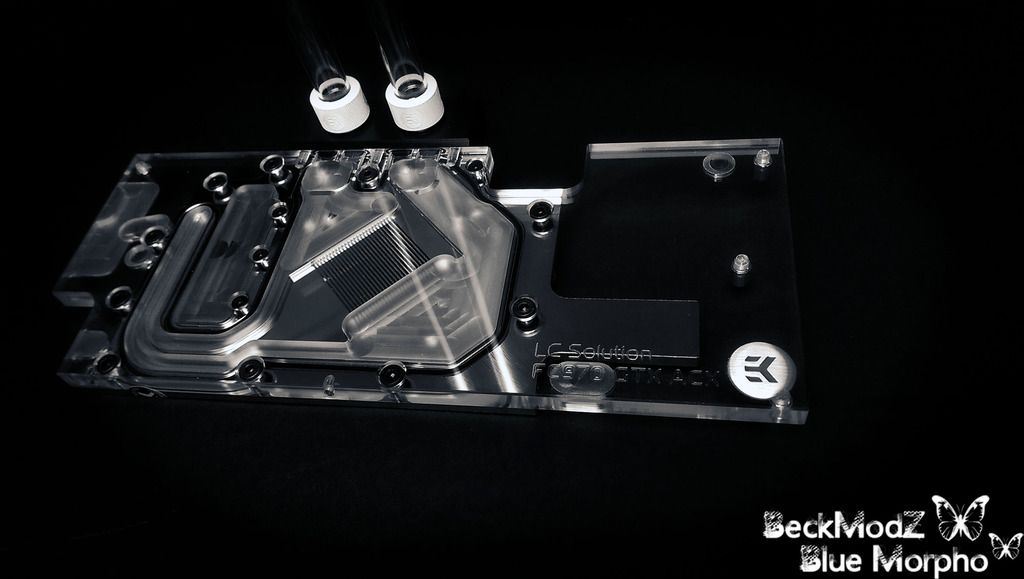
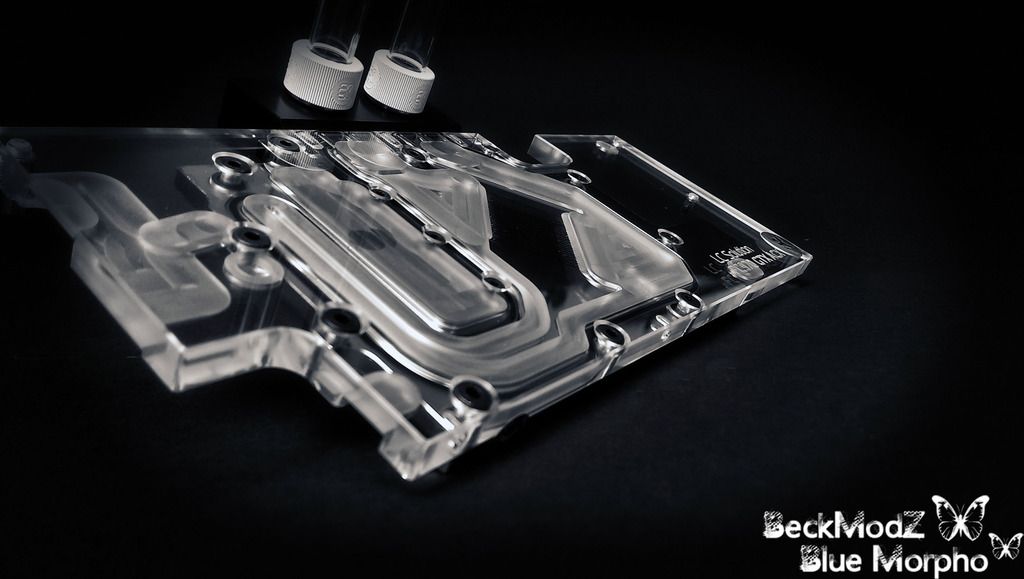
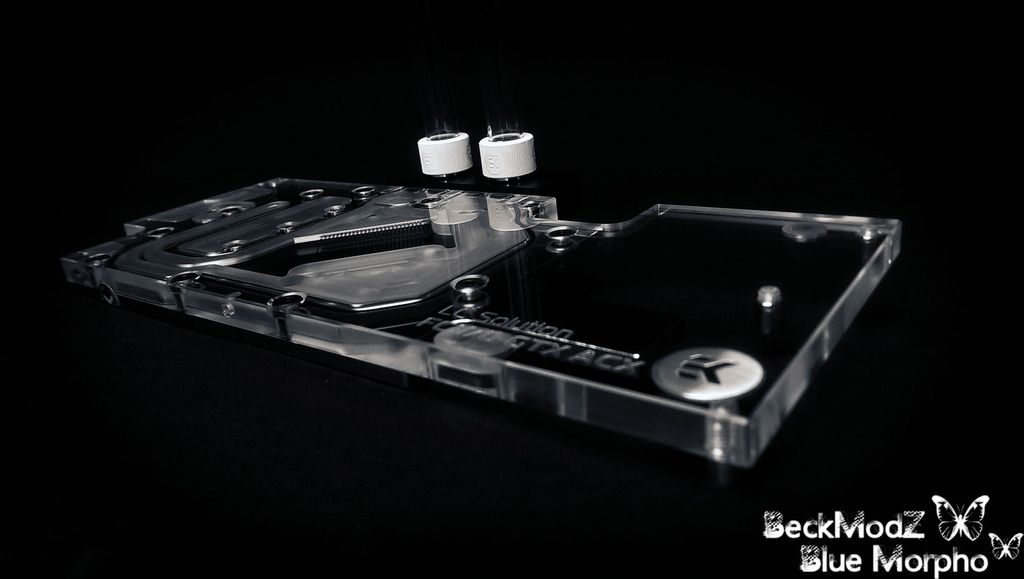
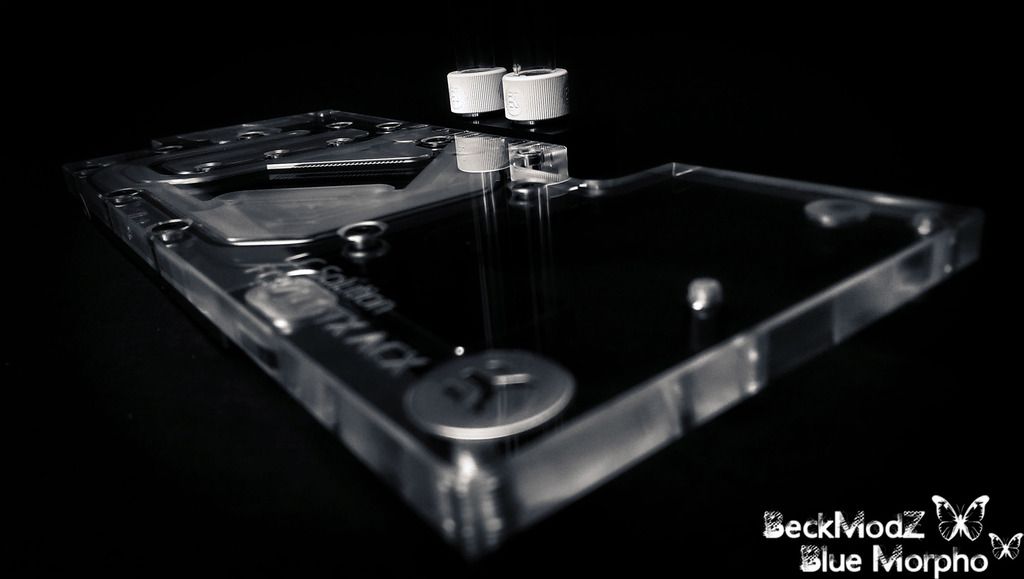
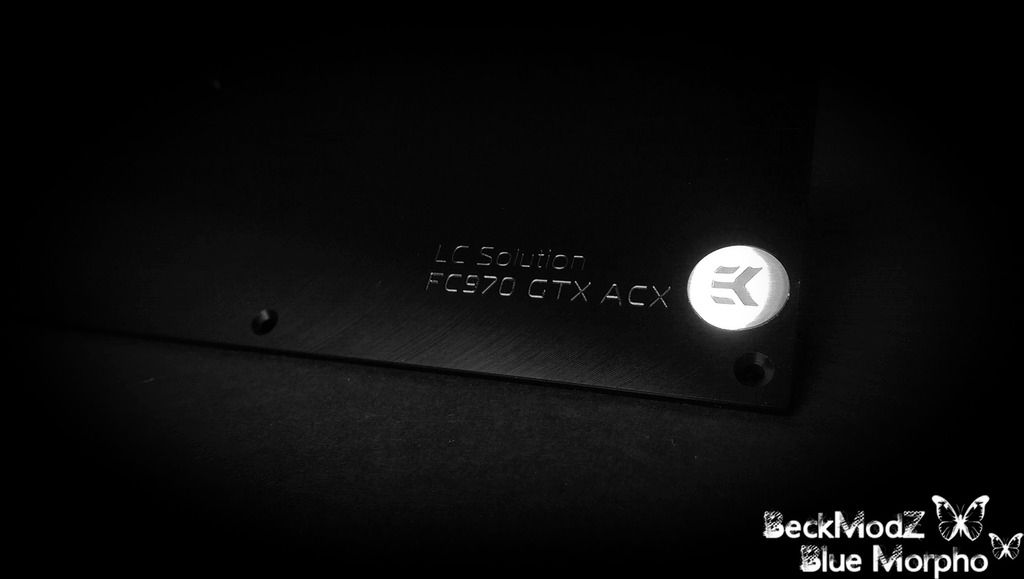
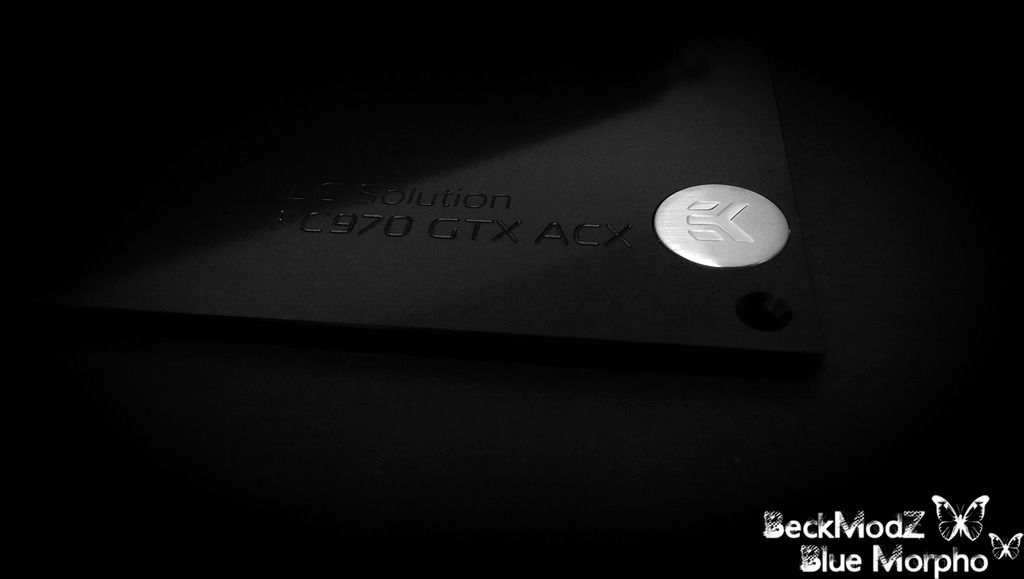
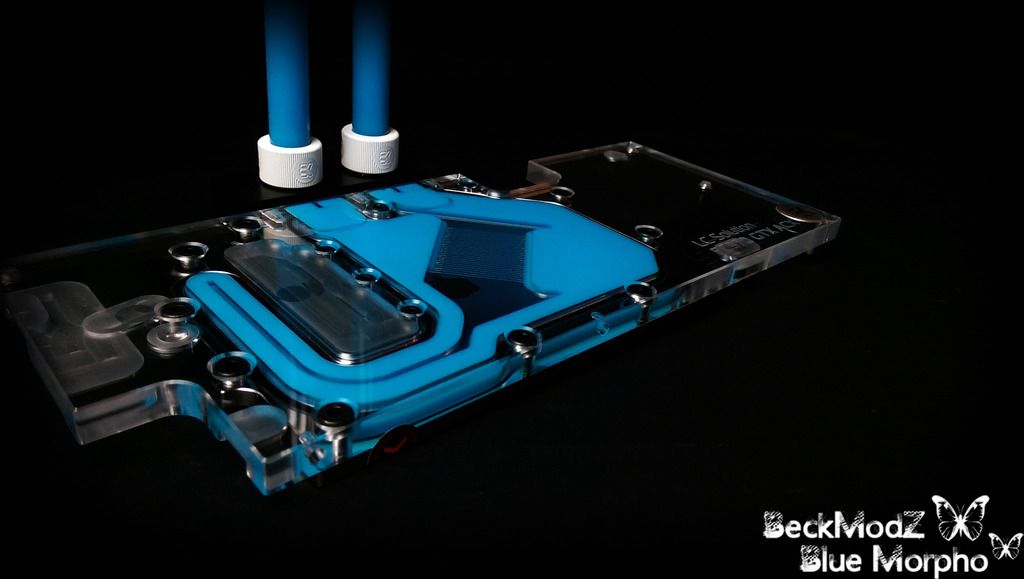
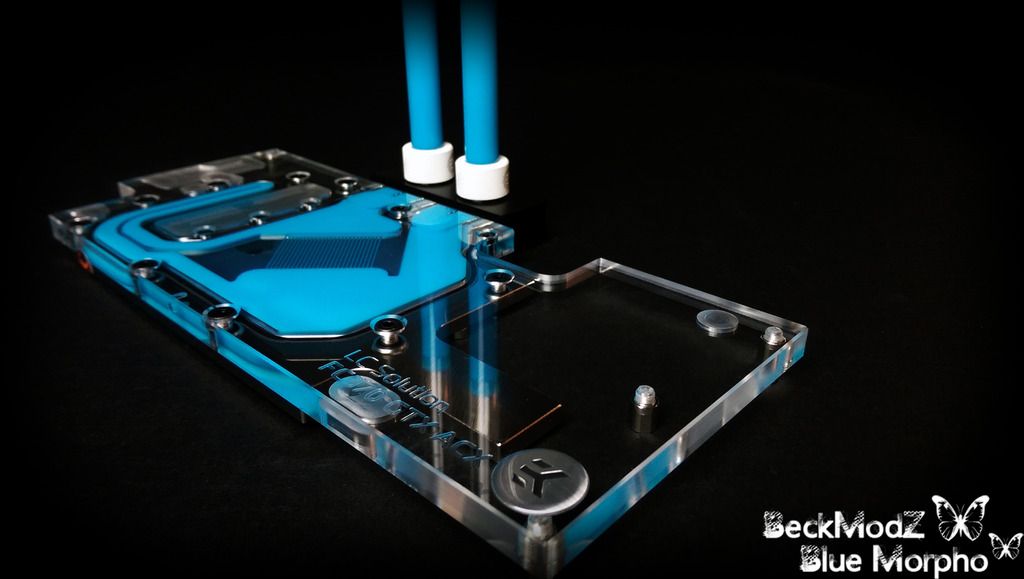
The EK-FC970 ACX Nickel GPU Block
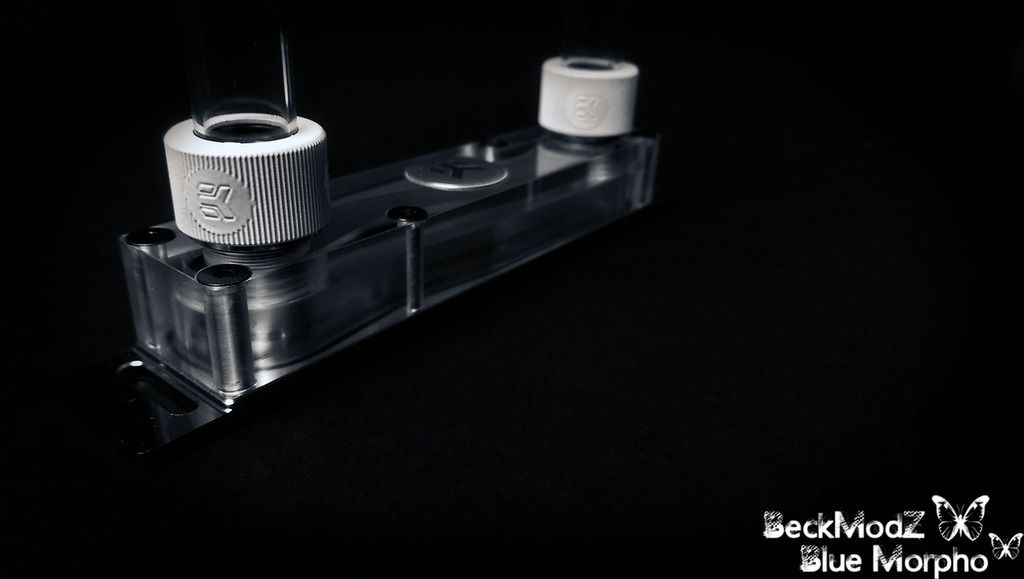
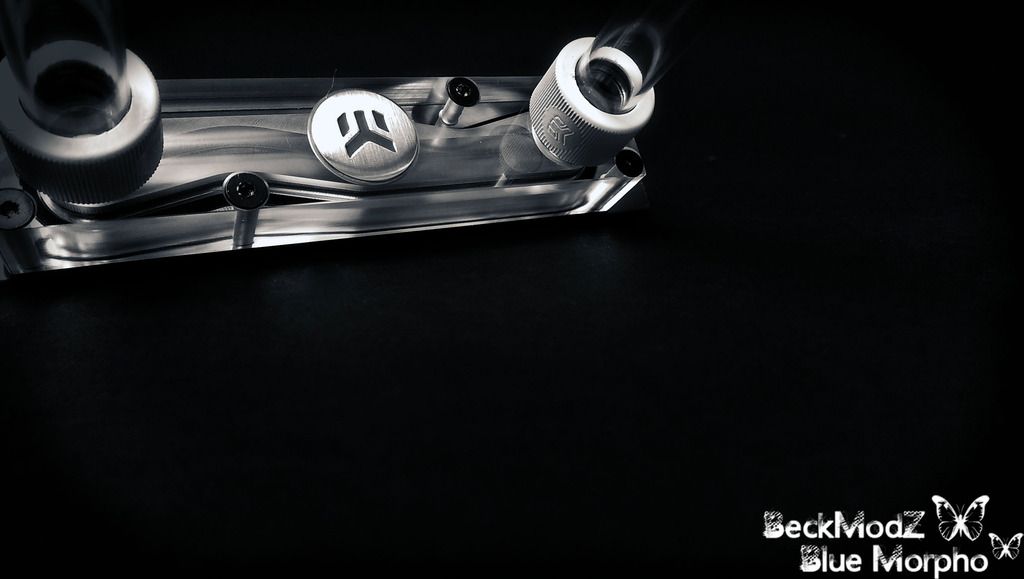
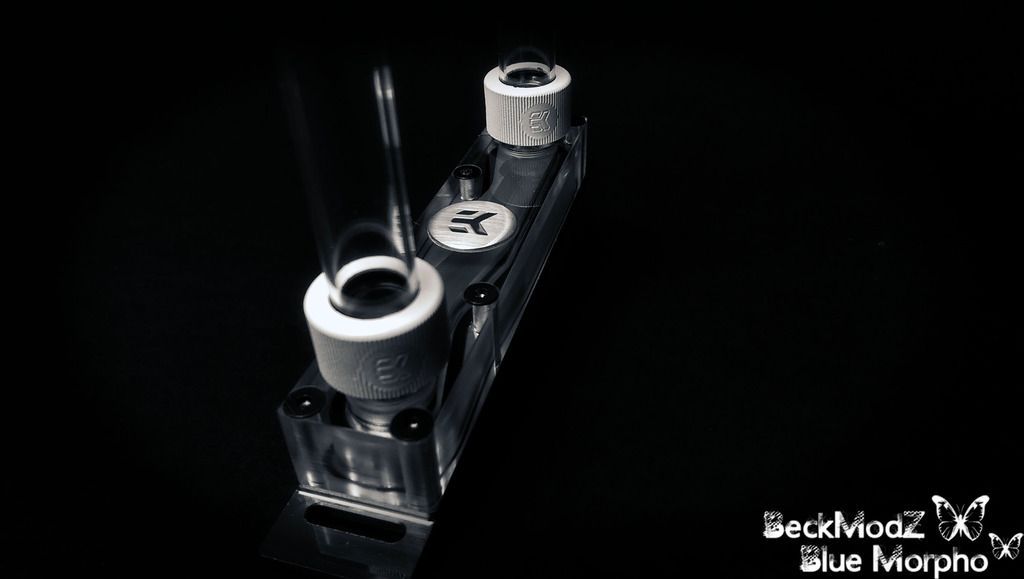
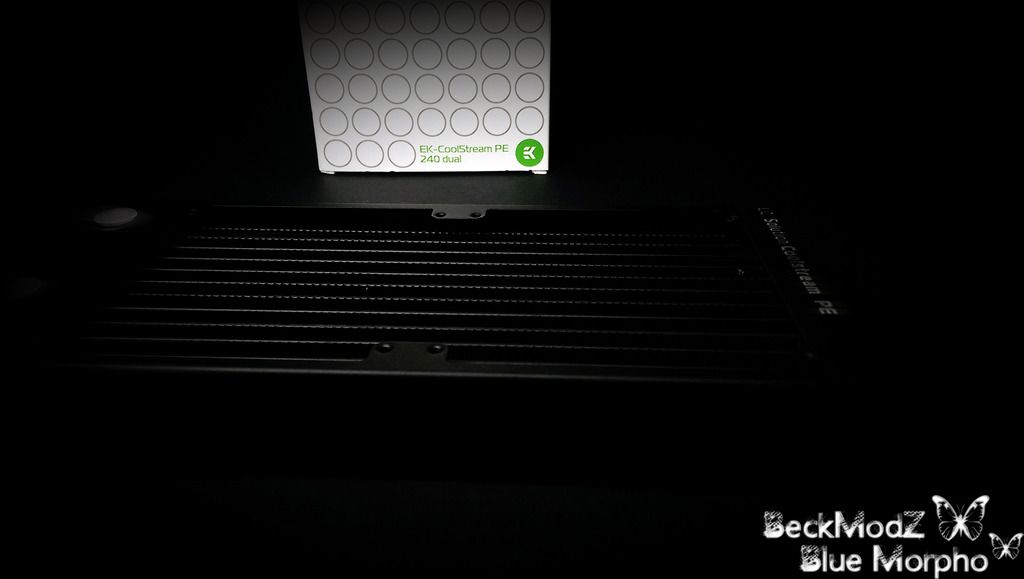
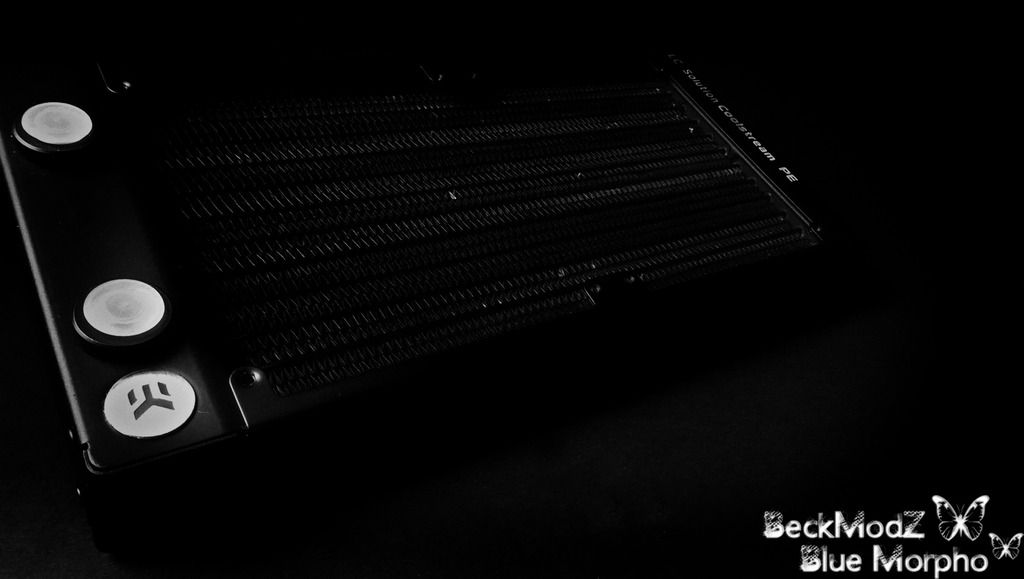
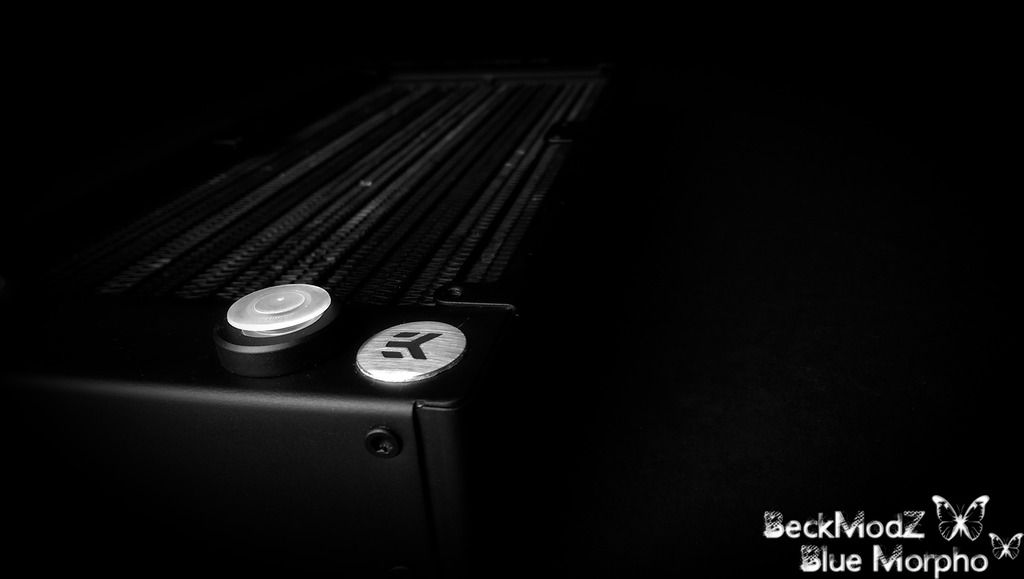
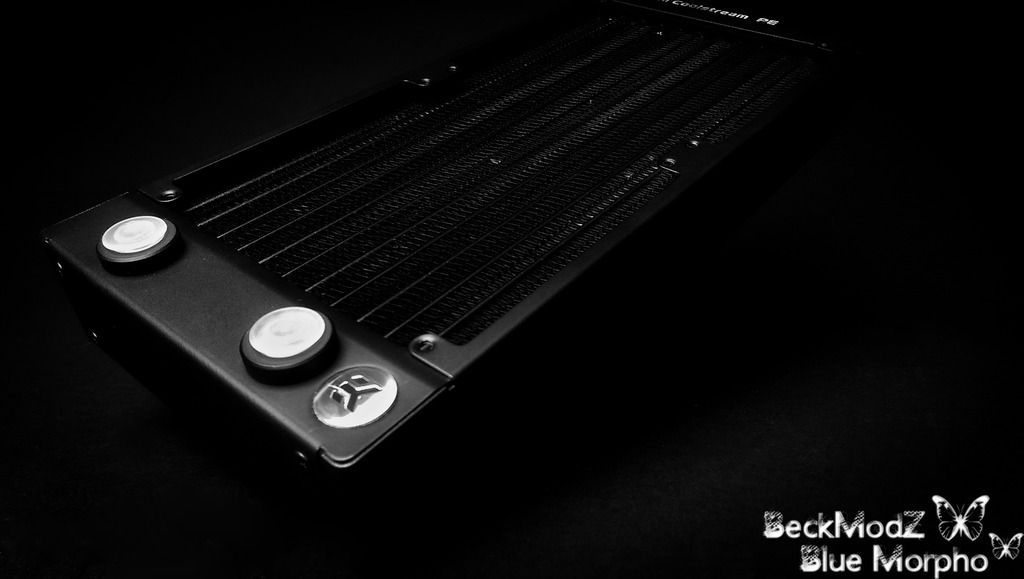
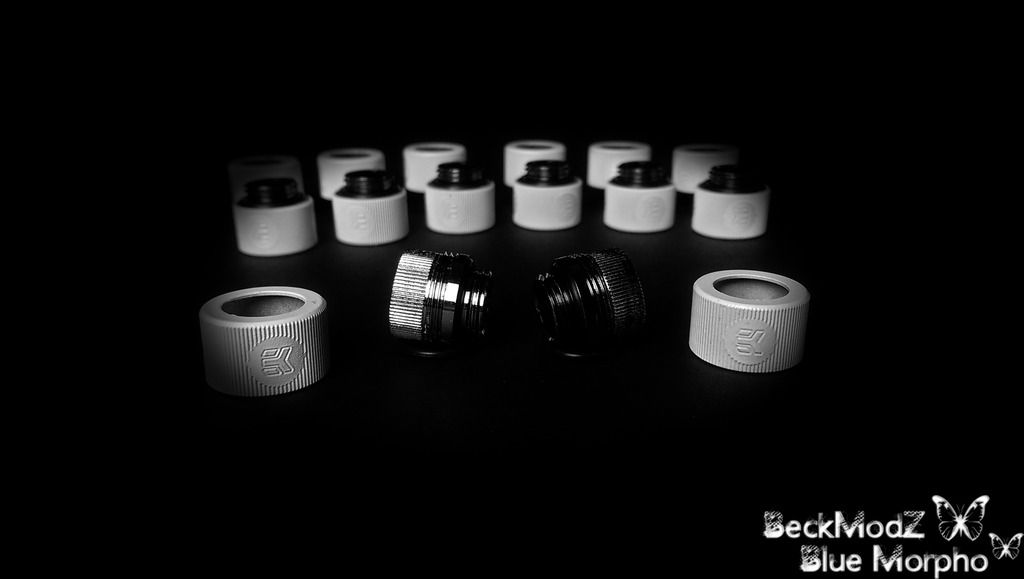
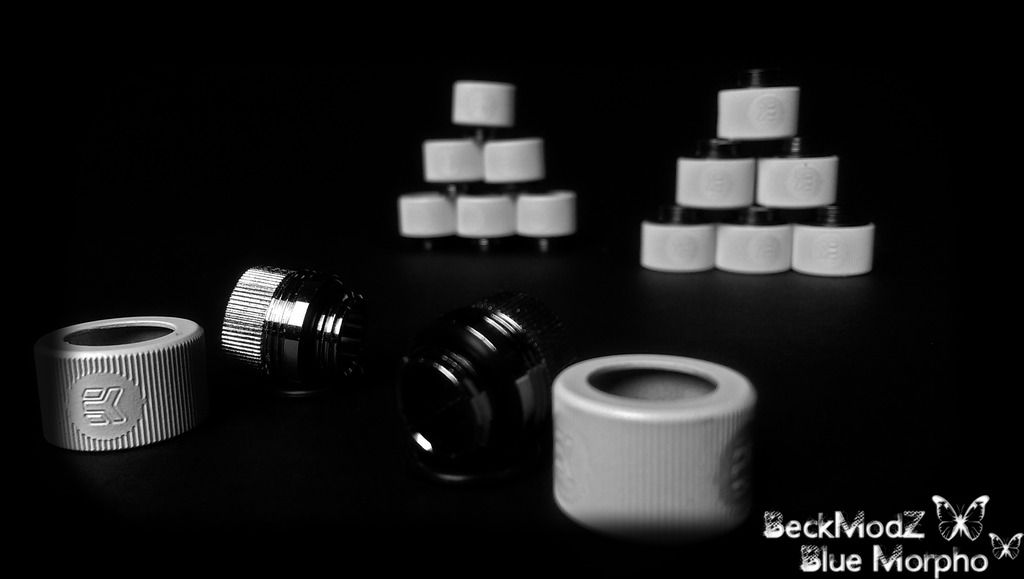
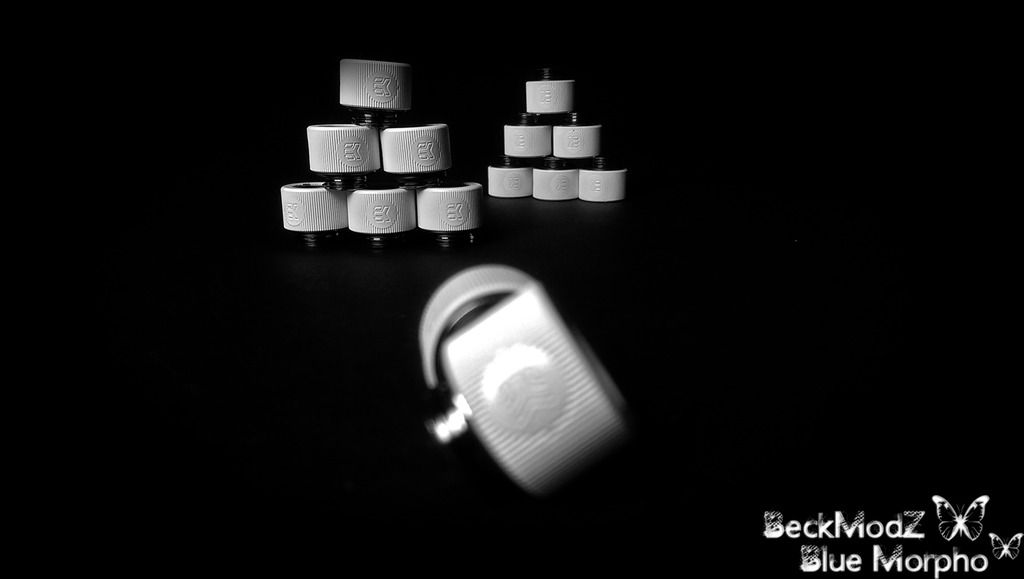
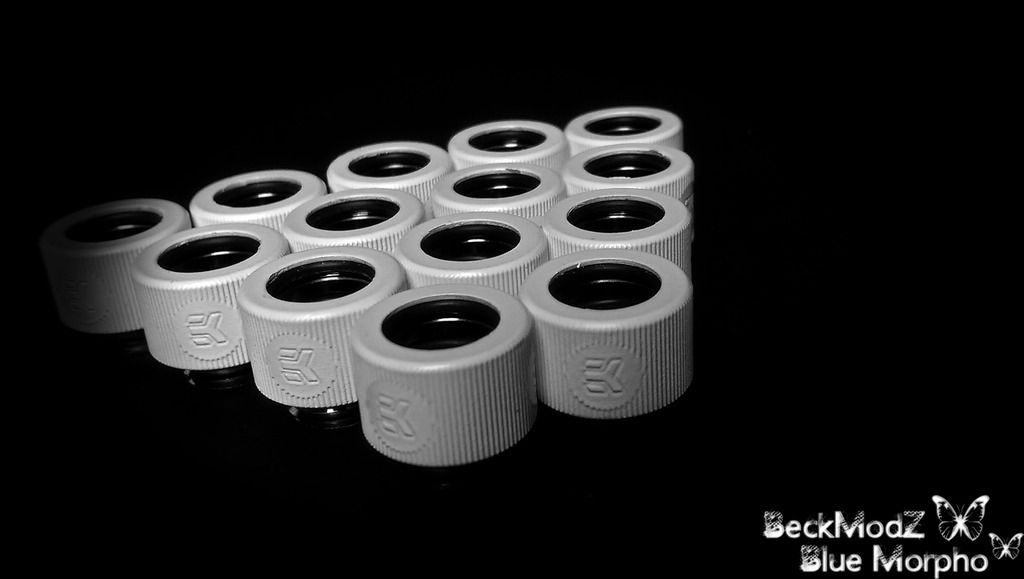
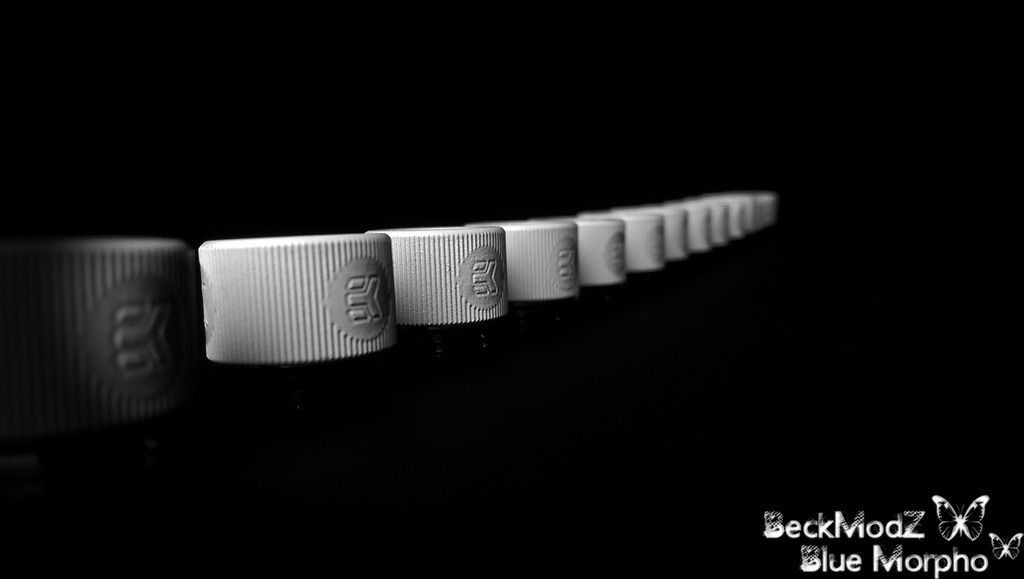
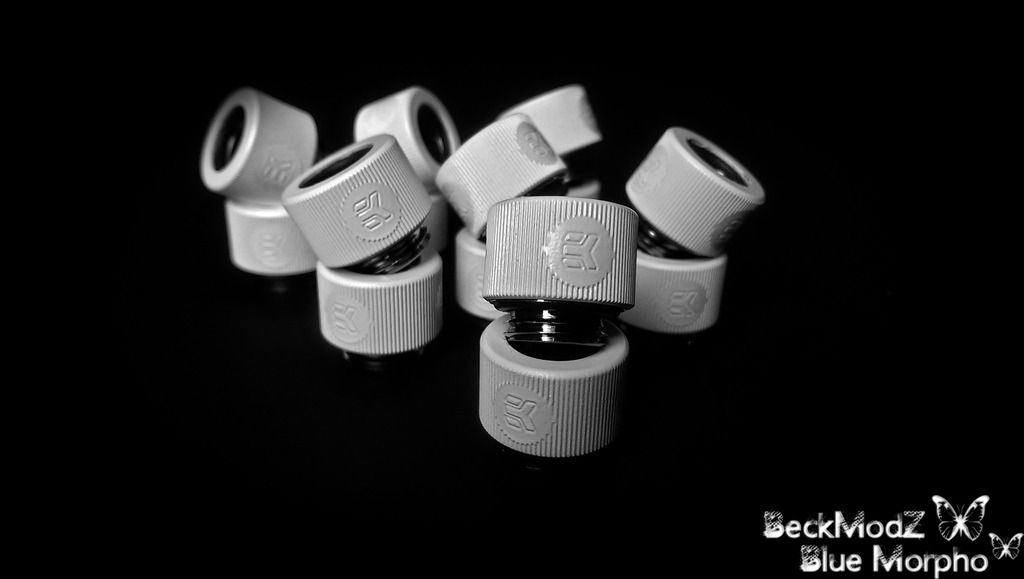
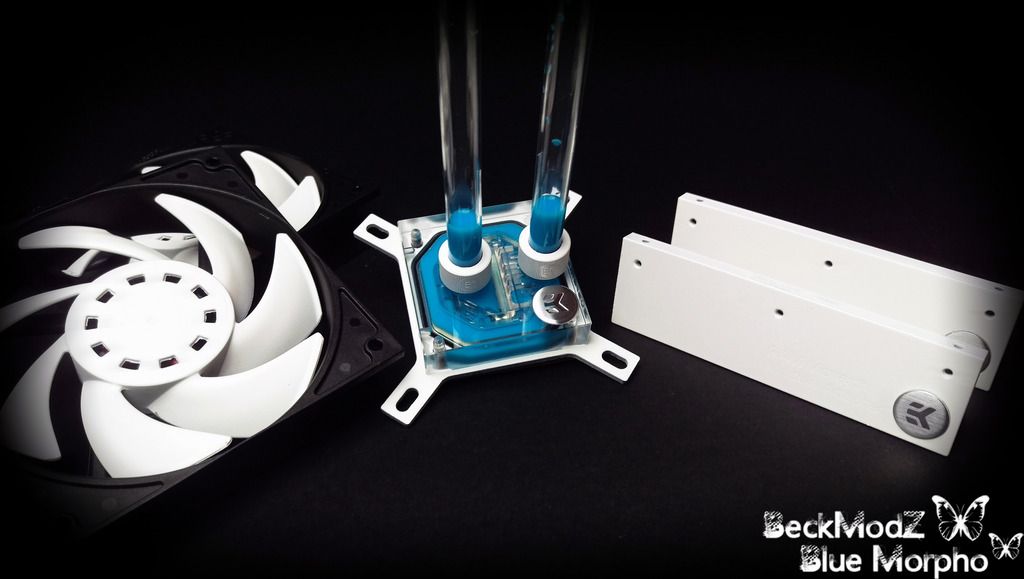
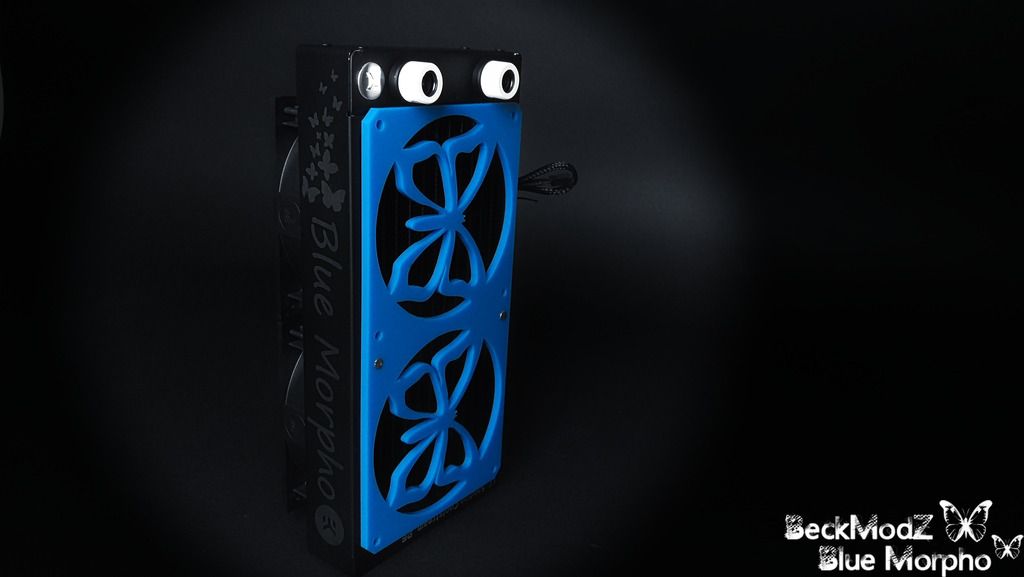
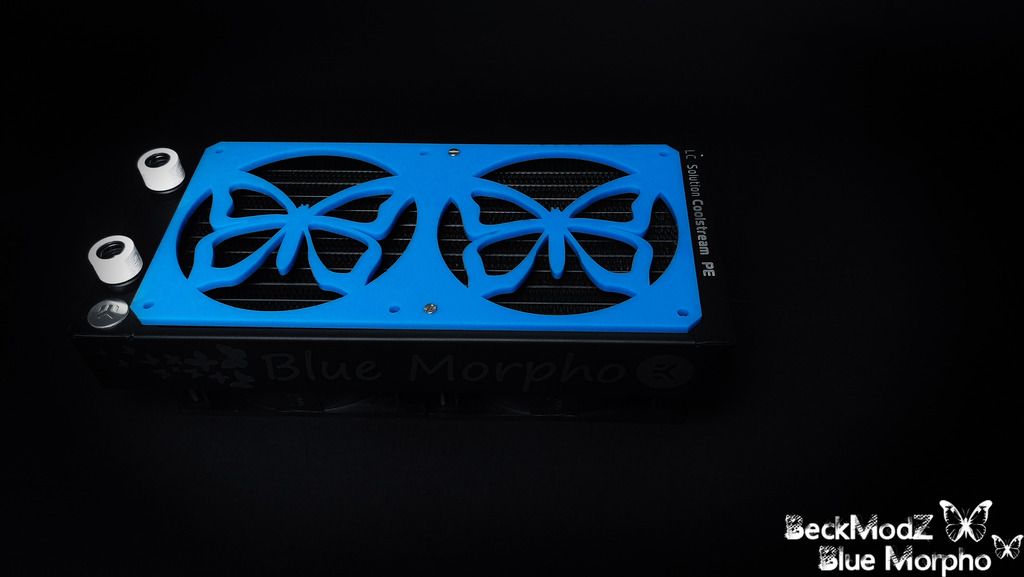
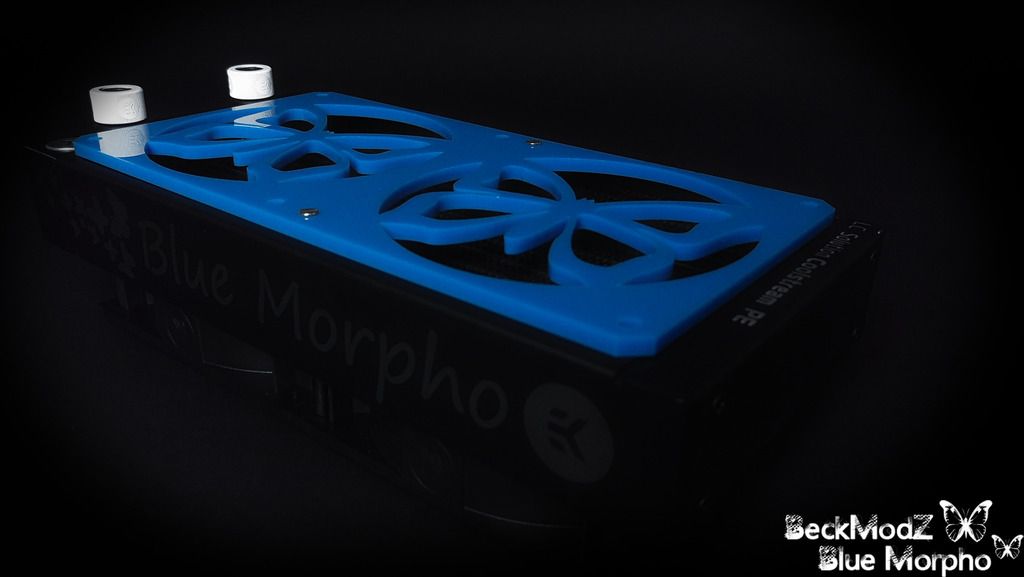
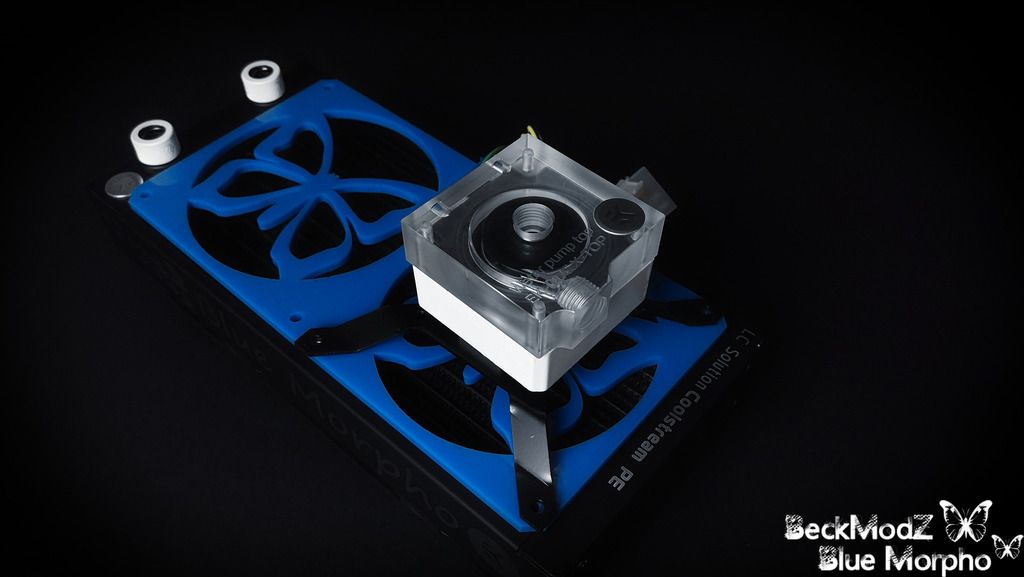
The EKWB Fittings, Coolstream PE240 and GPU Backplate
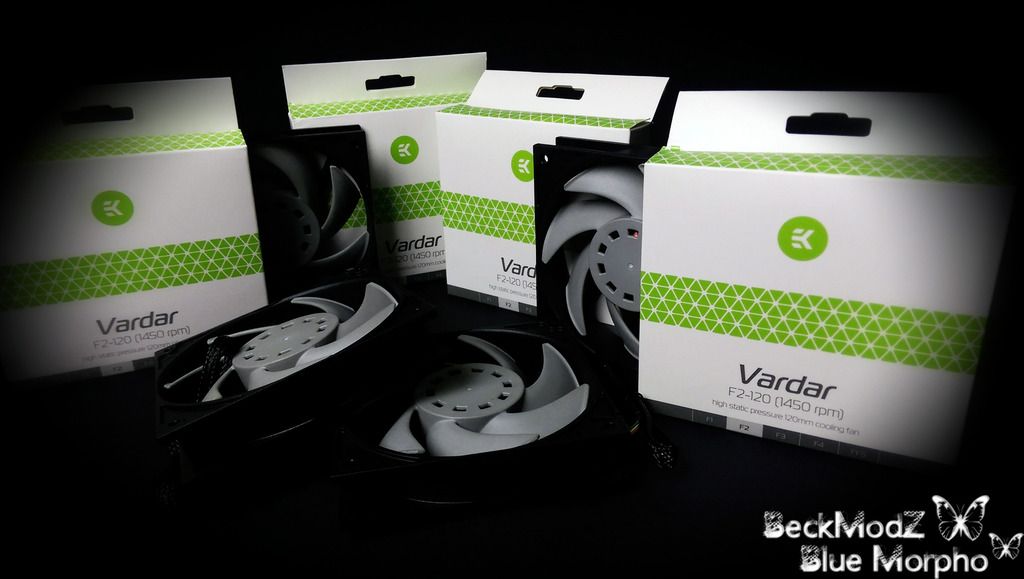
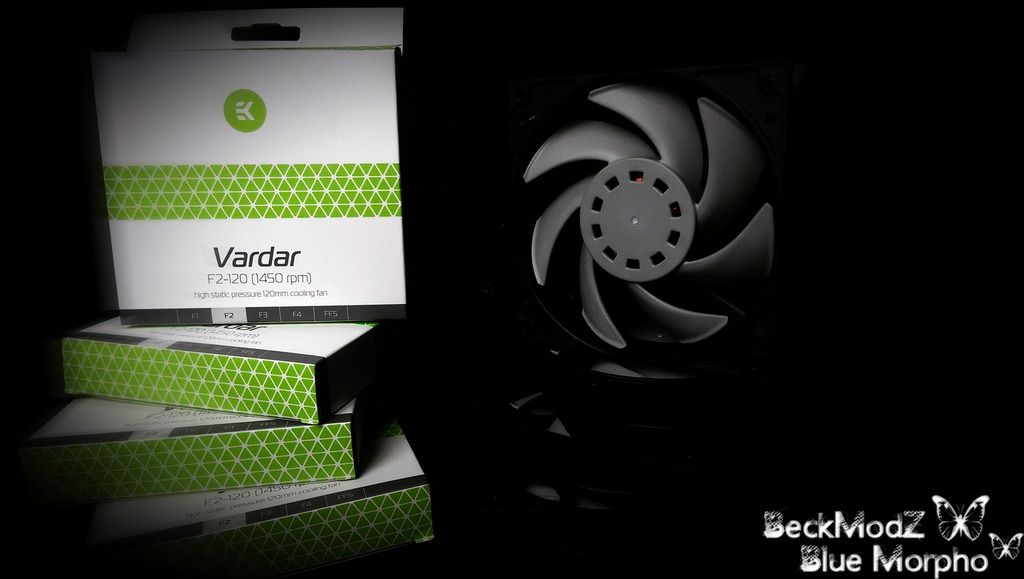
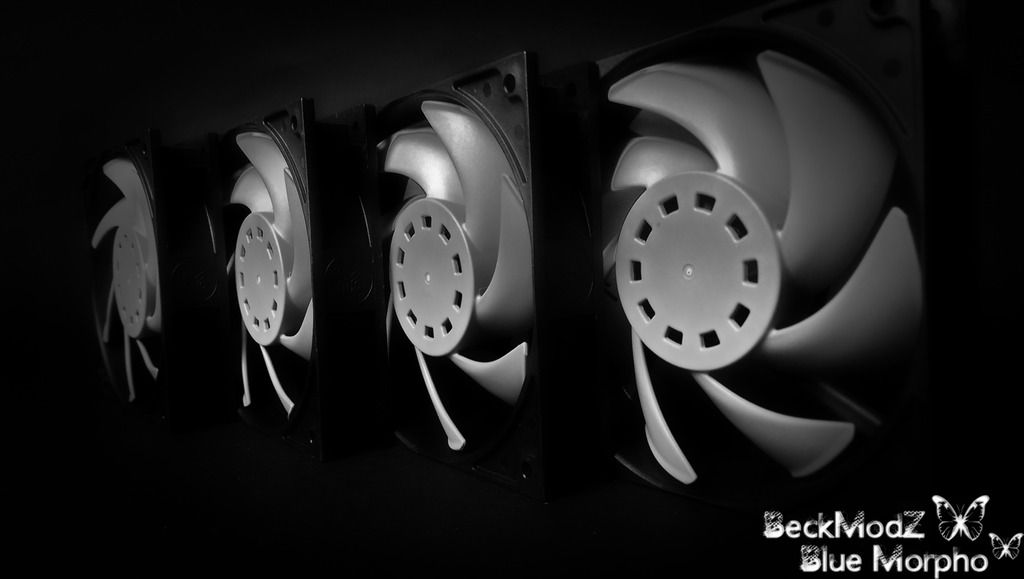
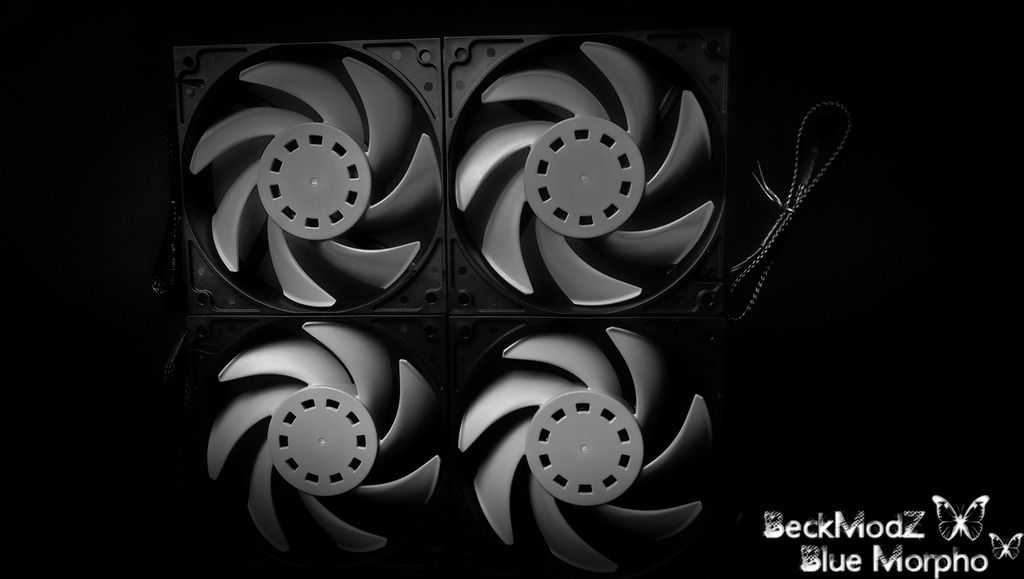
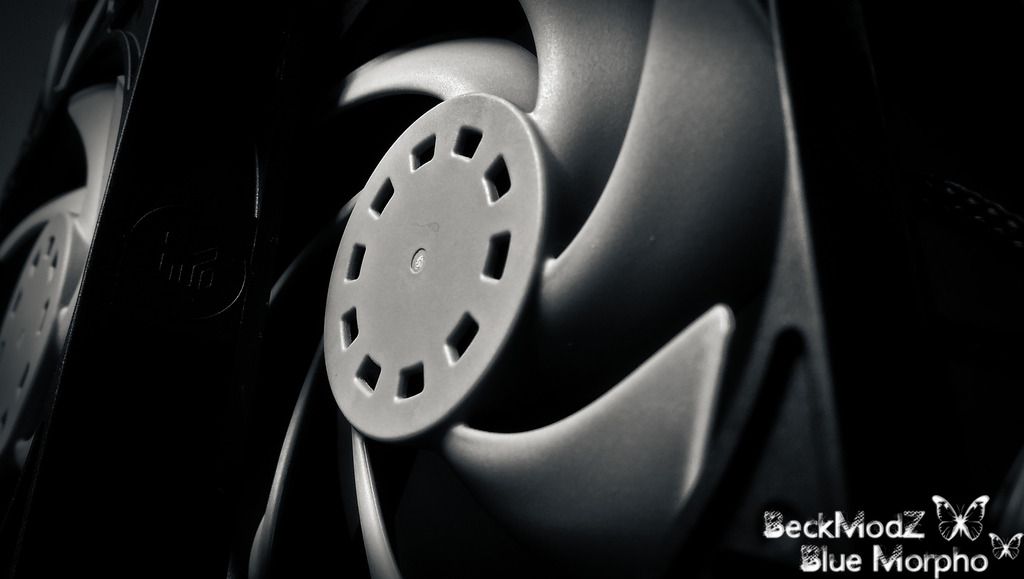
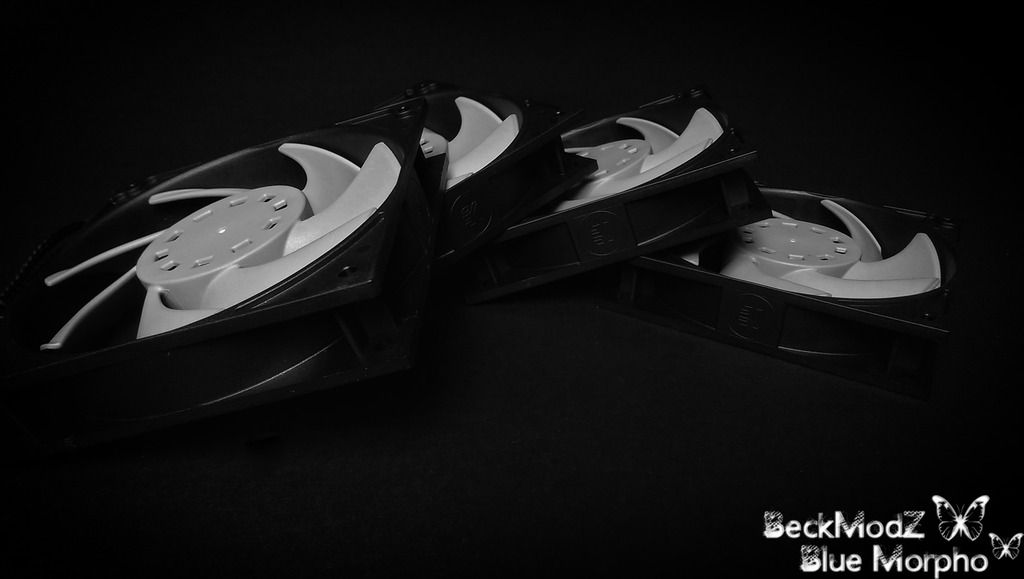
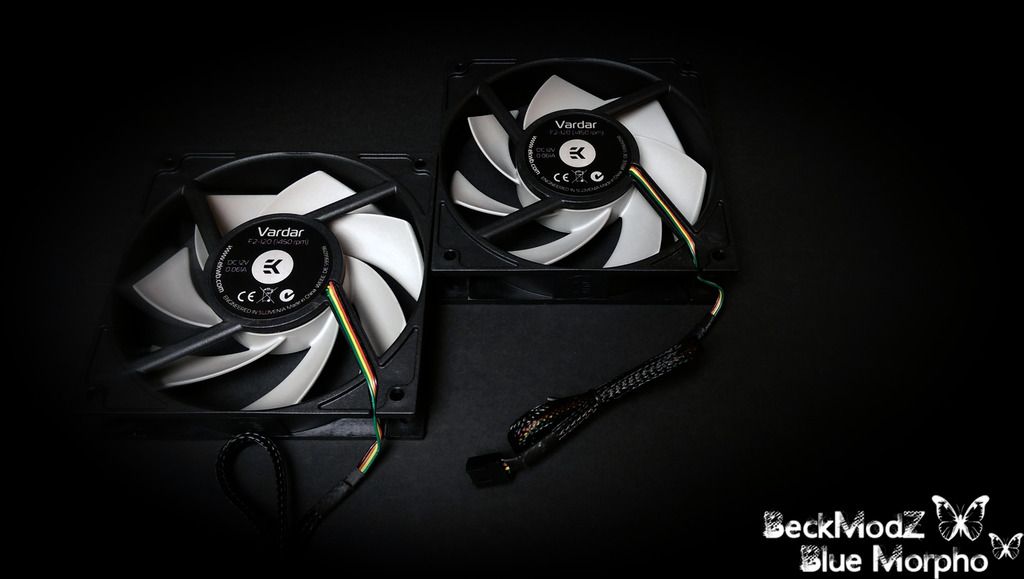
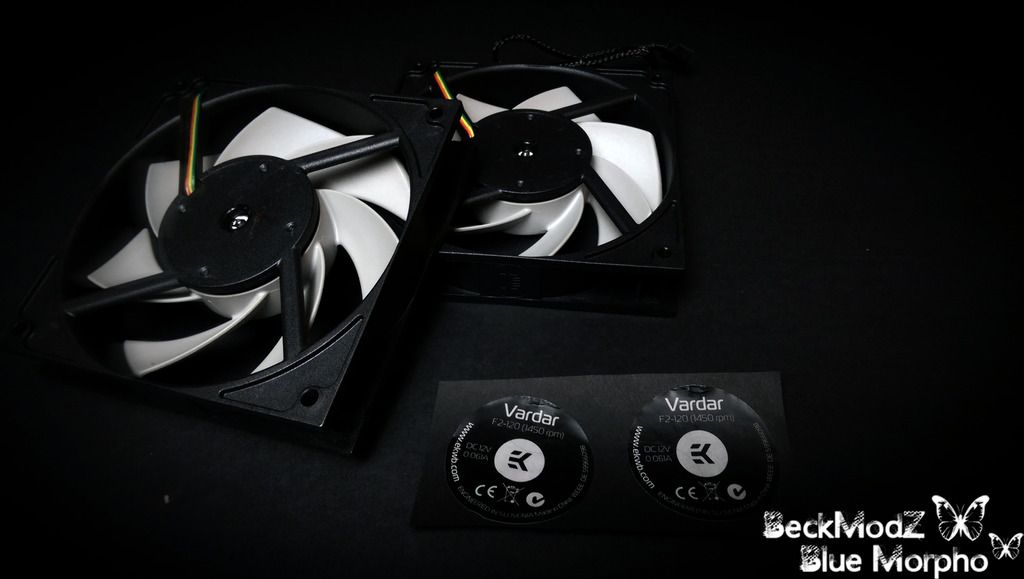
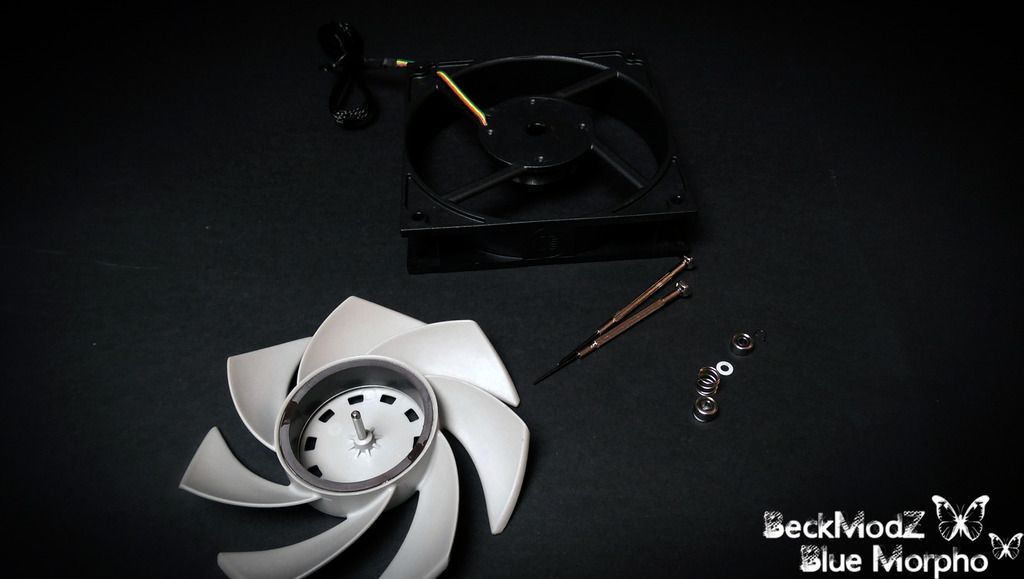
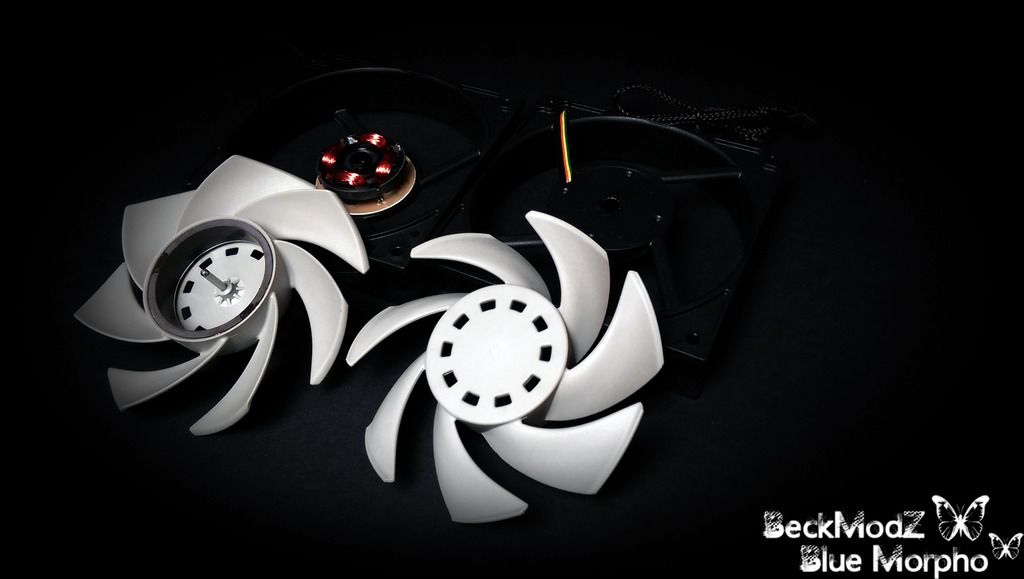
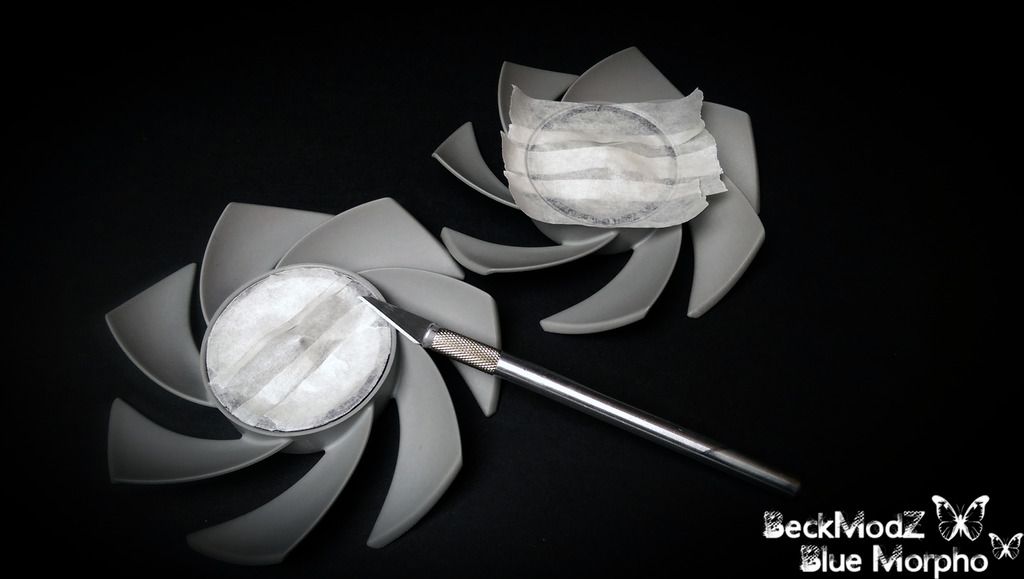
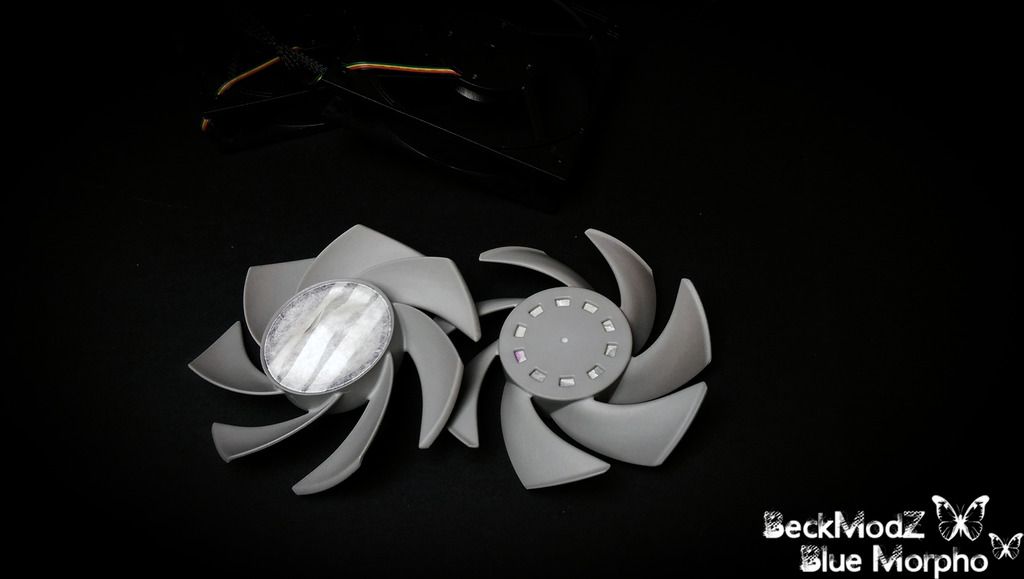
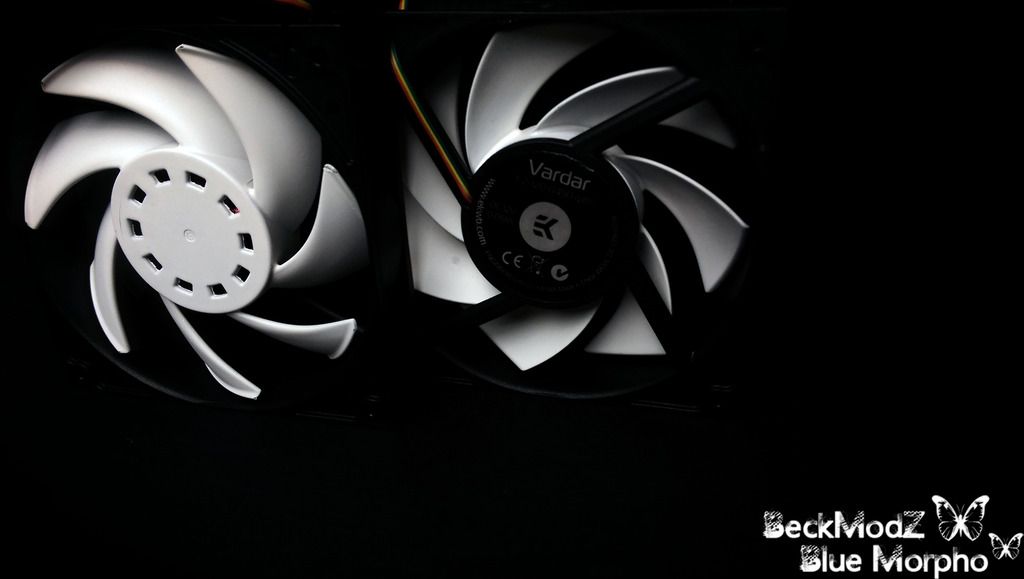
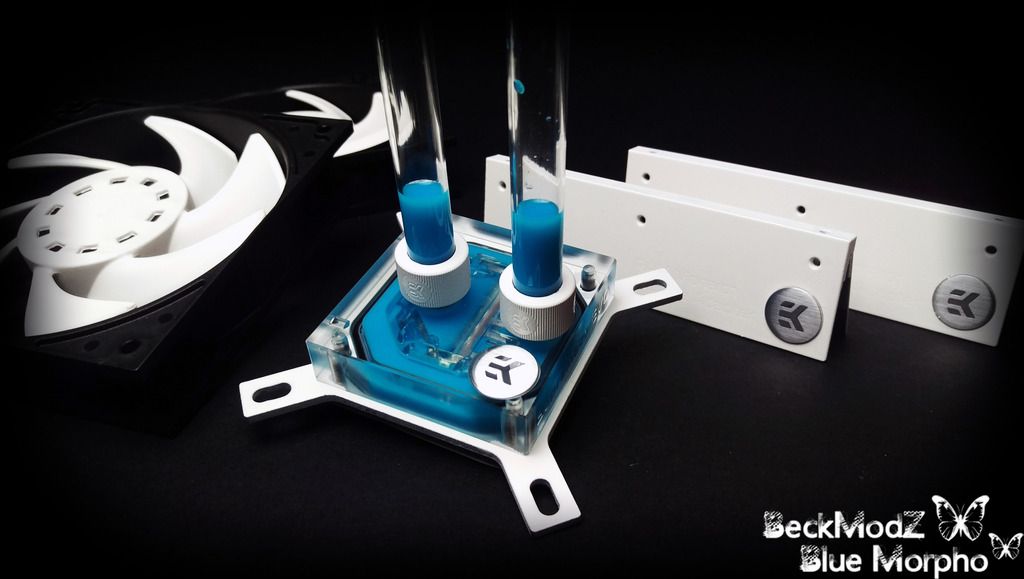
The EK Vardar Fans Before Paint
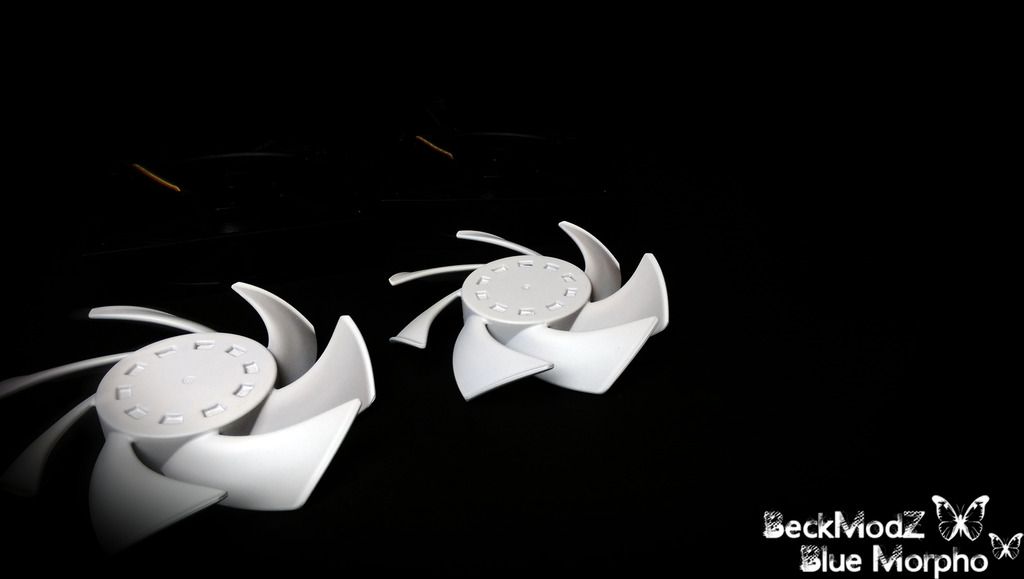
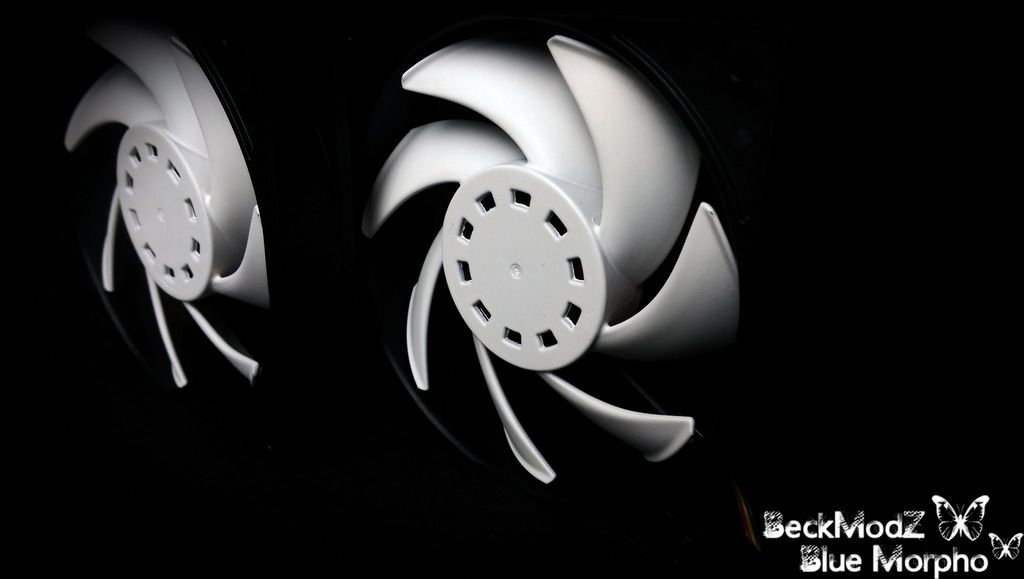
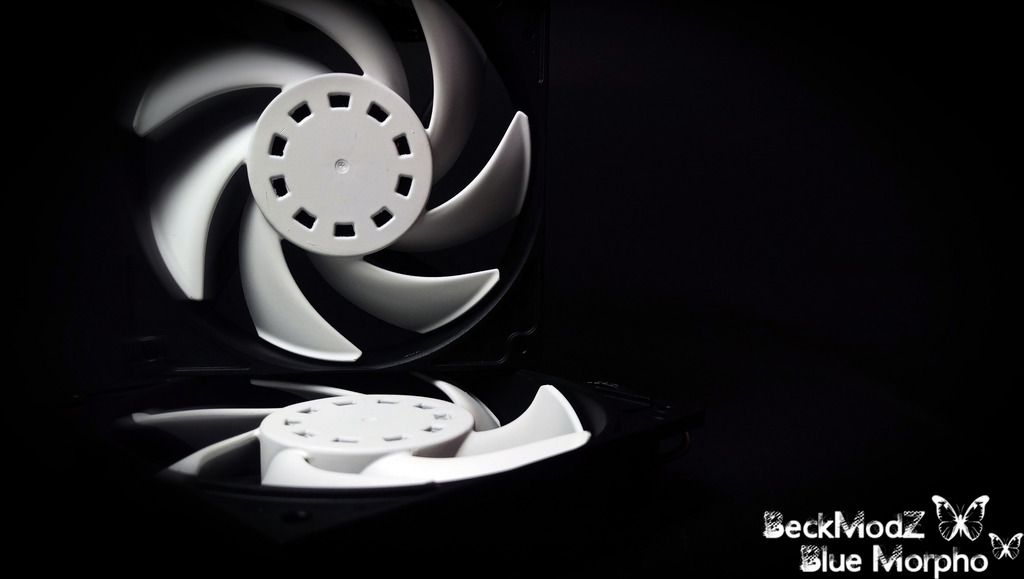
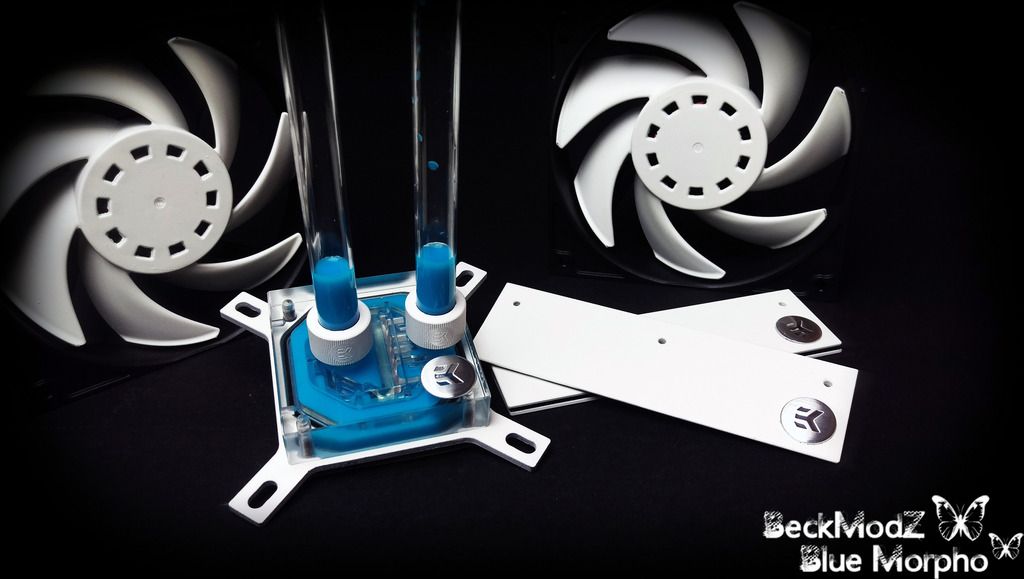
Ek Vardar Fans After Paint
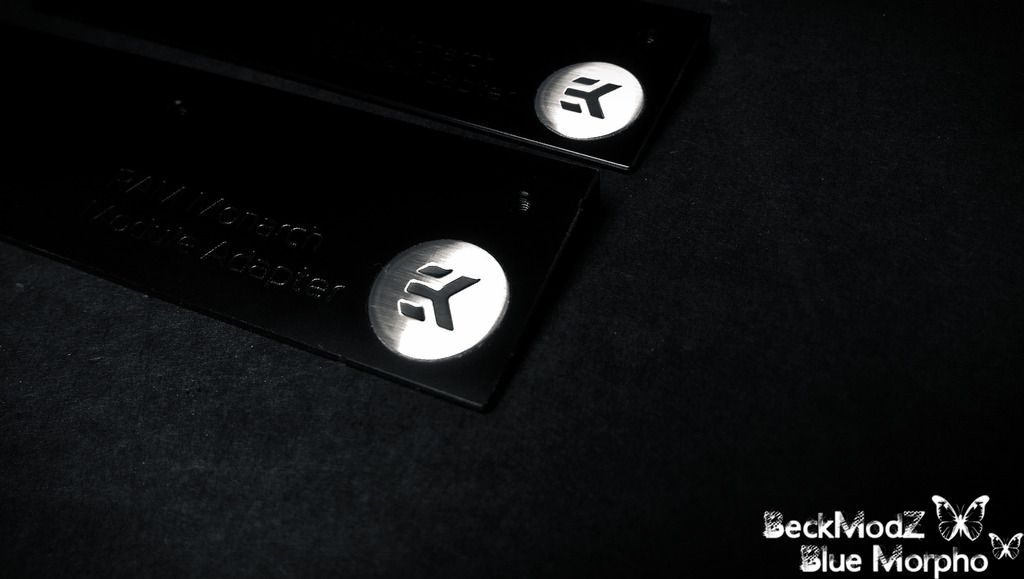
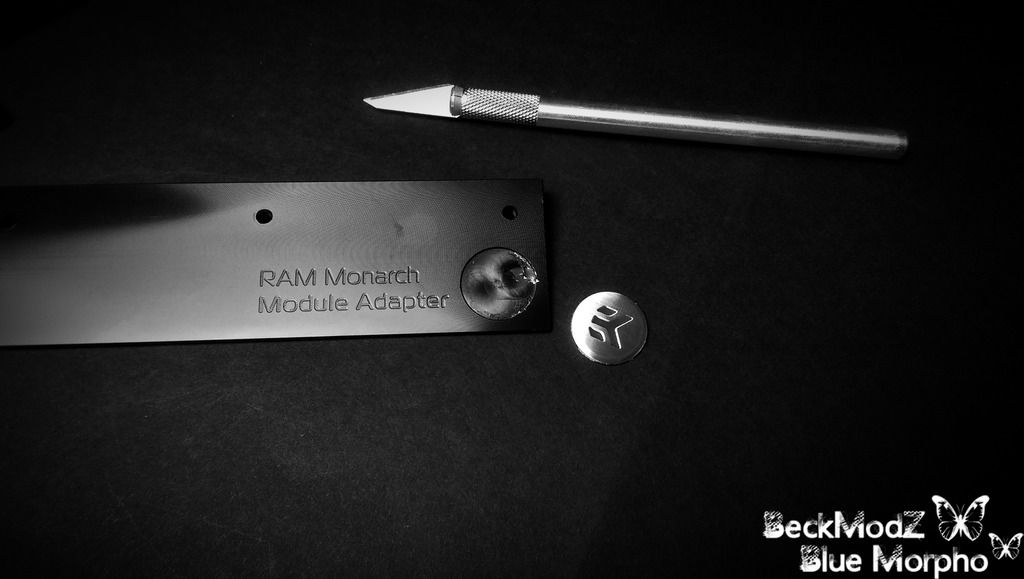
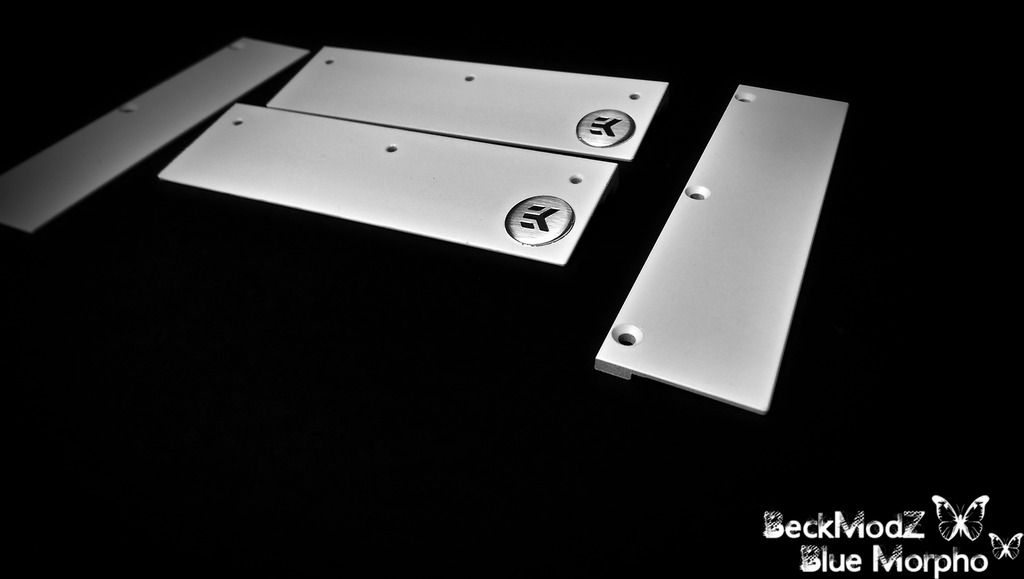
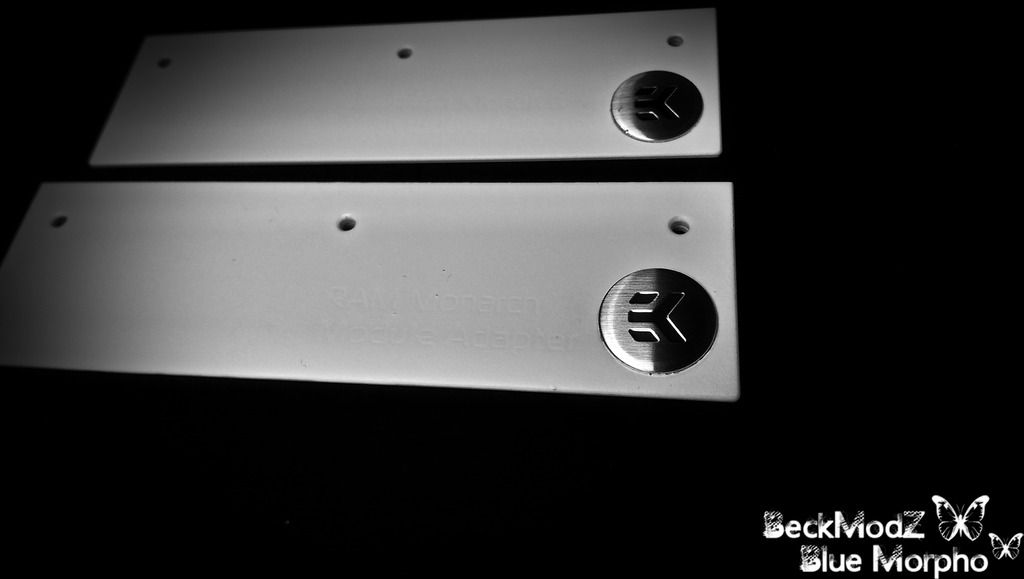
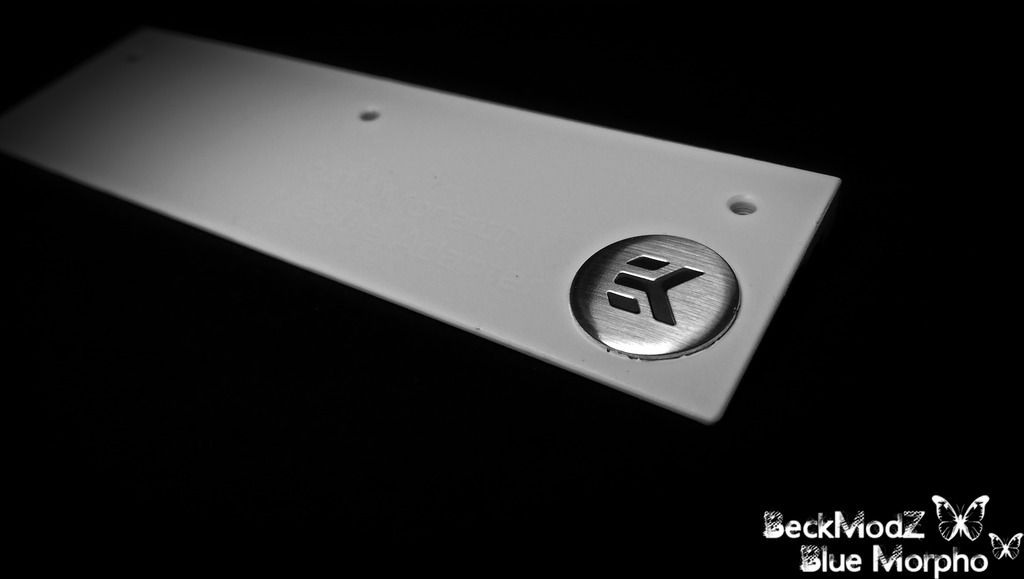
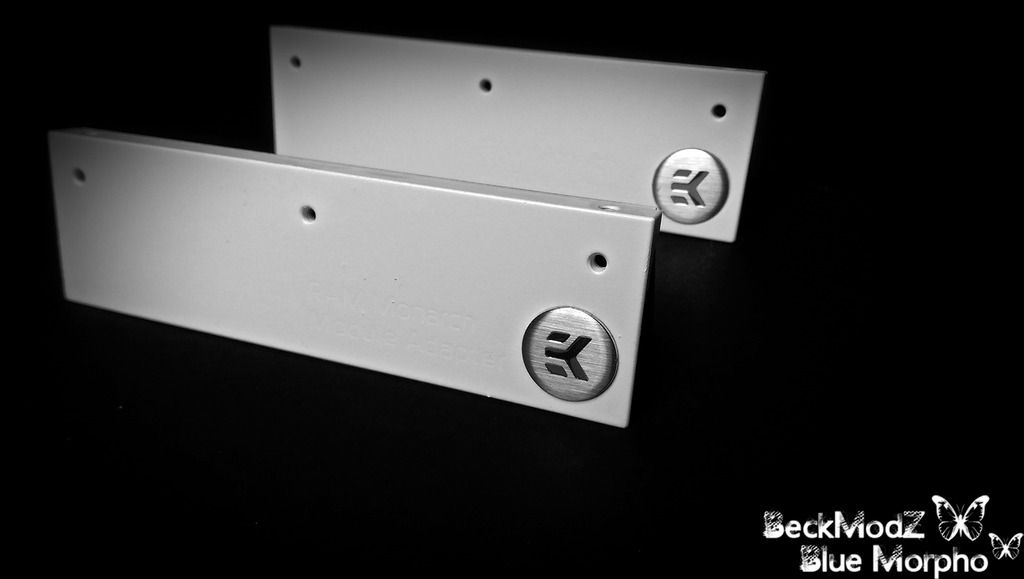
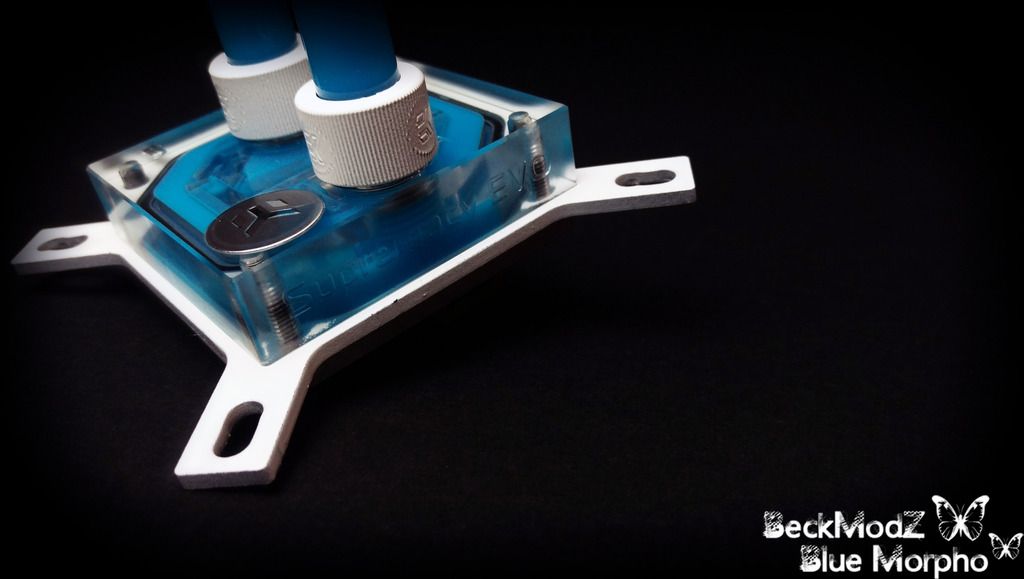
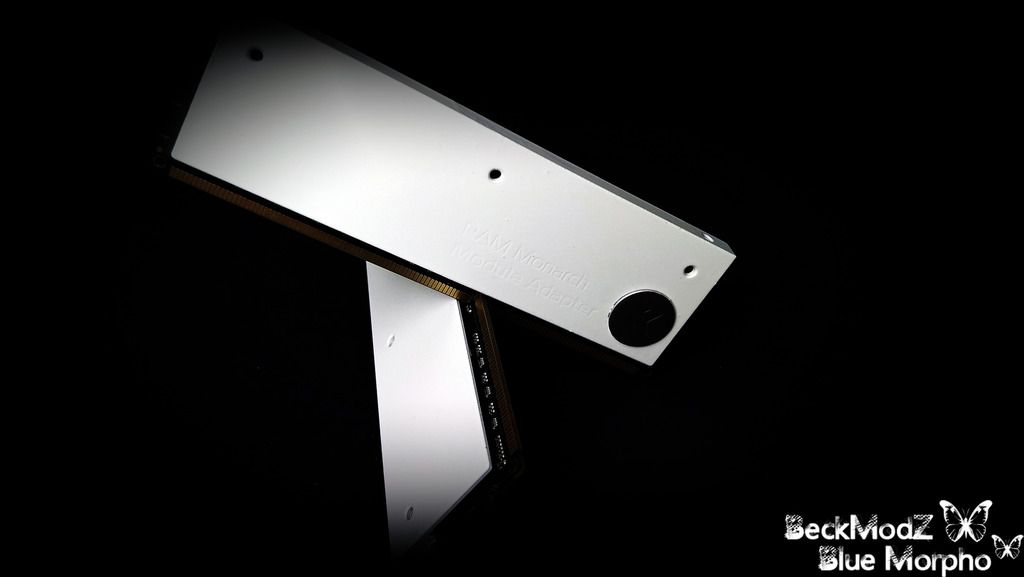
Monarch Module And EK-Supremacy Evo before and After paint
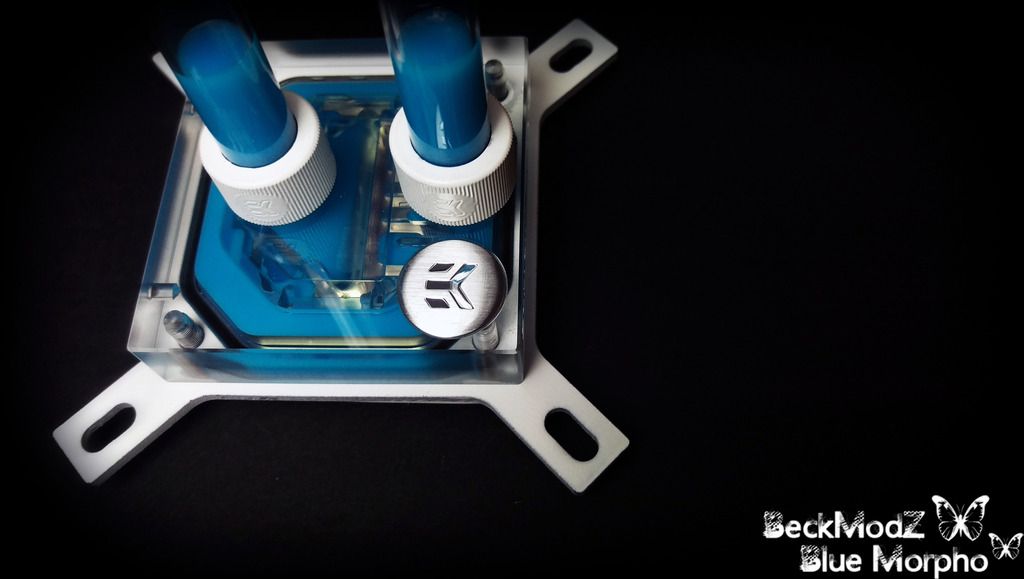
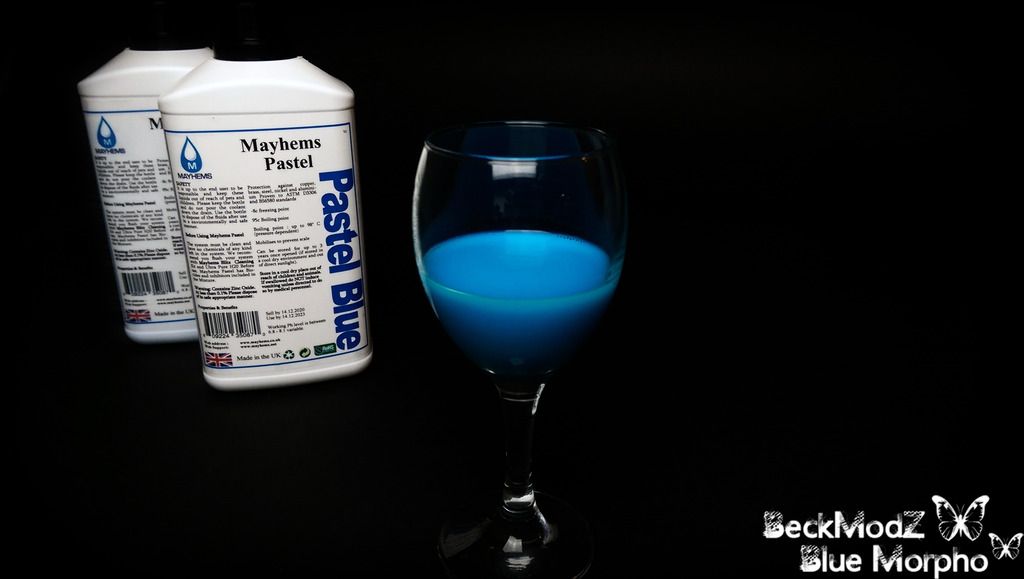
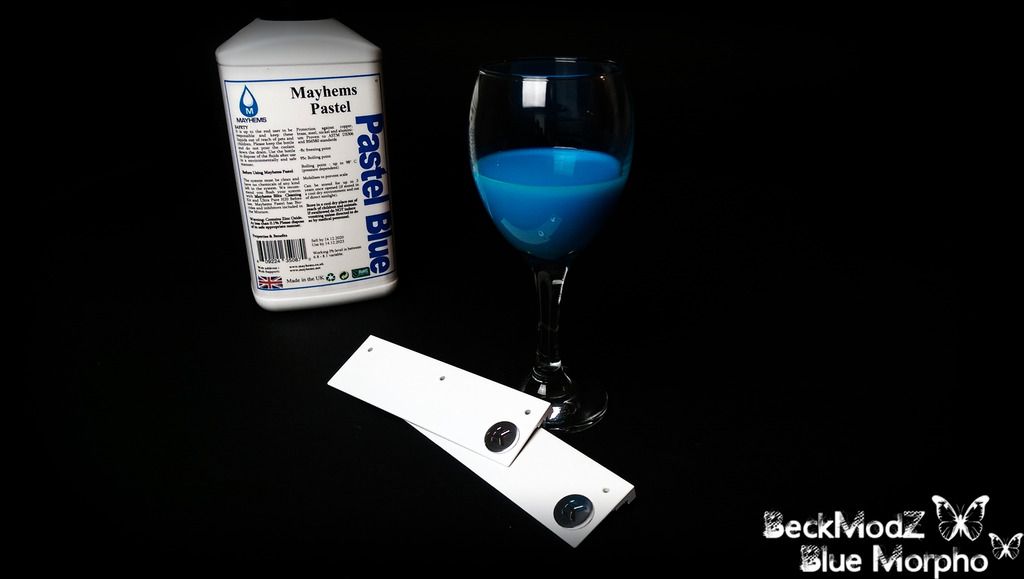
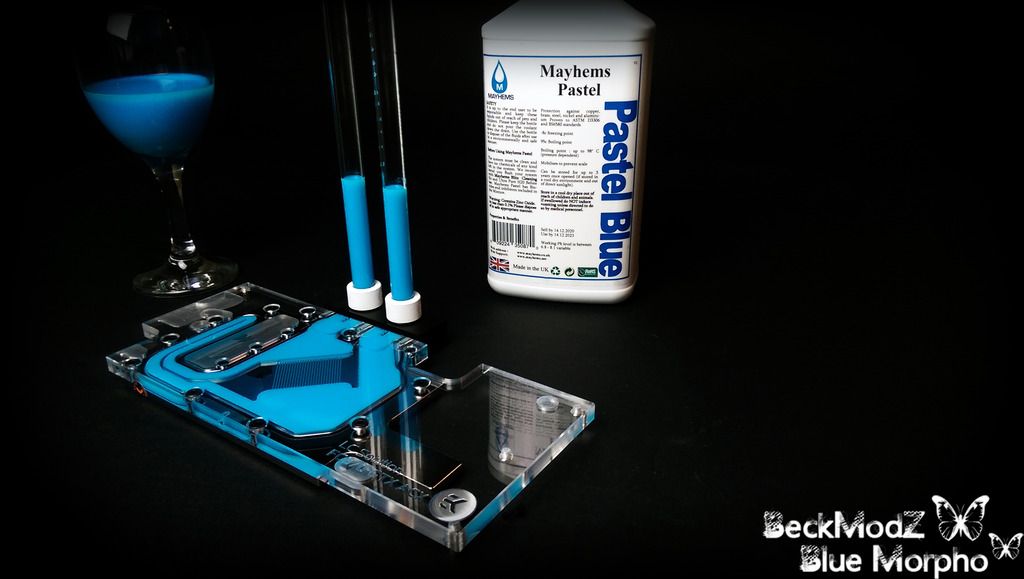
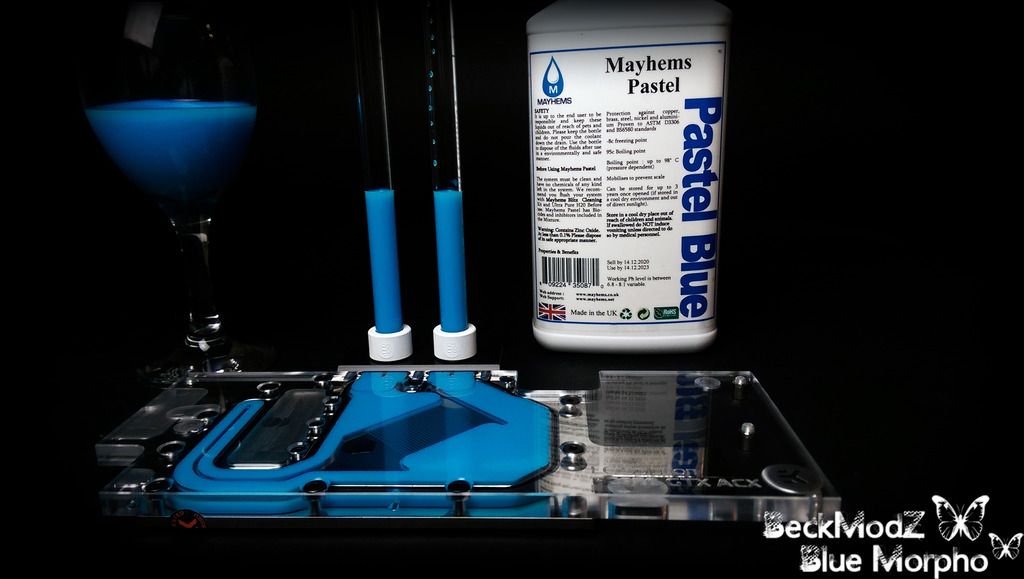
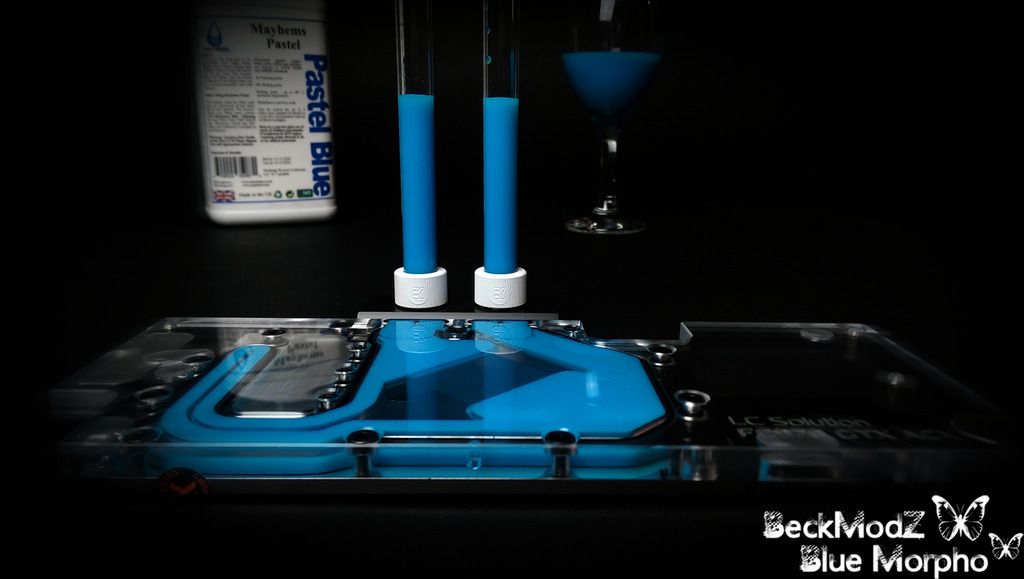
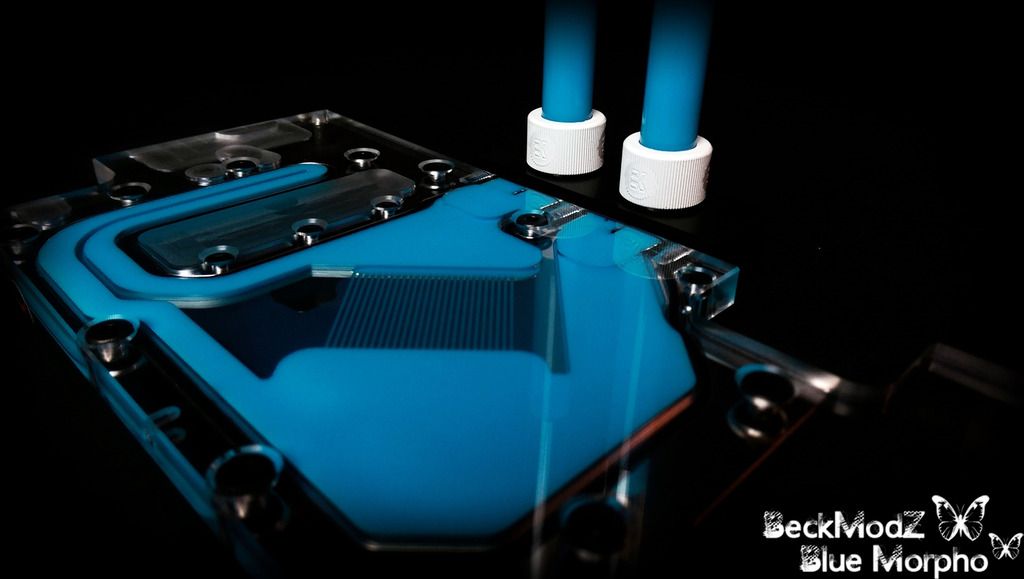
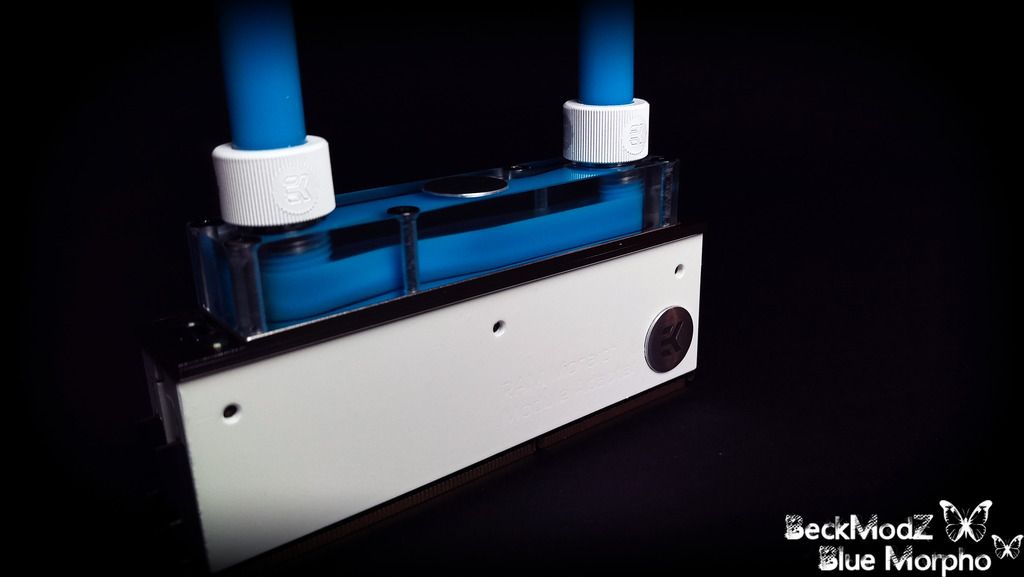
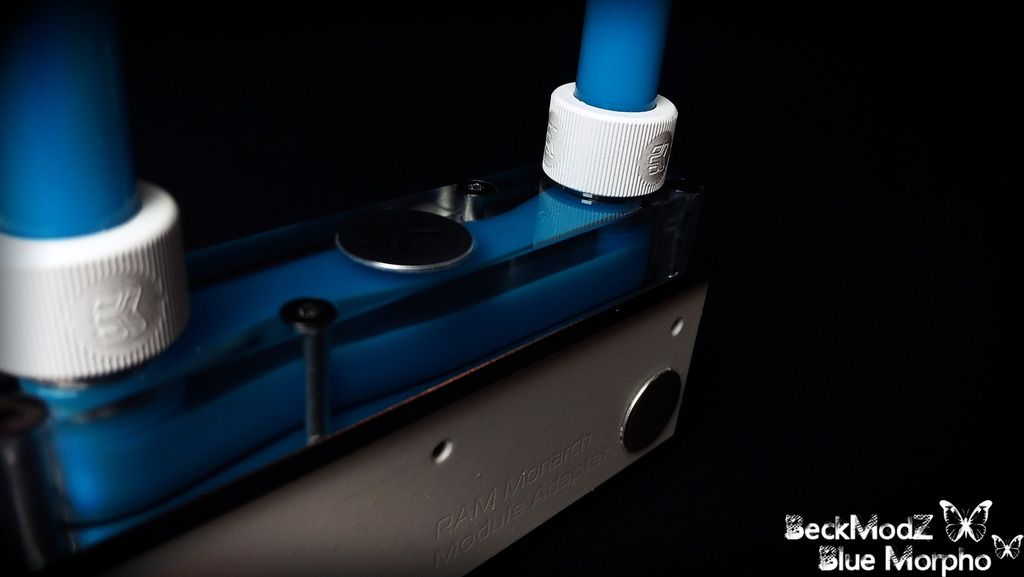
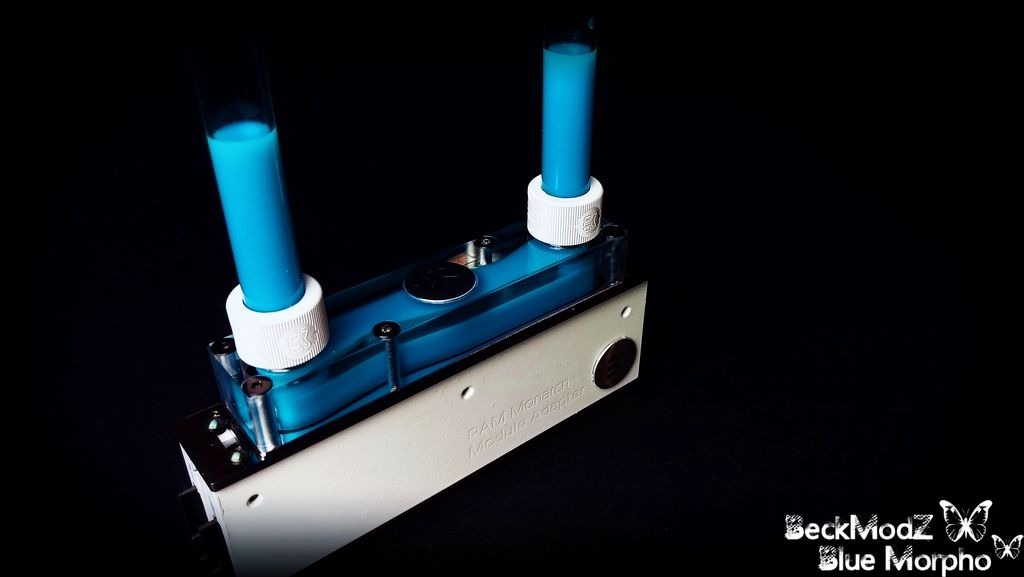
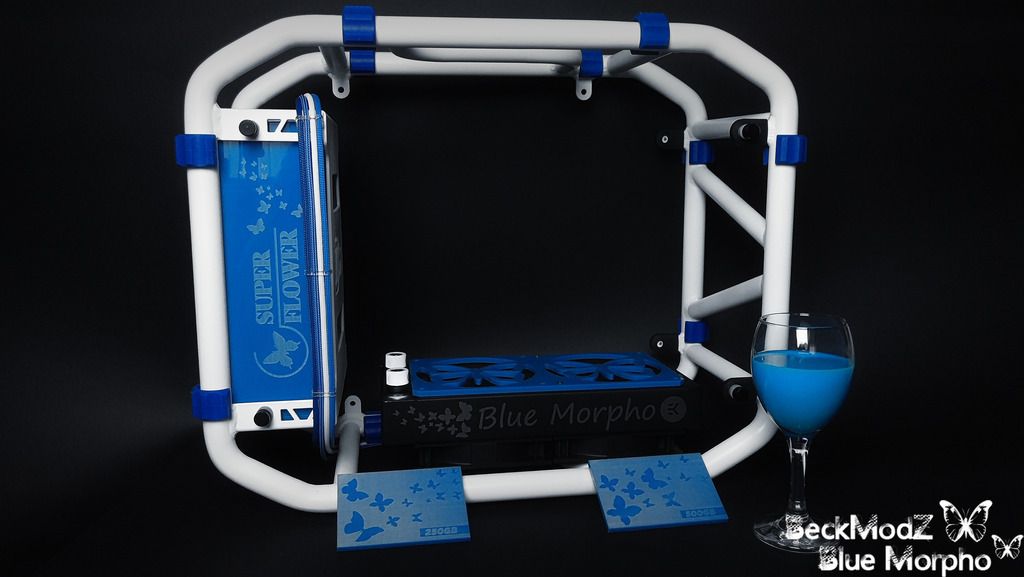
Mayhems Pastel Blue
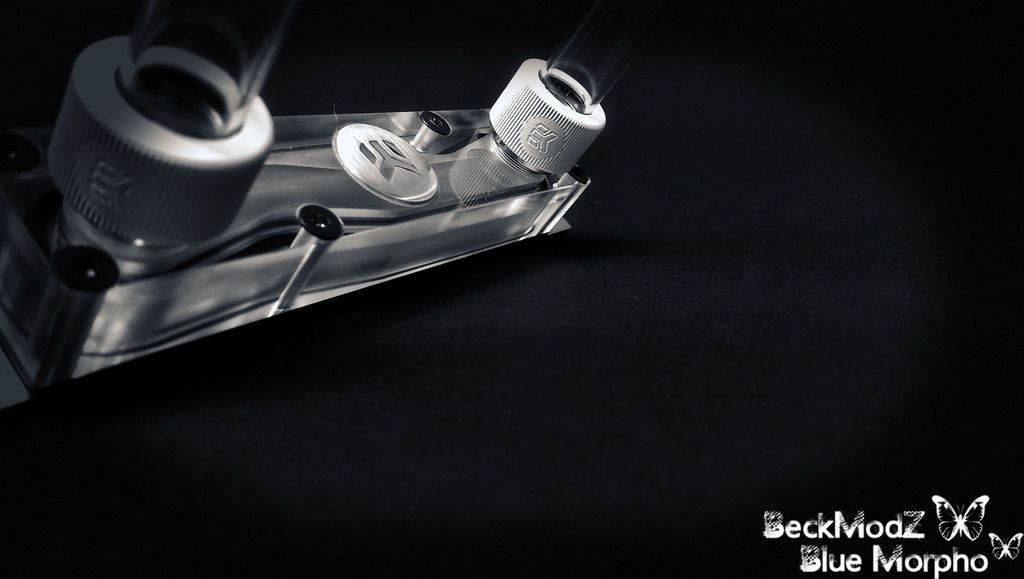
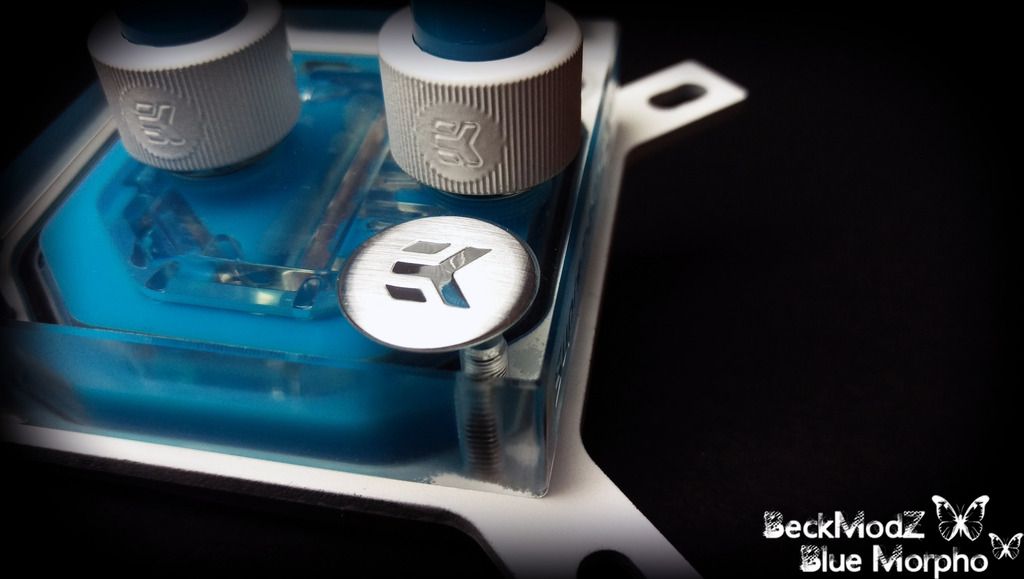
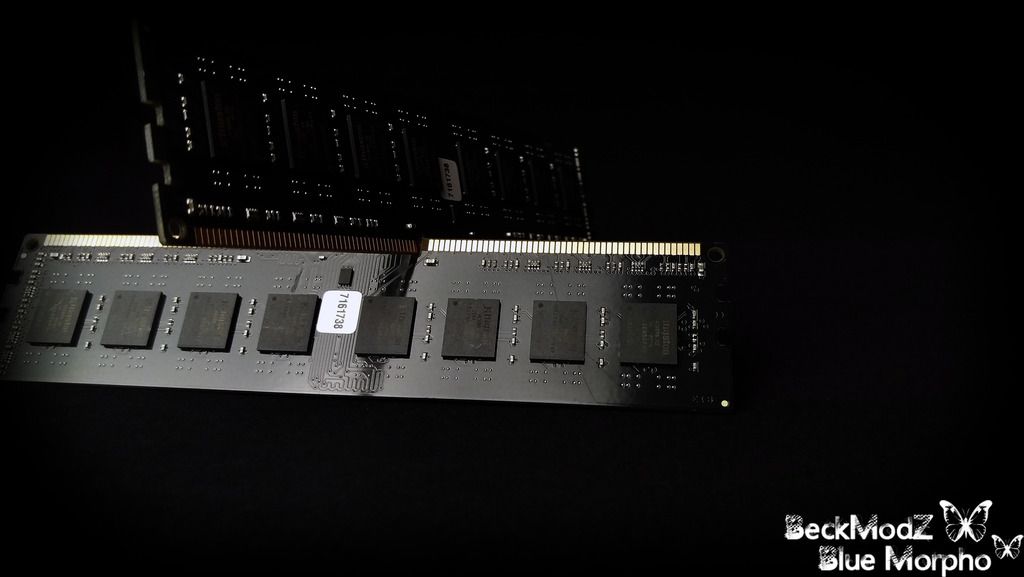
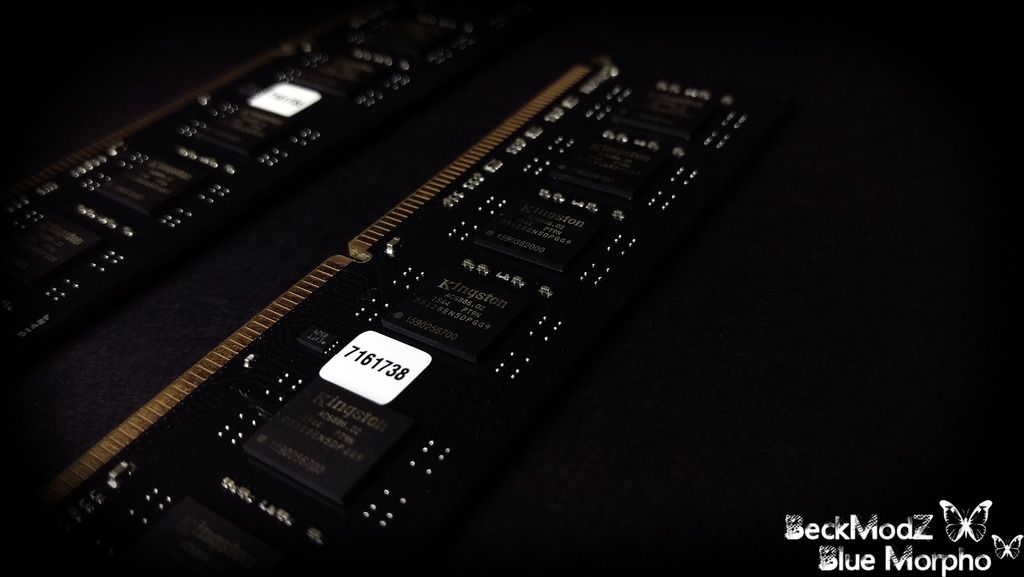
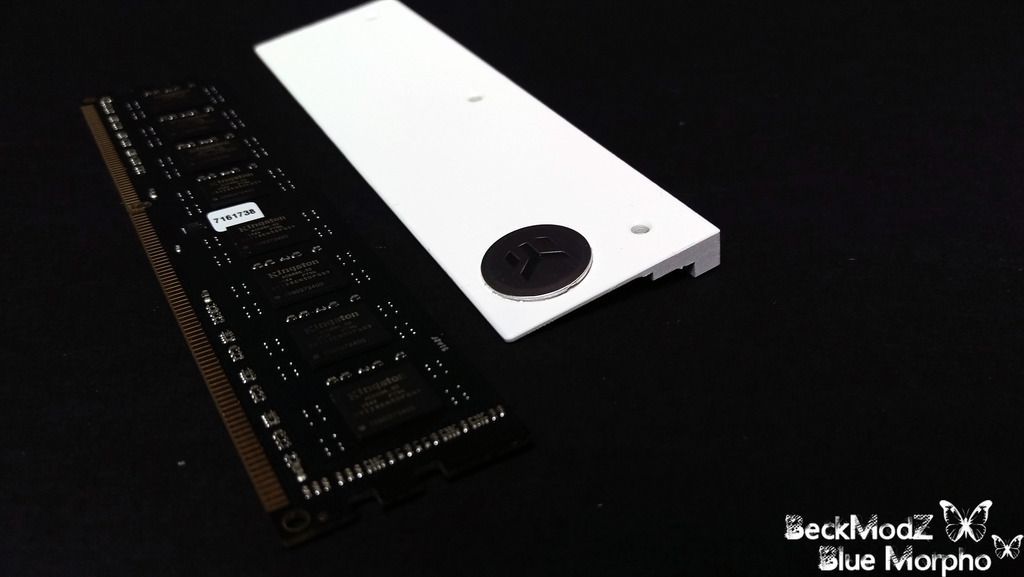
Mounting the EK-Ram modules, and the EK-Ram Monarch x2
Some Goodies On The Way
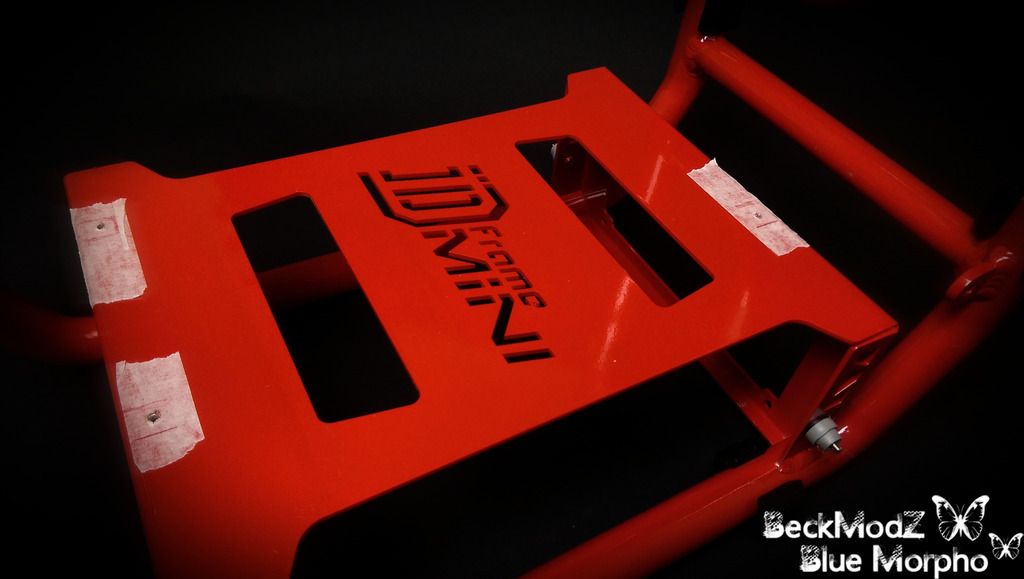
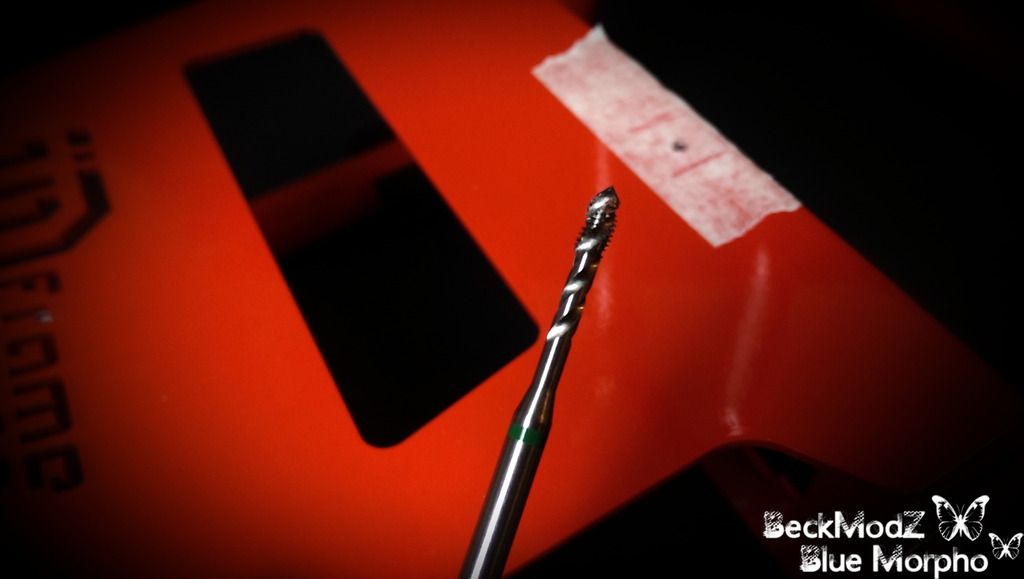
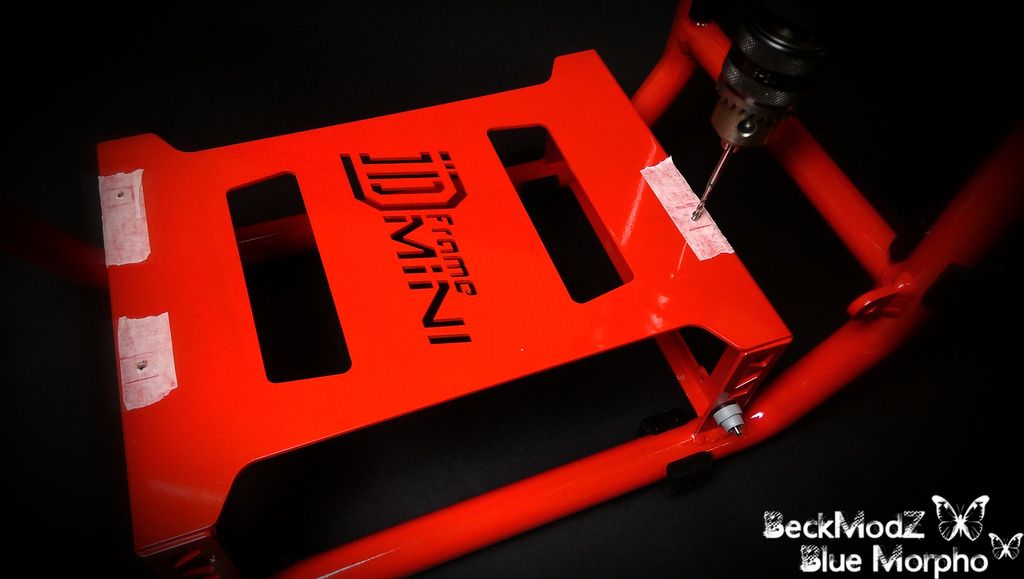
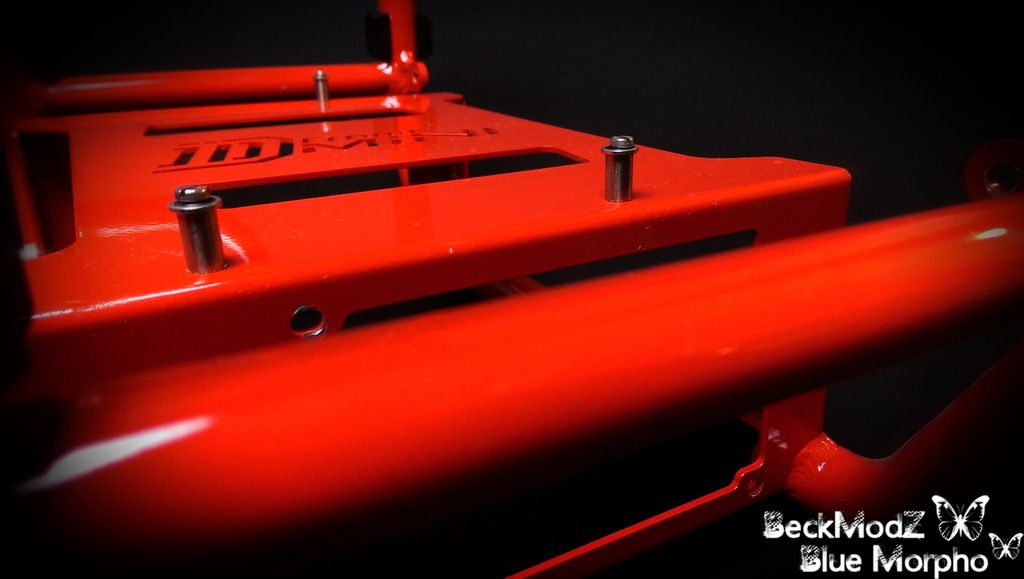
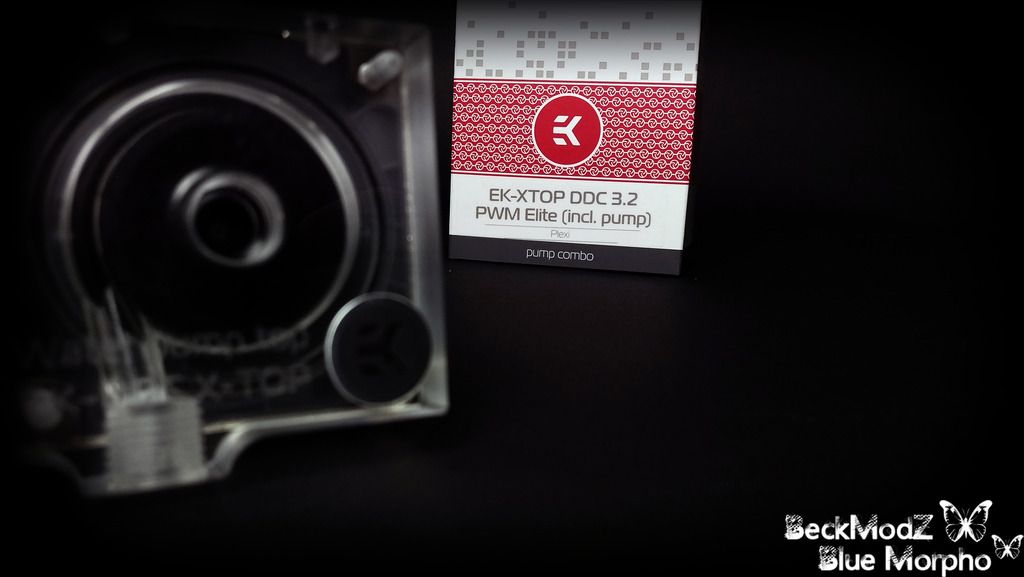
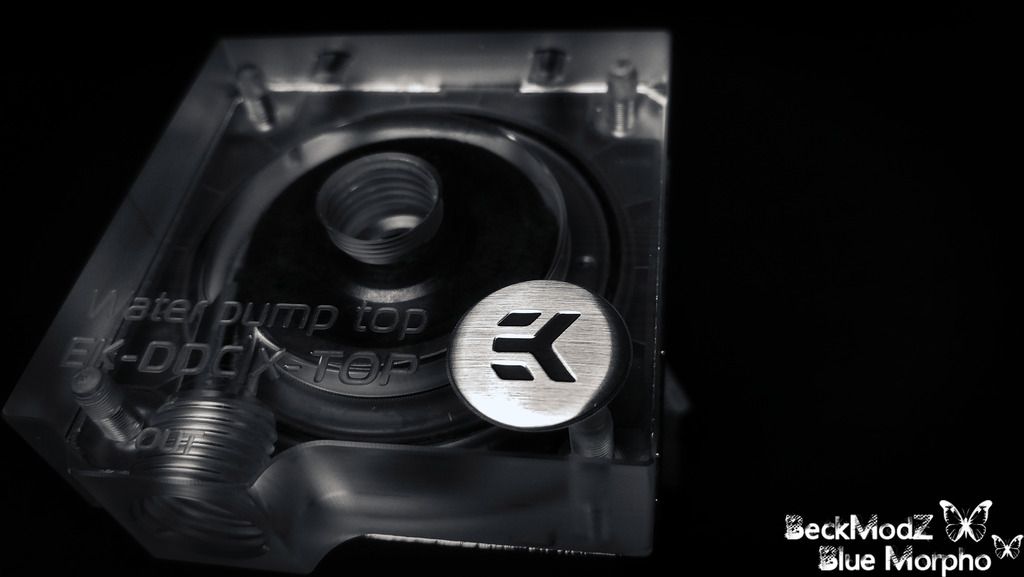
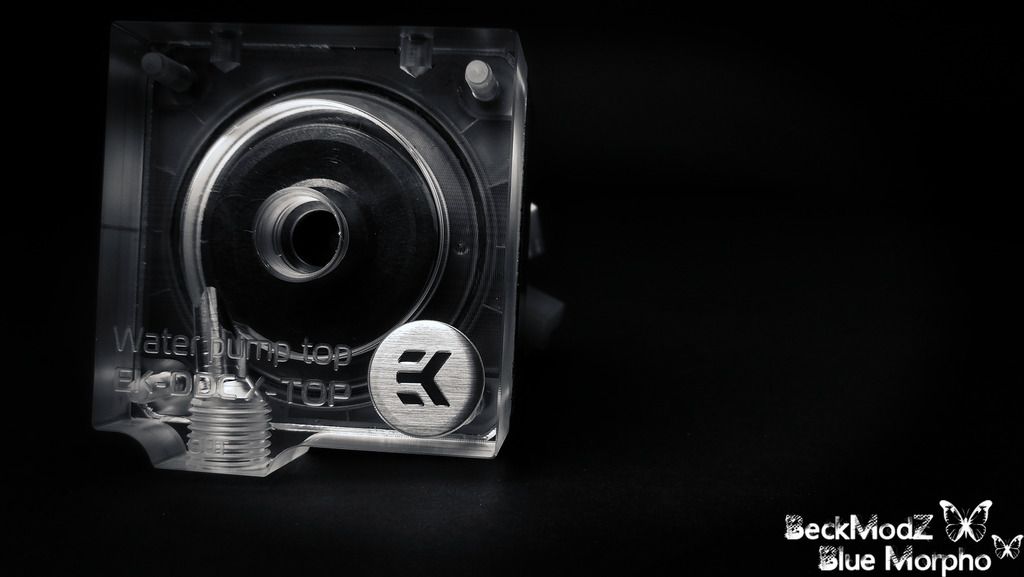
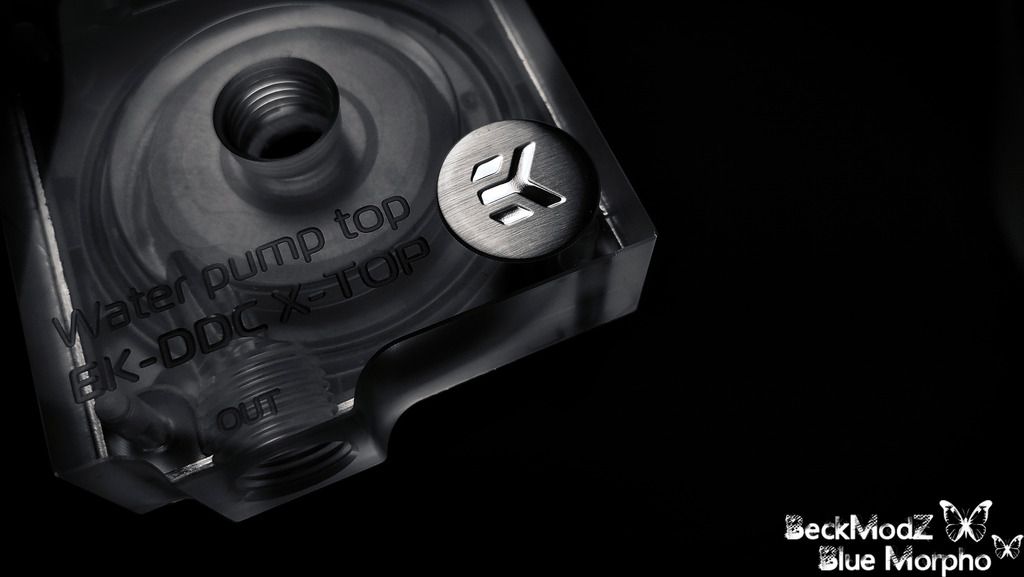
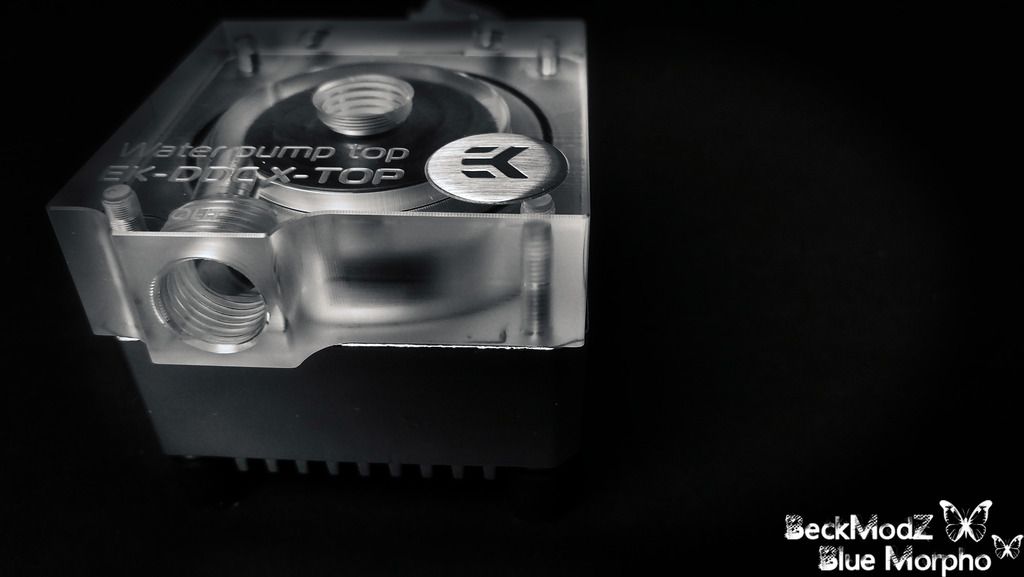
The DDC Pump, And New Footstands From In Win
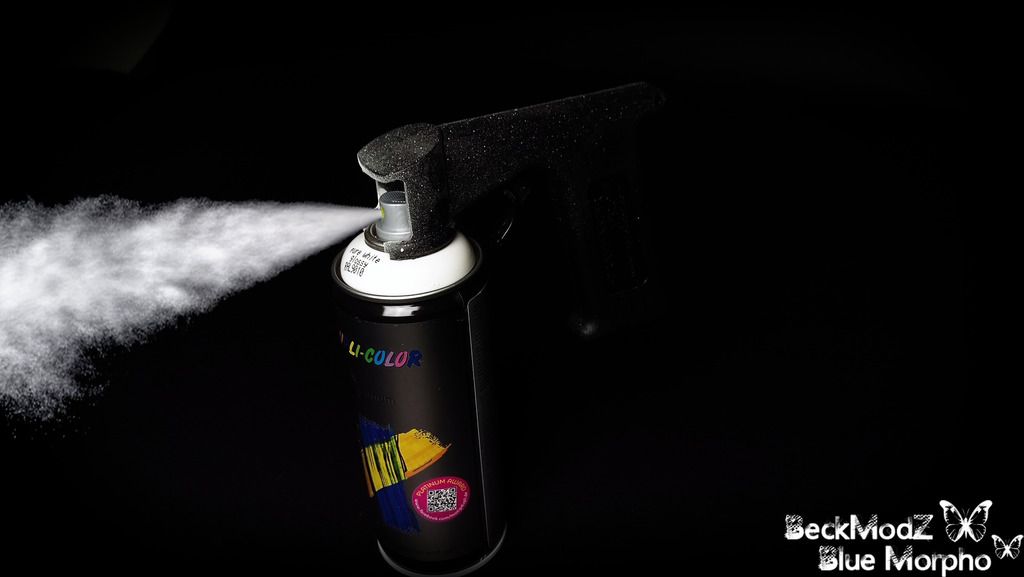
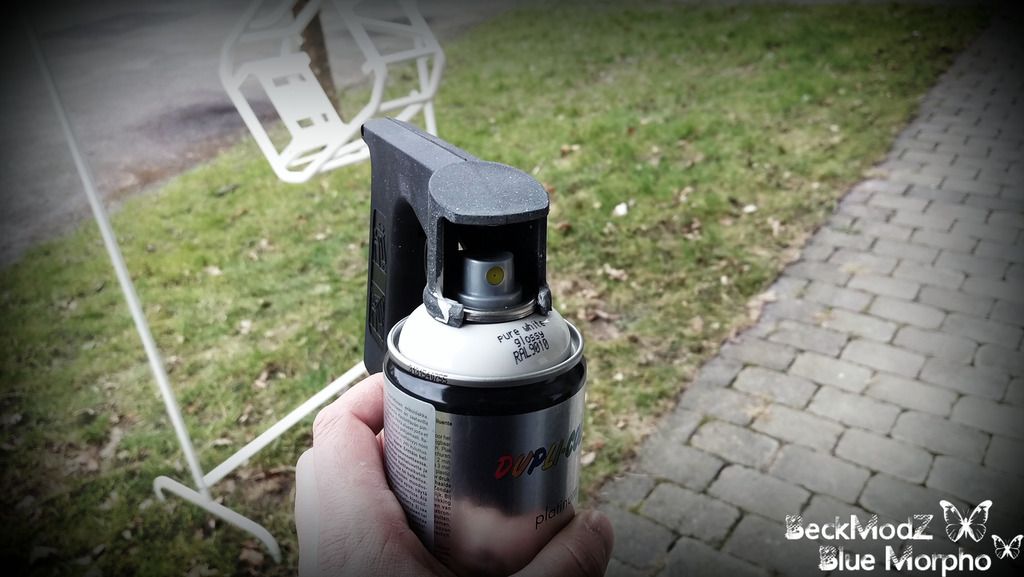
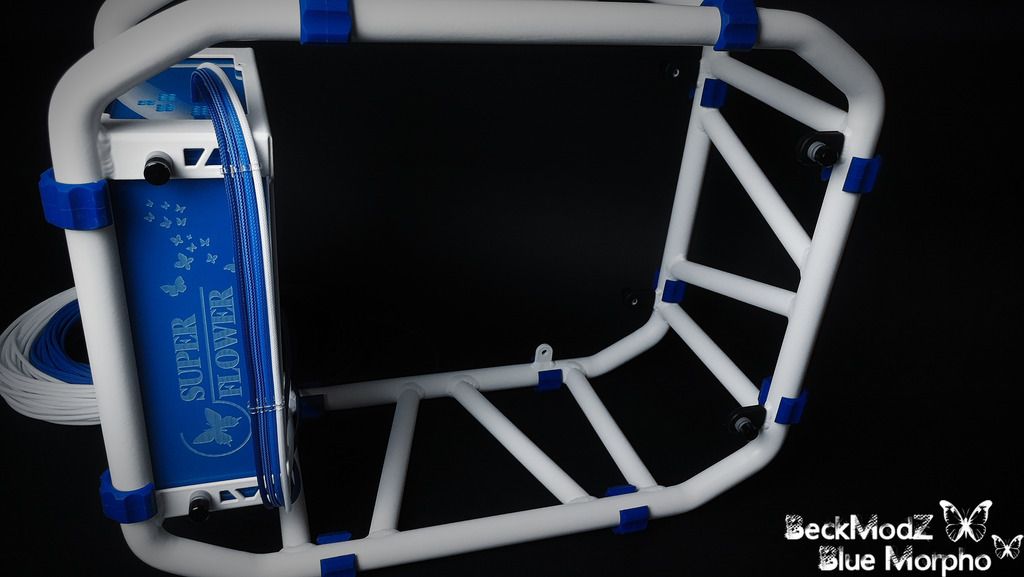
Painting The IN WIN D-Frame Mini
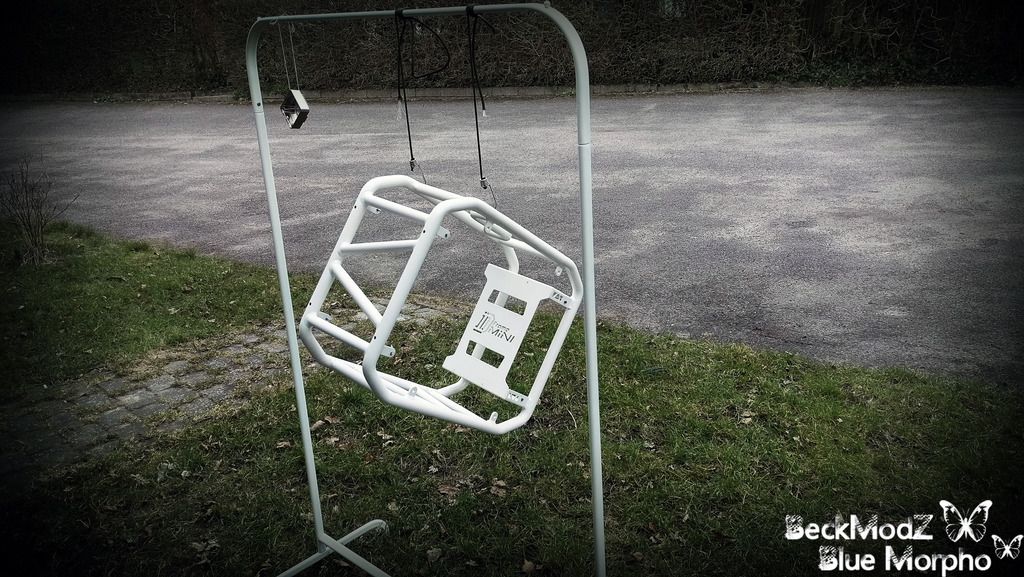
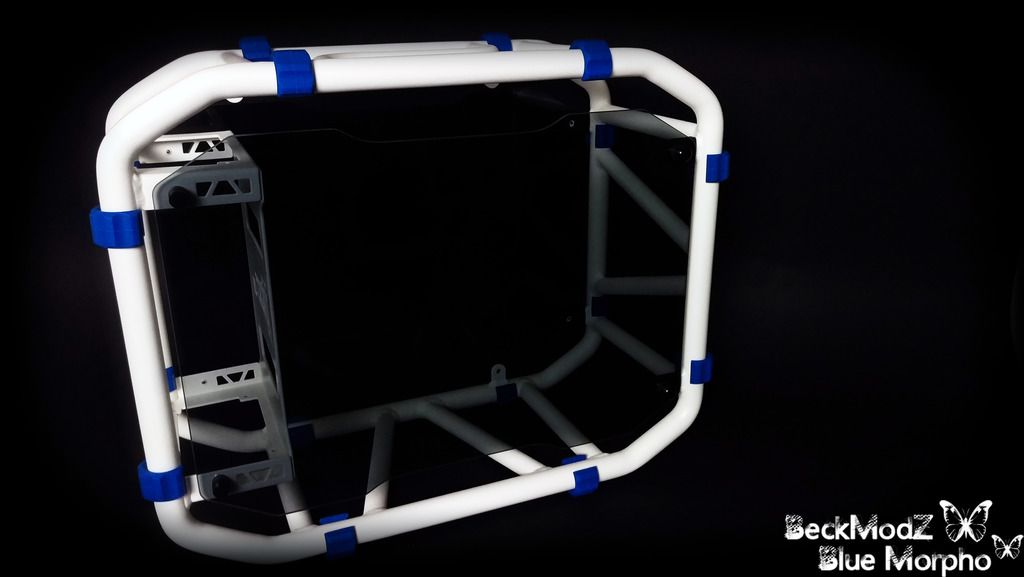
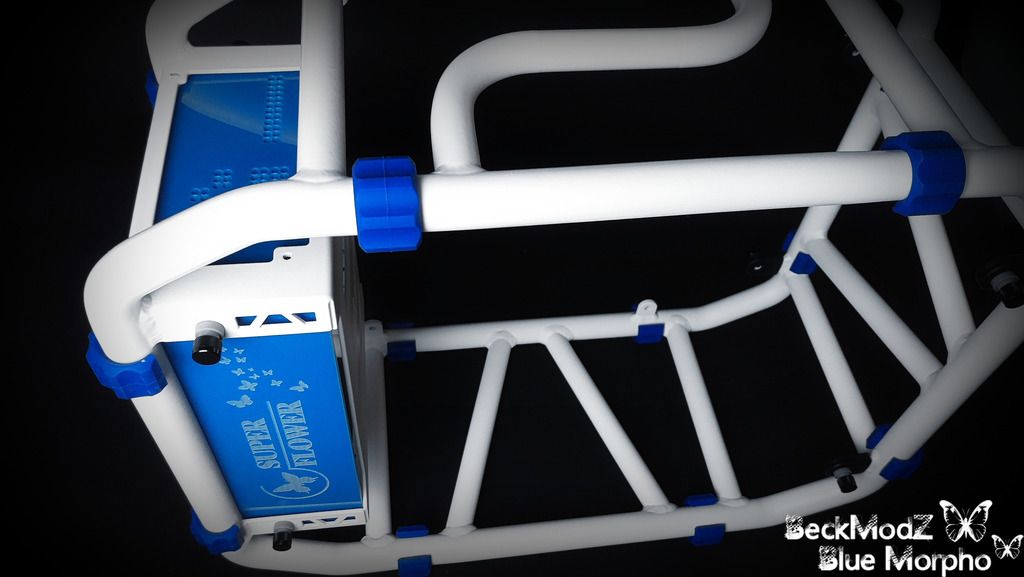
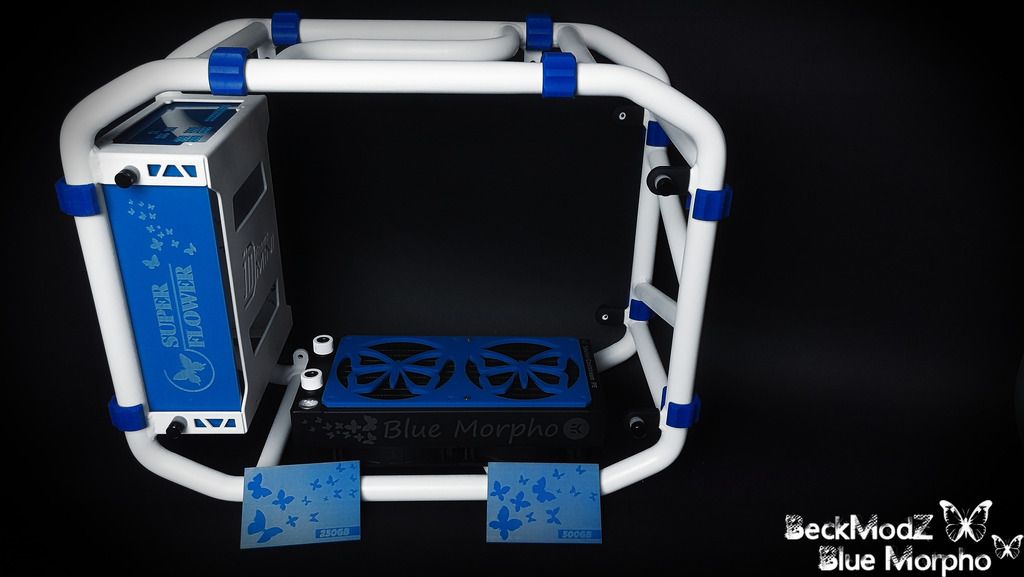
IN WIN D-Frame Mini After Paint
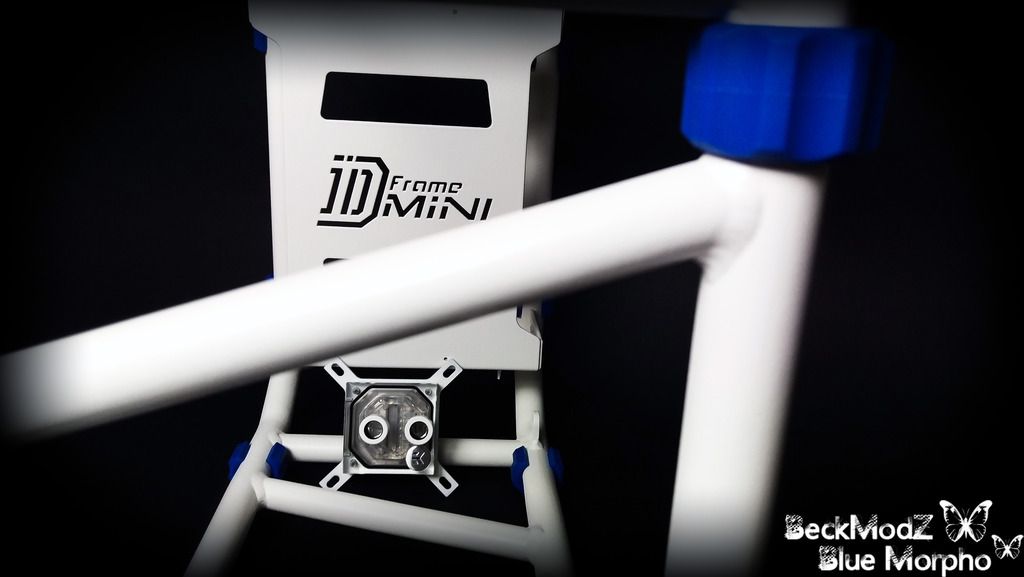
Gpu Mount Test, with Waterblock
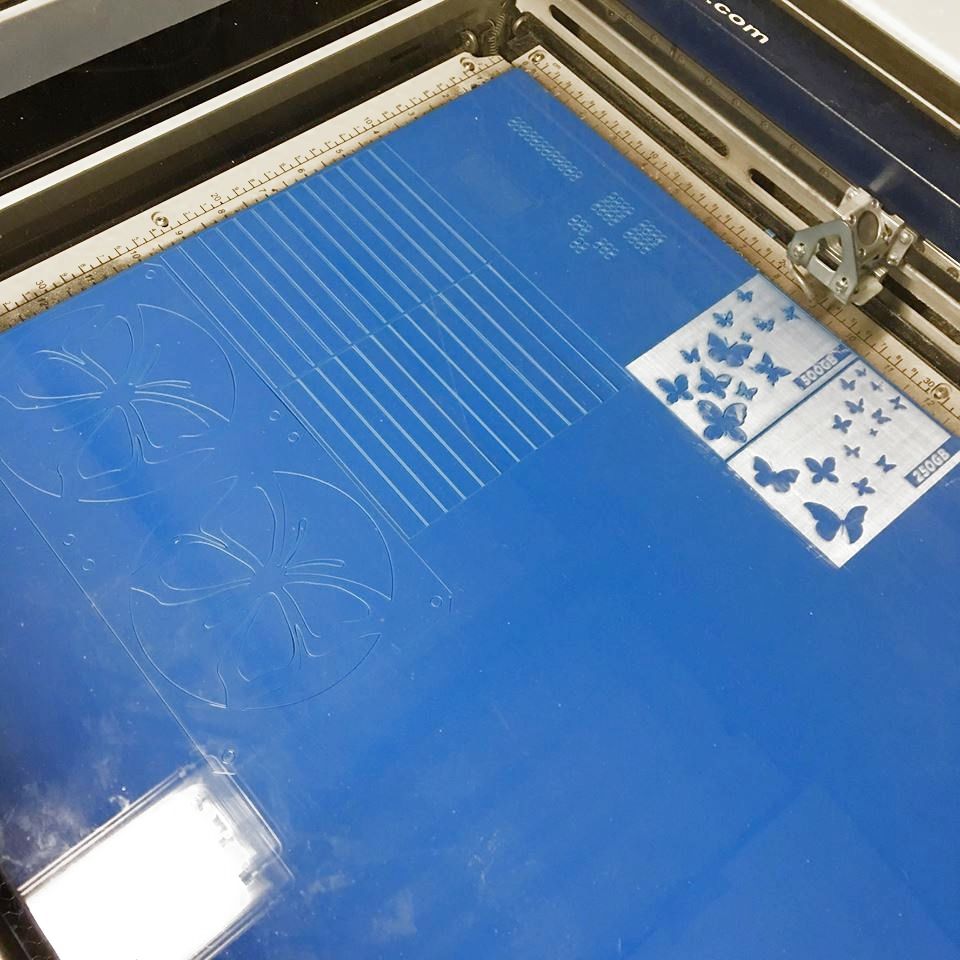
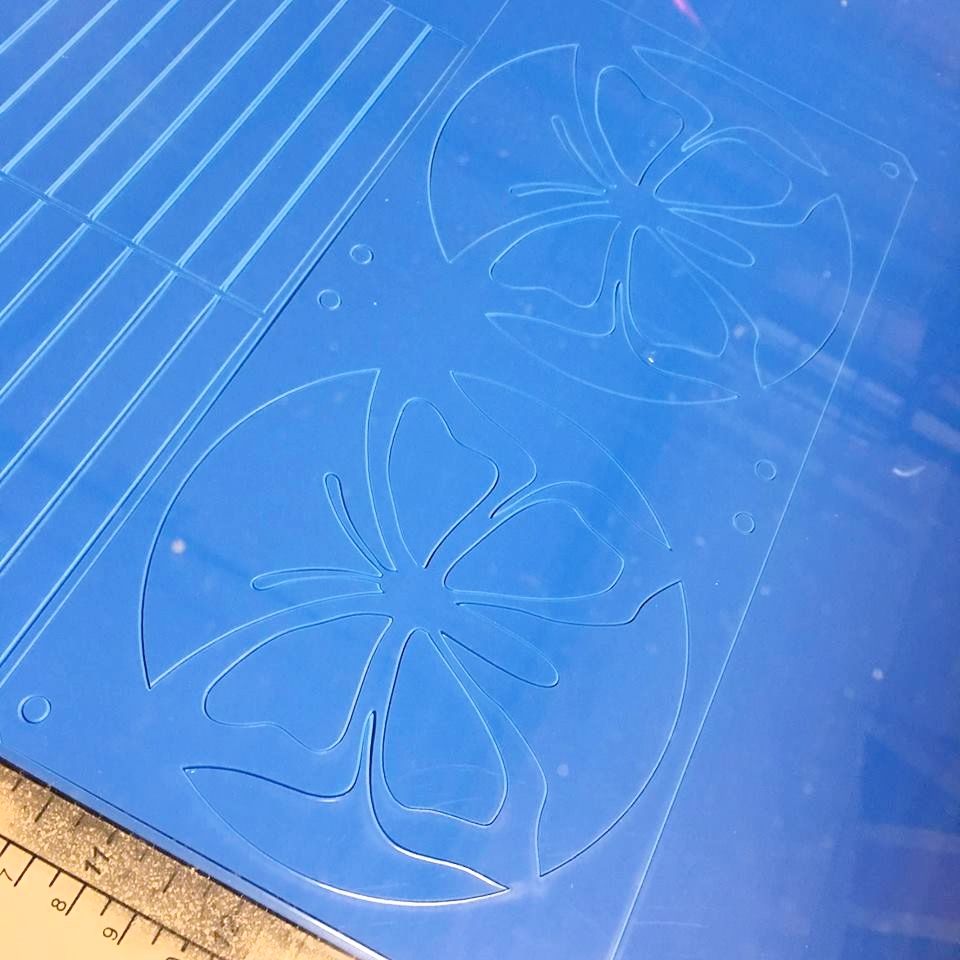
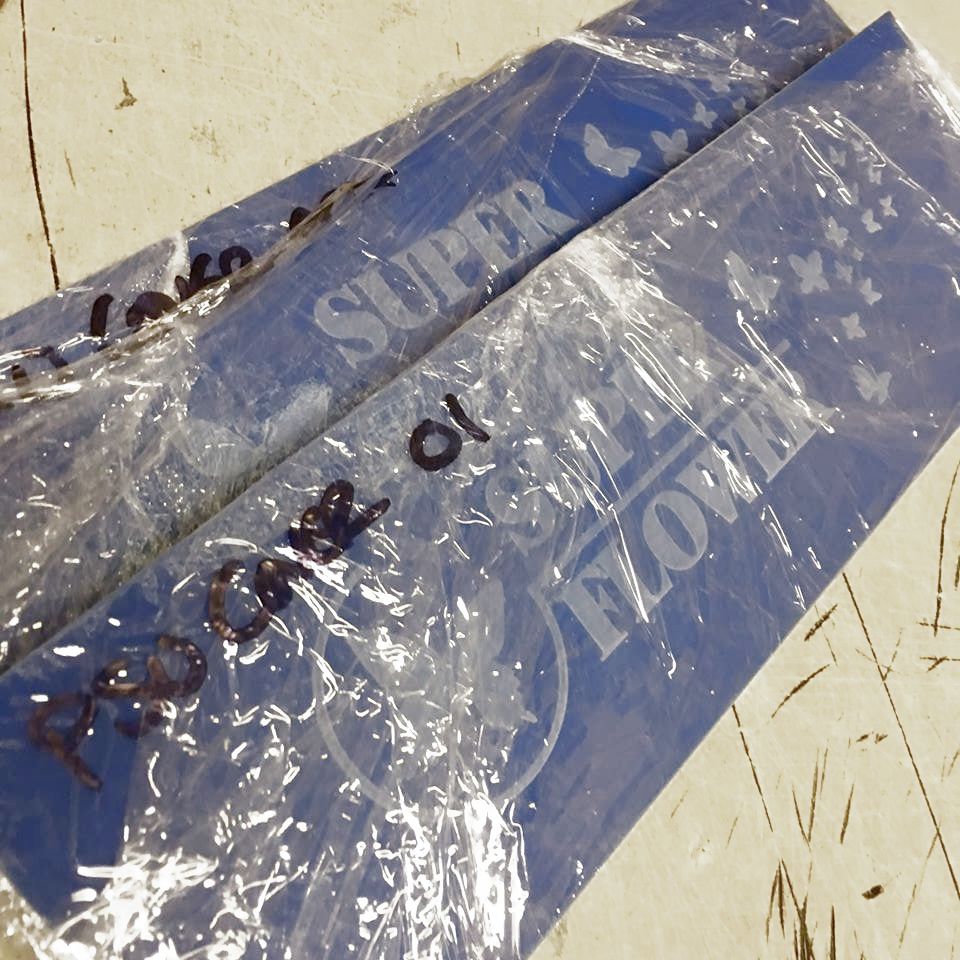
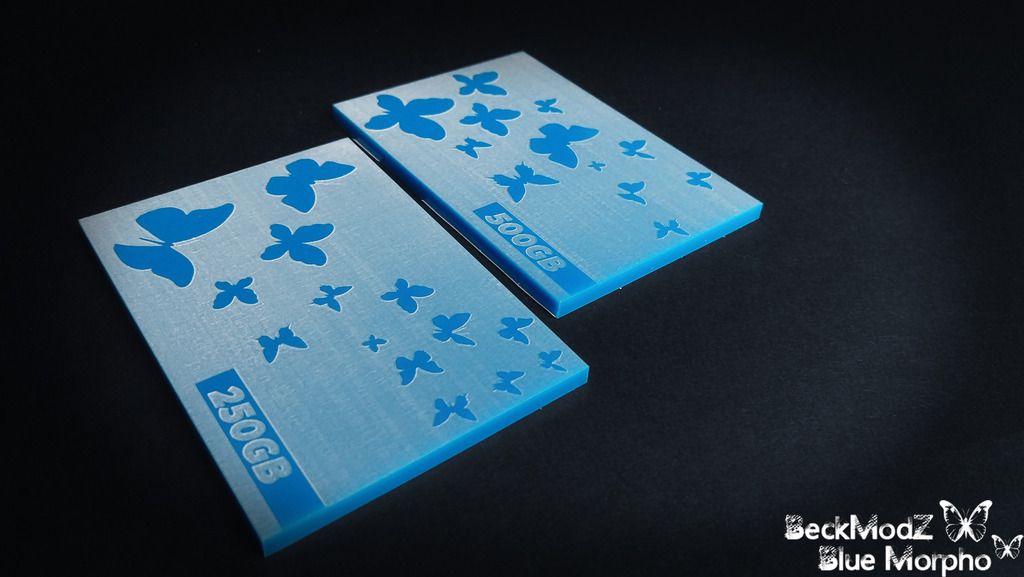
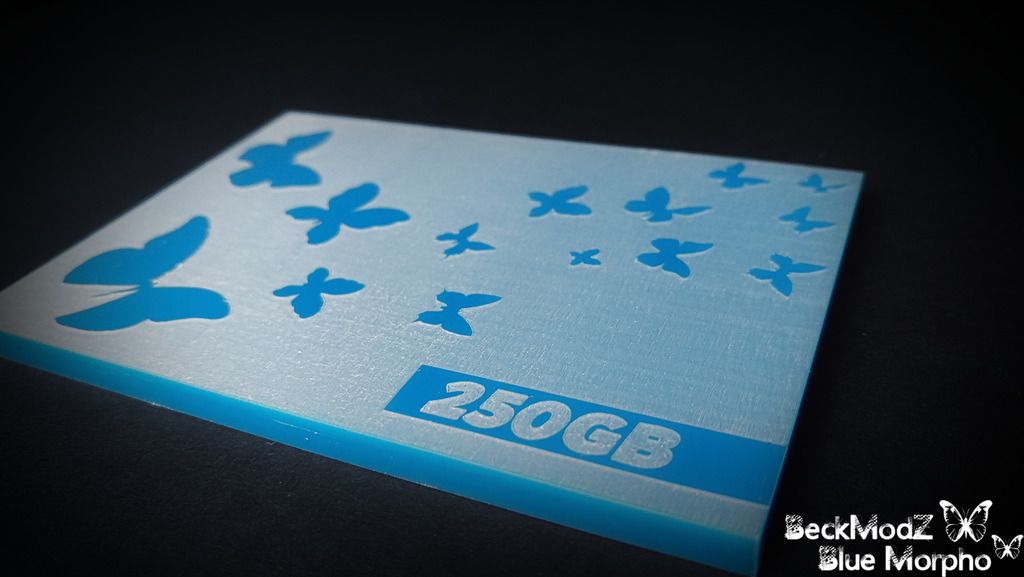
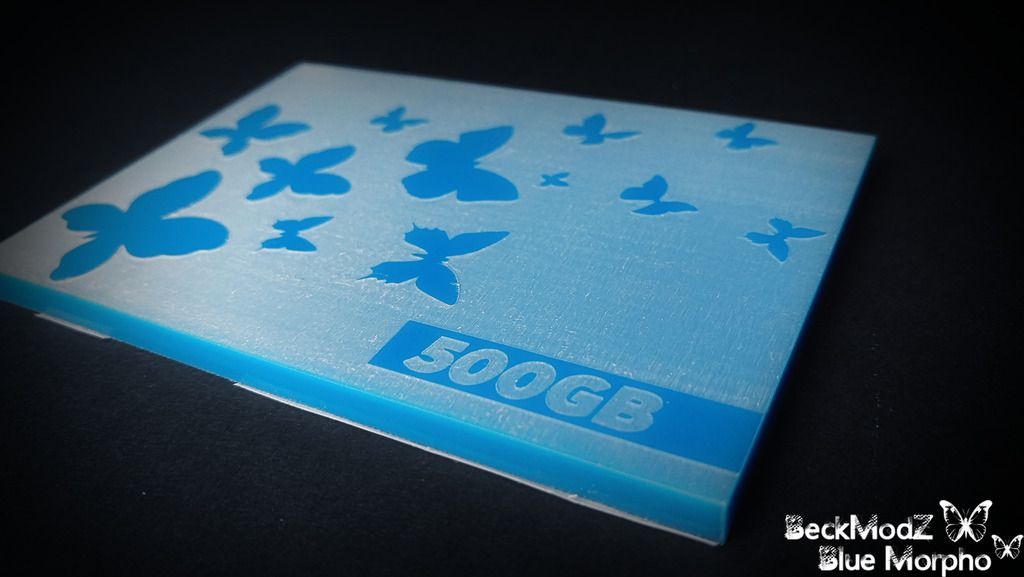
Engraved And Custom Parts
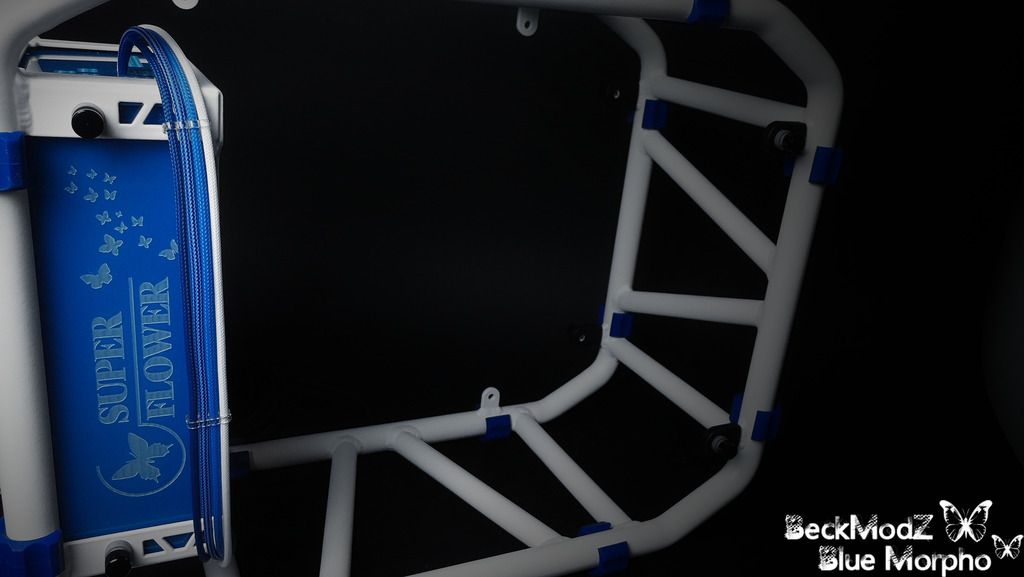
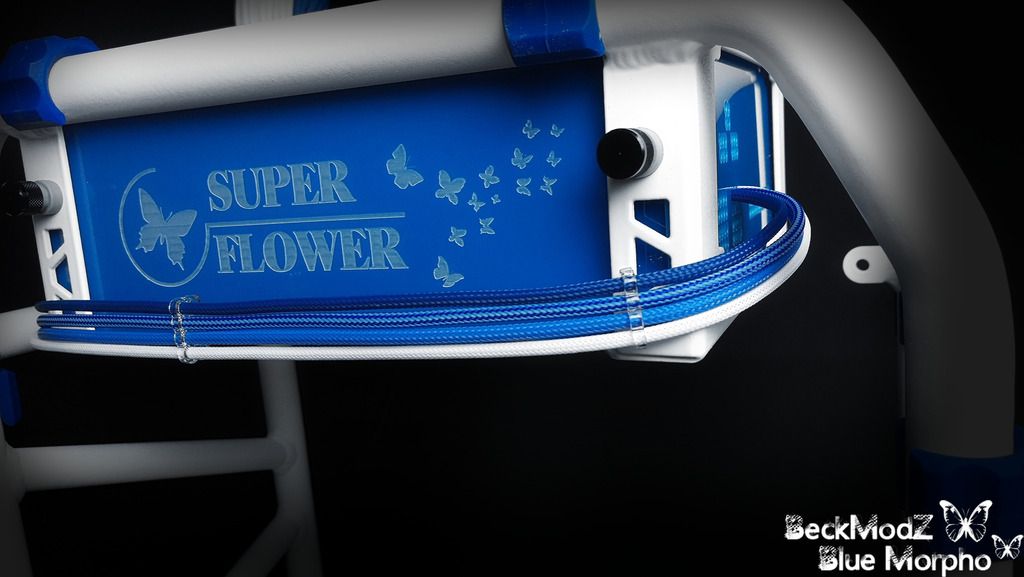
Installing the engraved PSU Covers and more
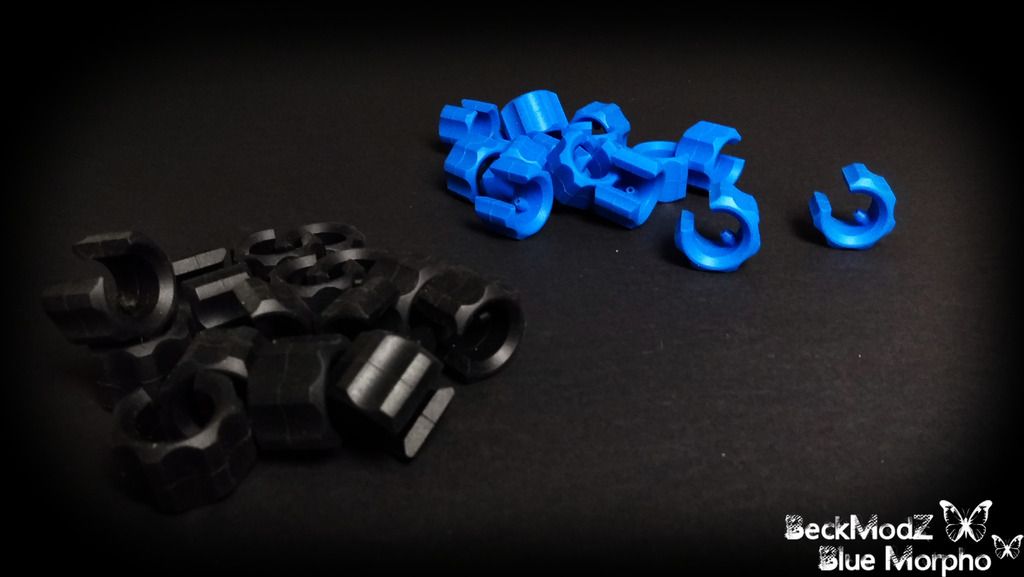
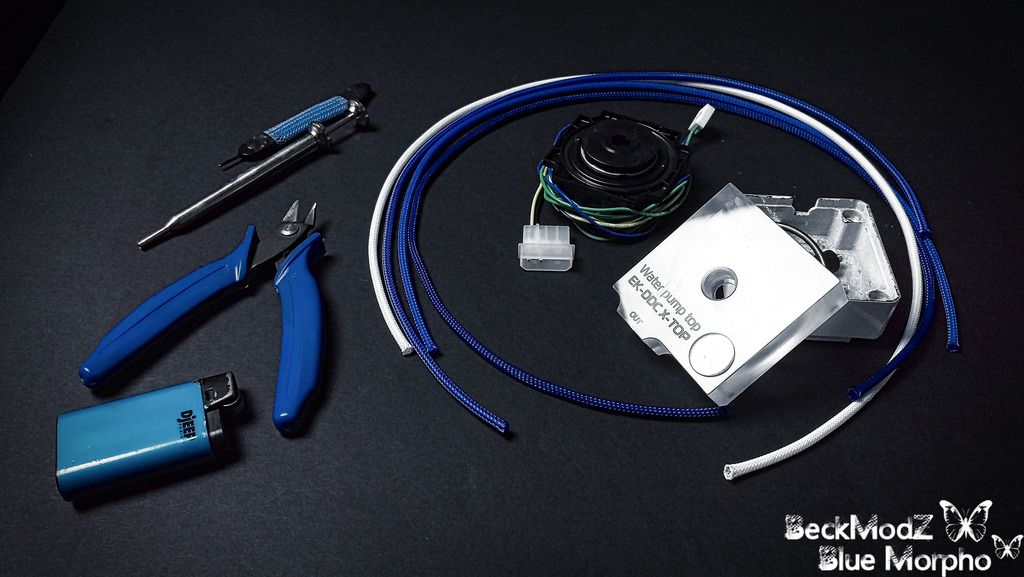
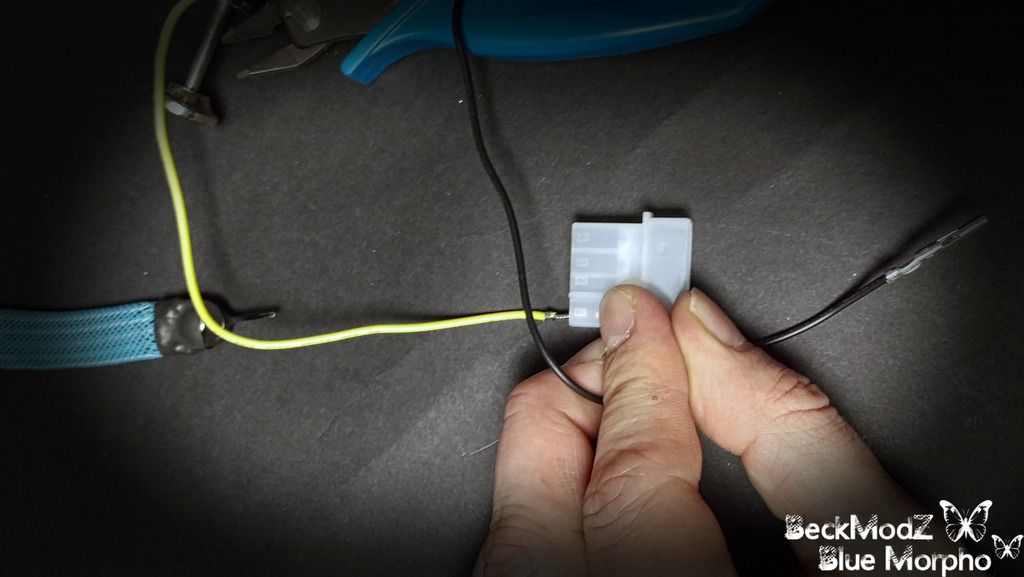
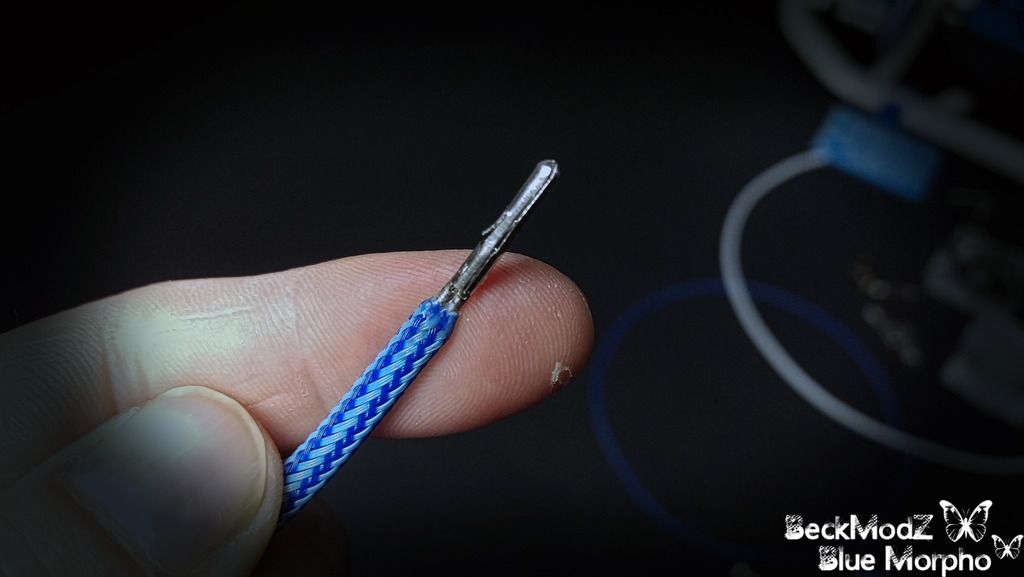
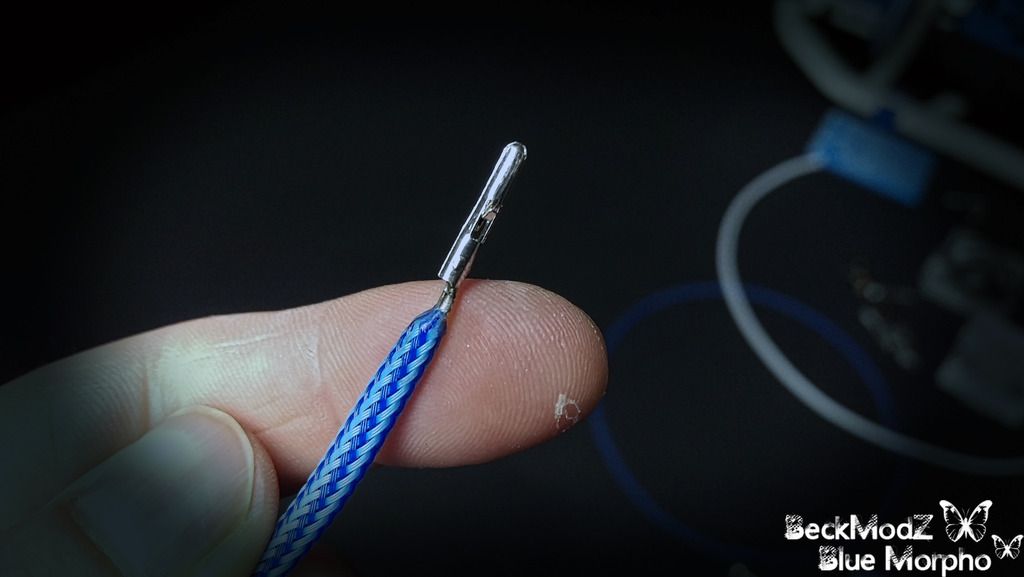
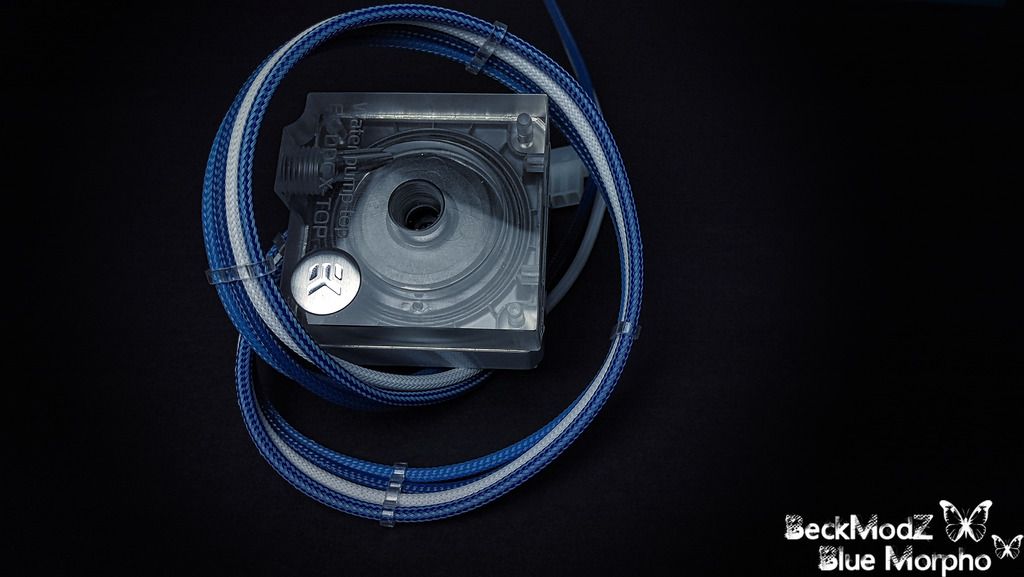
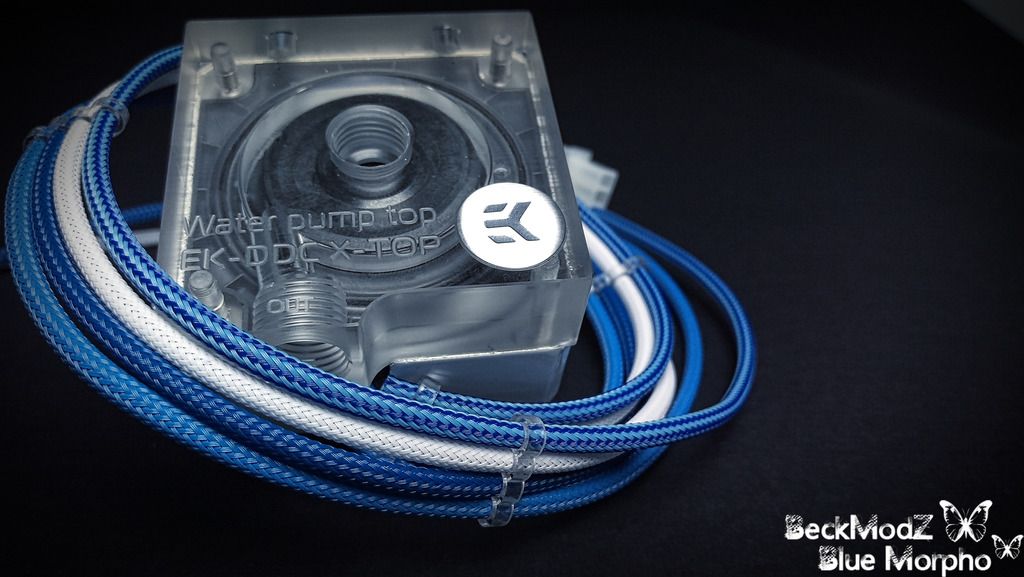
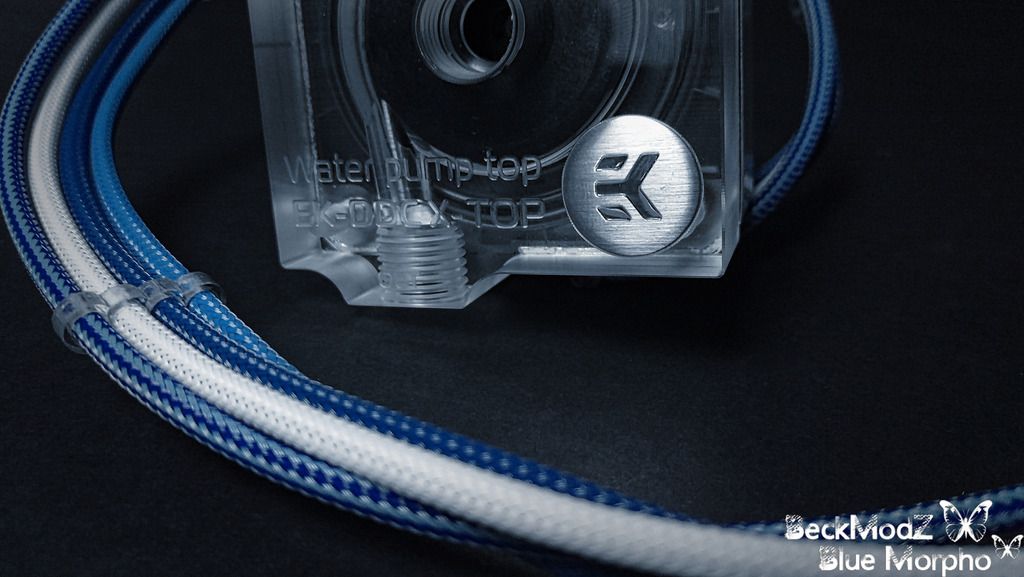
Sleeving the EK-DDC Pump
Just Trying Some New Stuff
Final Renders of Res/Mobo Block Before Cut
Installing the PSU while Awaiting Parvum
FINALLY!! The Reservoir/Motherboard block has arrived!
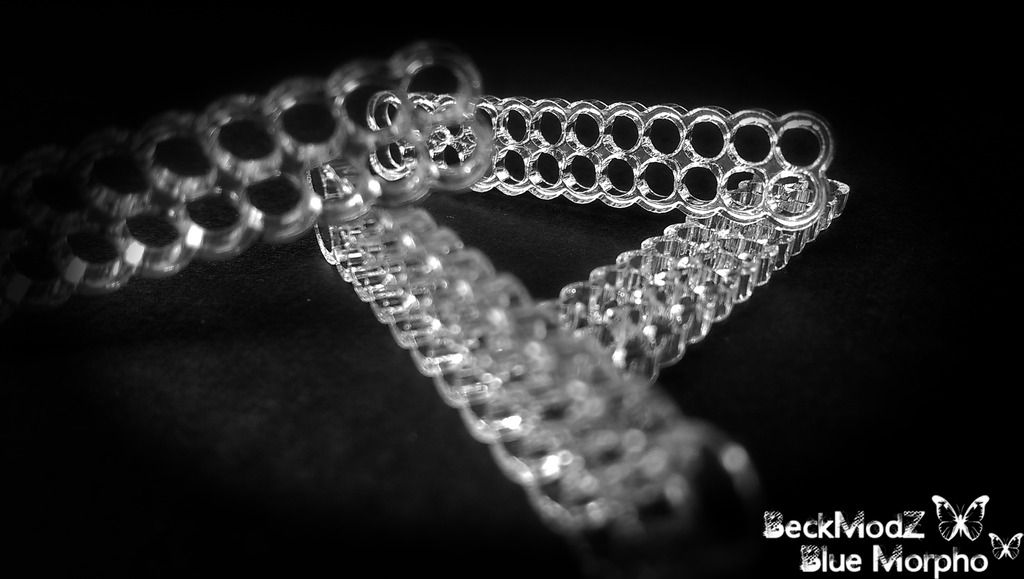
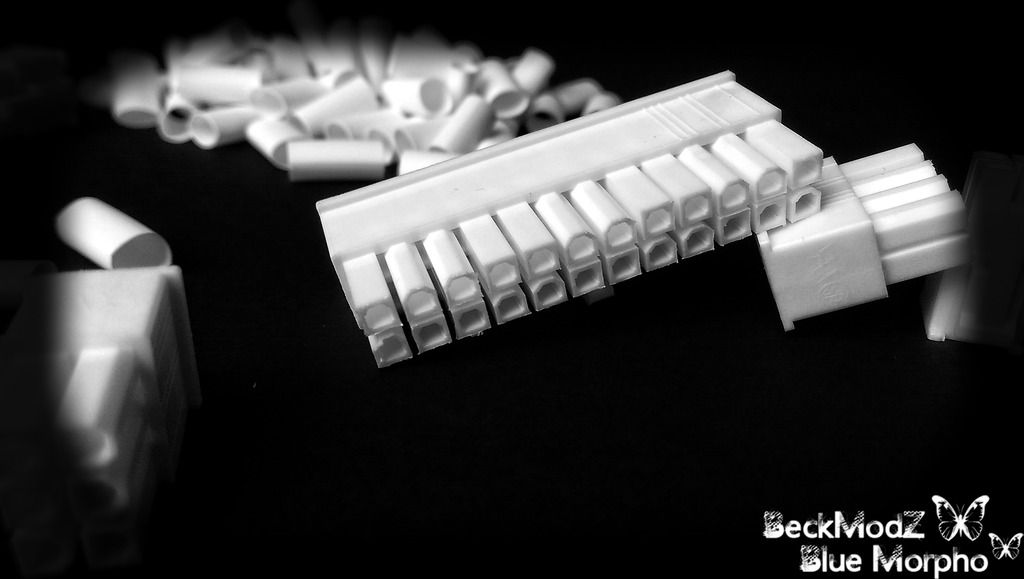
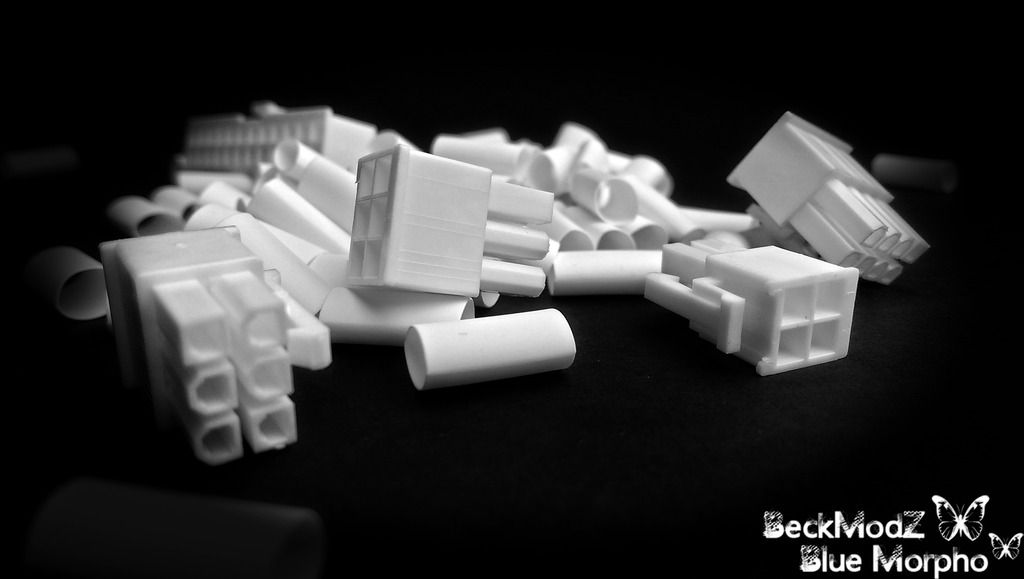
Need Help With 24Pin Sleeving Design?!
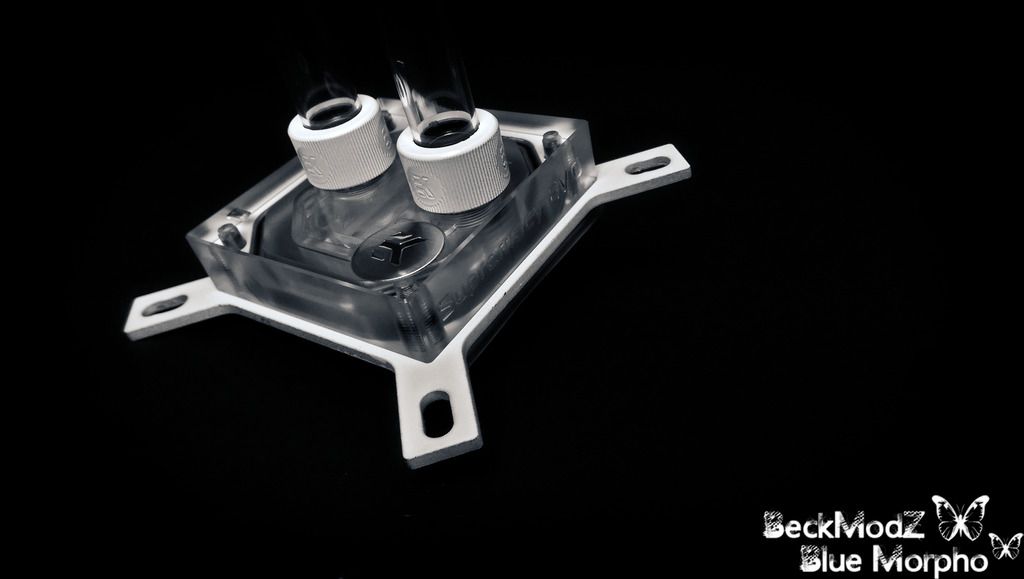
Sleeving and Installing Blocks
Tubing Done! Ready to Fill the loop!
Done Filling The Loop, Now Bleed Testing
-------------------------------------------------------------------------------------------------
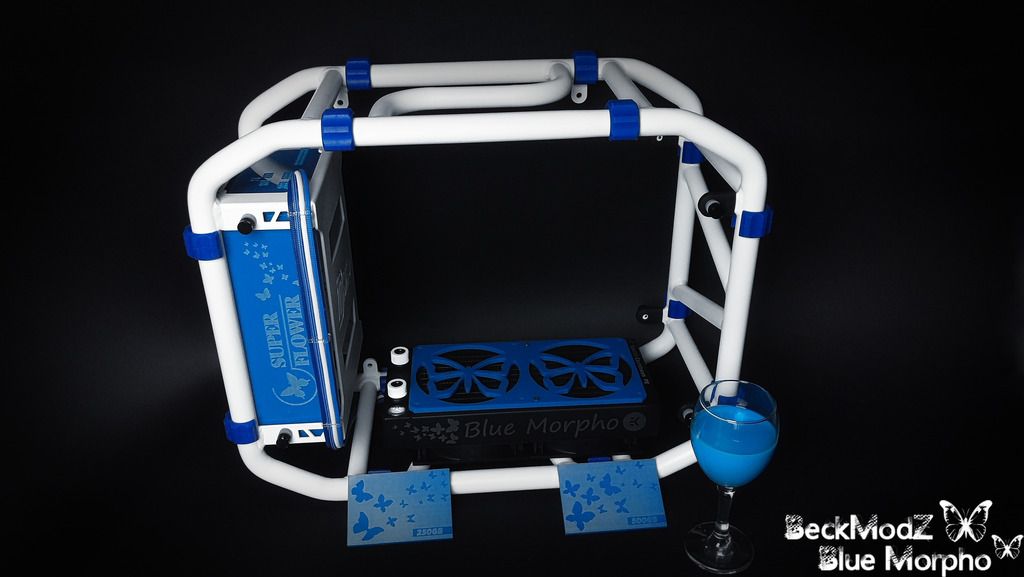
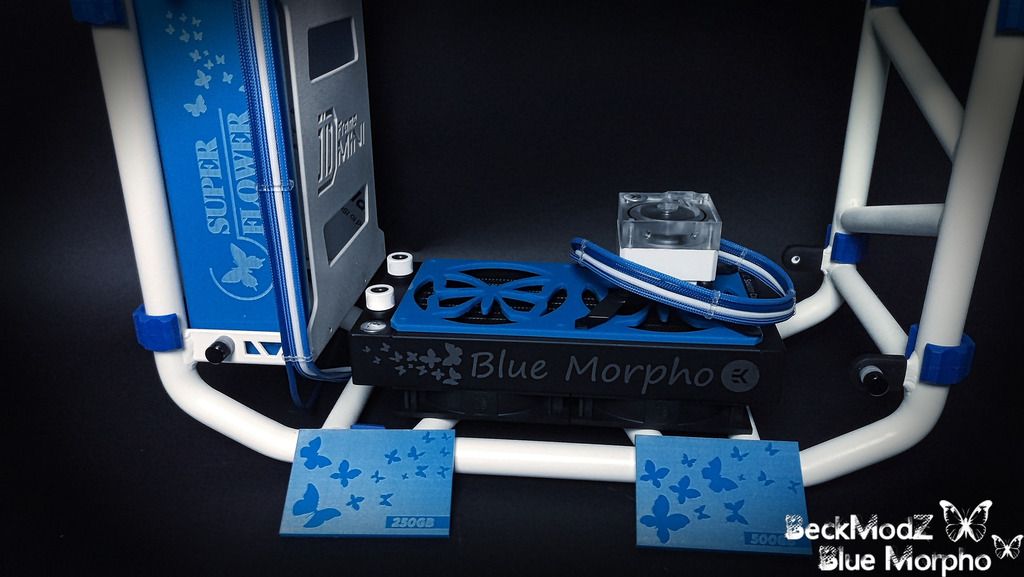
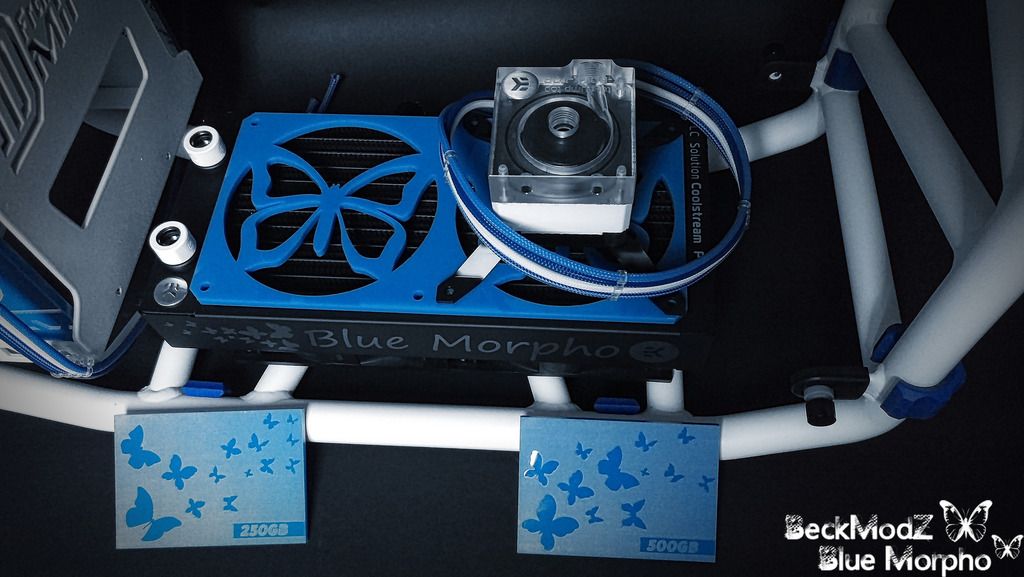
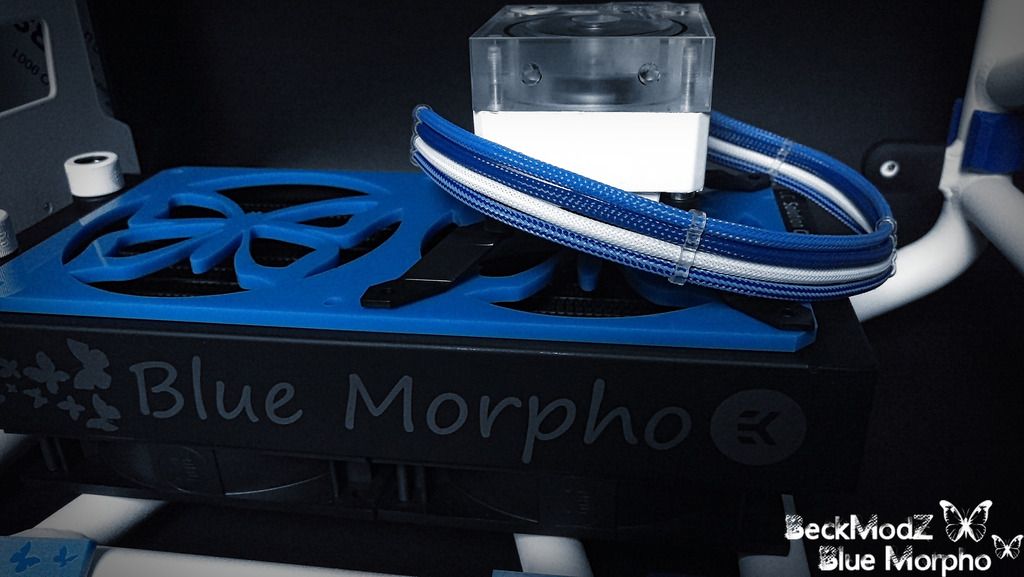
Teaser Of Latest Uploads :
-------------------------------------------------------------------------------------------------
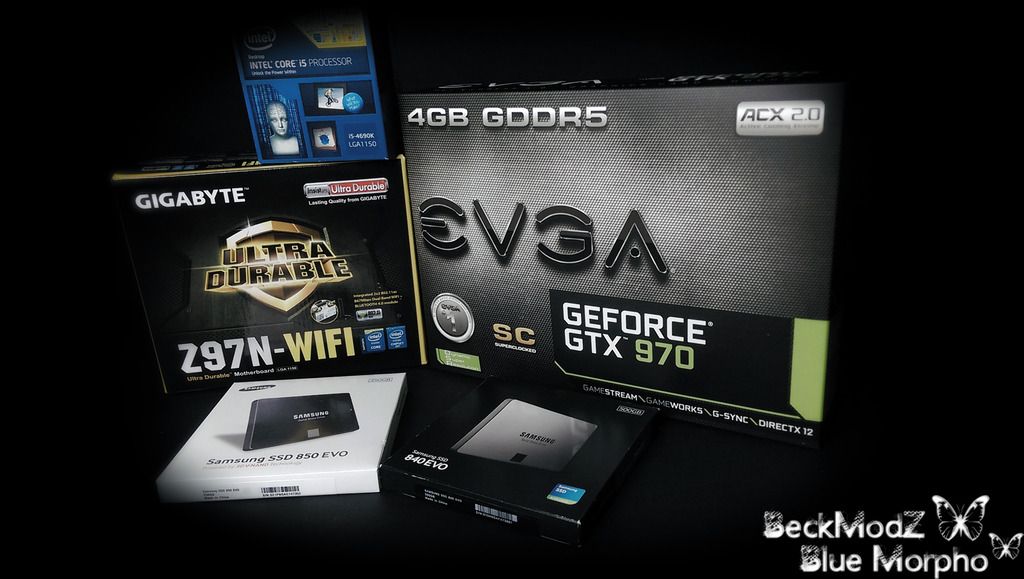
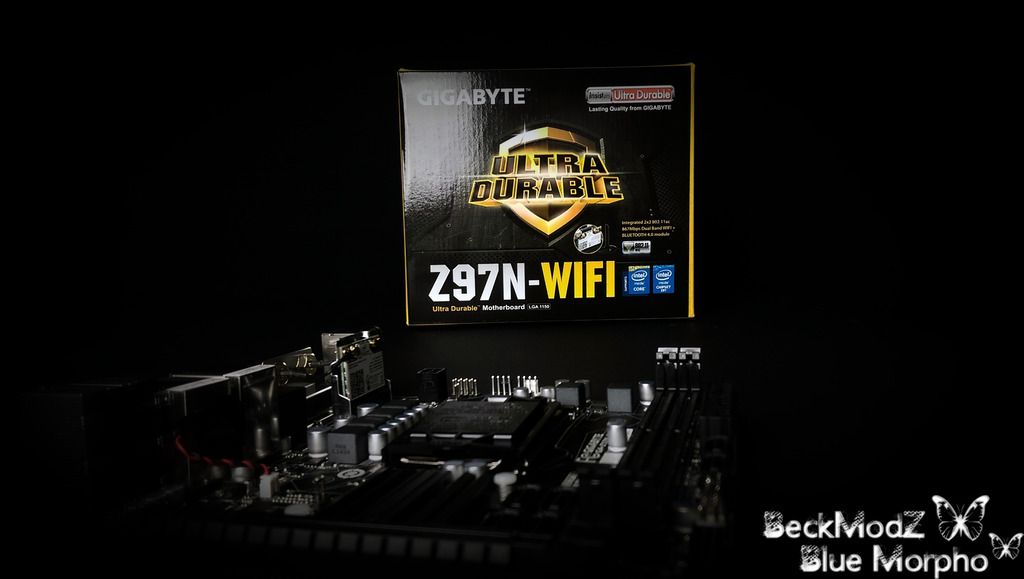
The Blue Morpho Specs :
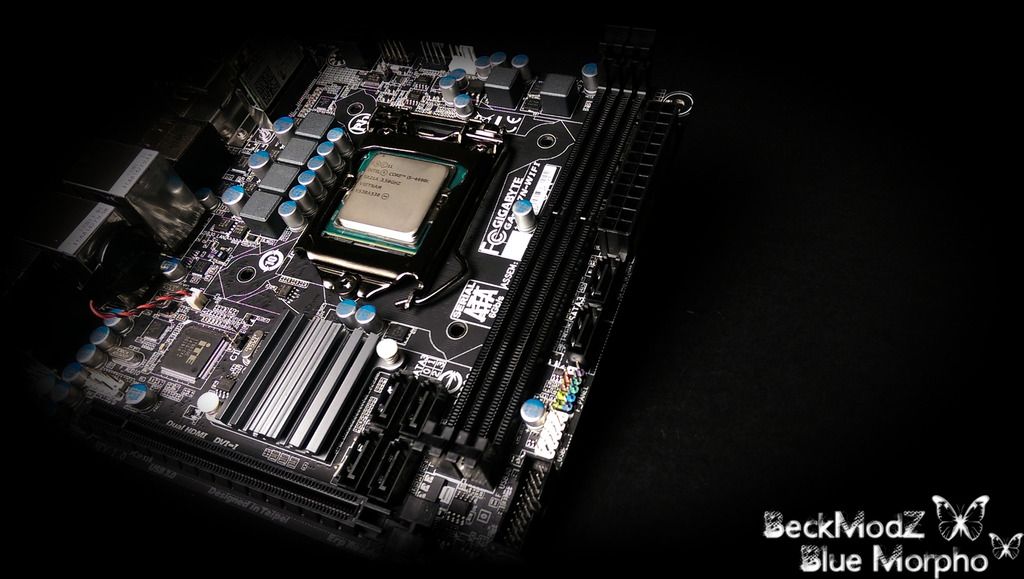
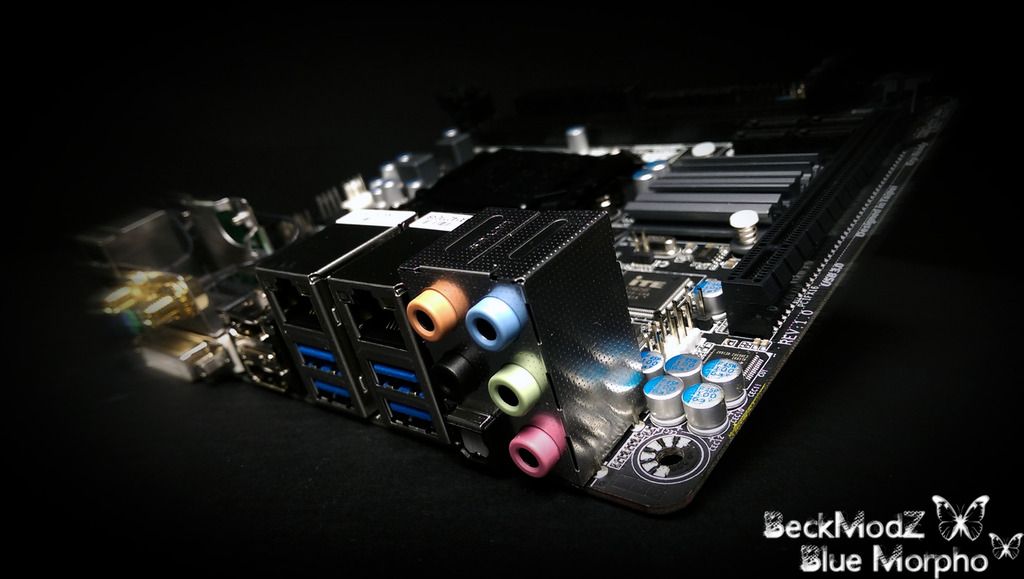
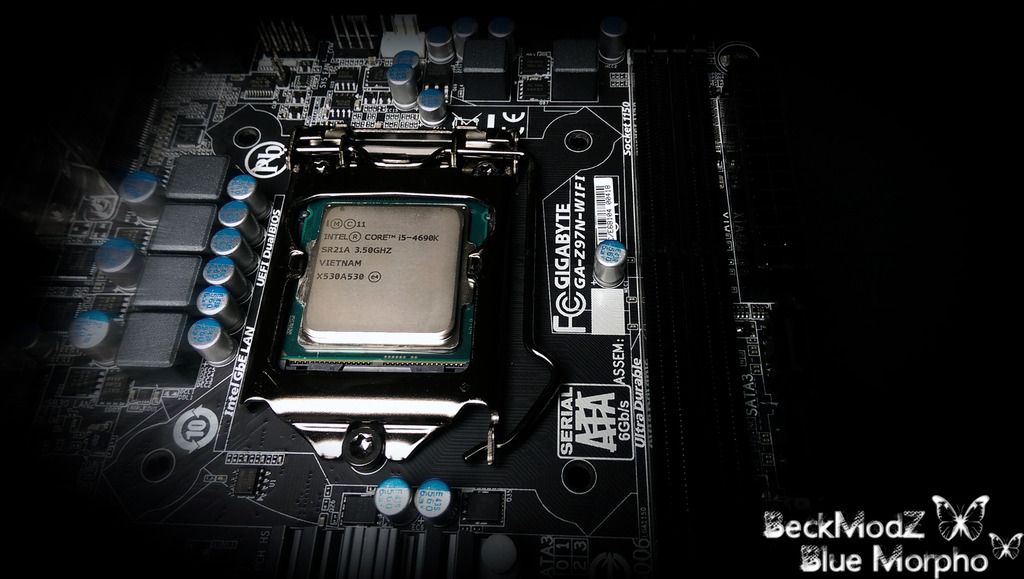
[list]Mobo: Gigabyte Ga-Z97N-WIFI[/list]
[list]CPU: Intel Core i5-4690k[/list]
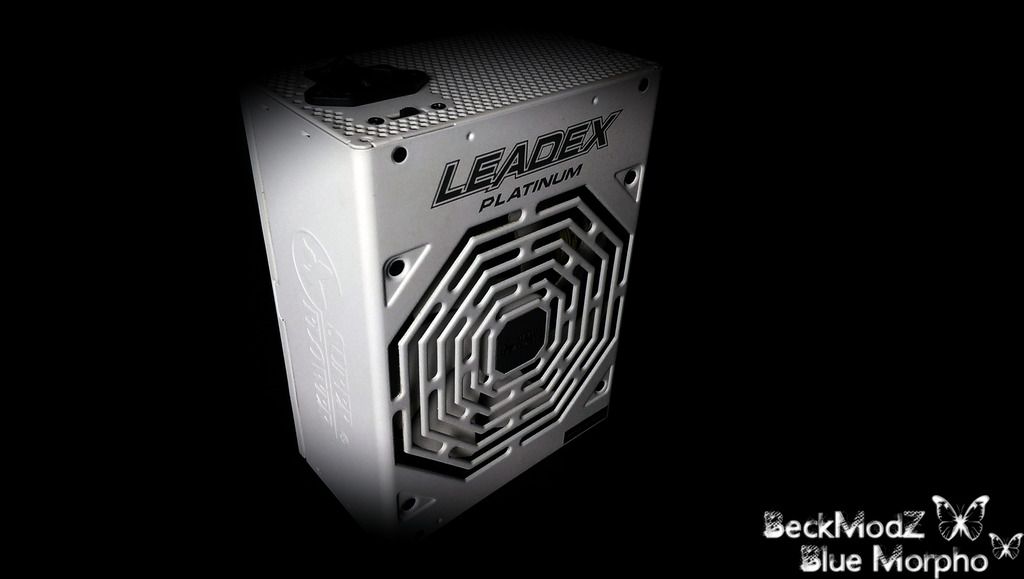
[list]PSU: Super Flower Leadex Platinum 1000W[/list]
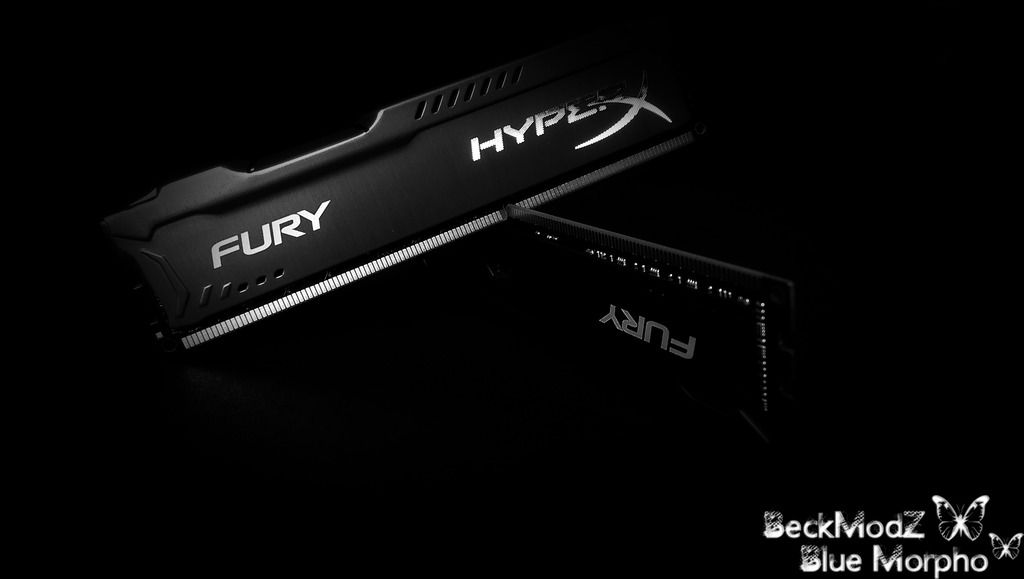
[list]Memory: 2 x 8 GB of HyperX Fury 2133MHz[/list]
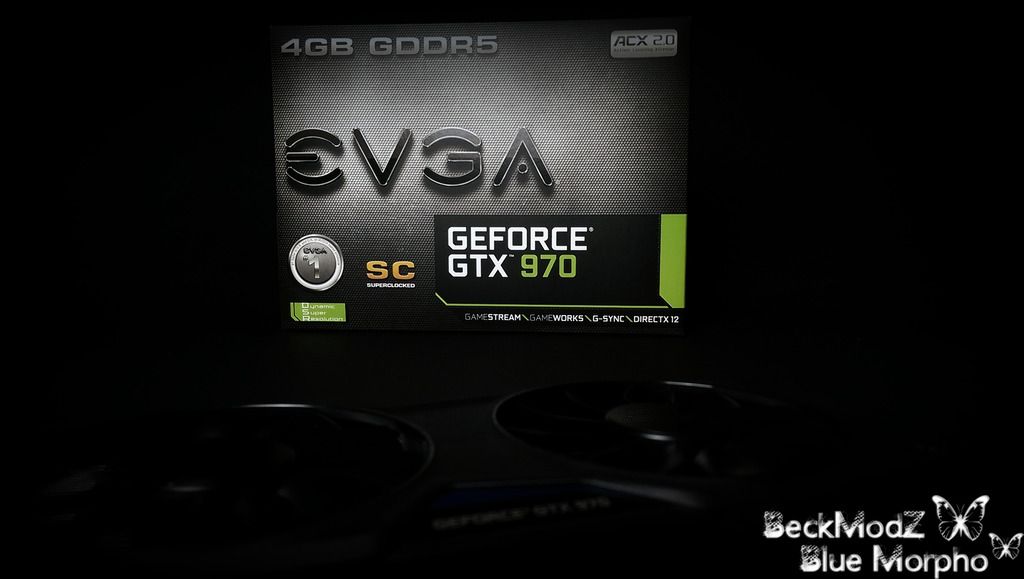
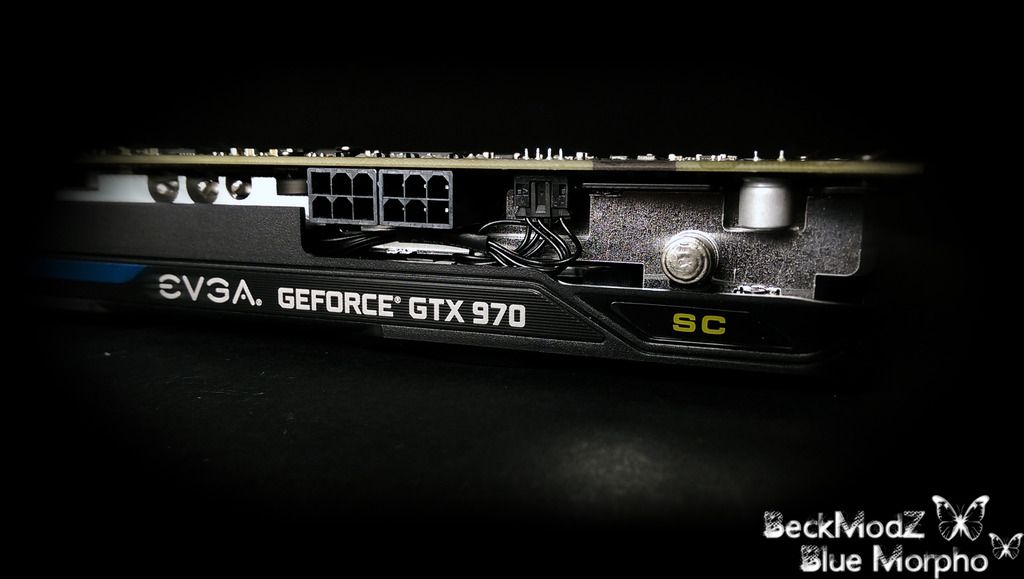
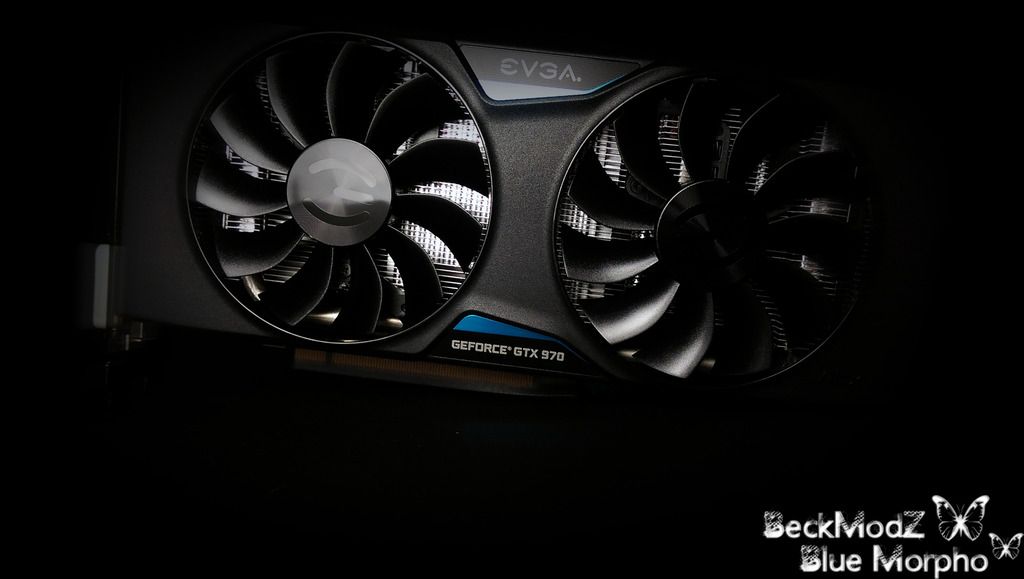
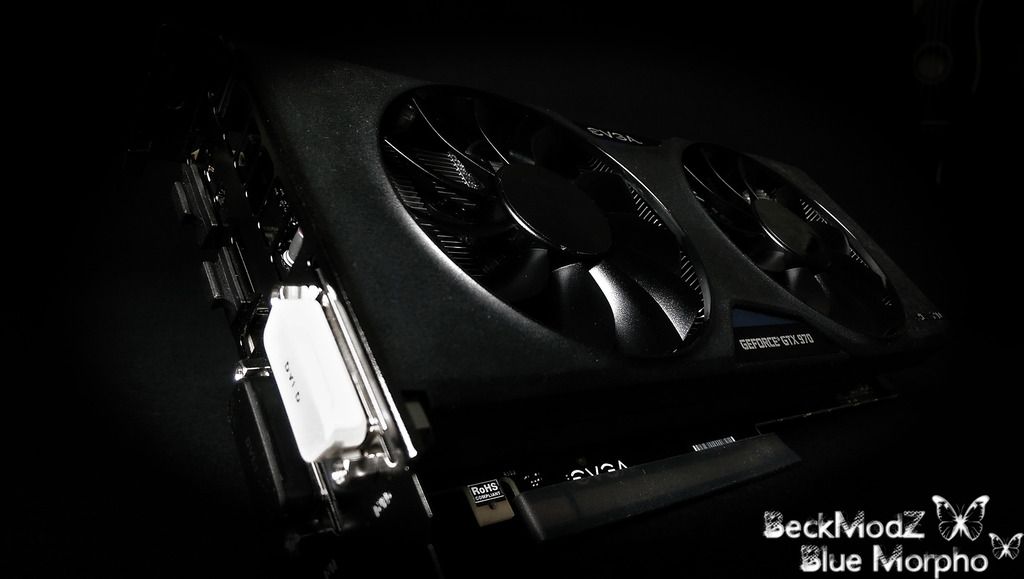
[list]GPU: EVGA GTX 970 Superclocked ACX 4GB[/list]
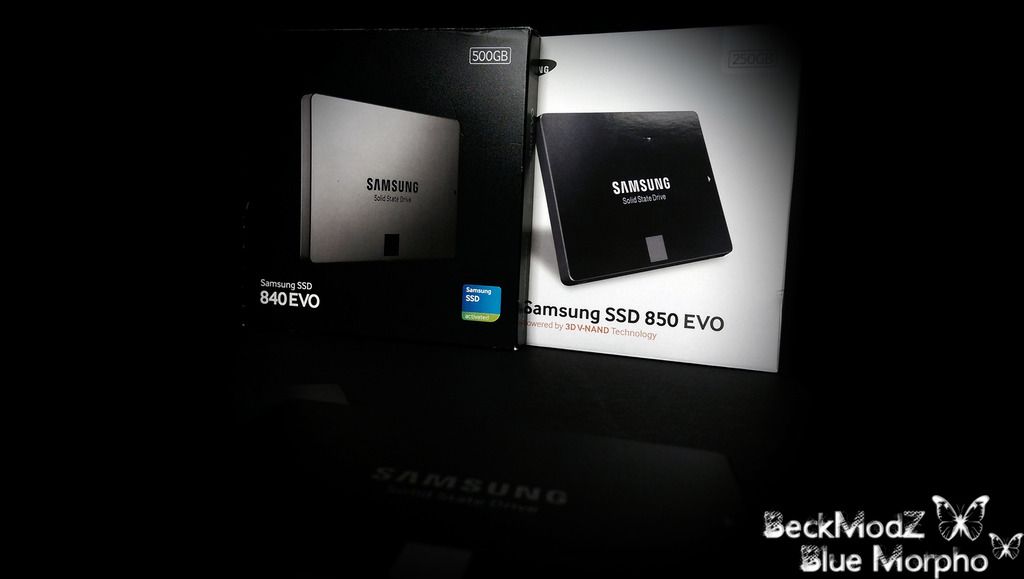
[list]SSD's: 250GB Samsung Evo 850(OS), 500GB Samsung Evo 840(Games)[/list]
Watercooling Parts :
[list]Radiator: EK-CoolStream PE 240[/list]
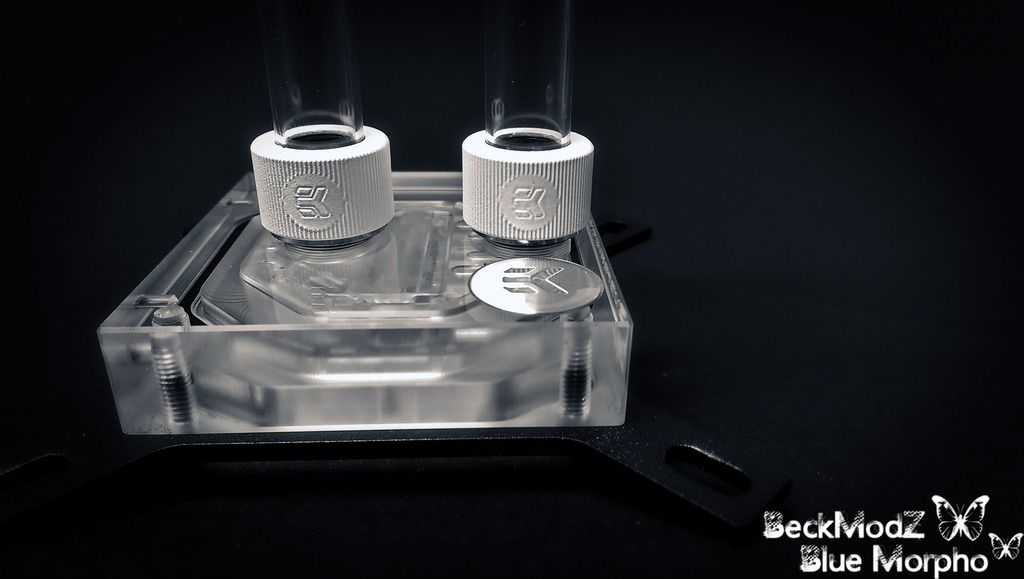
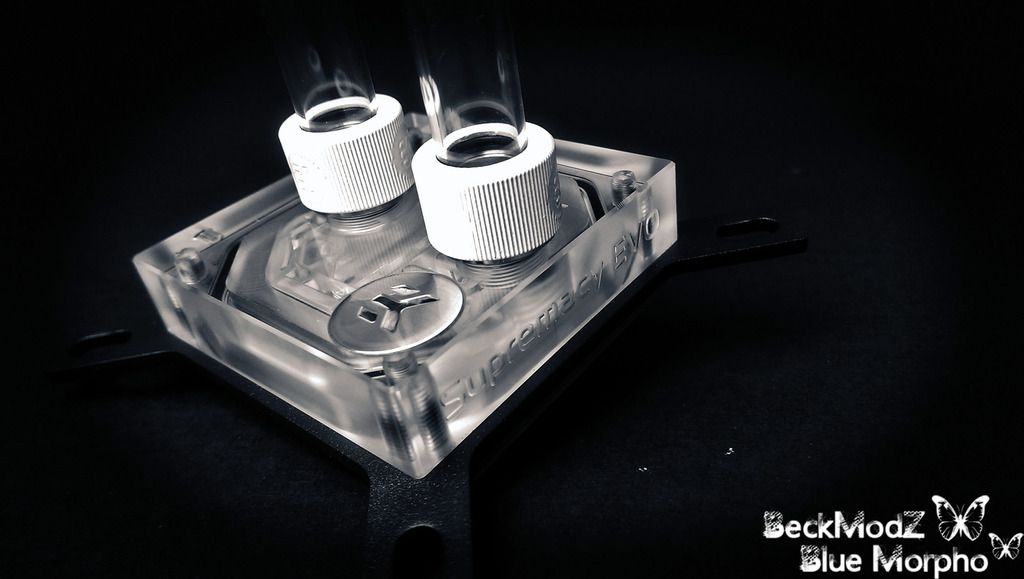
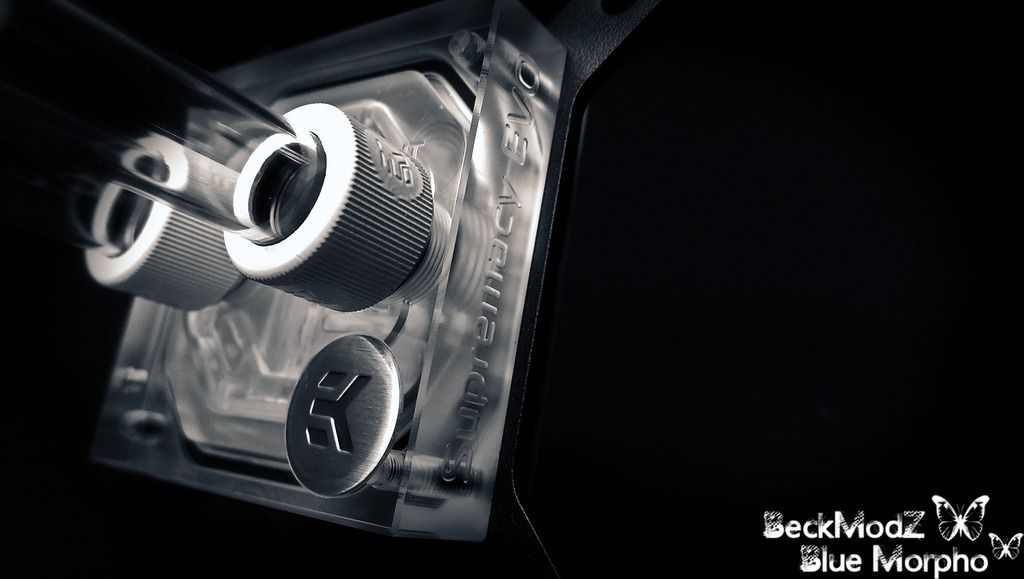
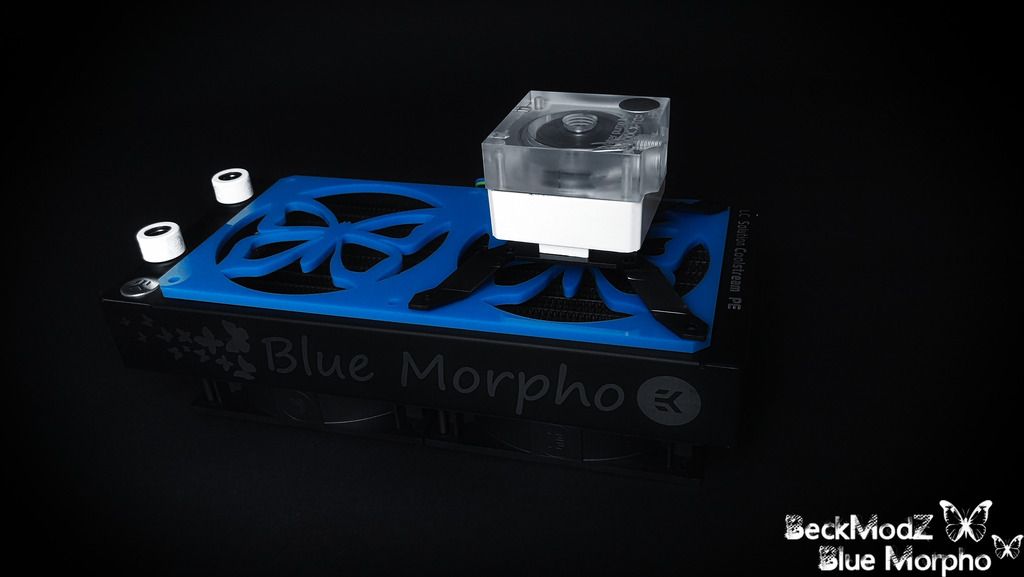
[list]Cpu Block: EK-Supremacy EVO - Nickel[/list]
[list]Gpu Block: EK-FC970 GTX ACX - Nickel[/list]
[list]Memory Blocks: EK-RAM Monarch X2 - Nickel and EK-RAM Monarch Module - Black (2pcs)[/list]
[list]Fittings: EK-HDC Fitting 12mm G1/4 - White[/list]
[list]Tubing: EK-HD Tube 10/12mm 500mm[/list]
[list]Pump: EK-XTOP DDC 3.2 PWM Elite - Plexi (incl. pump)[/list]
[list]Reservoir: Custom reservoir from Parvum Systems[/list]
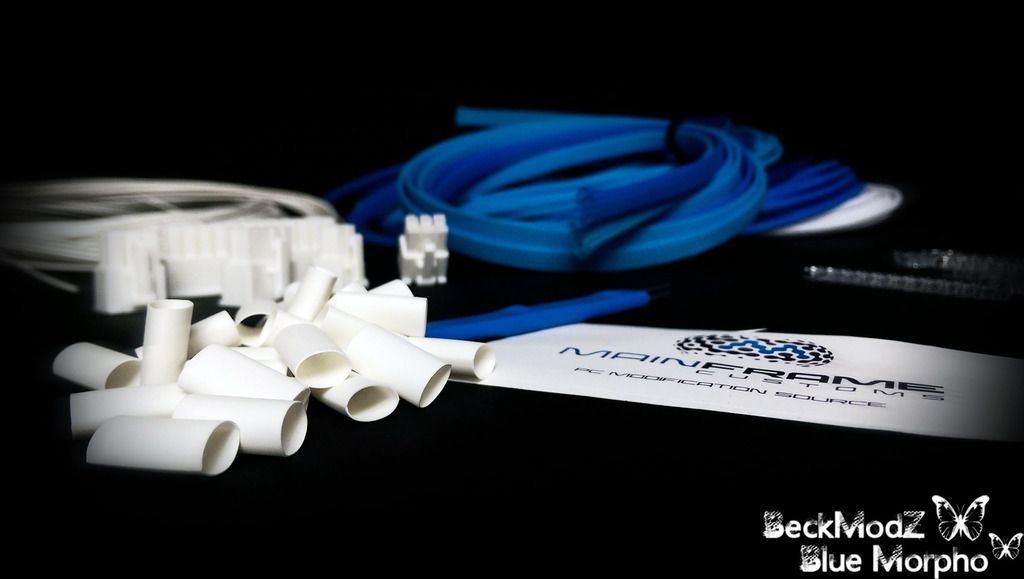
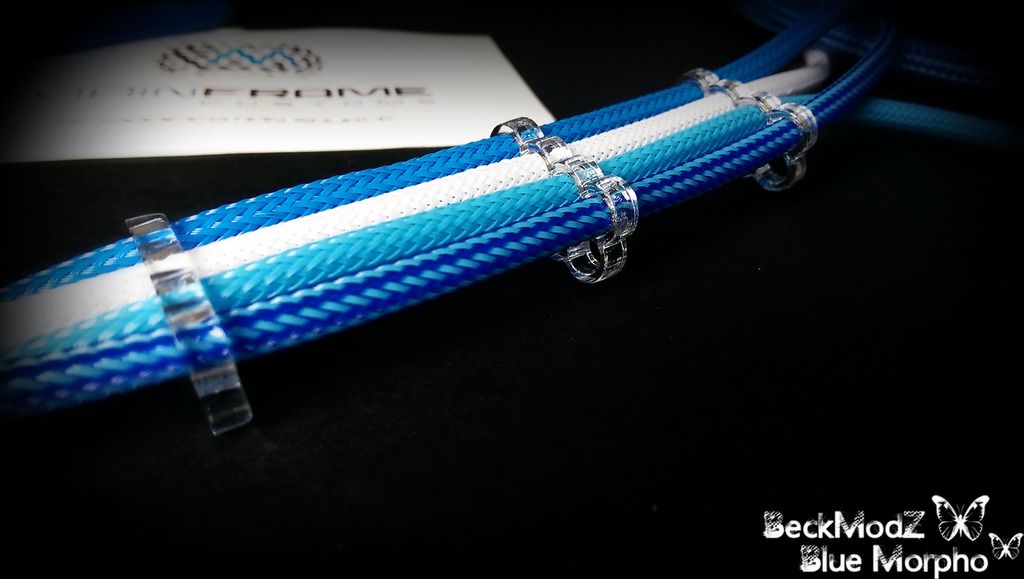
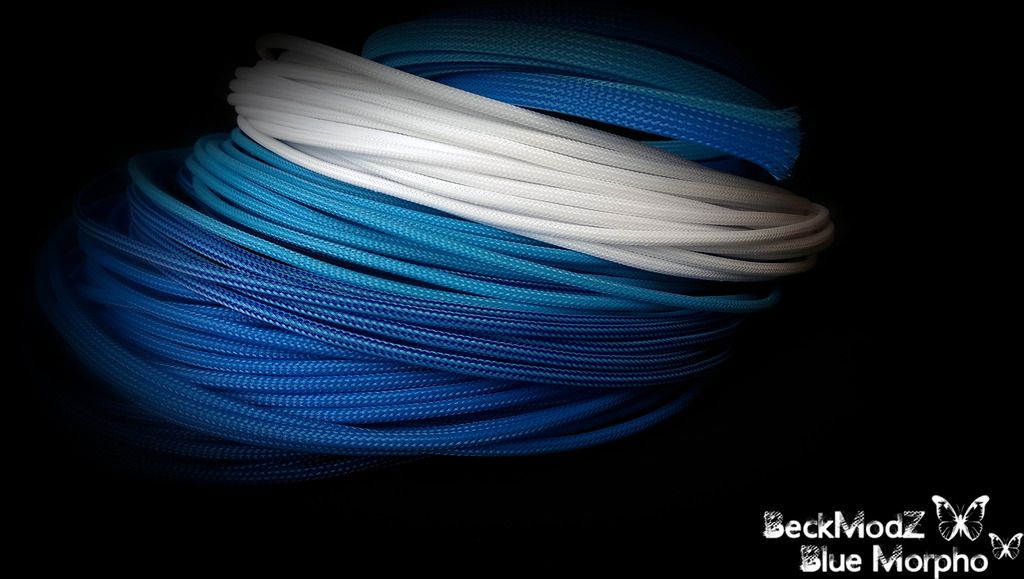
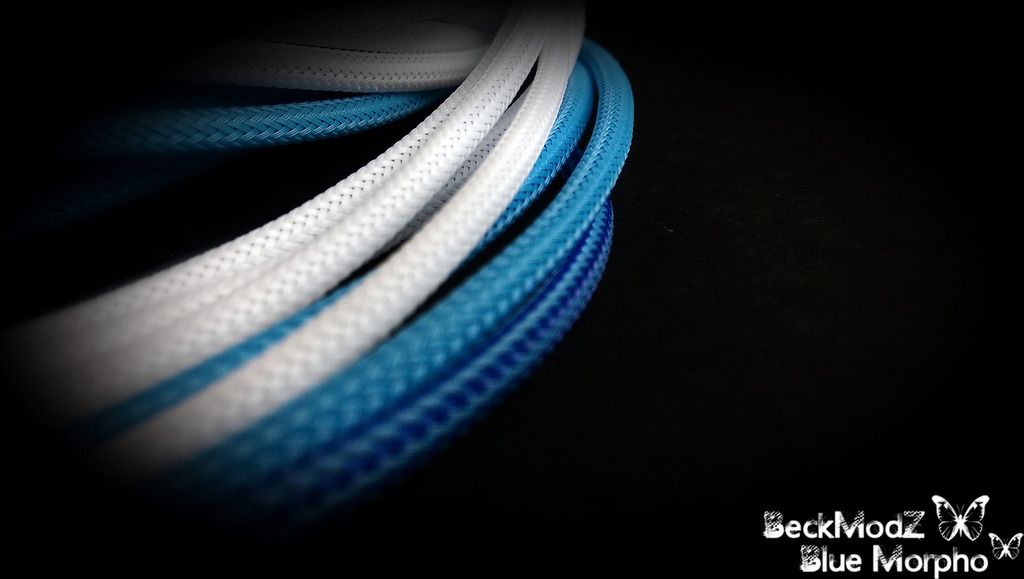
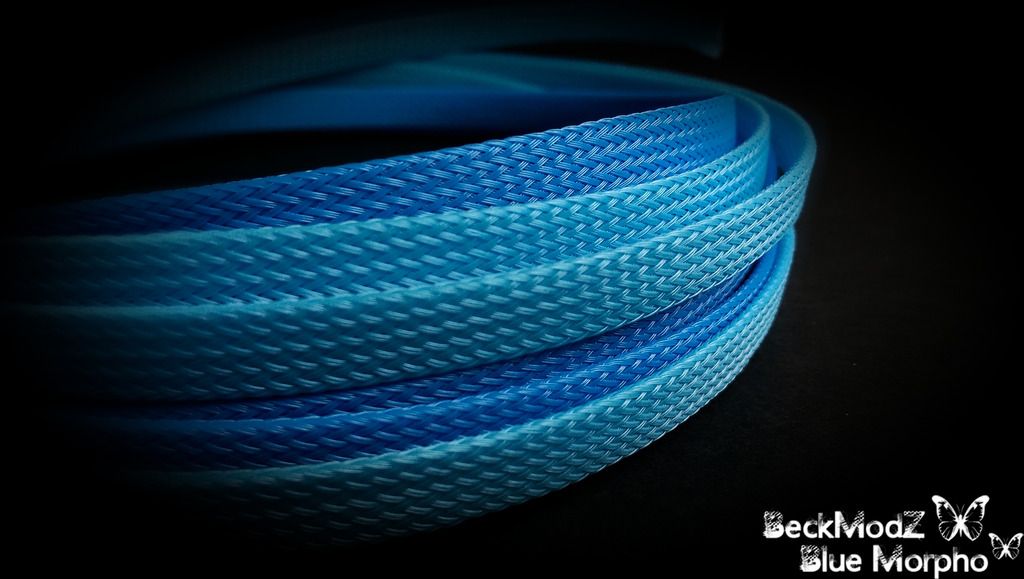
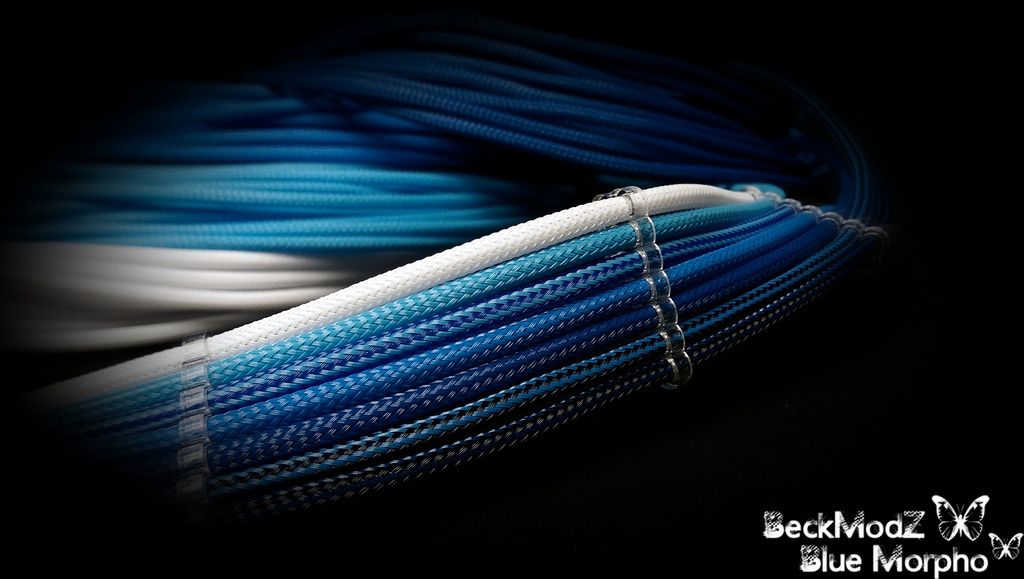
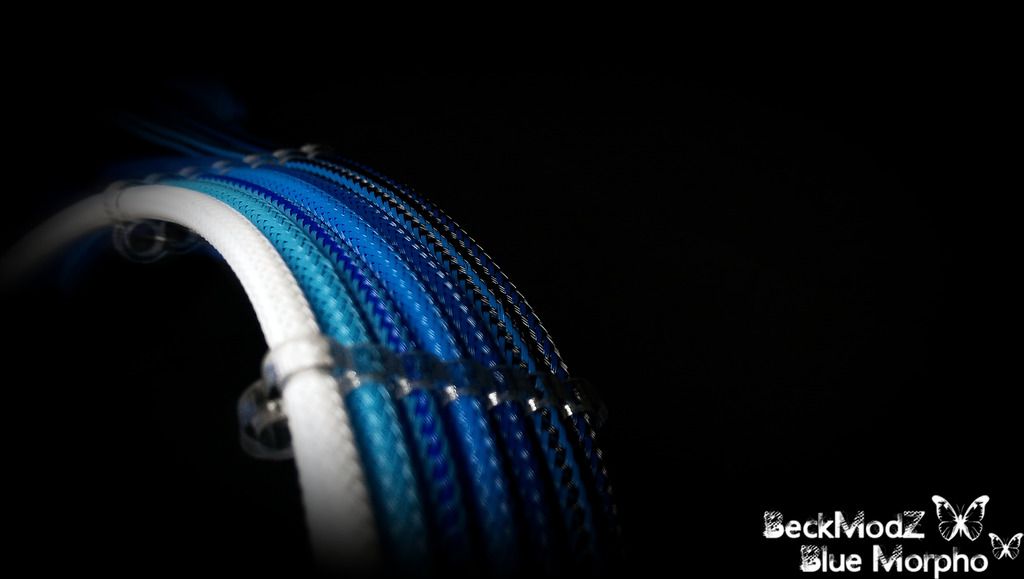
PSU Sleeving :
[list]Sleeving: MFC TELEIOS 4MM SLEEVE and MFC TELEIOS 8MM/SATA SLEEVE[/list]
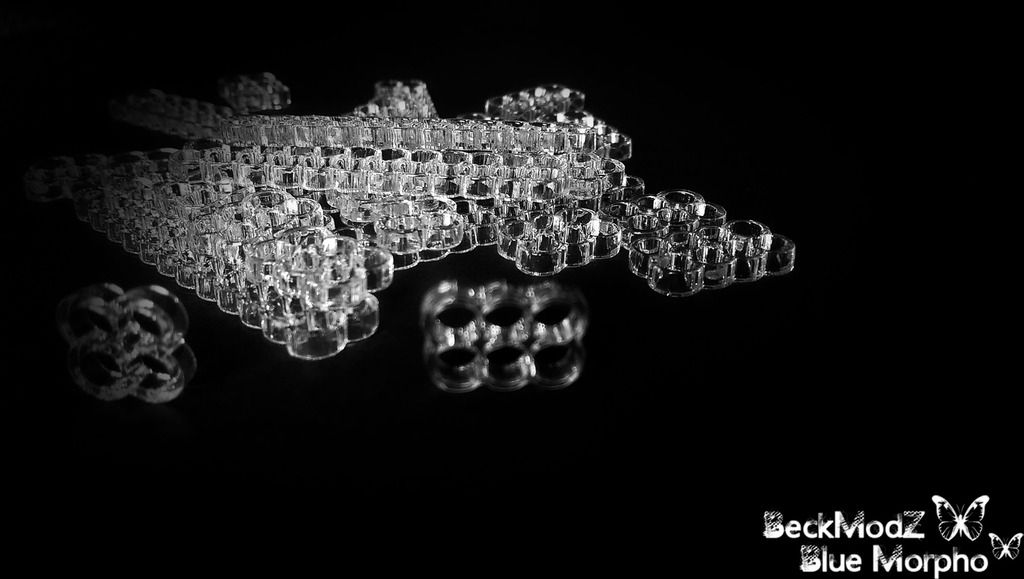
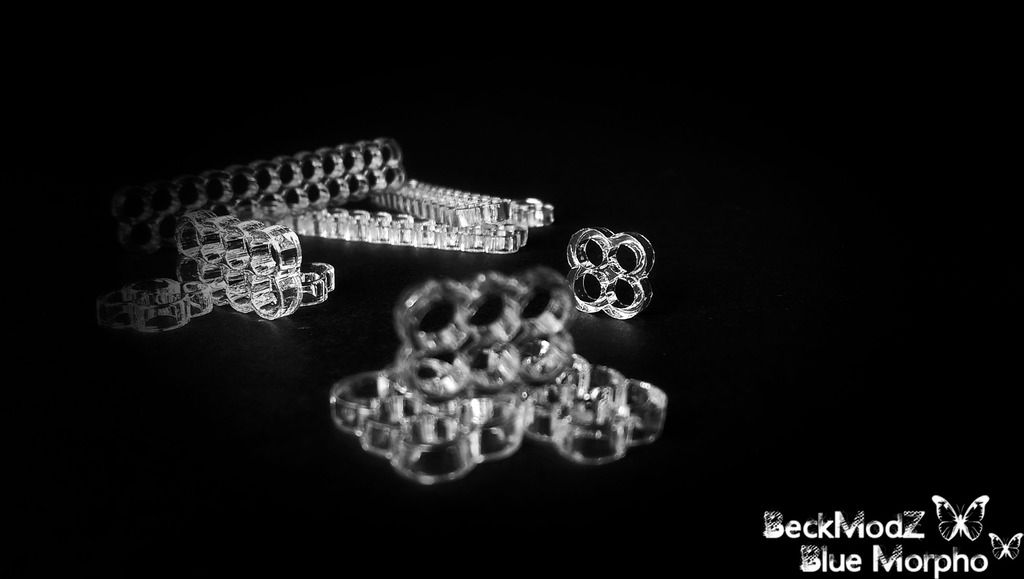
[list]Cable Combs: clear MFC STEALTH CABLE COMBS[/list]
And off cause a connectors, terminals and MFC CUSTOM 18AWG WIRE – White
And Alot of other cool stuff, Pics will follow
-------------------------------------------------------------------------------------------------
Hope you guys like the renders and the design Idea
Will be making step by step pics of painting, sleeving and everything i do.
-------------------------------------------------------------------------------------------------
This Build Is Made Possible By:


-------------------------------------------------------------------------------------------------
Stay Awesome Bro's,
BeckModz - Liquid Designs