Permalänk
Proffsmoddare

MetallicAcid's

Thank you to my sponsors:

Updates...
Parts and stuff!

A powerpacket of a discrete graphics card, the EVGA GTX750Ti 2GB ITX looks the part, and fits perfectly (literally - physically!). Not to mention it is powered by the PCIE lane, so there is less cable clutter helping the aesthetics of the project!

Hope to get in the RAM soon, then I will have everything that I need to get the PC up and running. Some design and modding will come later in the week as well!

Kind regards,
Justin "MetallicAcid" Ohlsen

Permalänk
Medlem

Very interesting project, do you plan to make any more modifications to the case itself?

And how come you aren't watercooling the CPU and the GPU? Probably overkill for a G3258 but a custom loop in this case would be very neat

Visa signatur

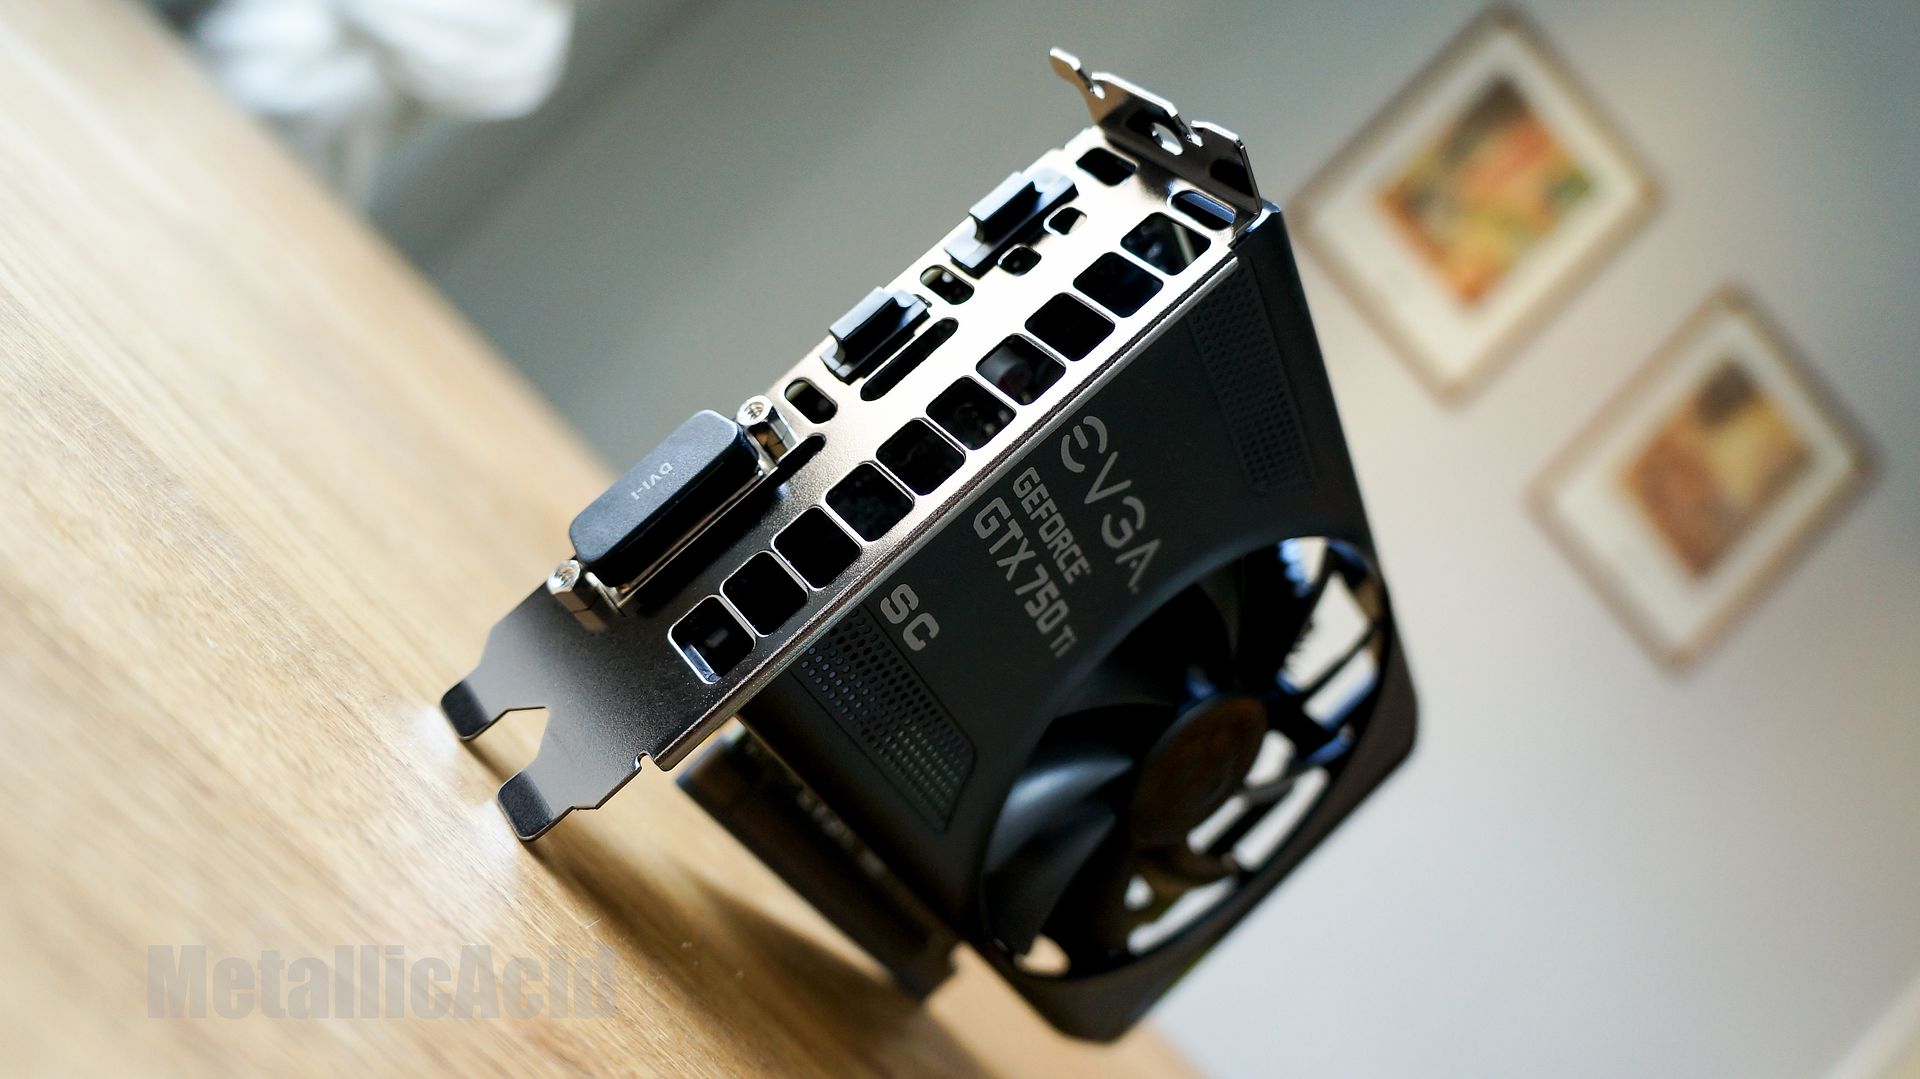
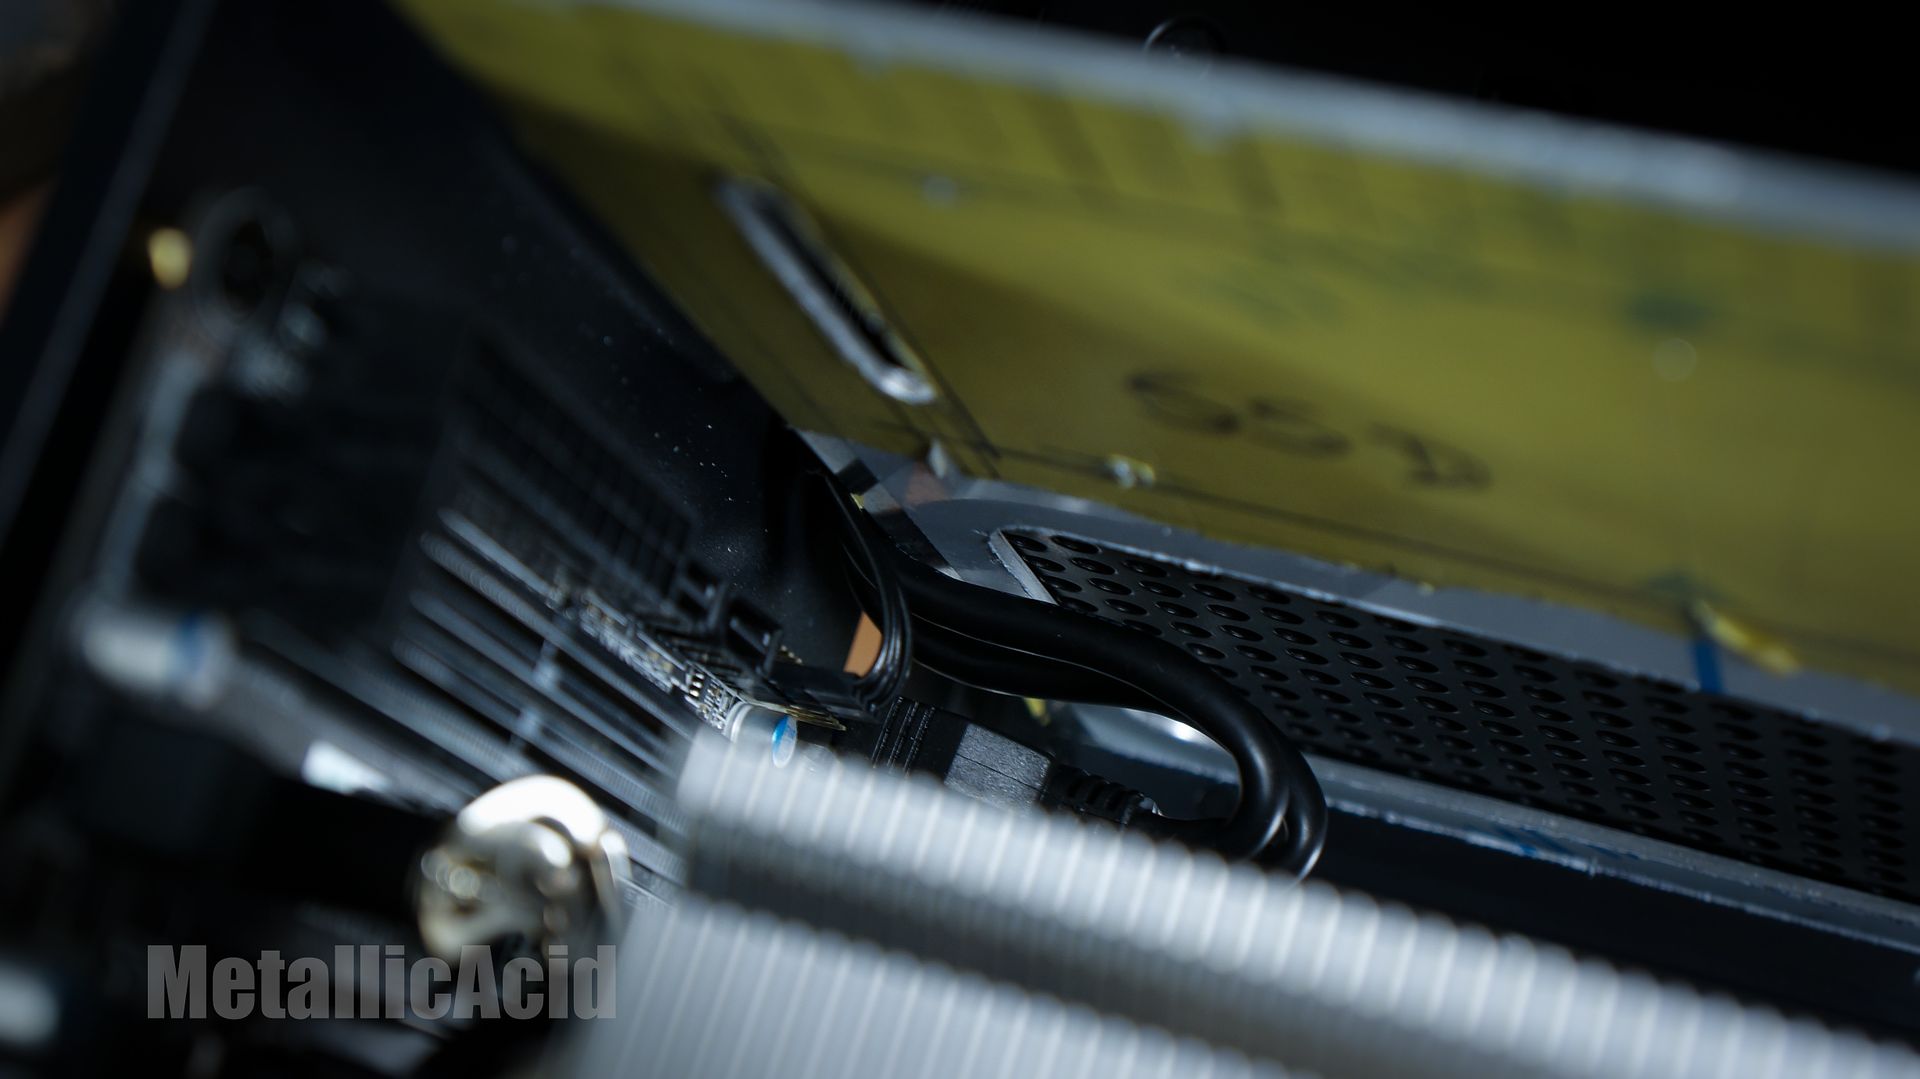
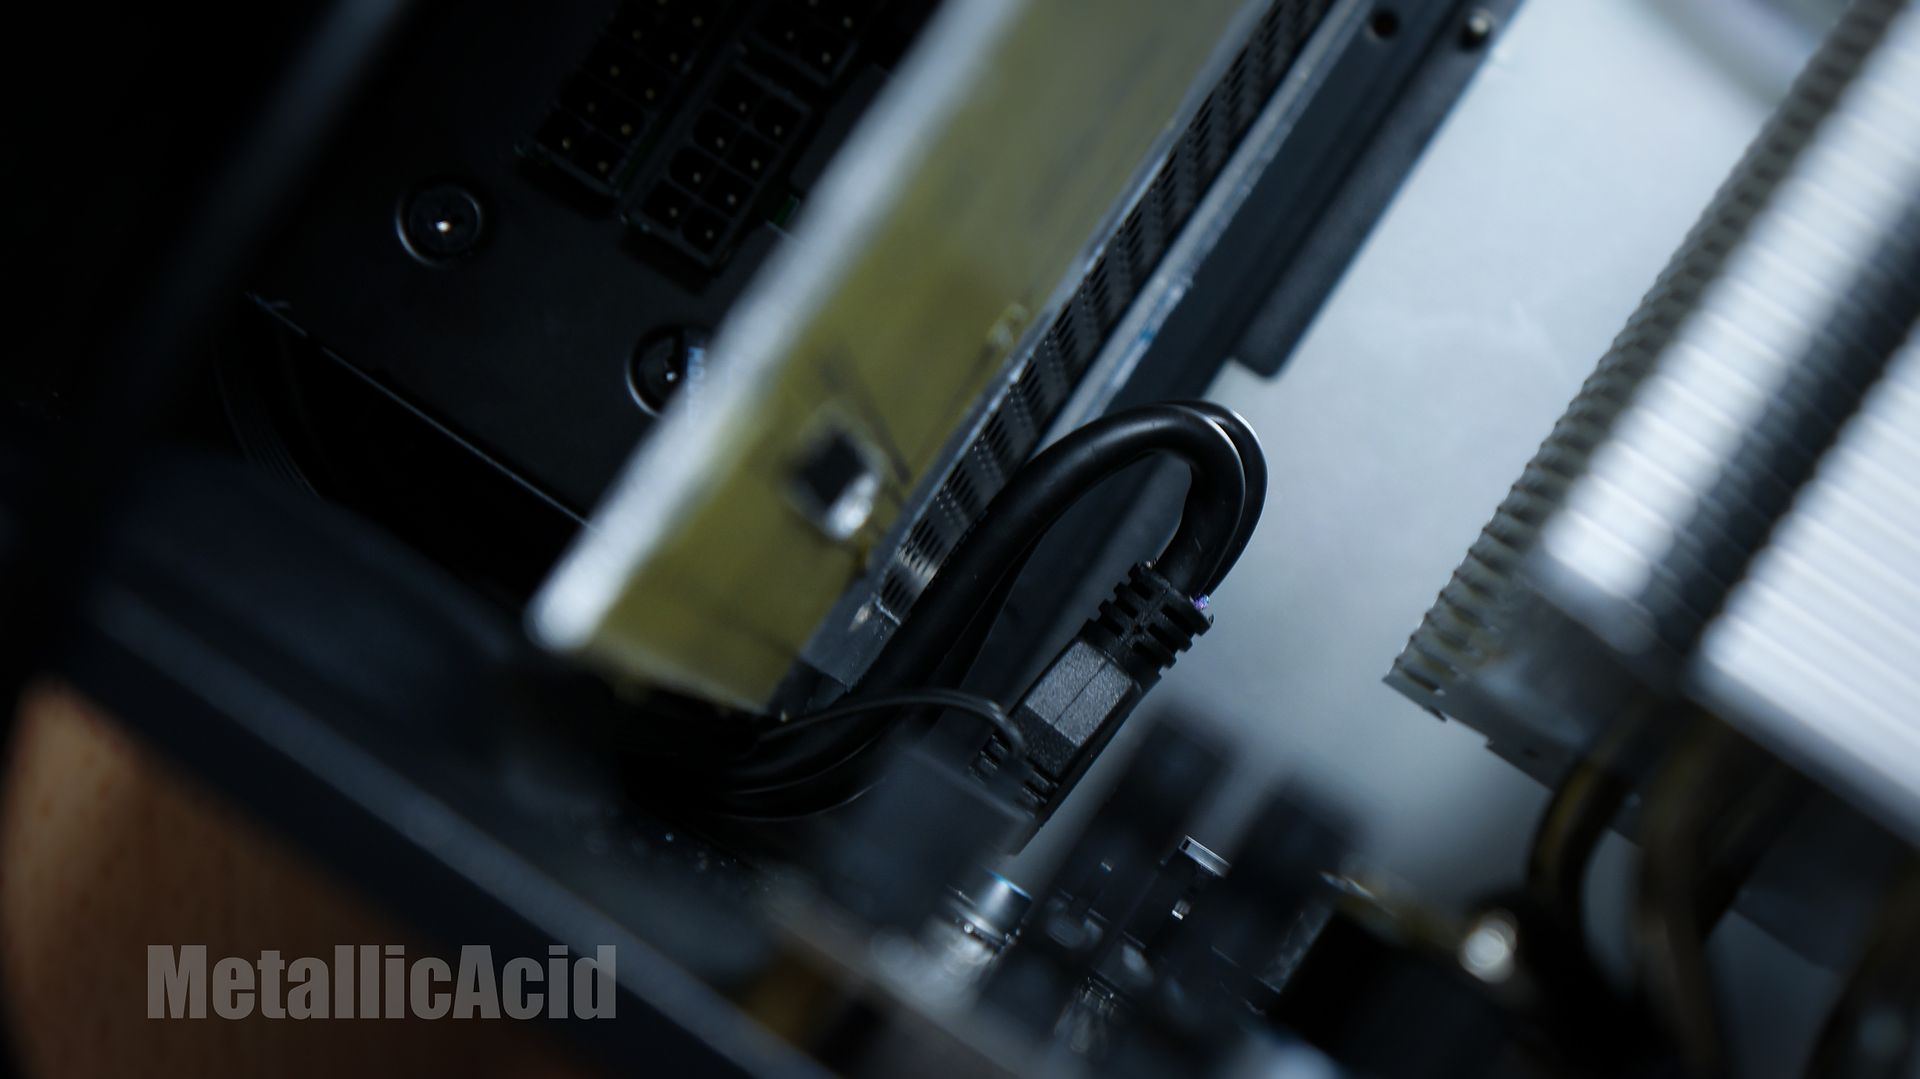
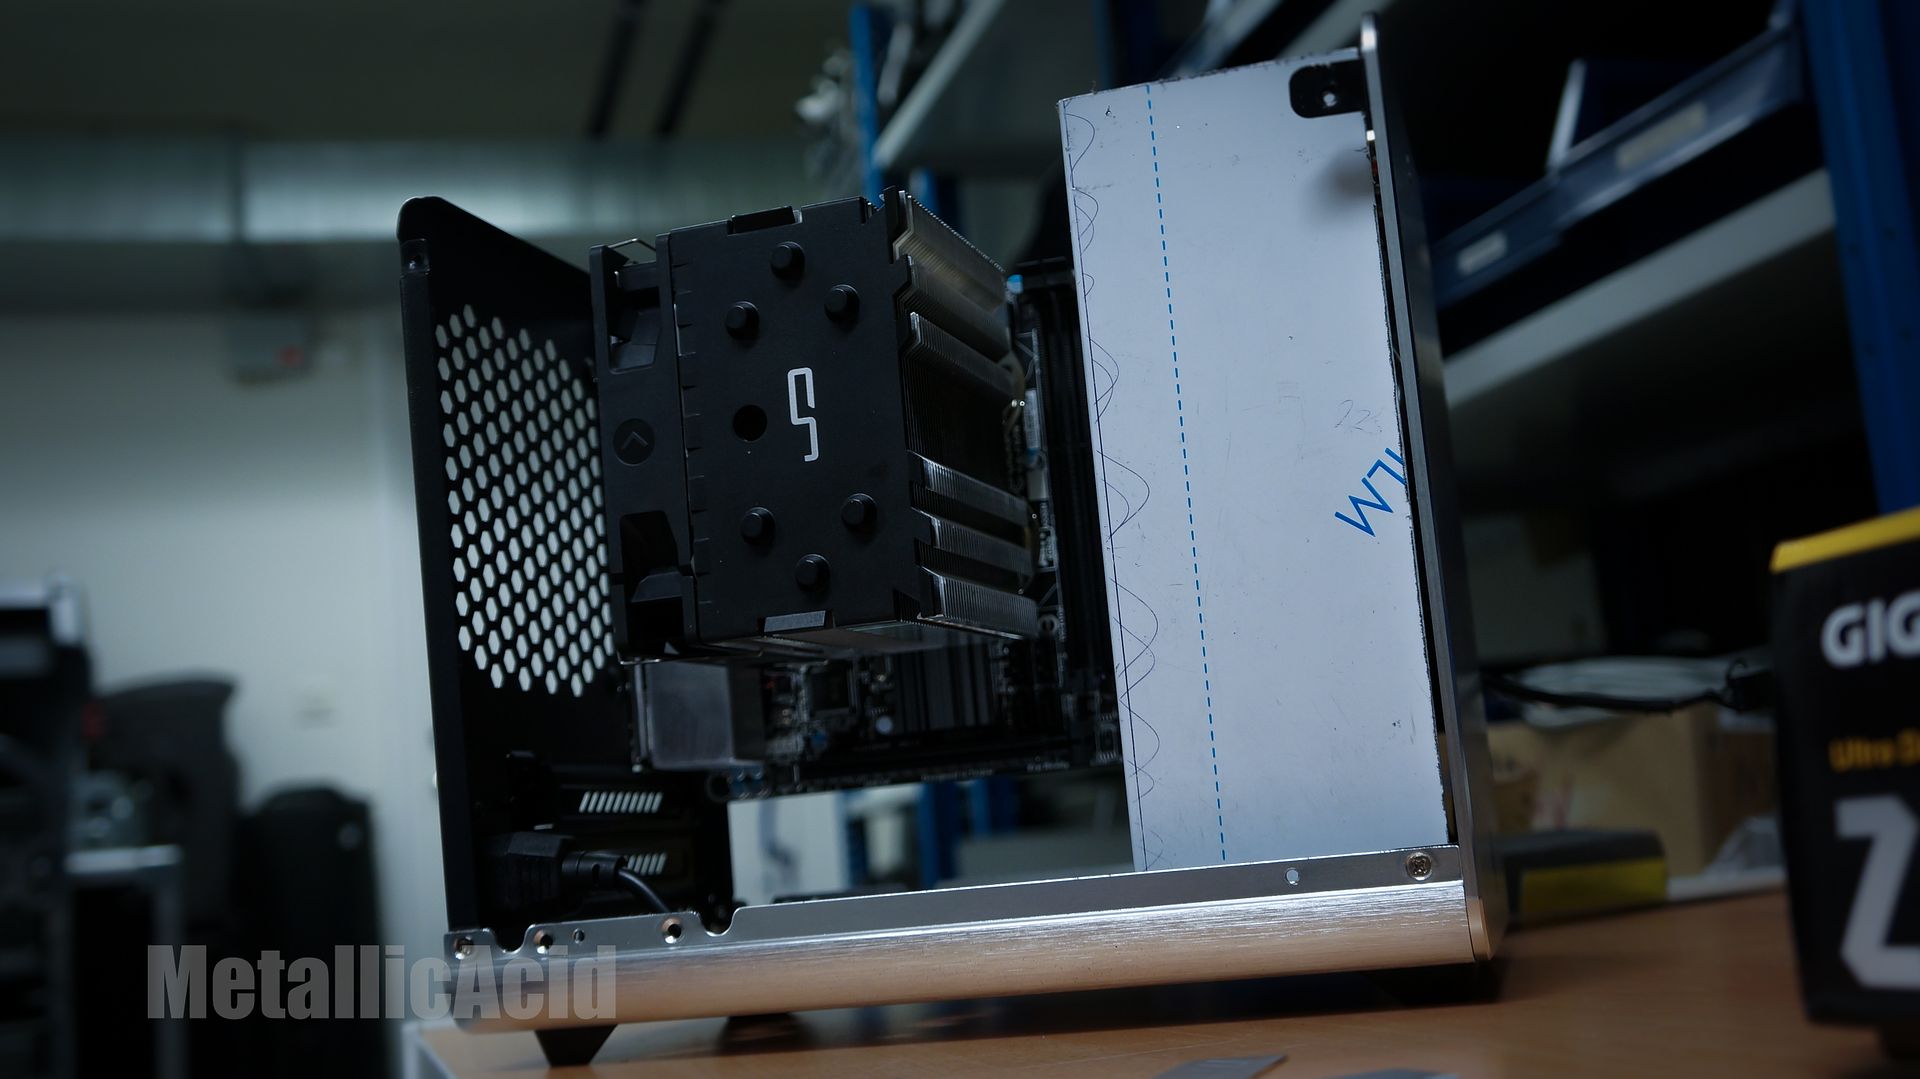
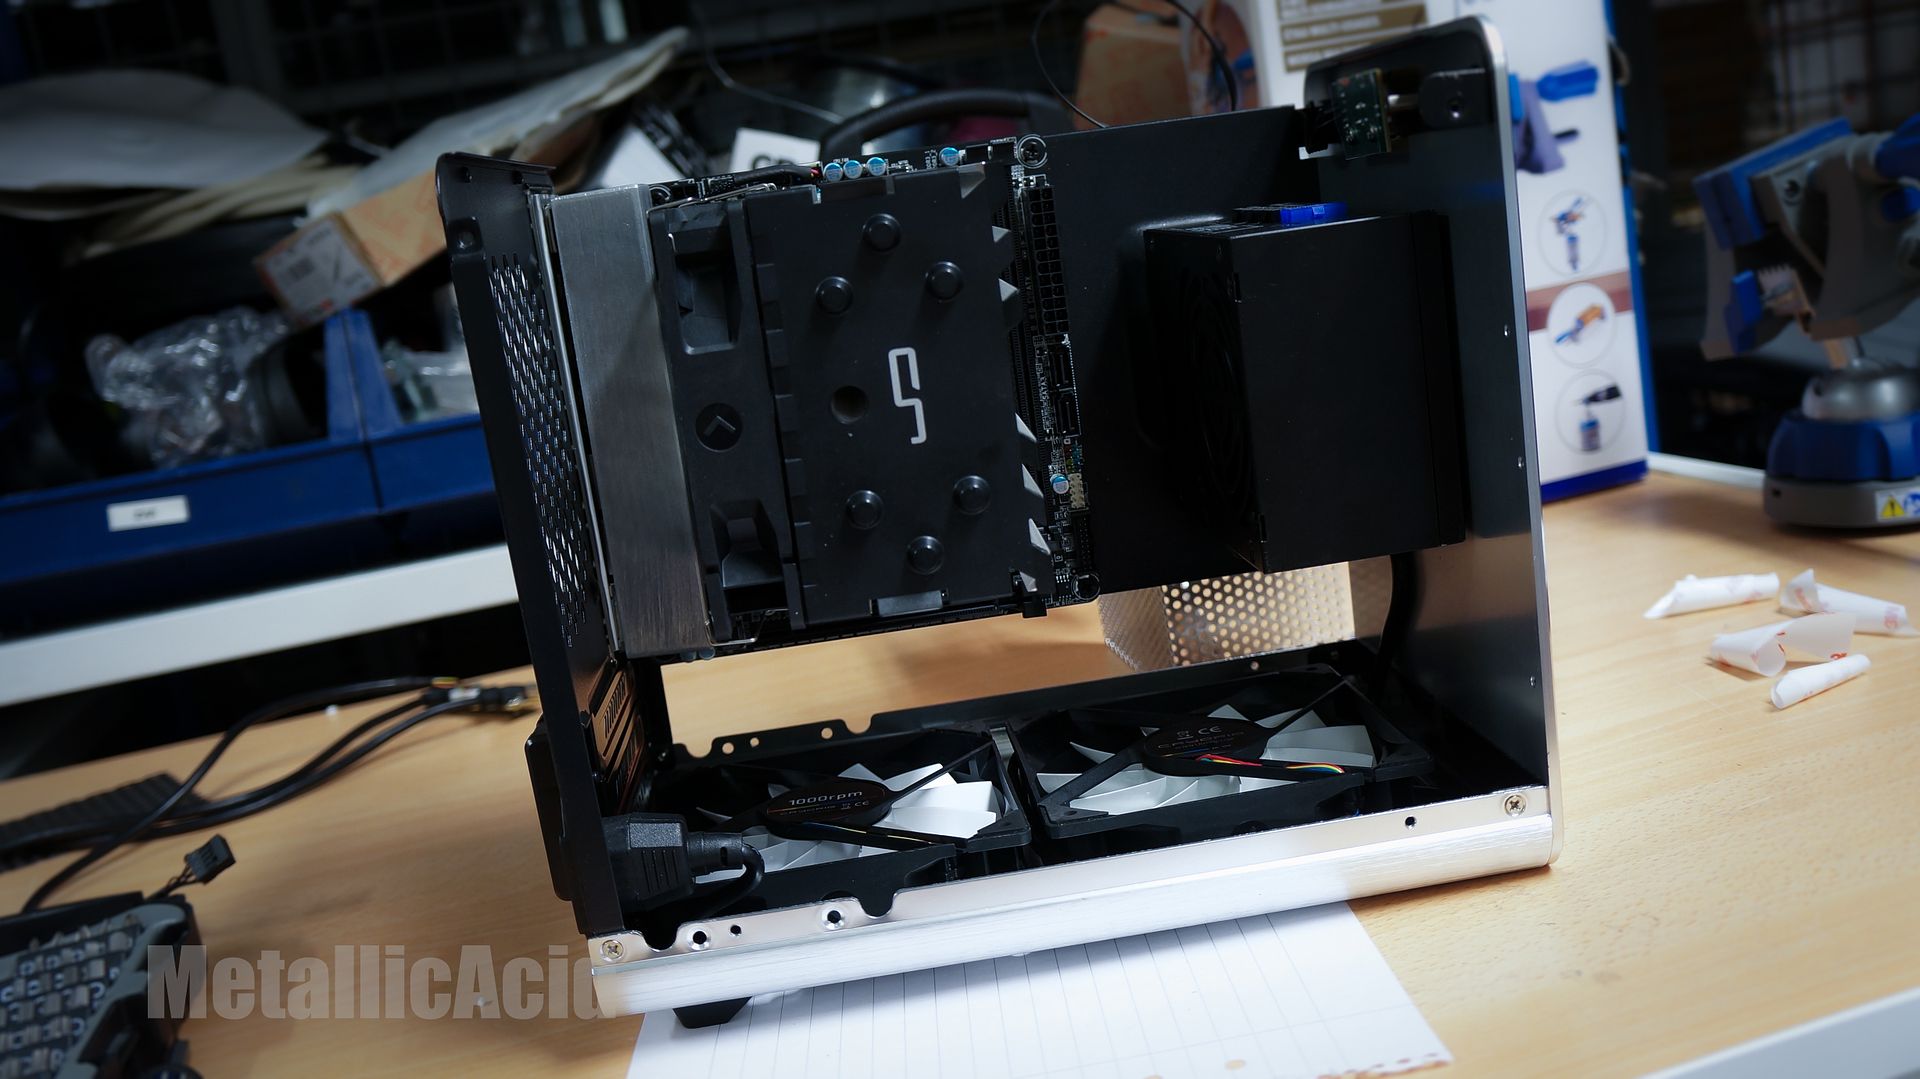
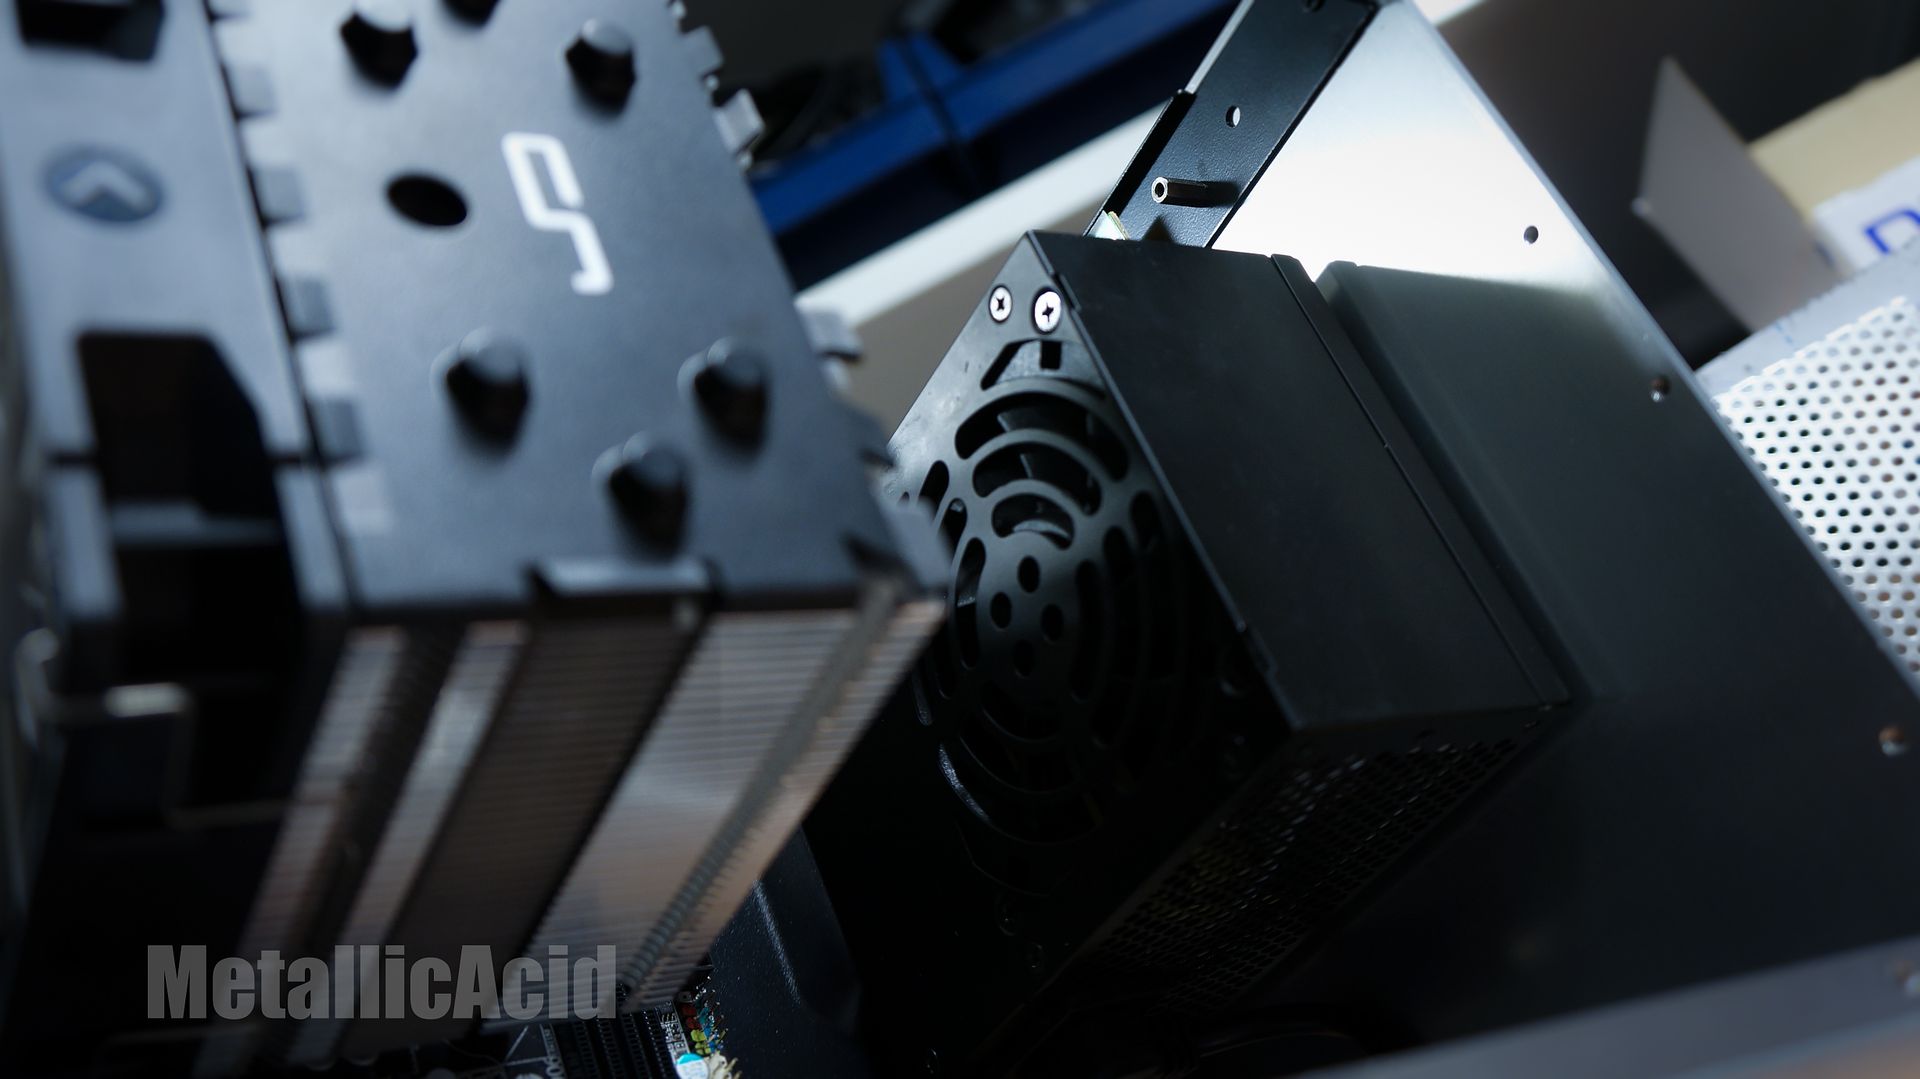
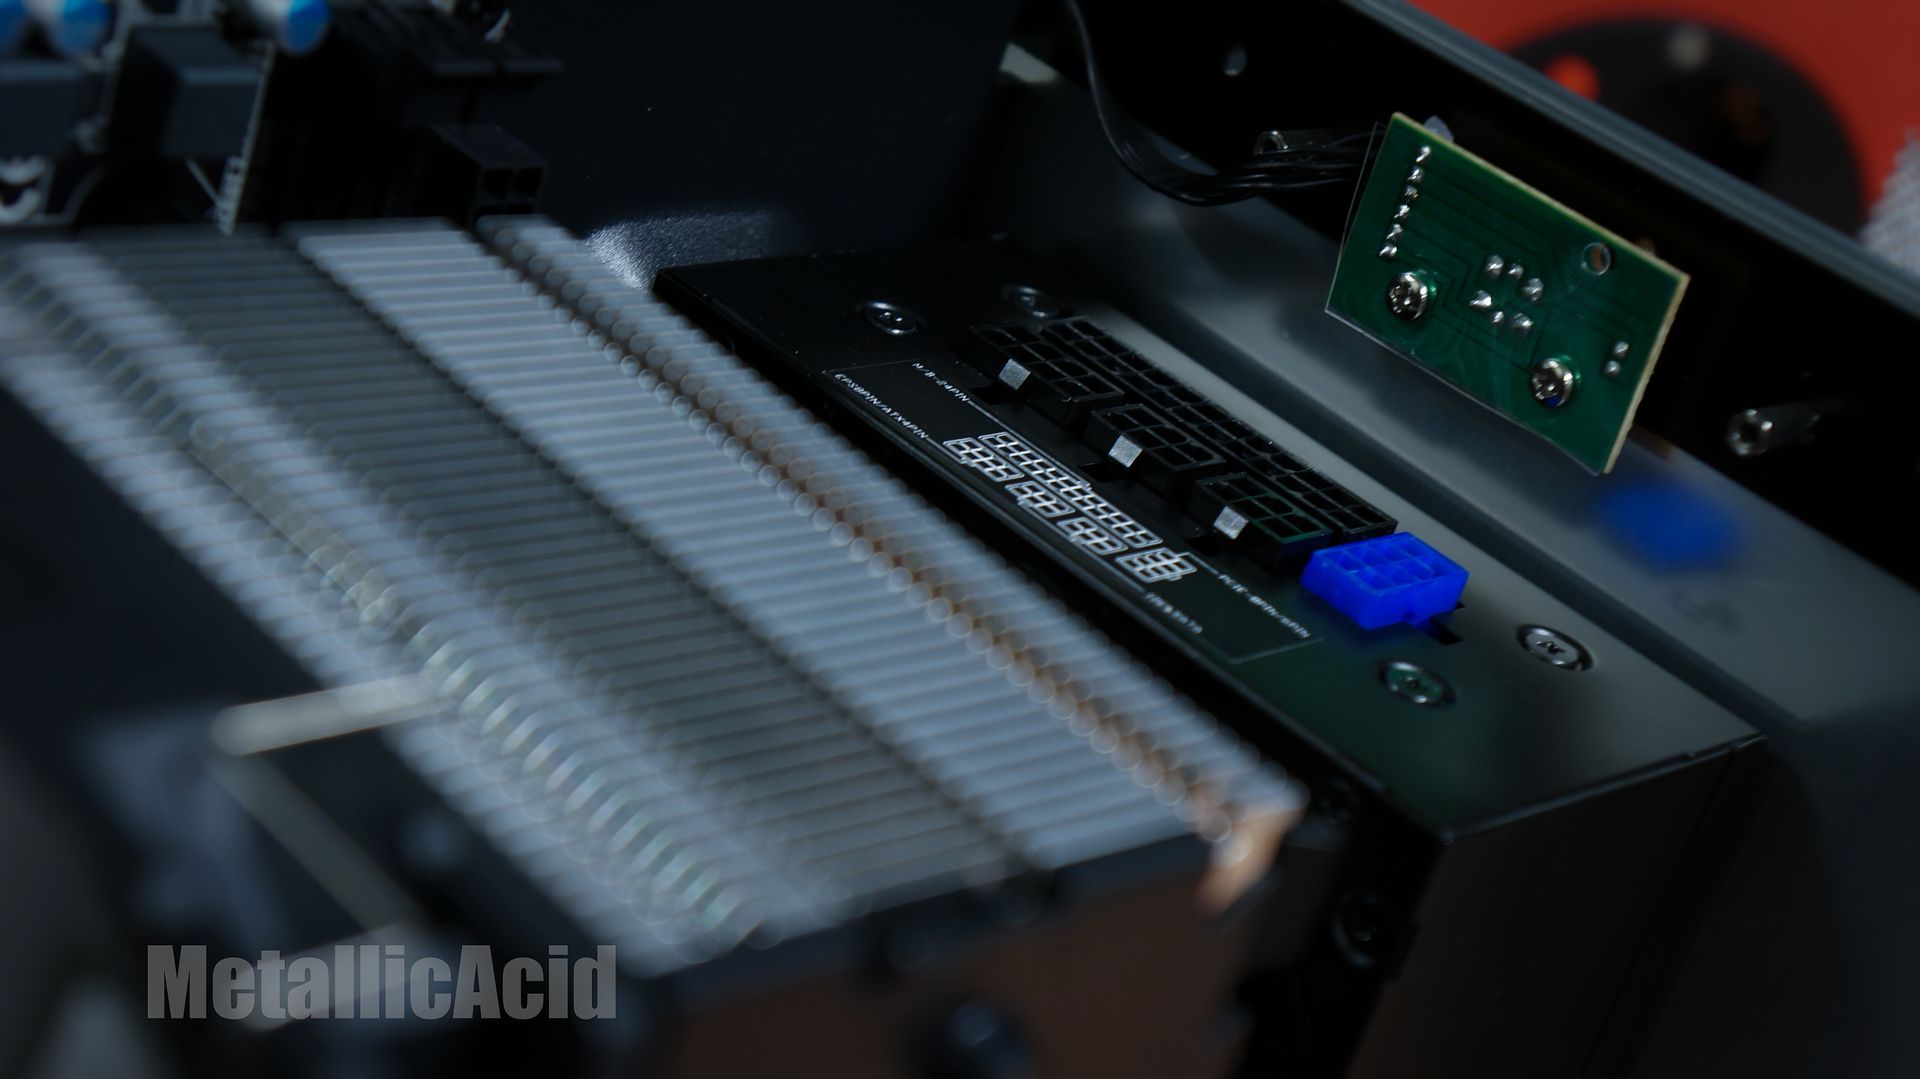
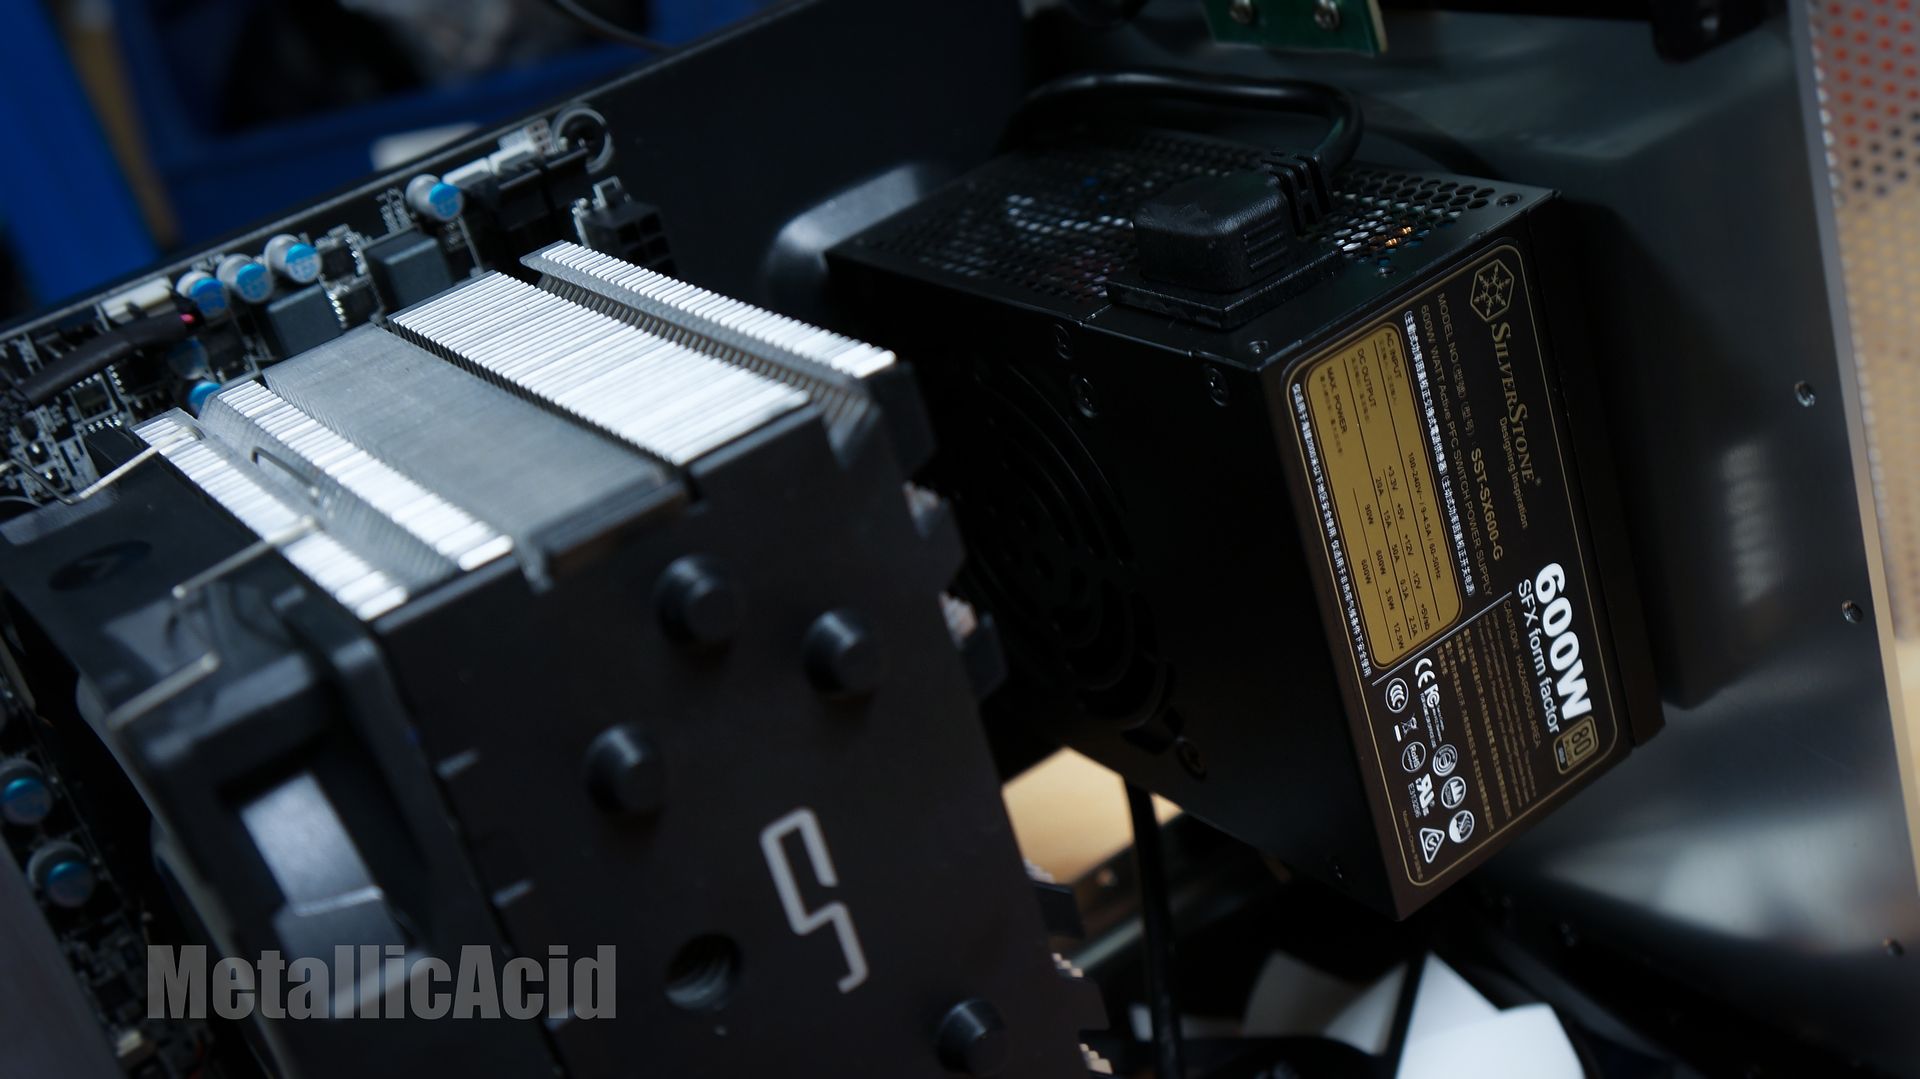
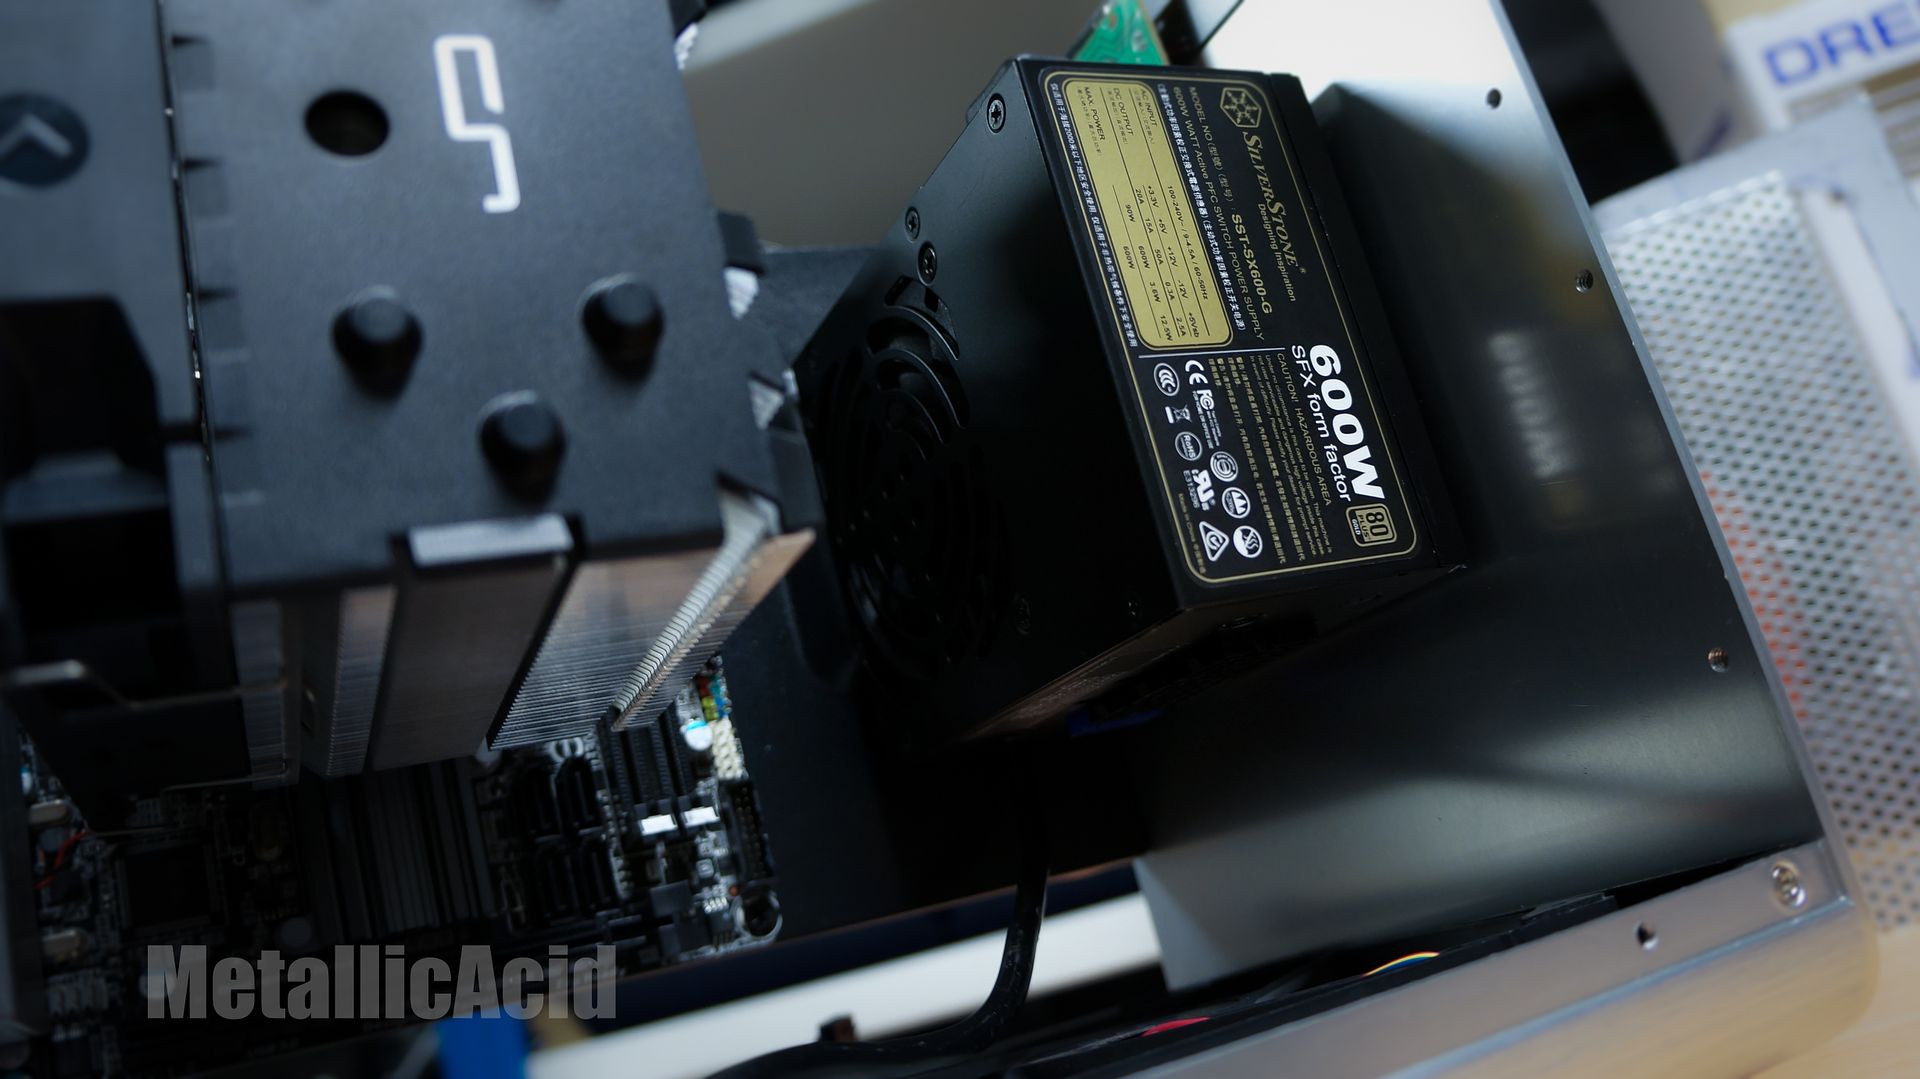
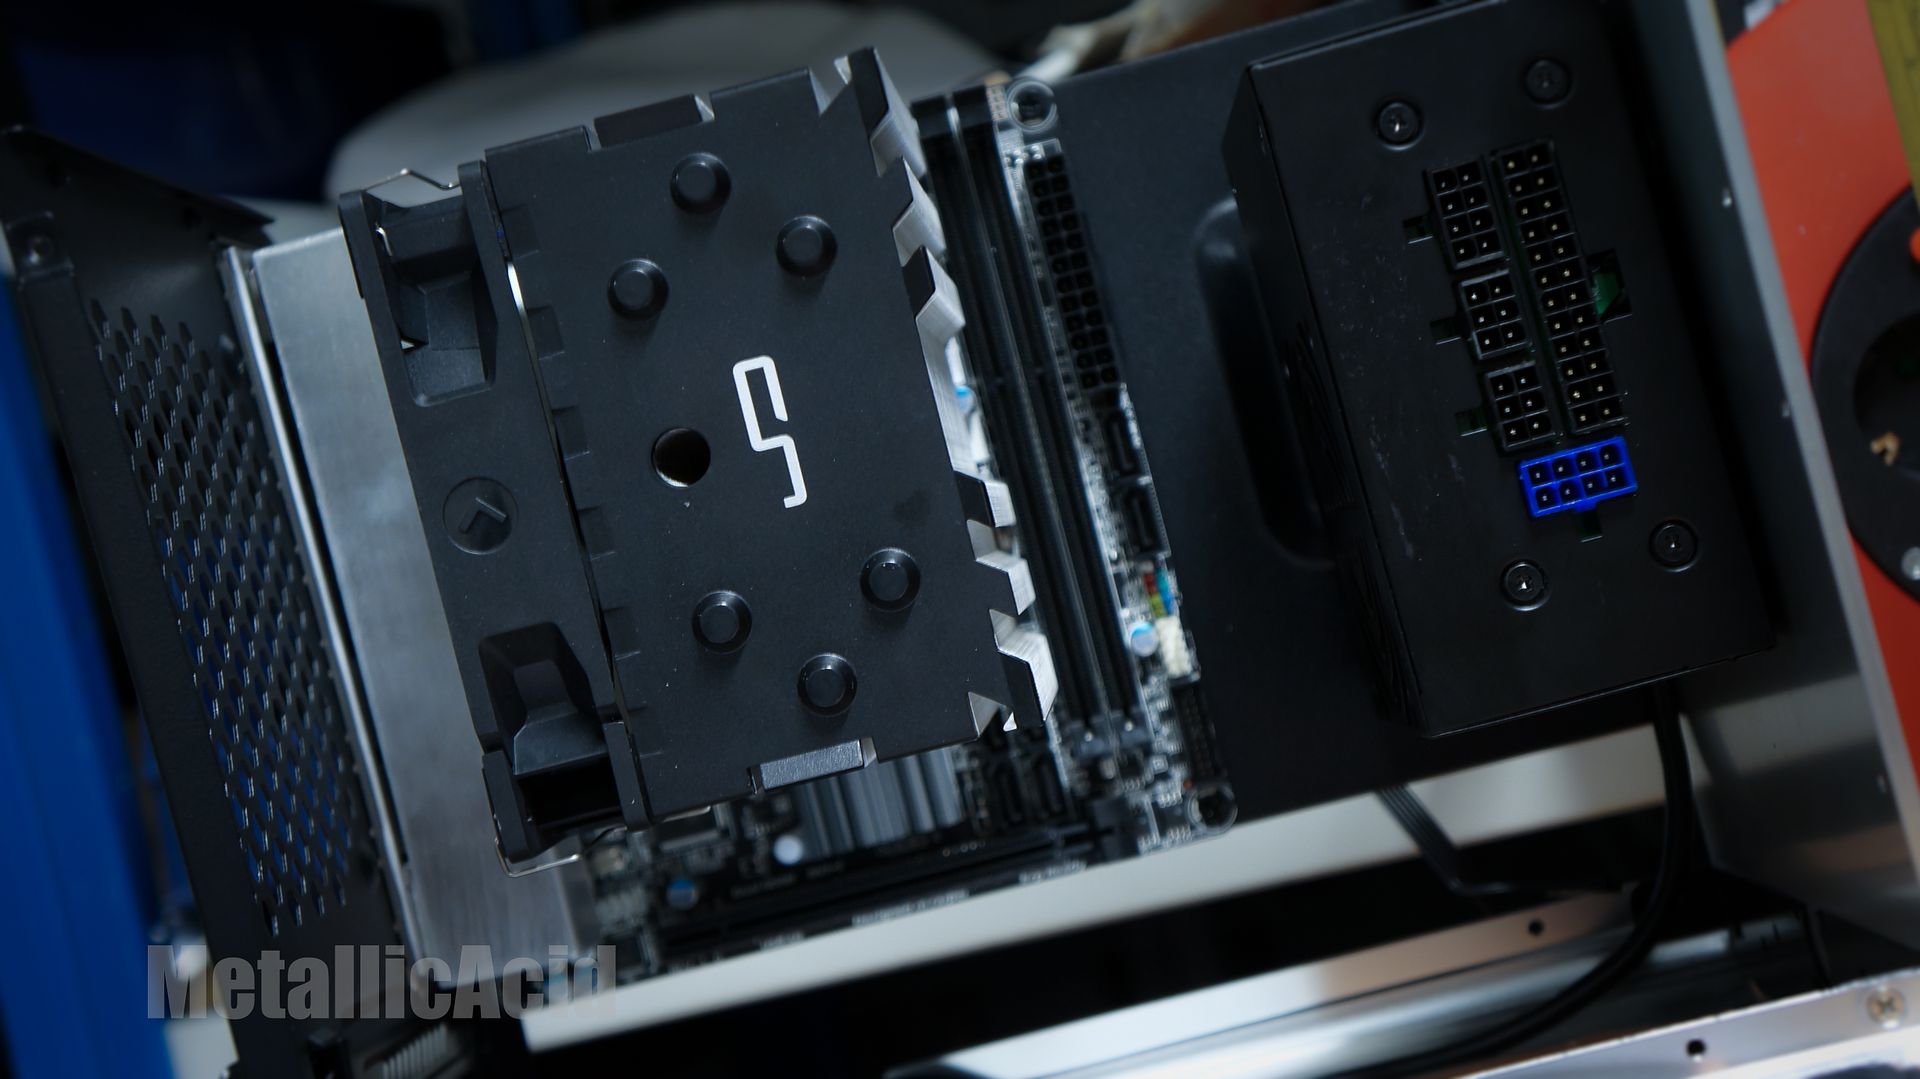
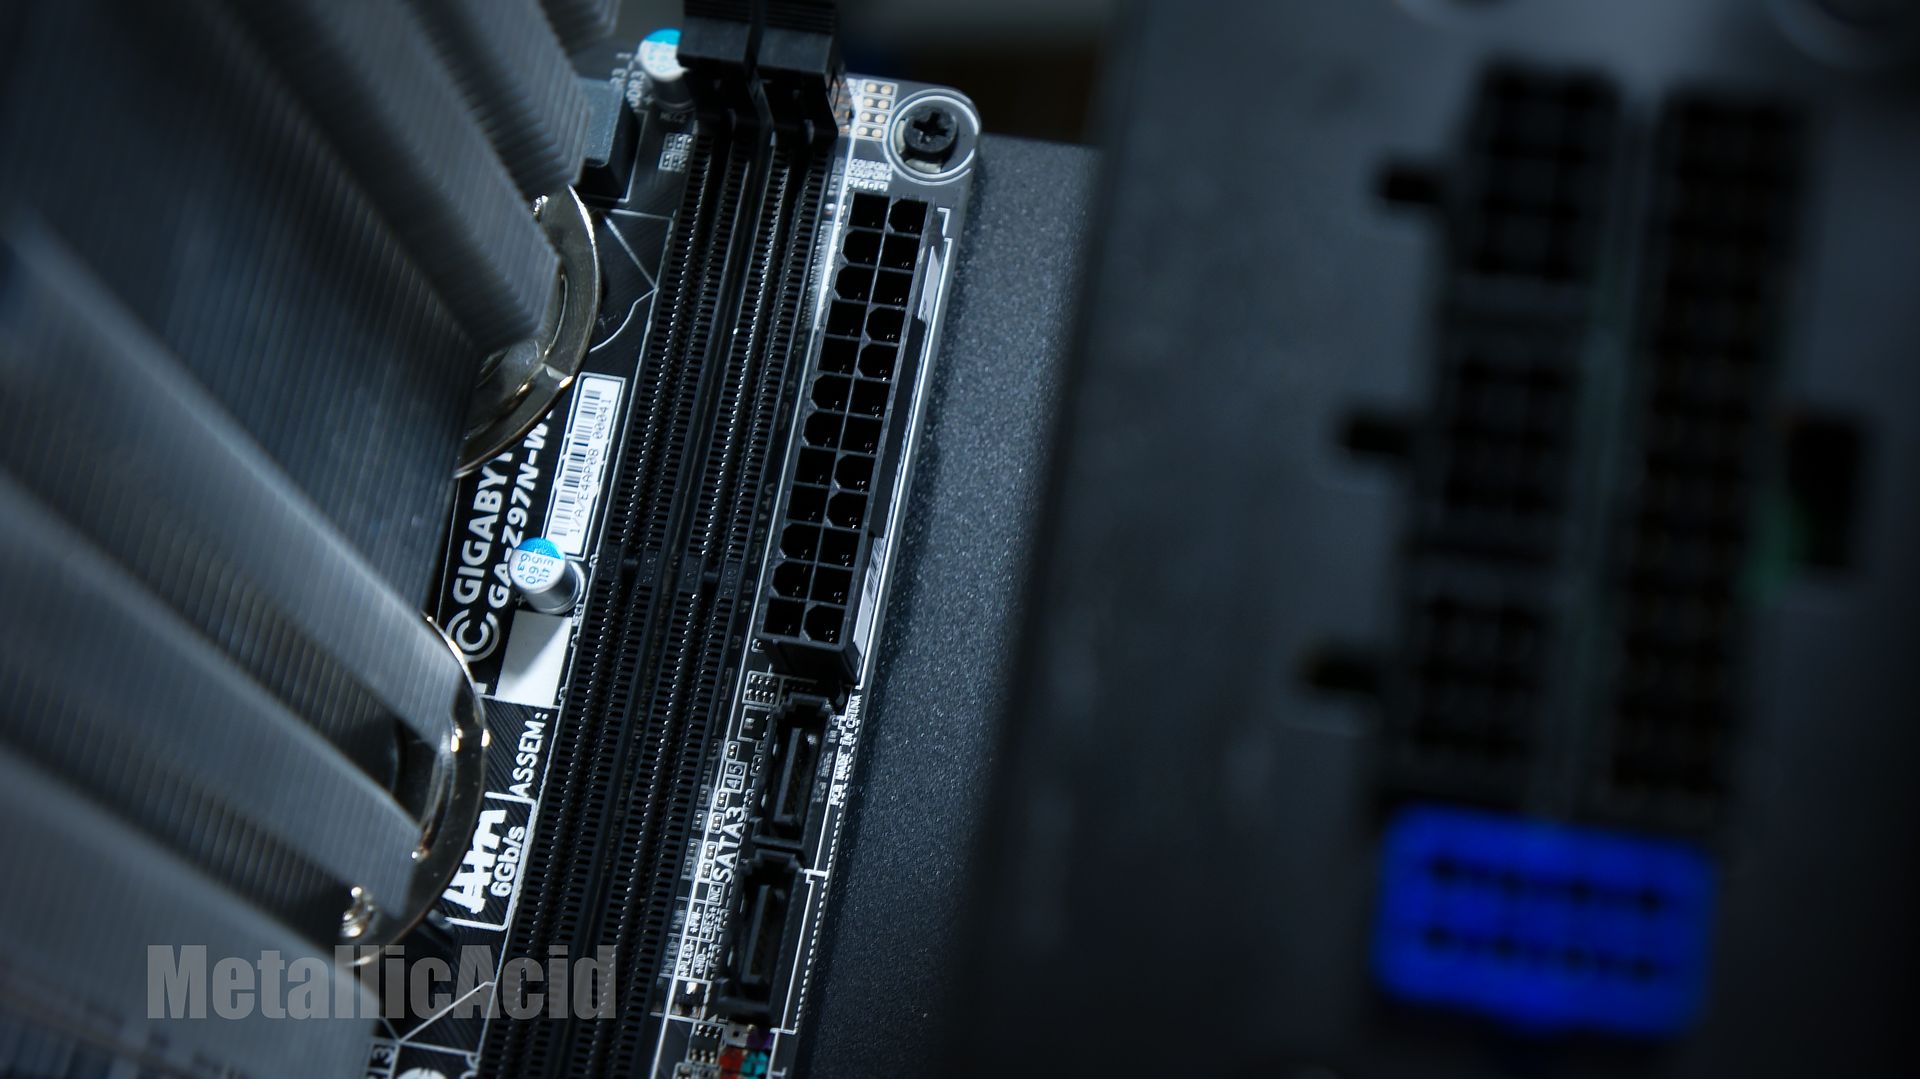
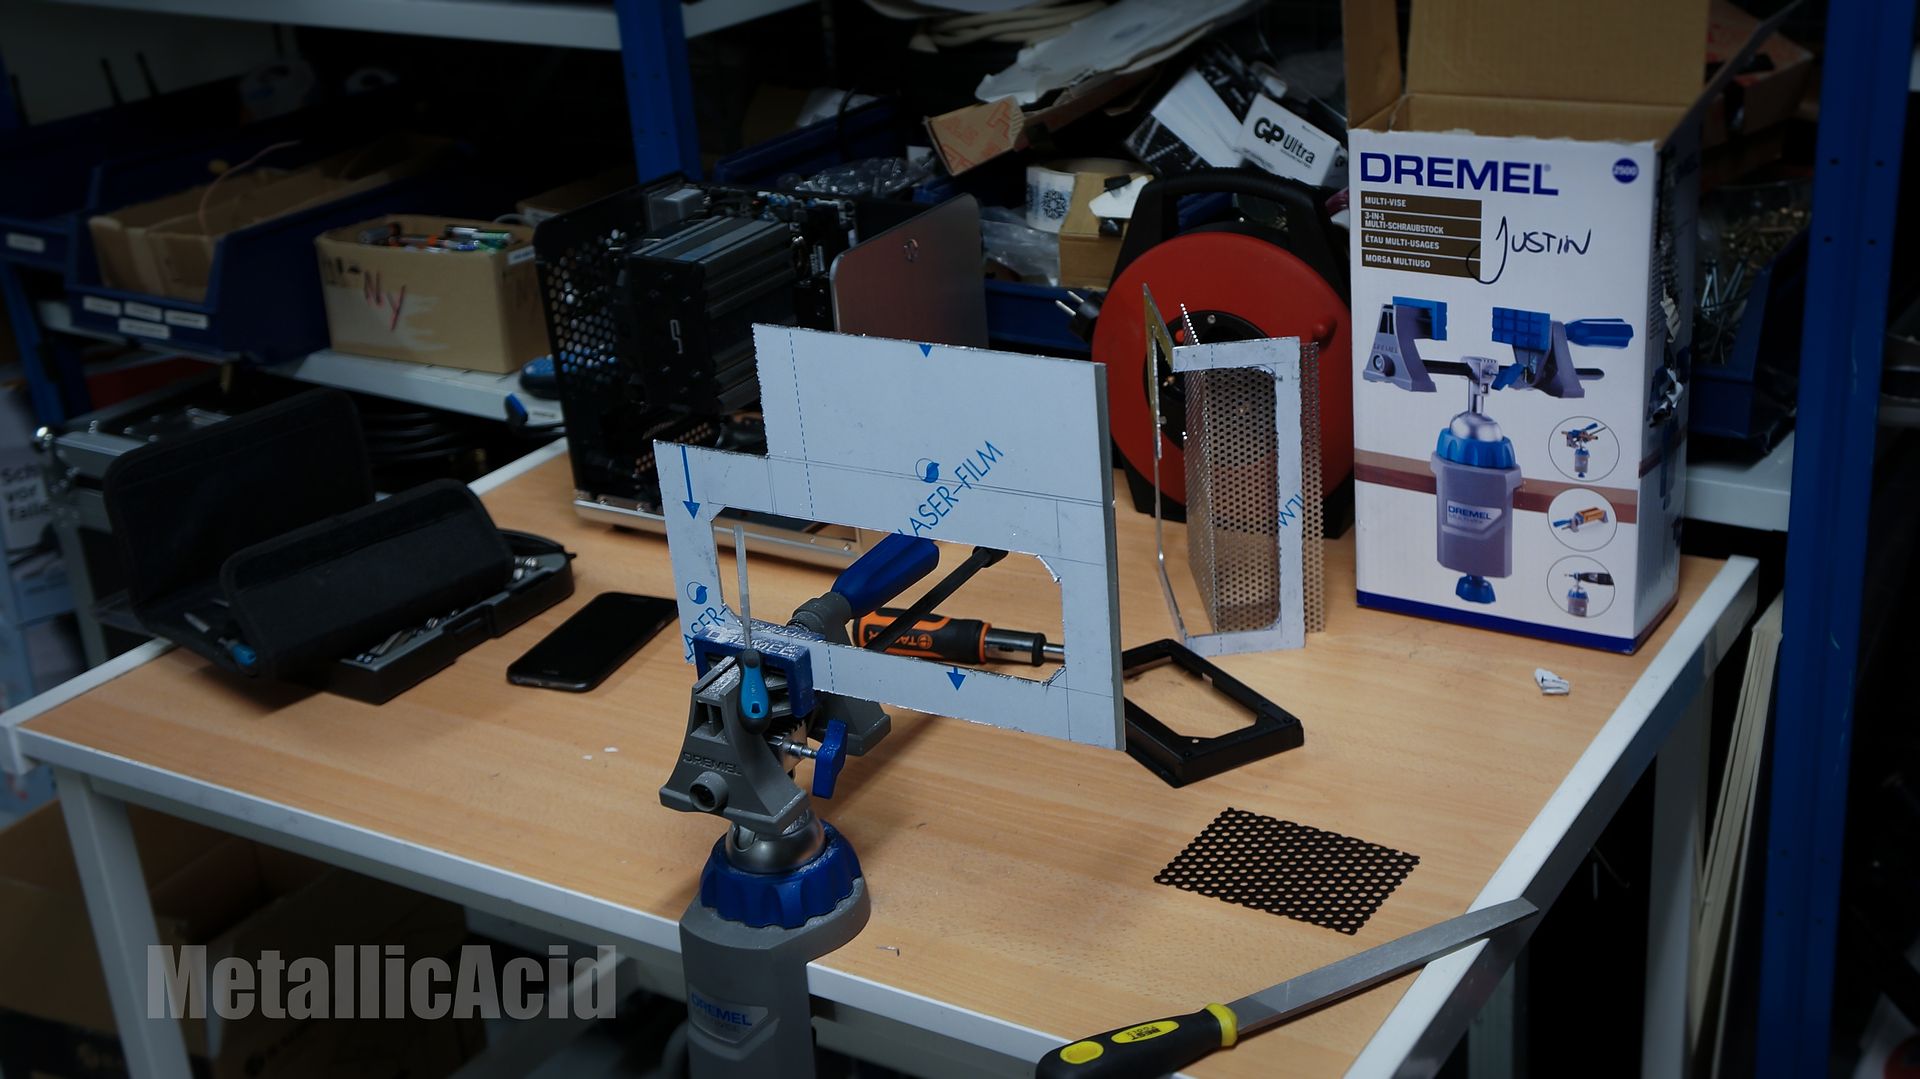
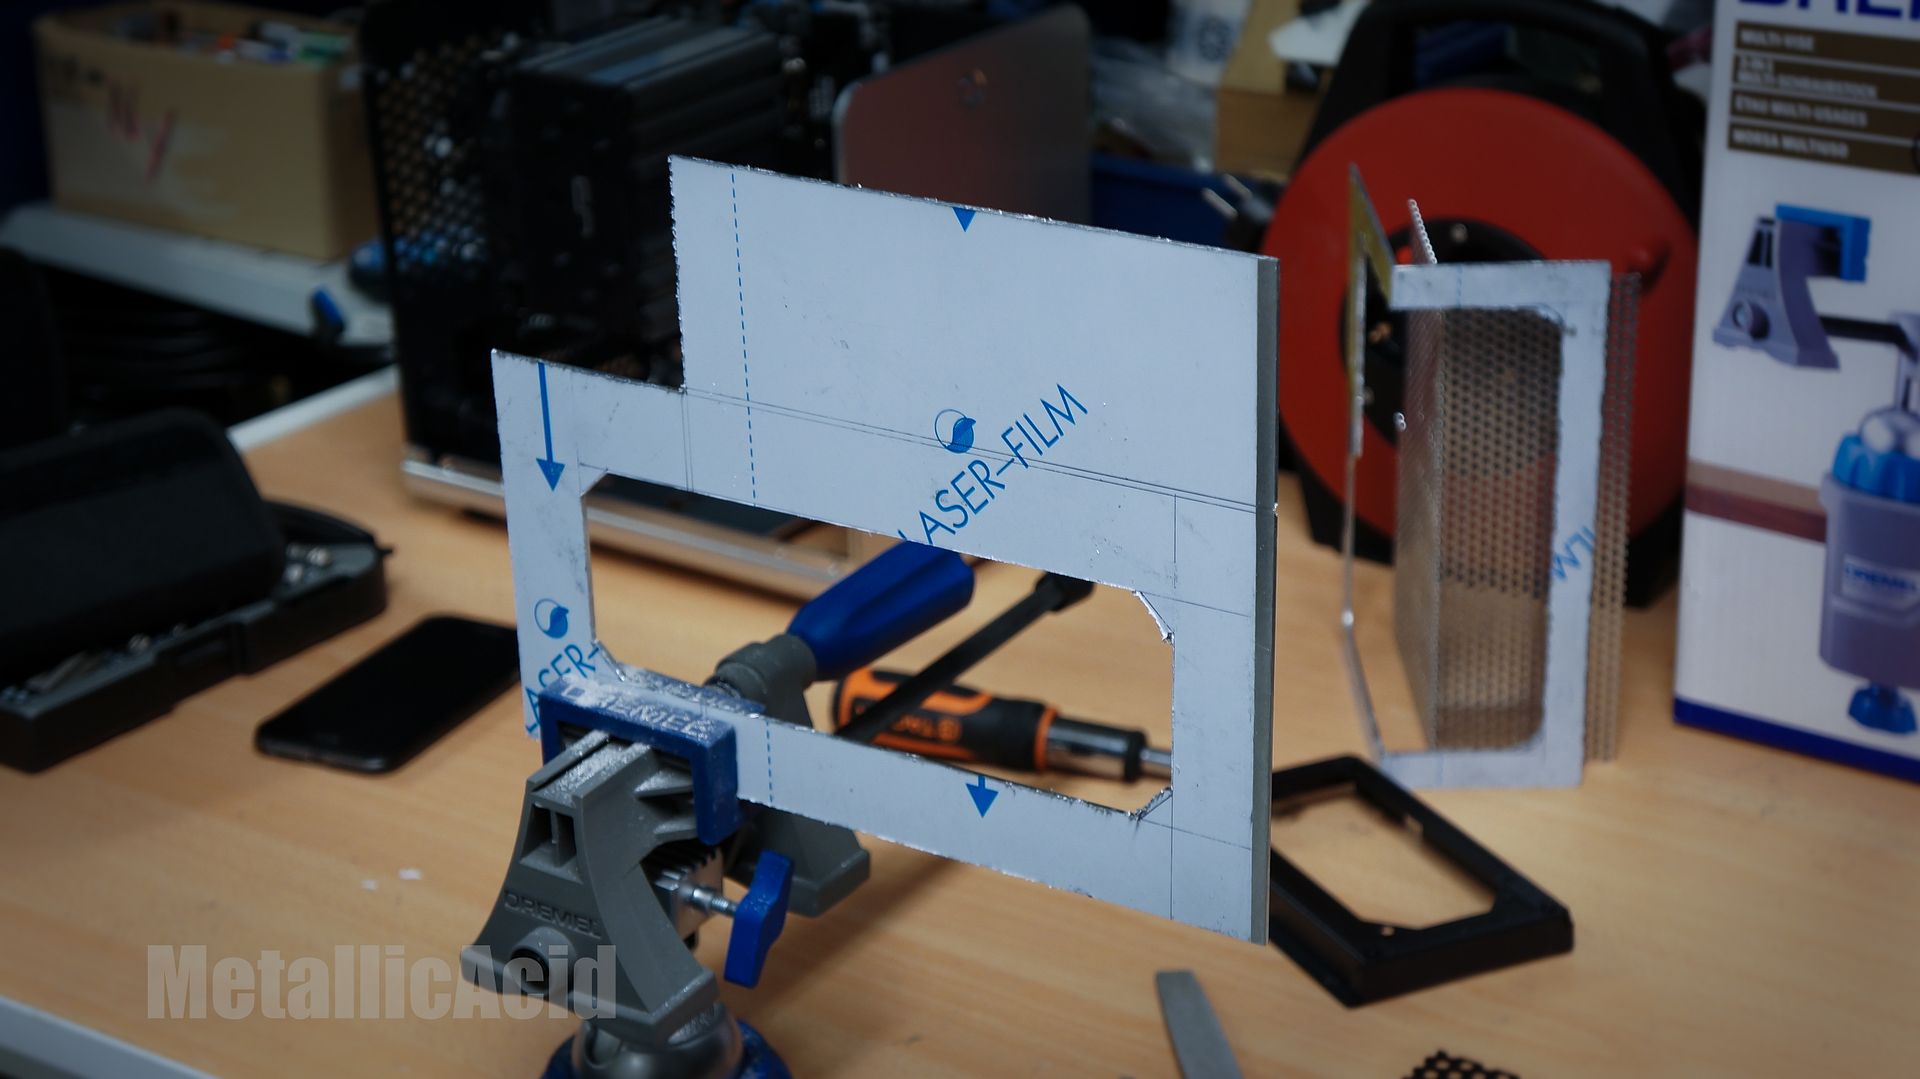
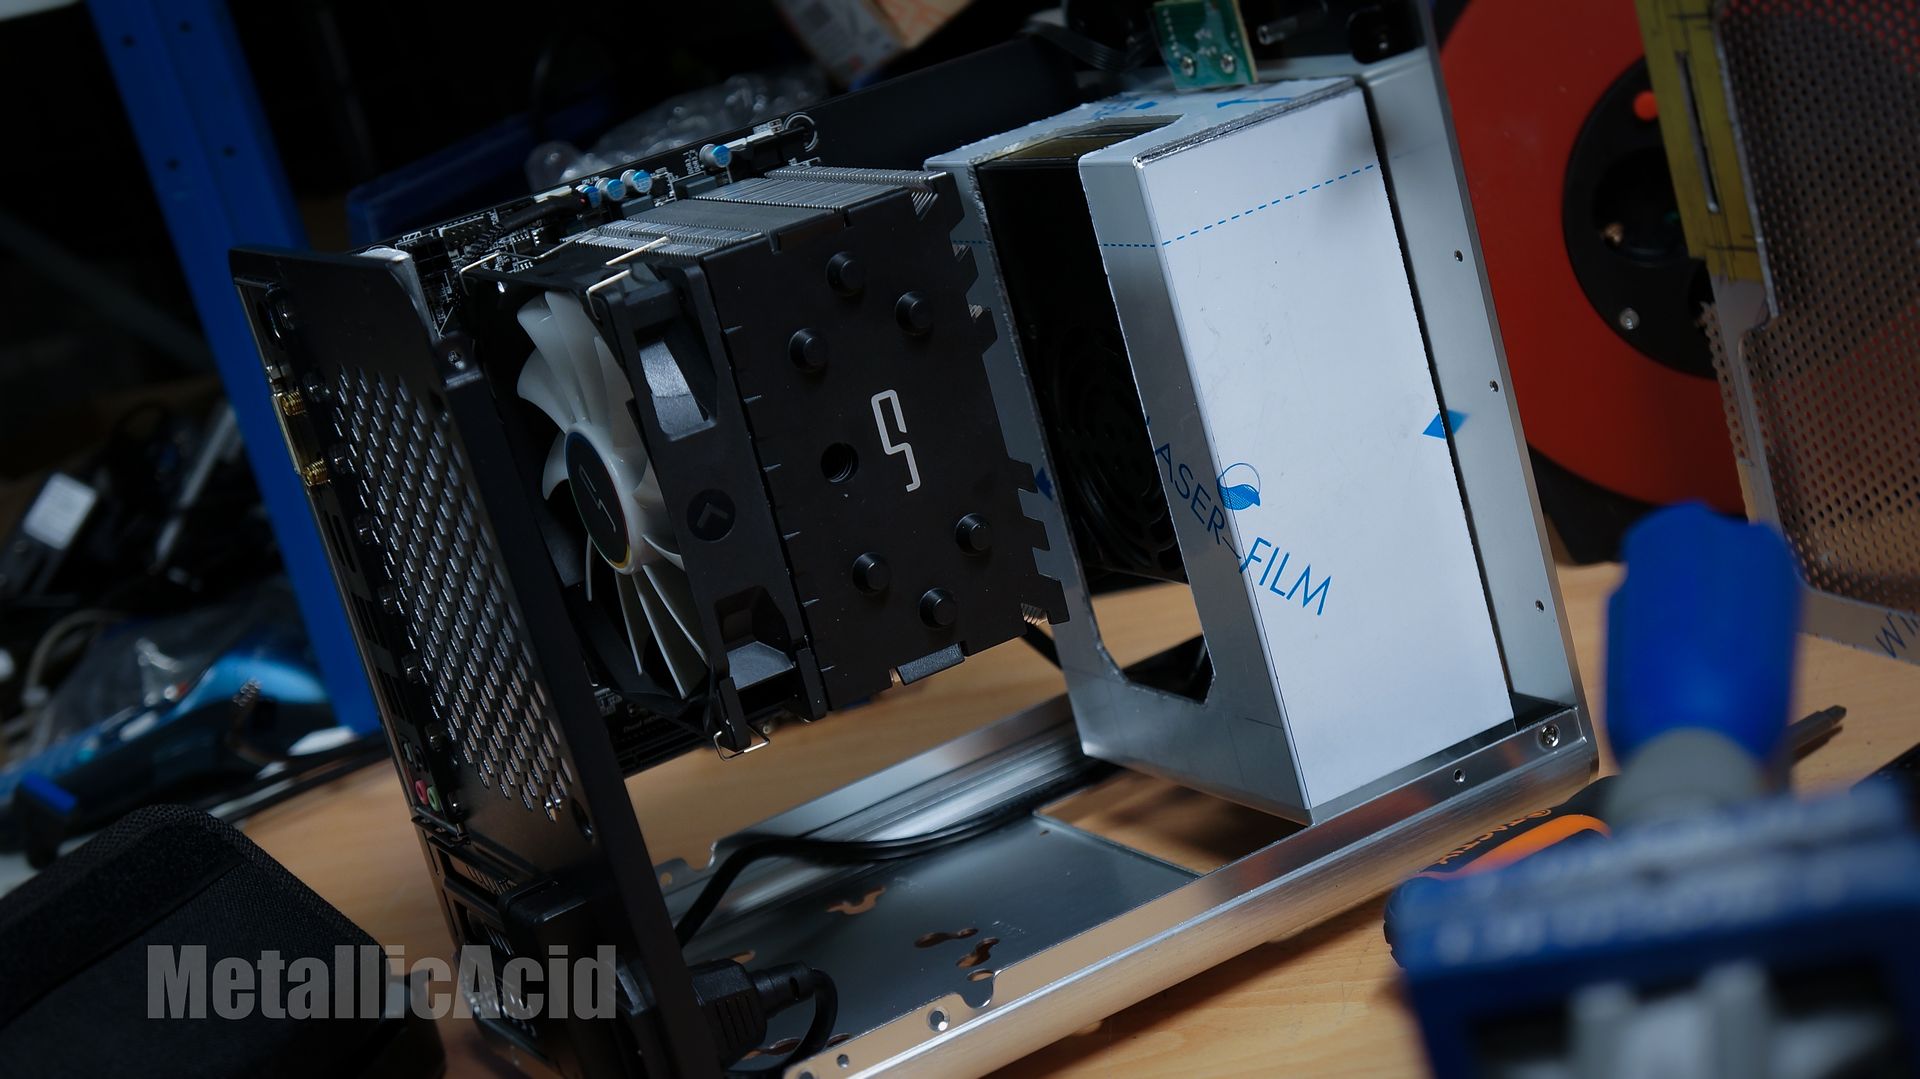
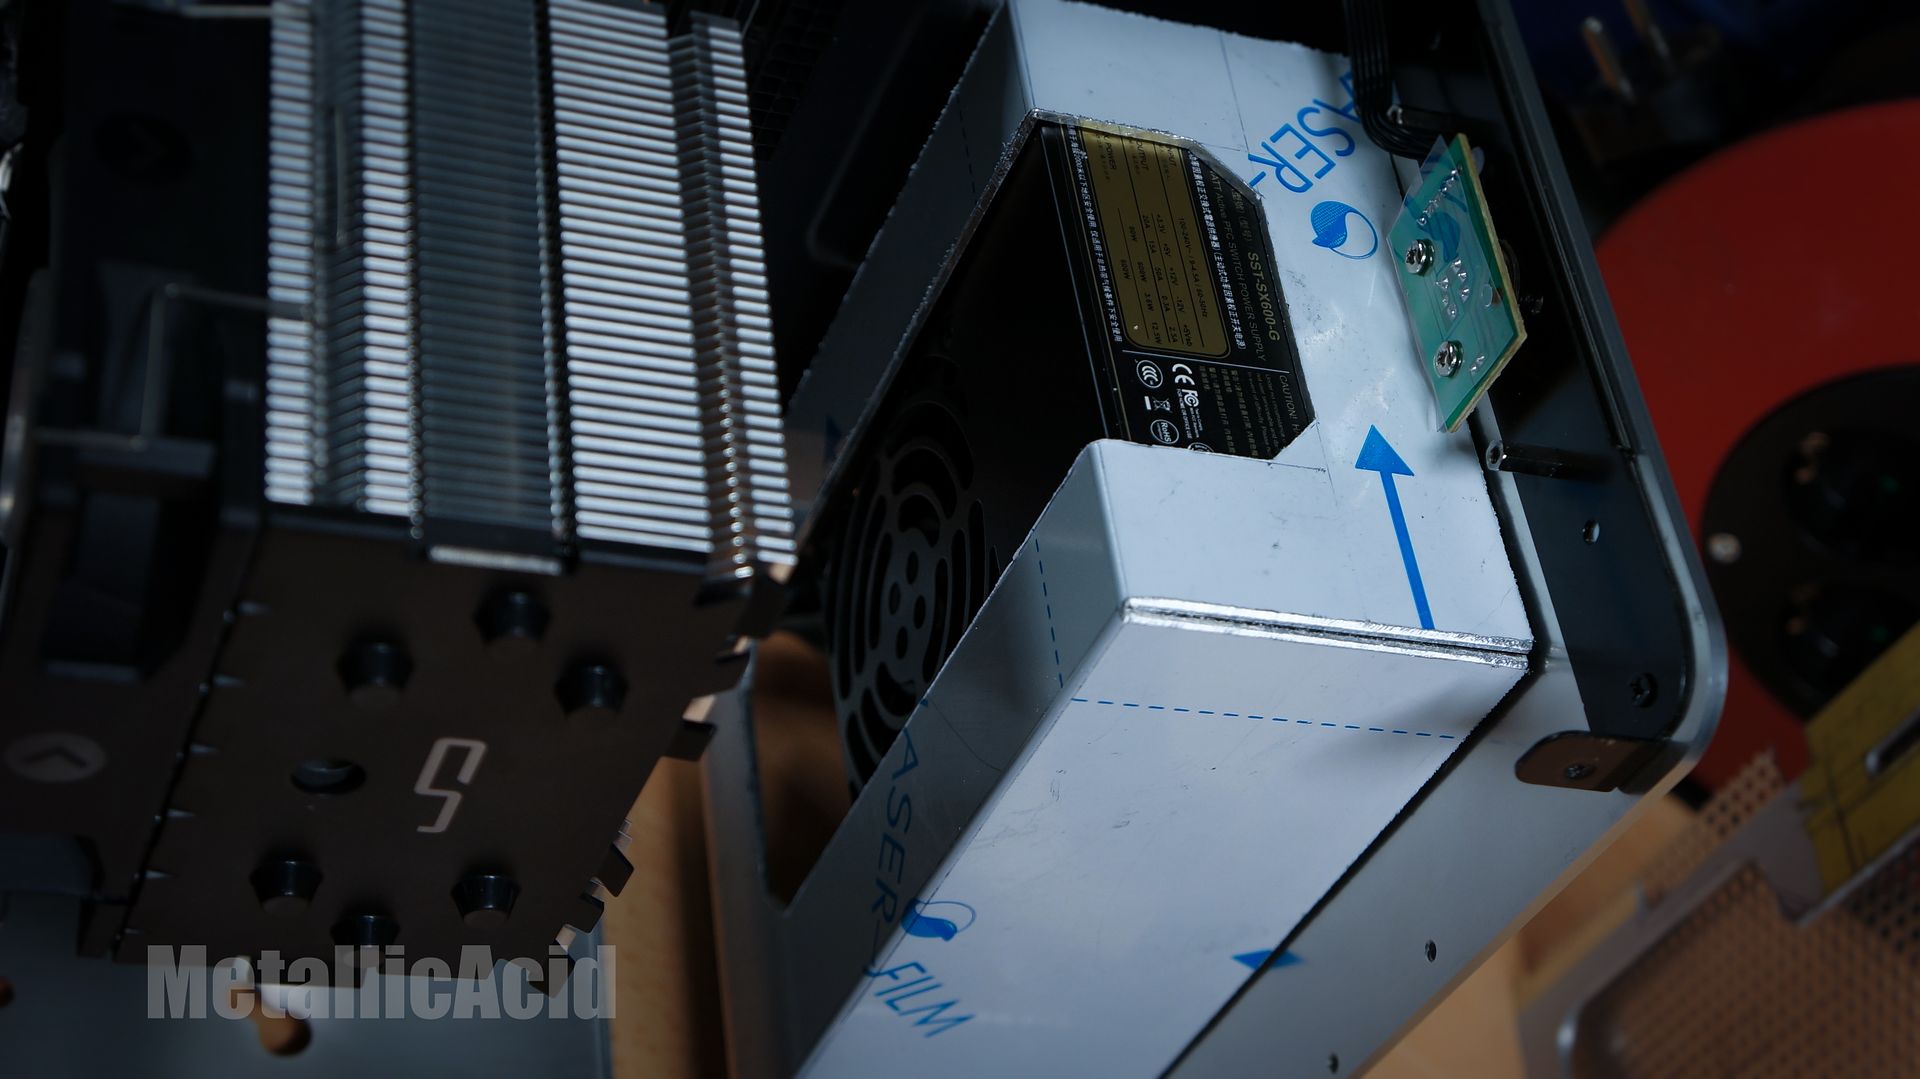
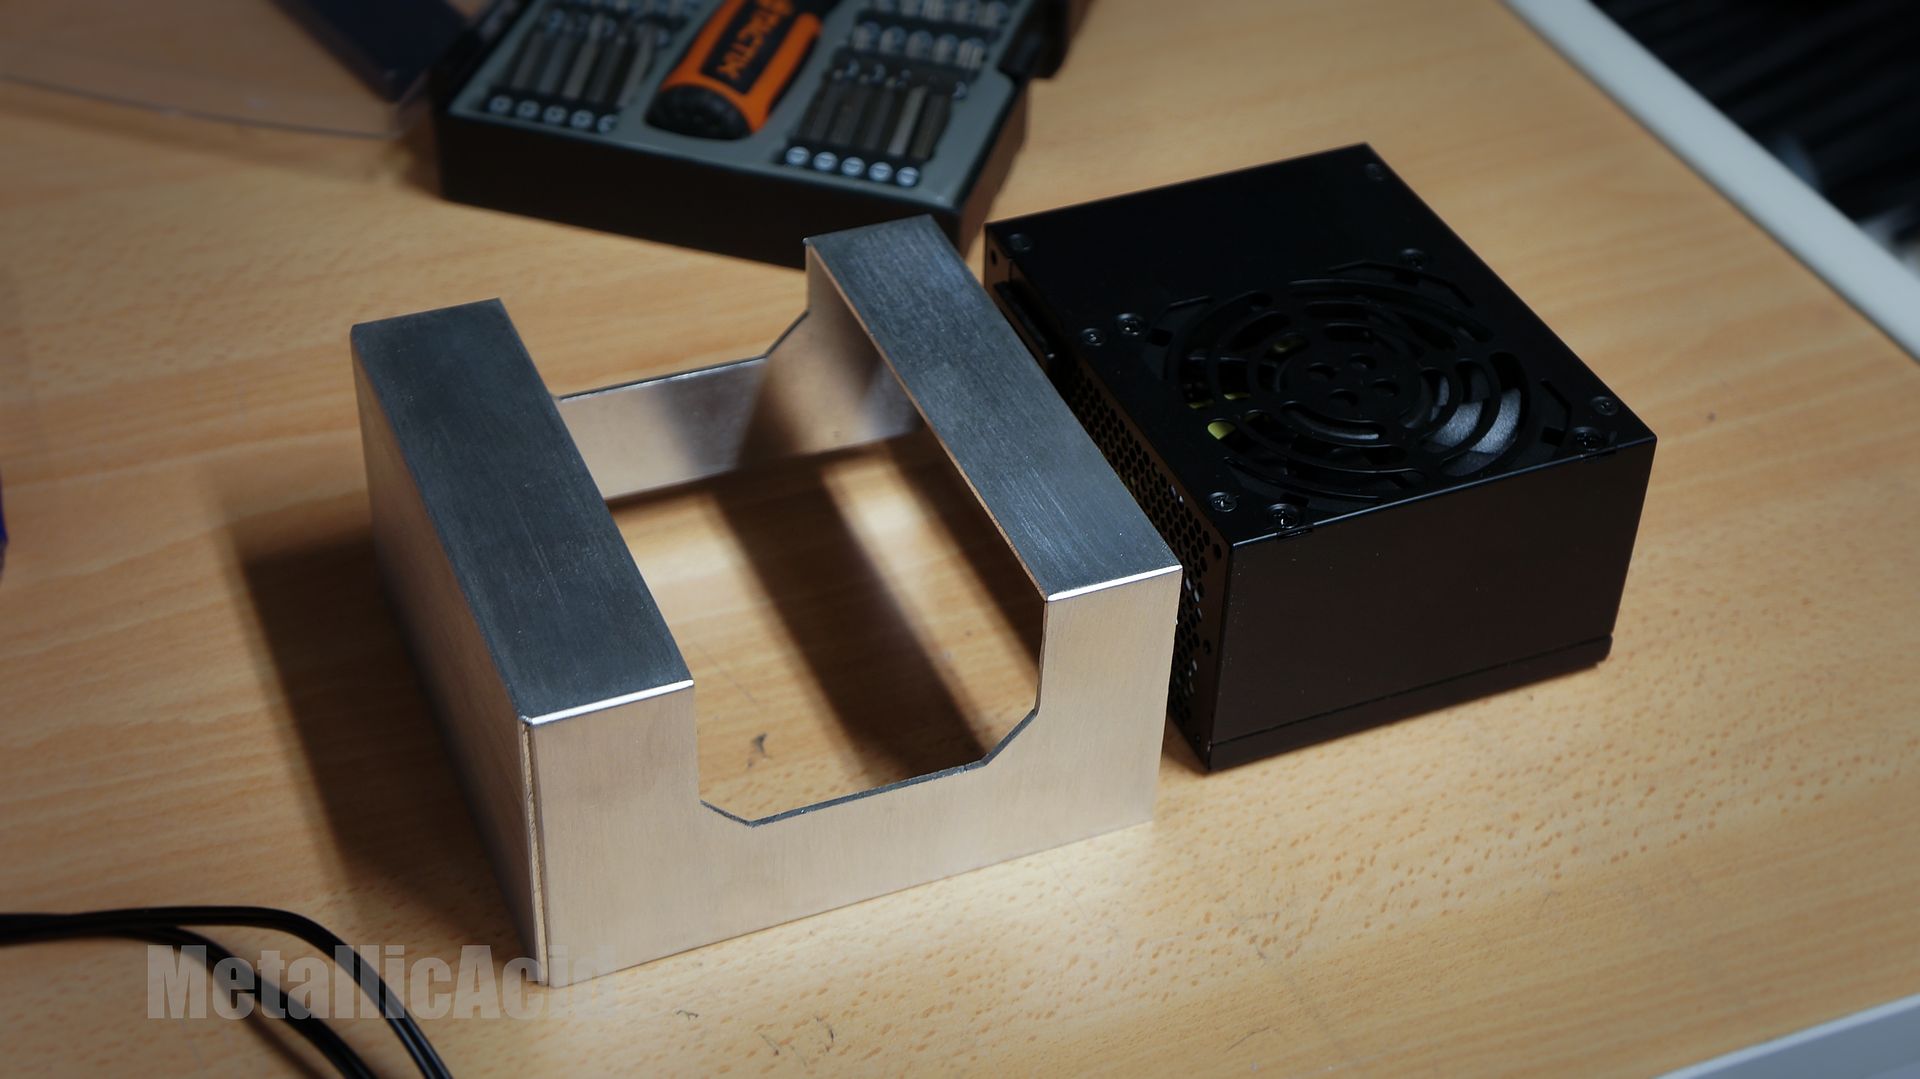
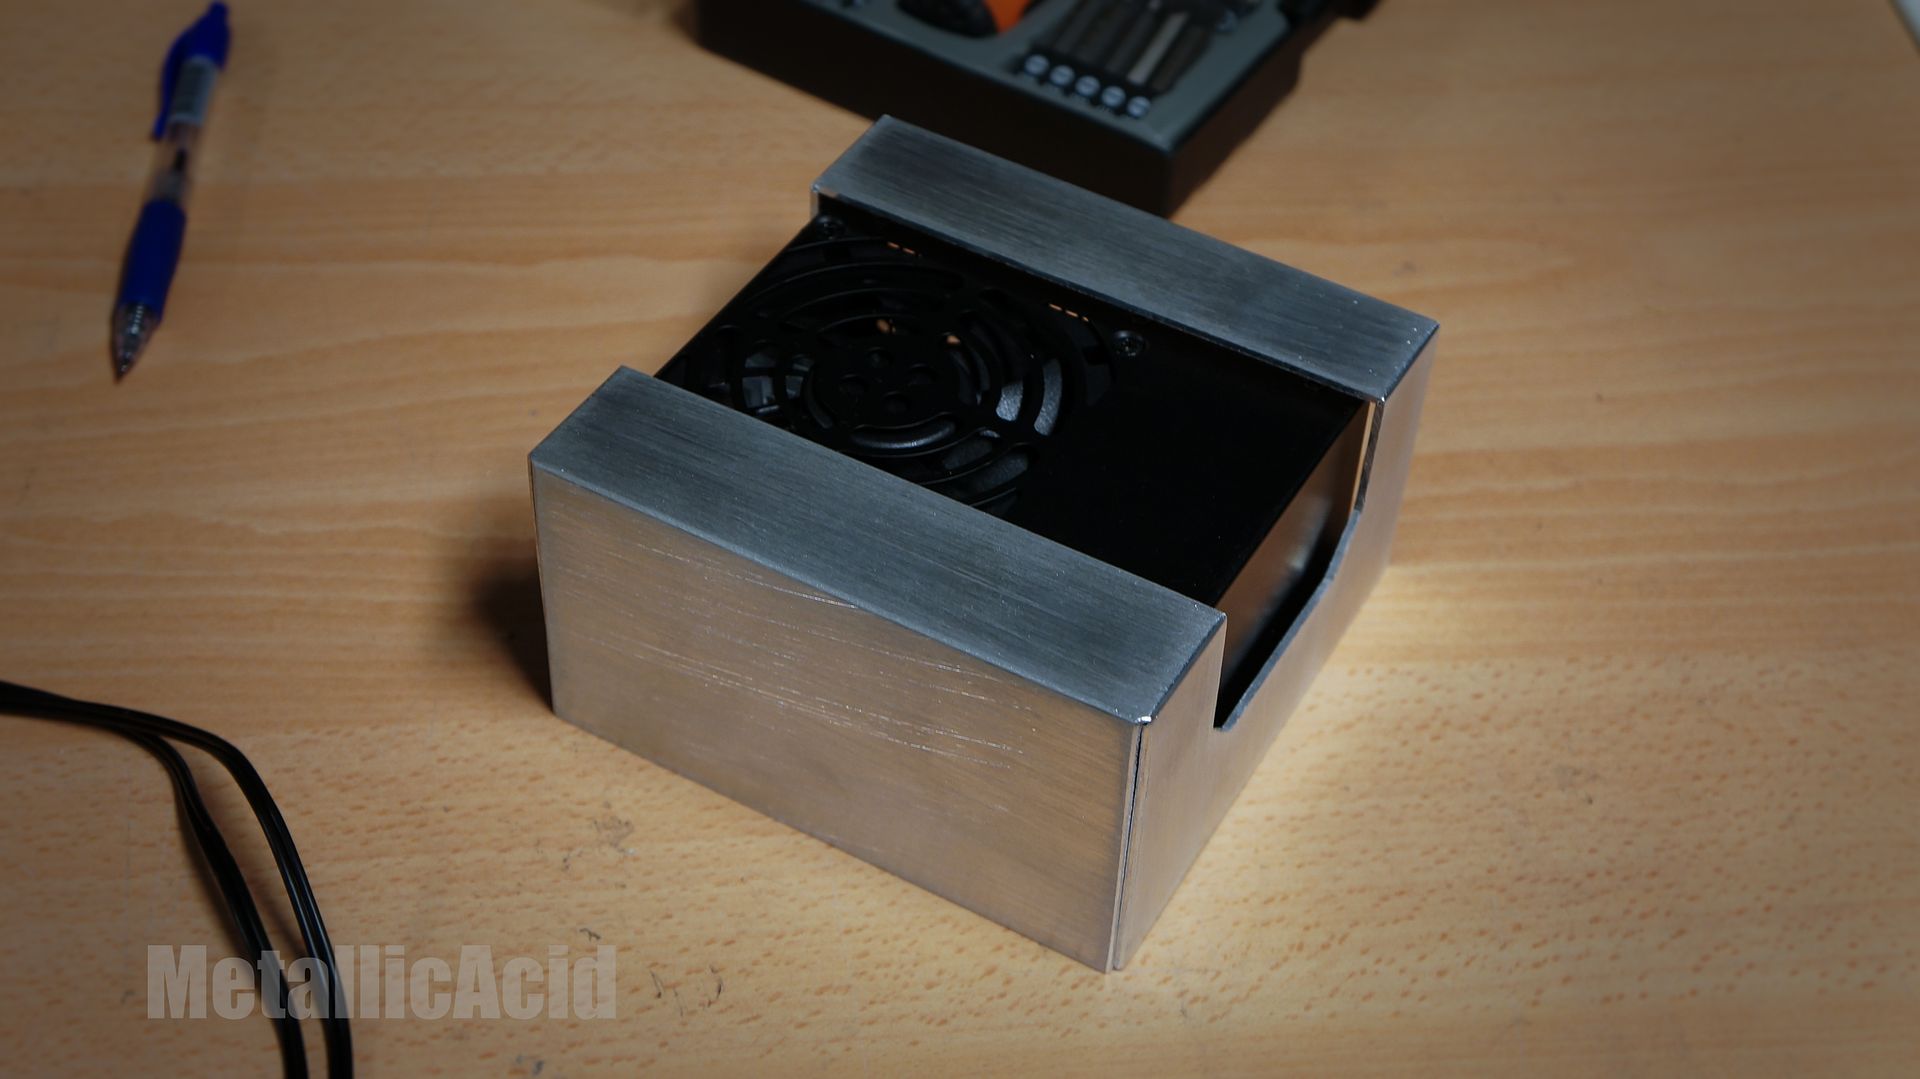
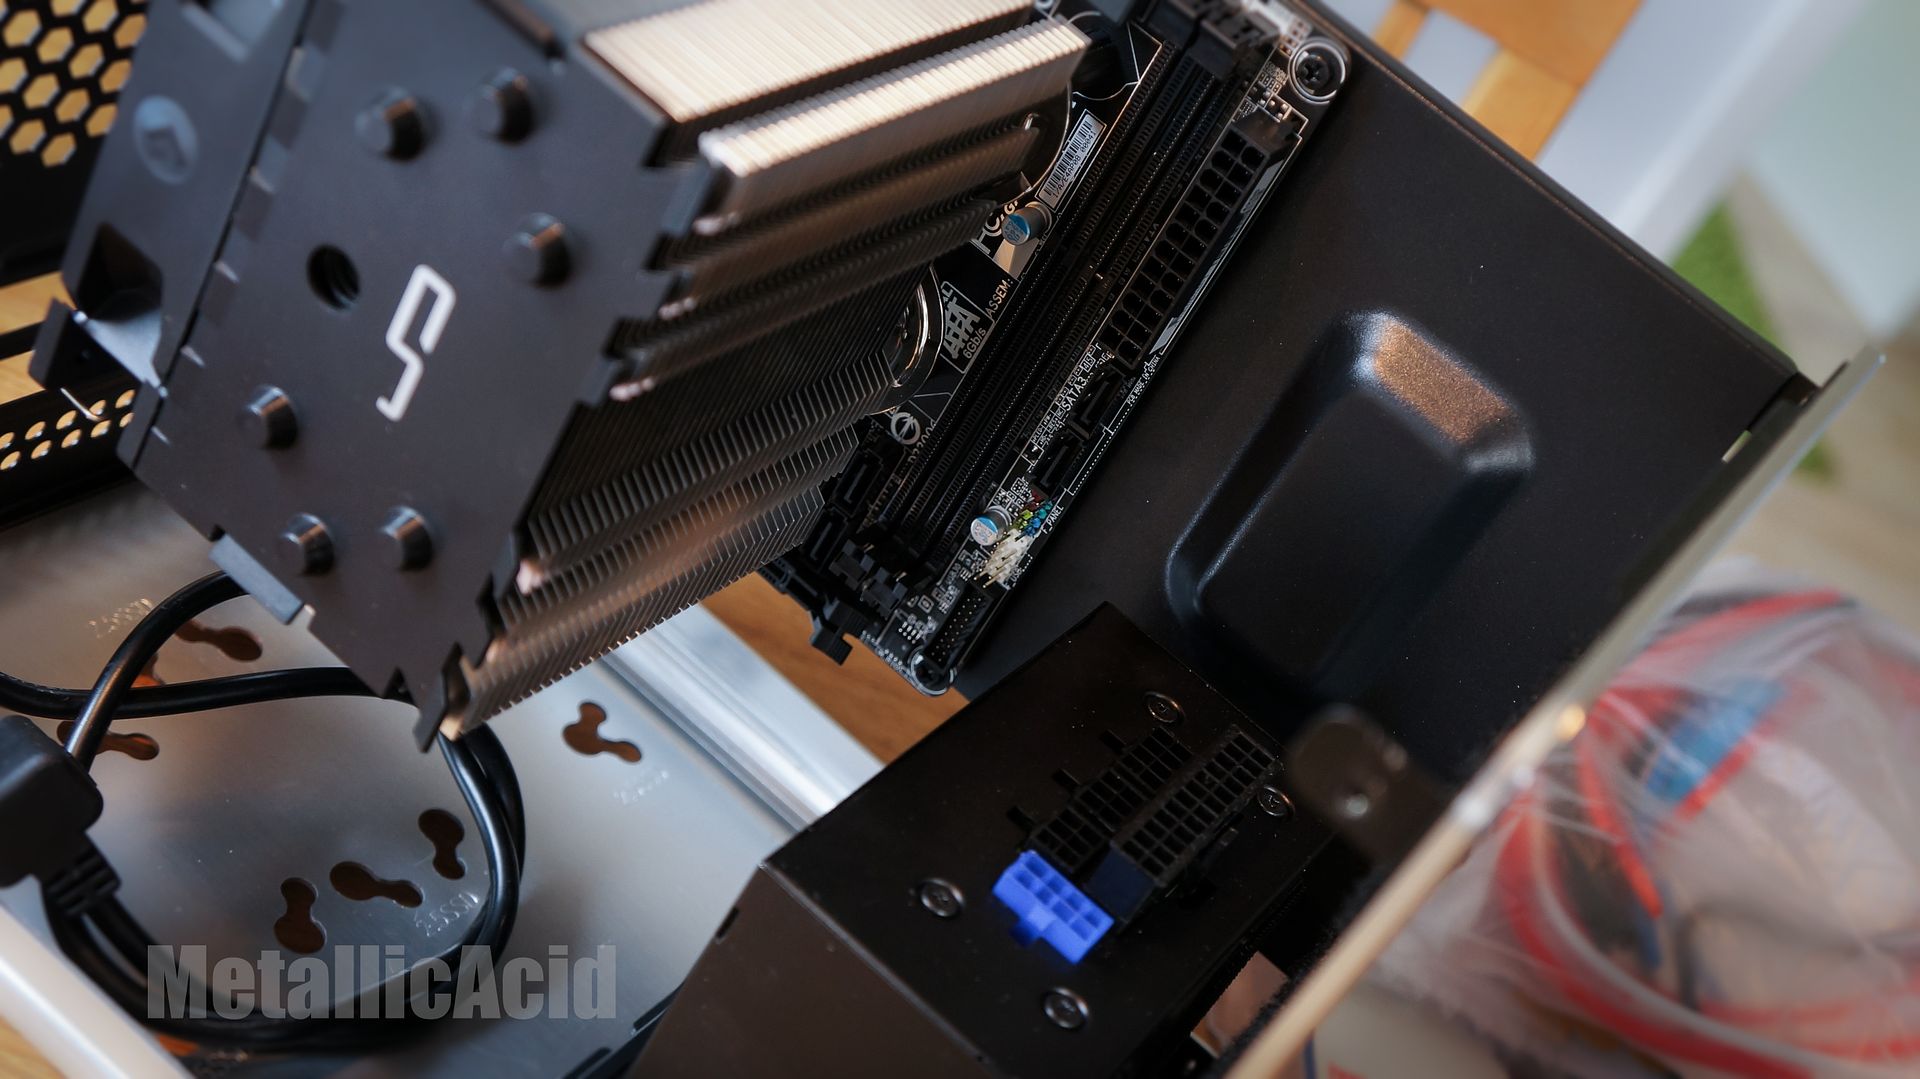
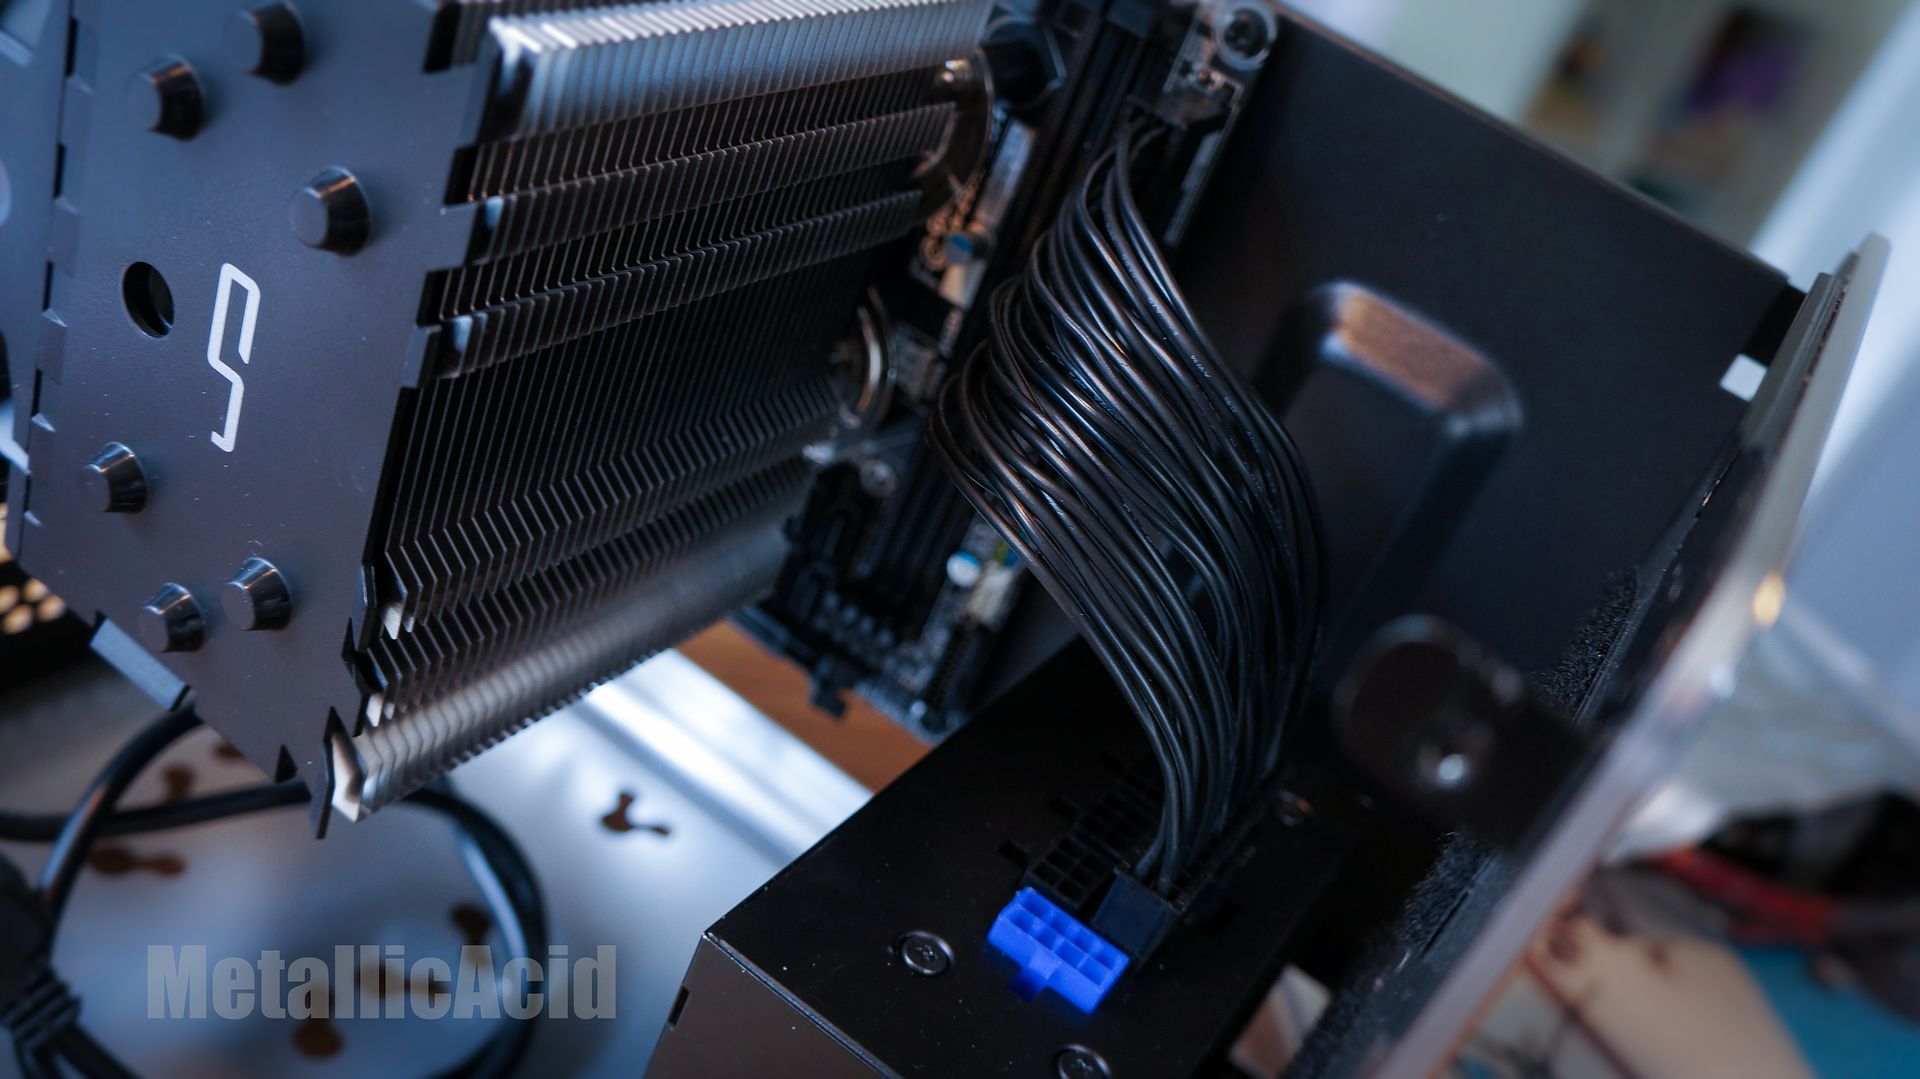
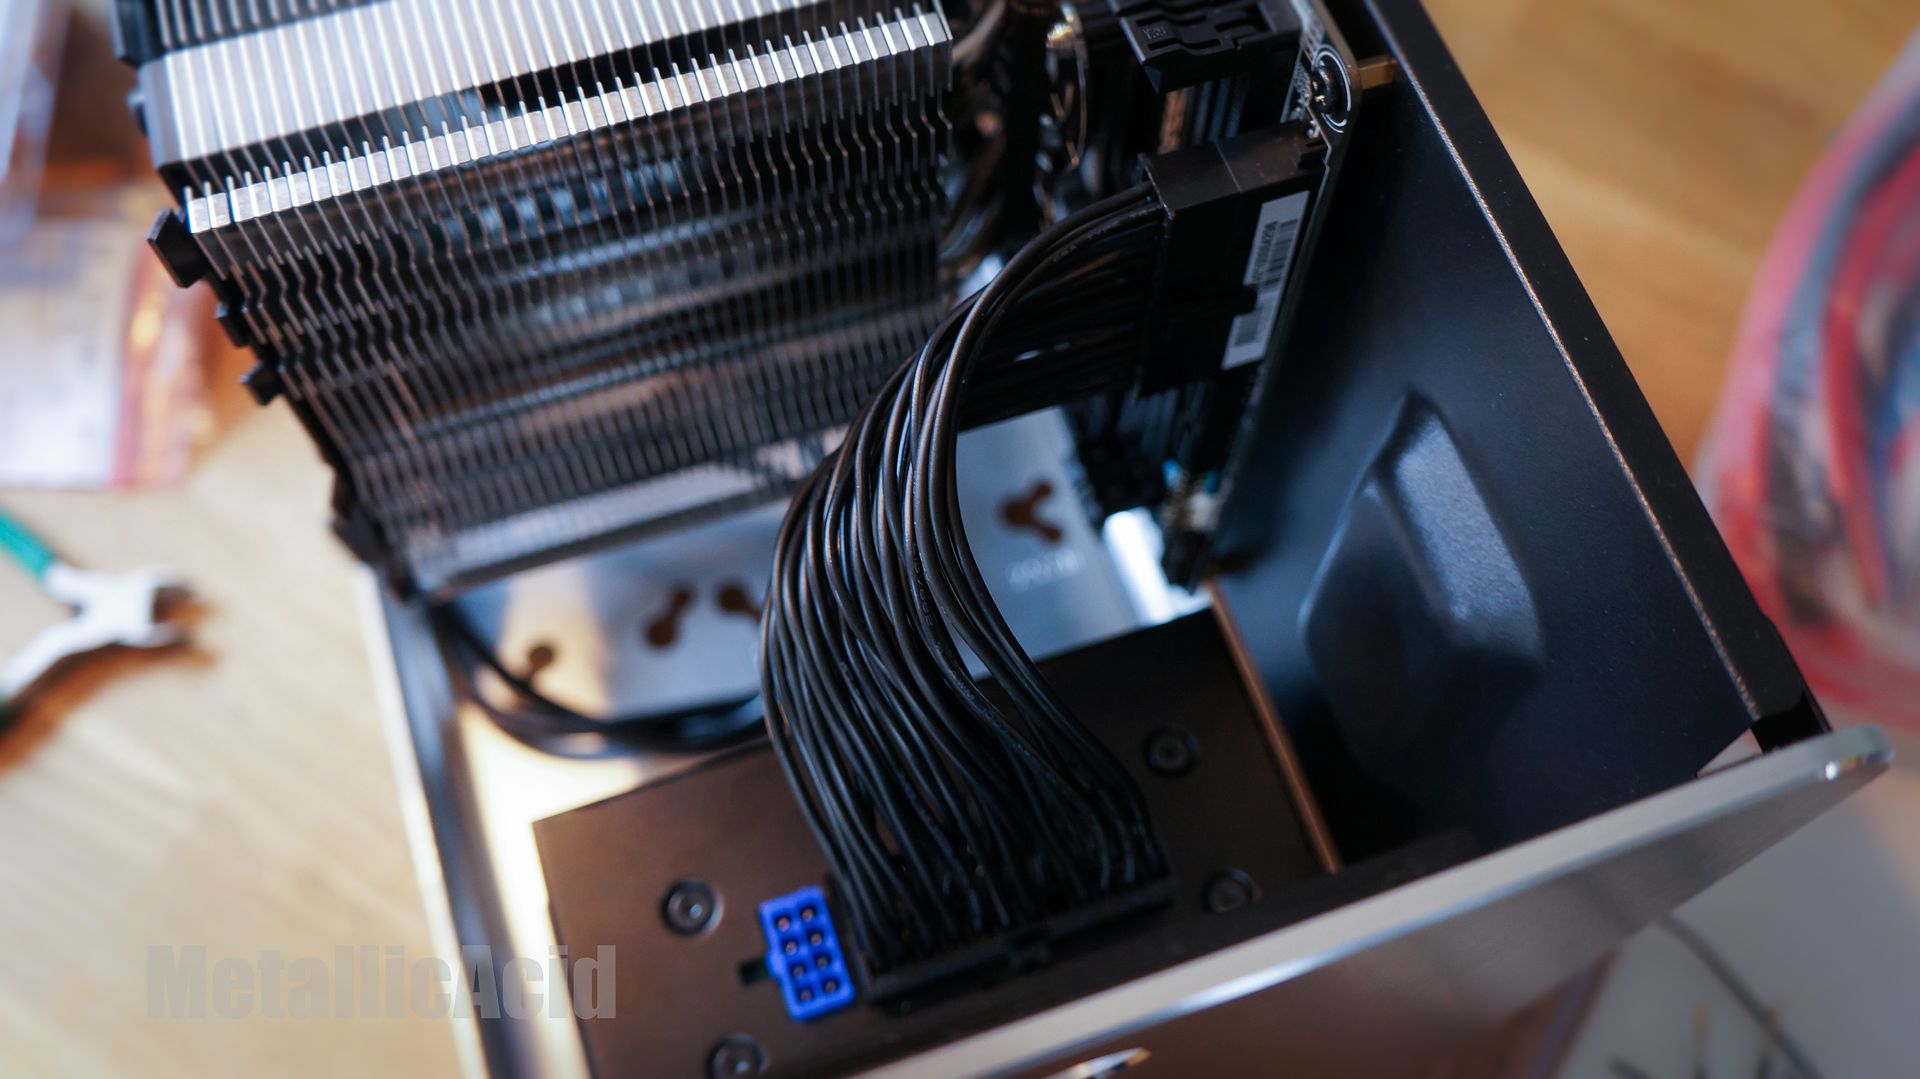
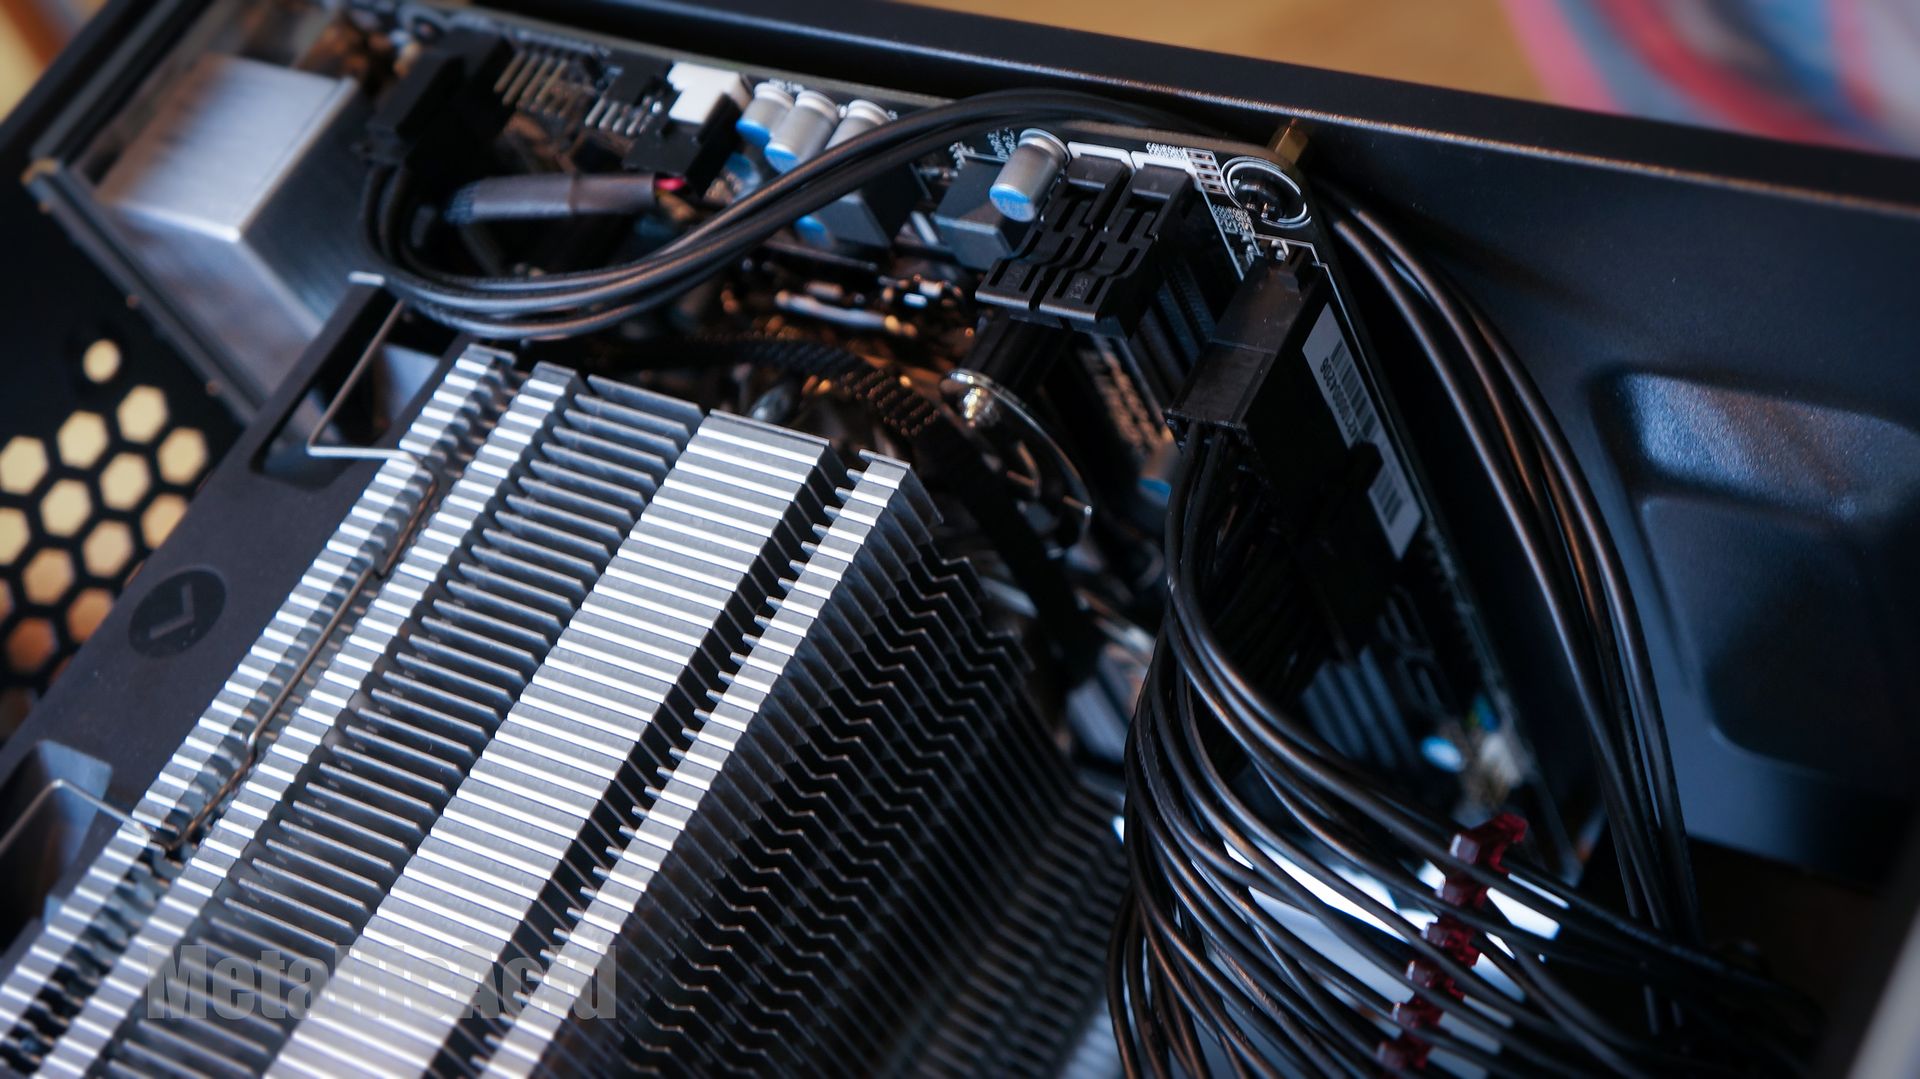
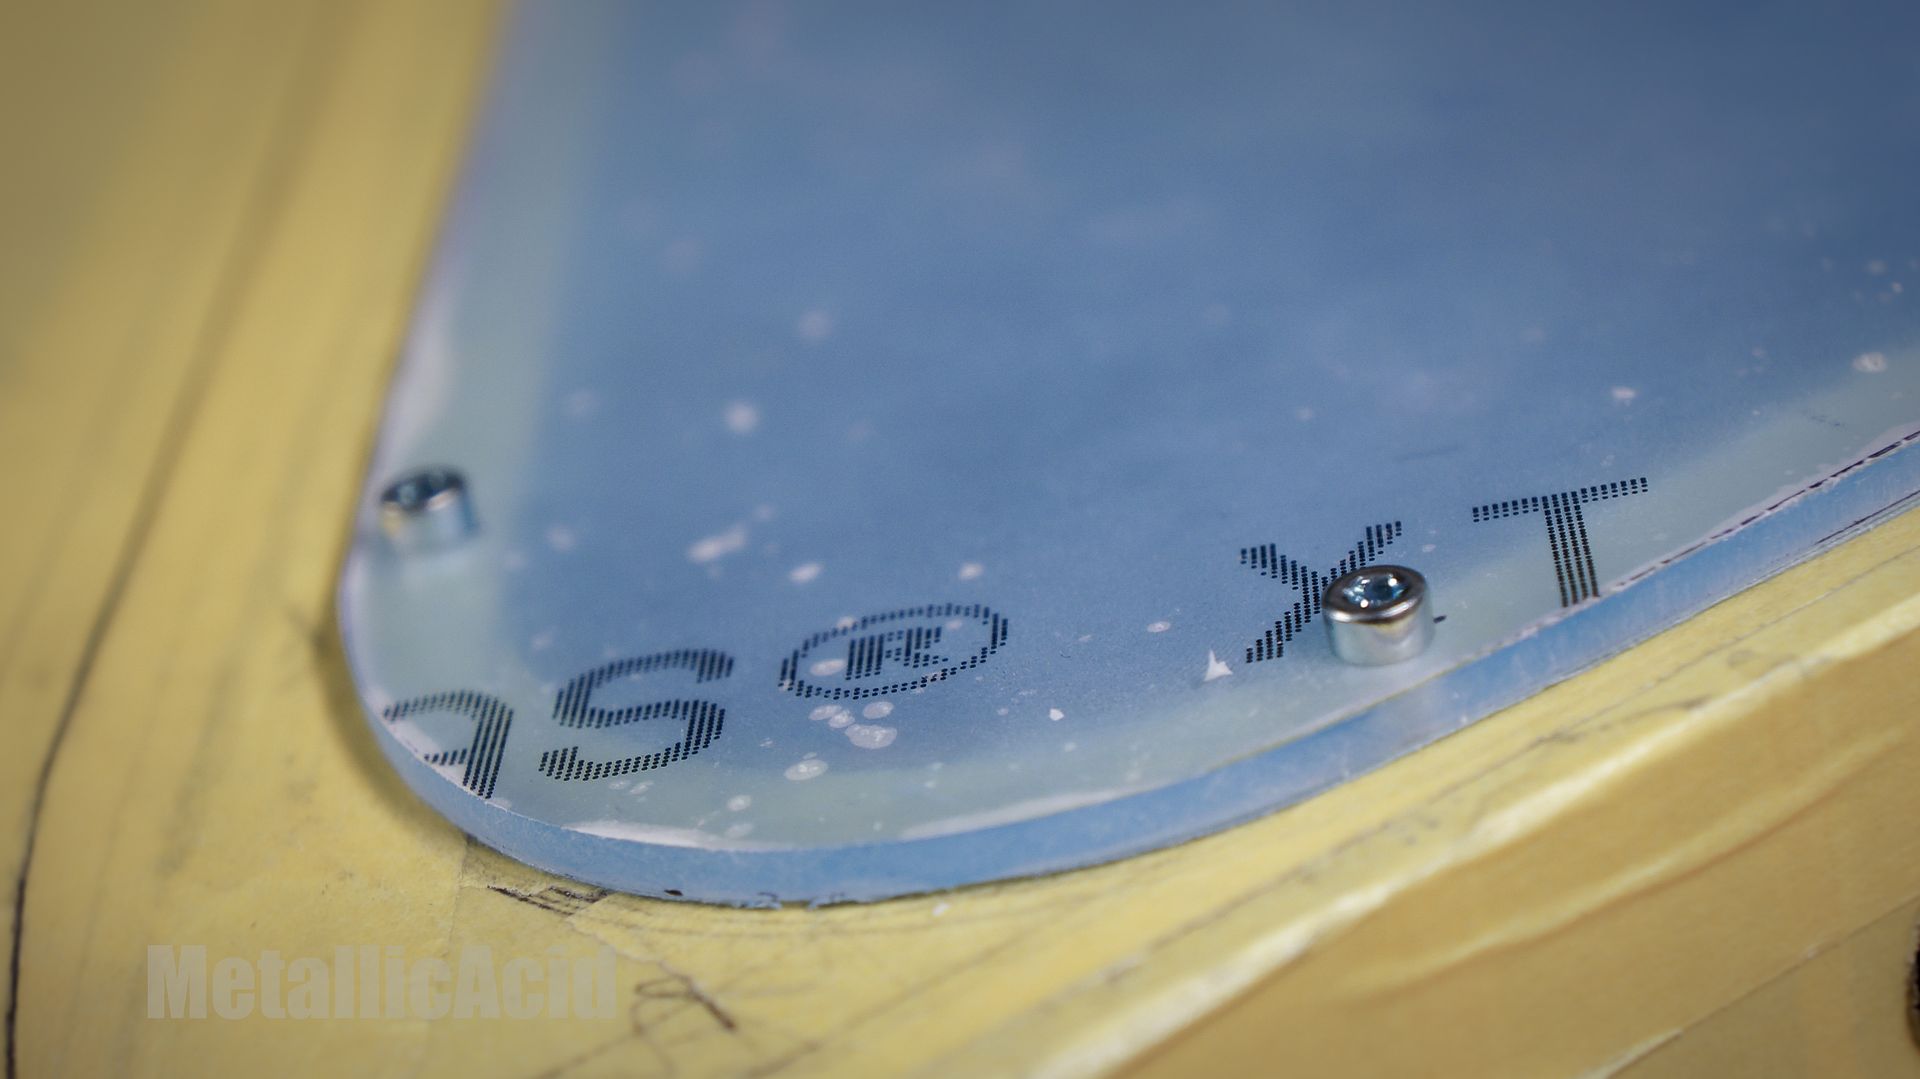
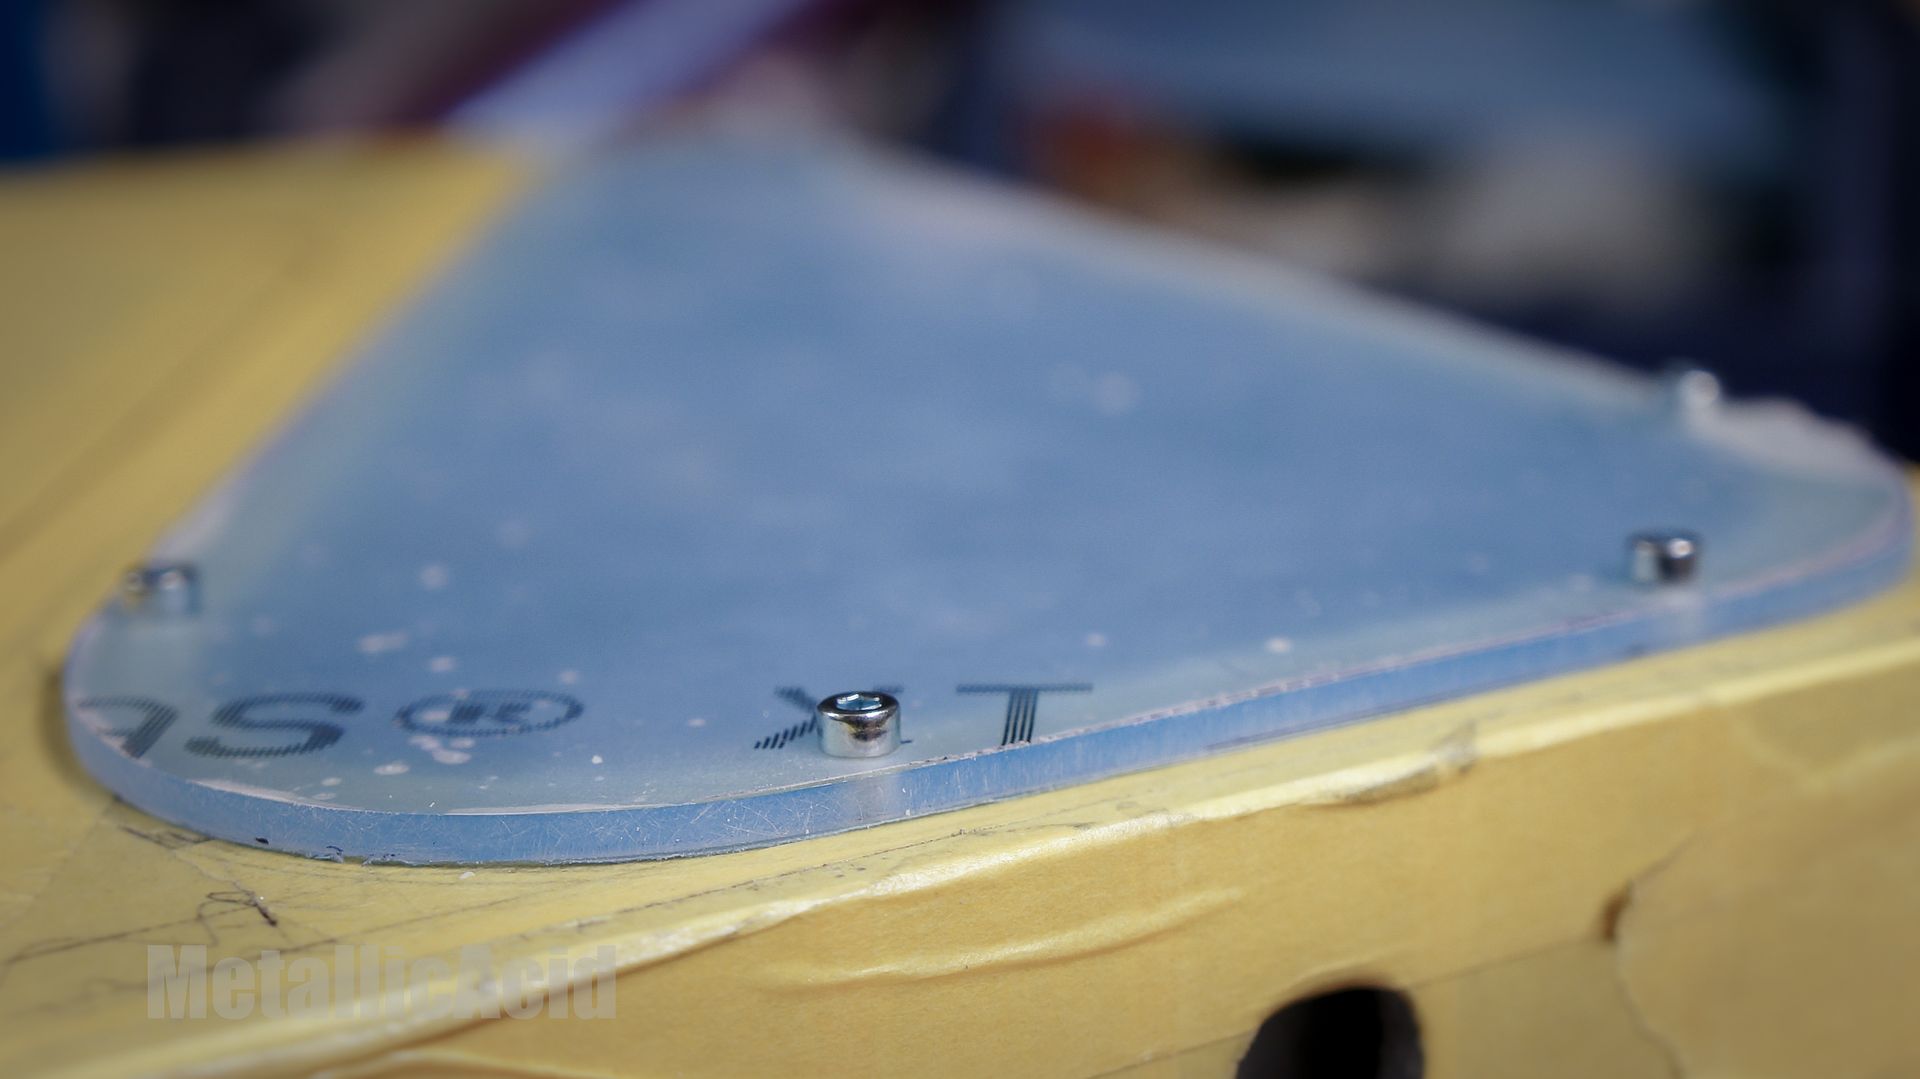
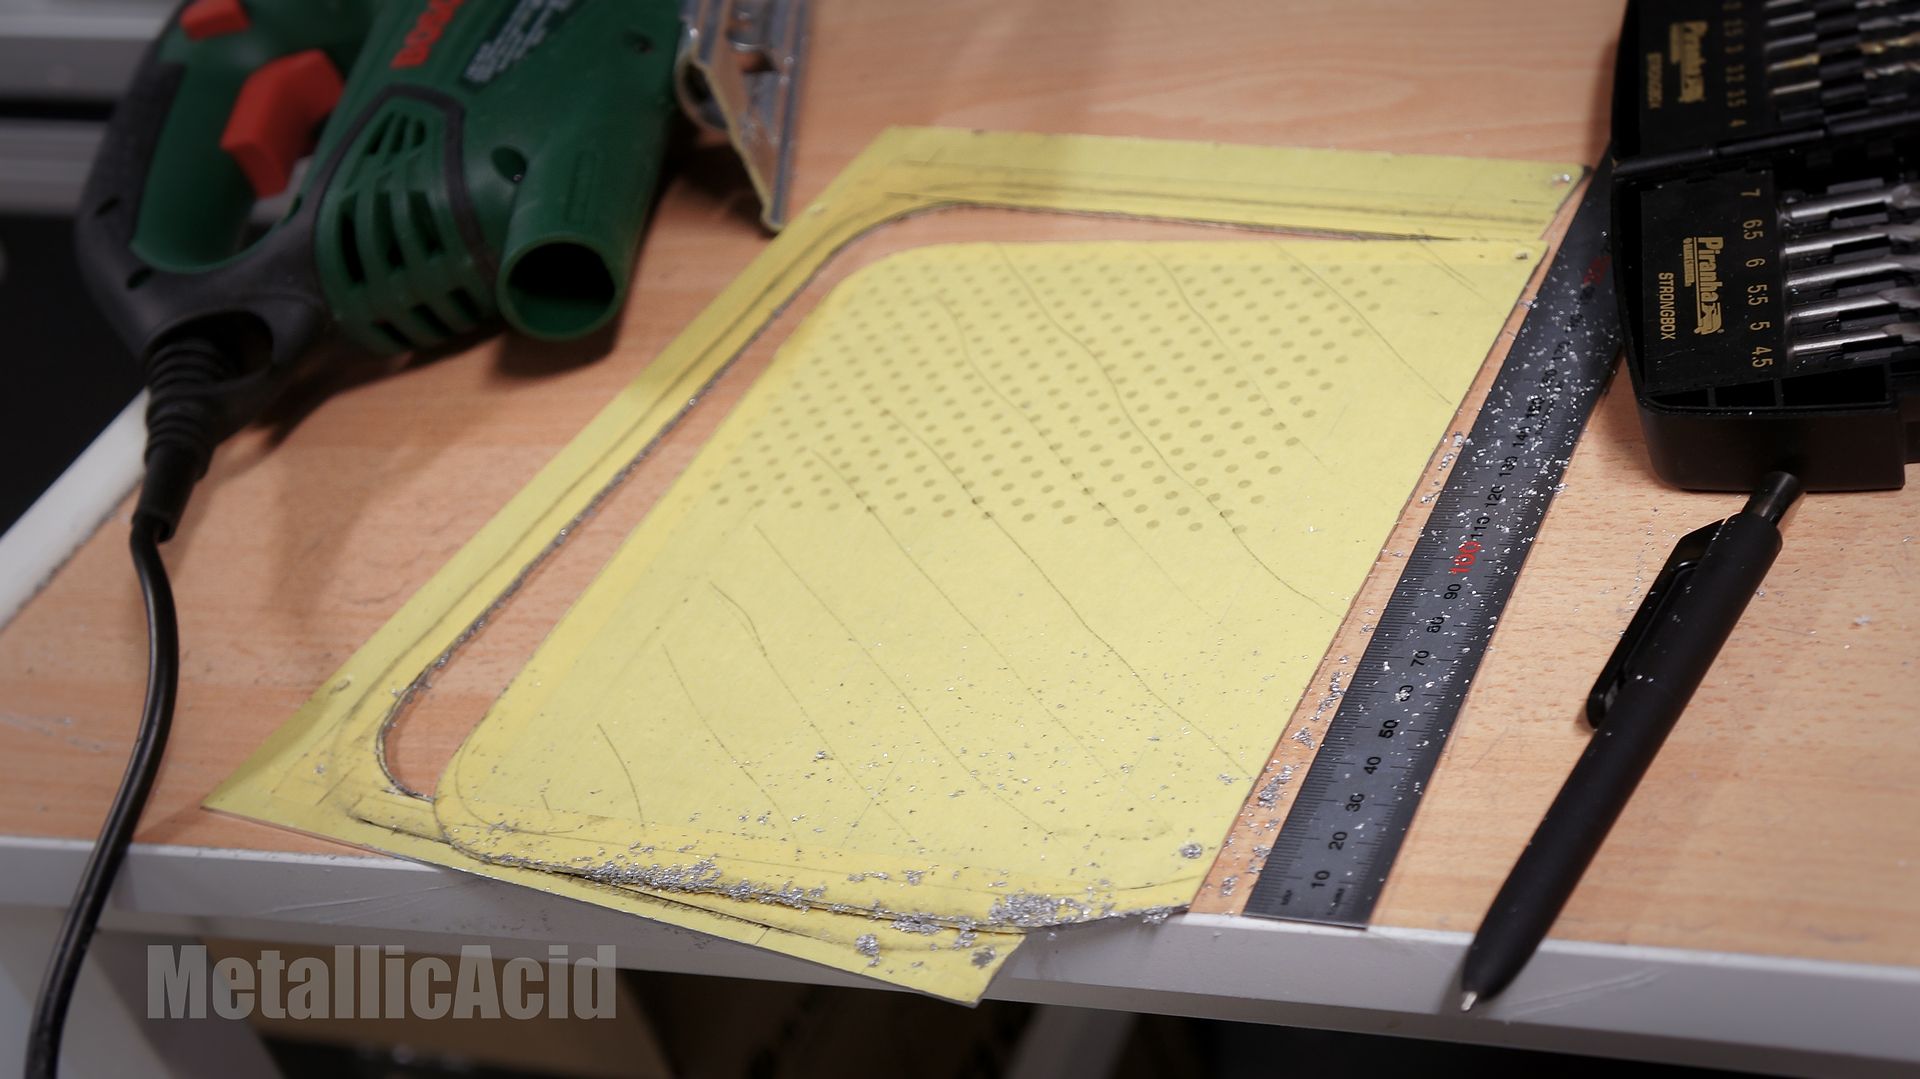
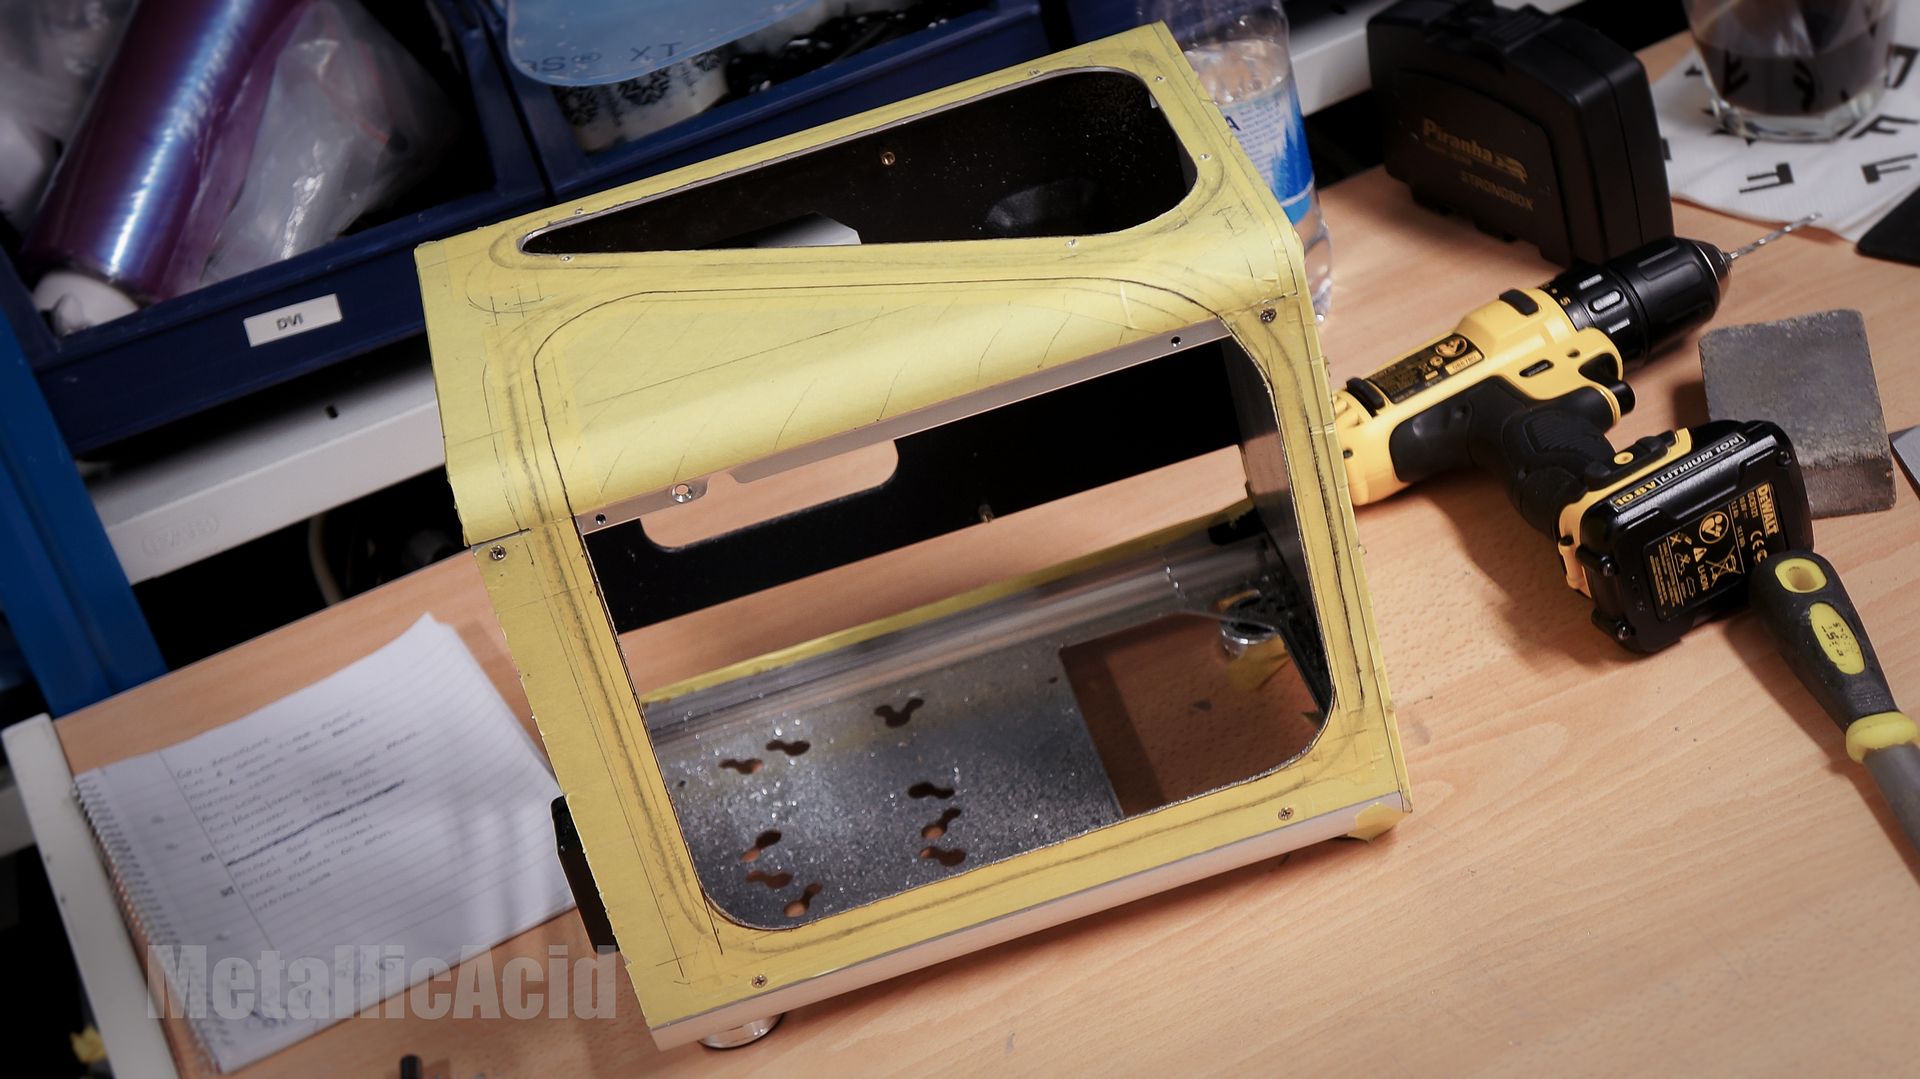
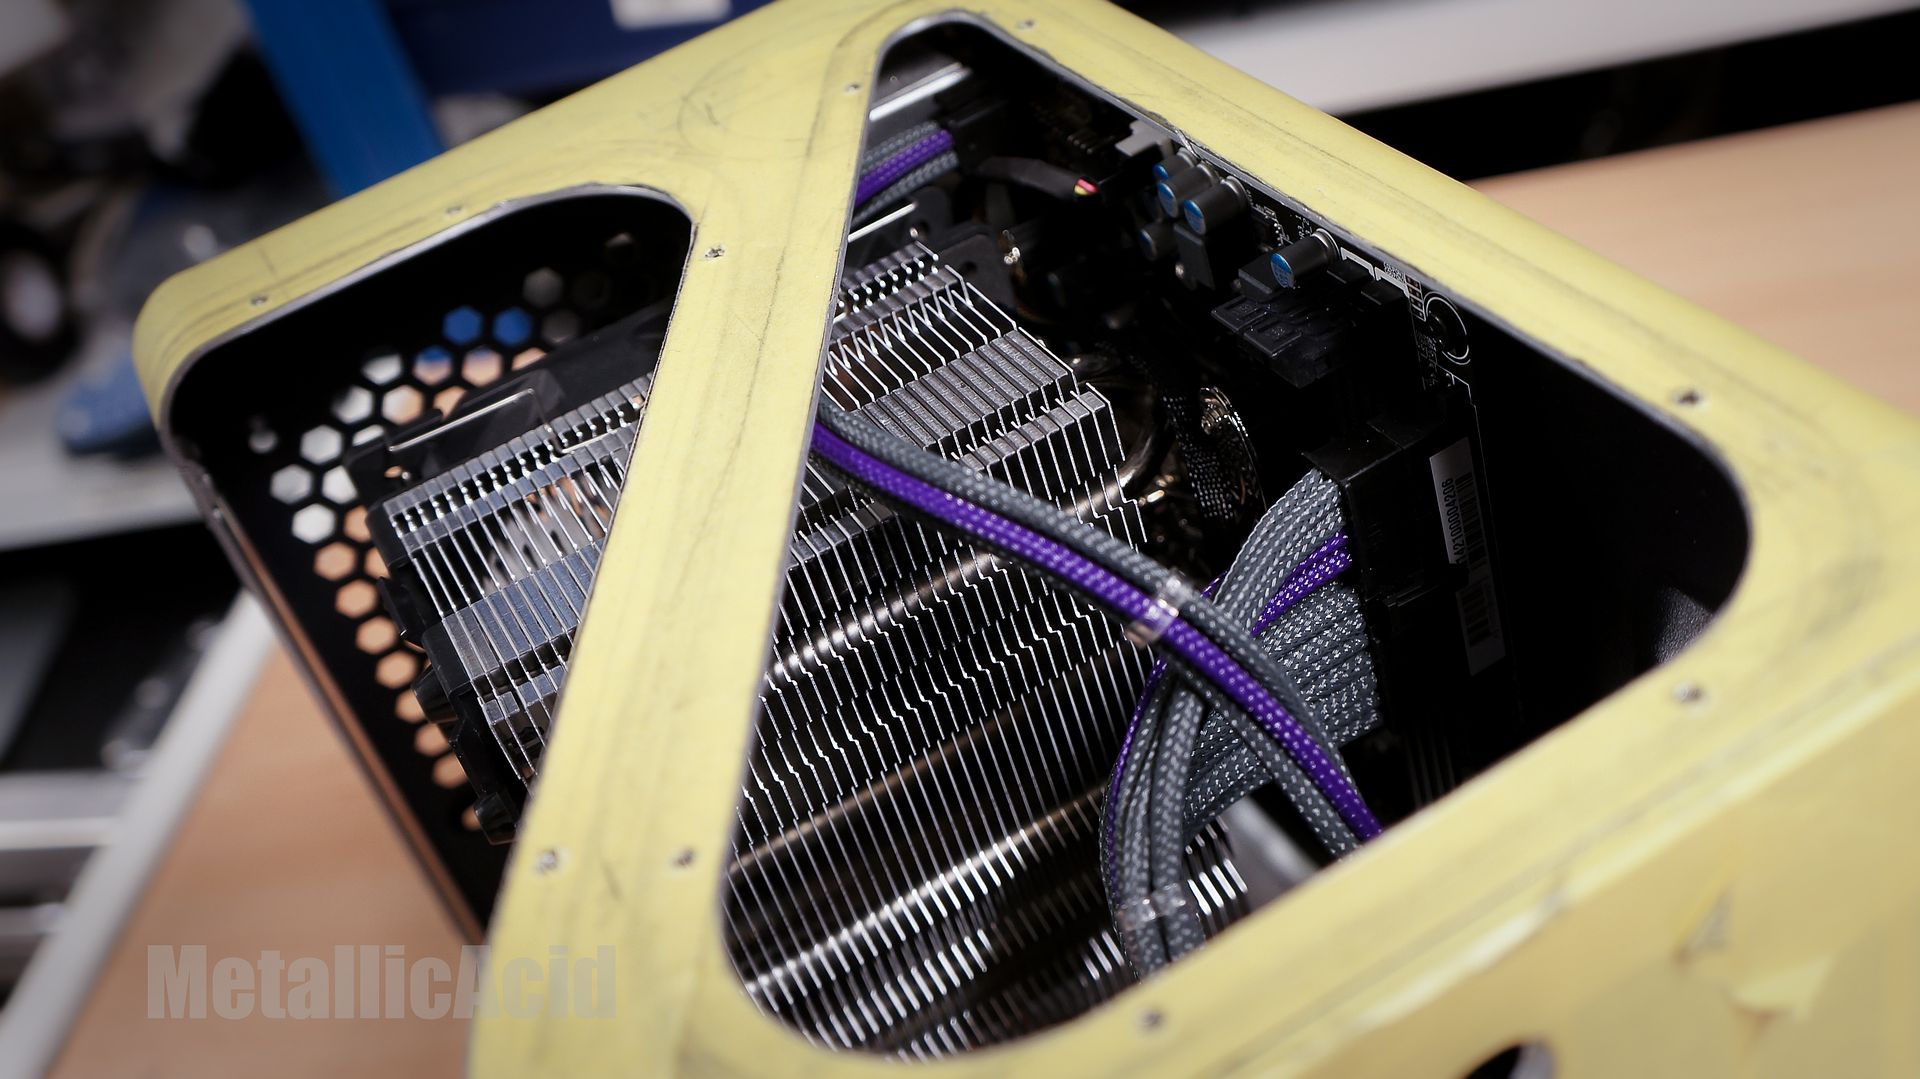
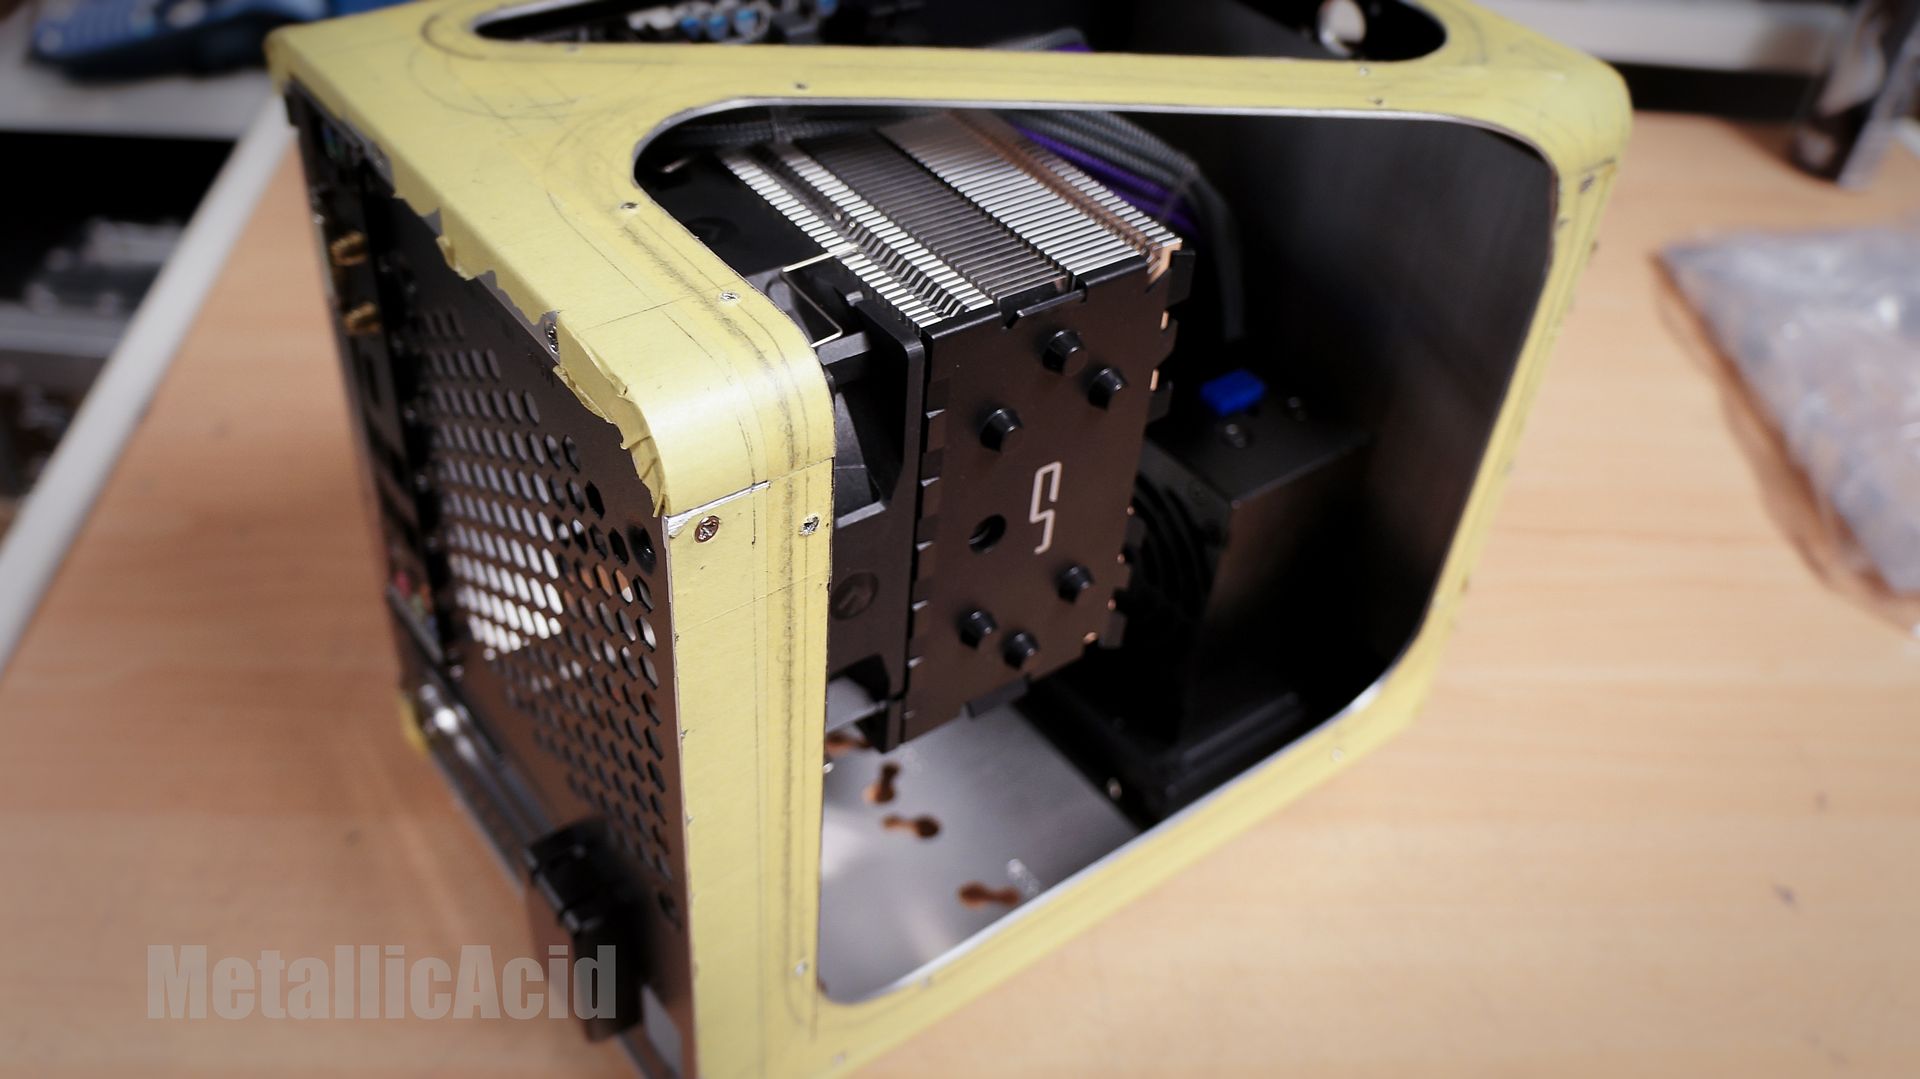
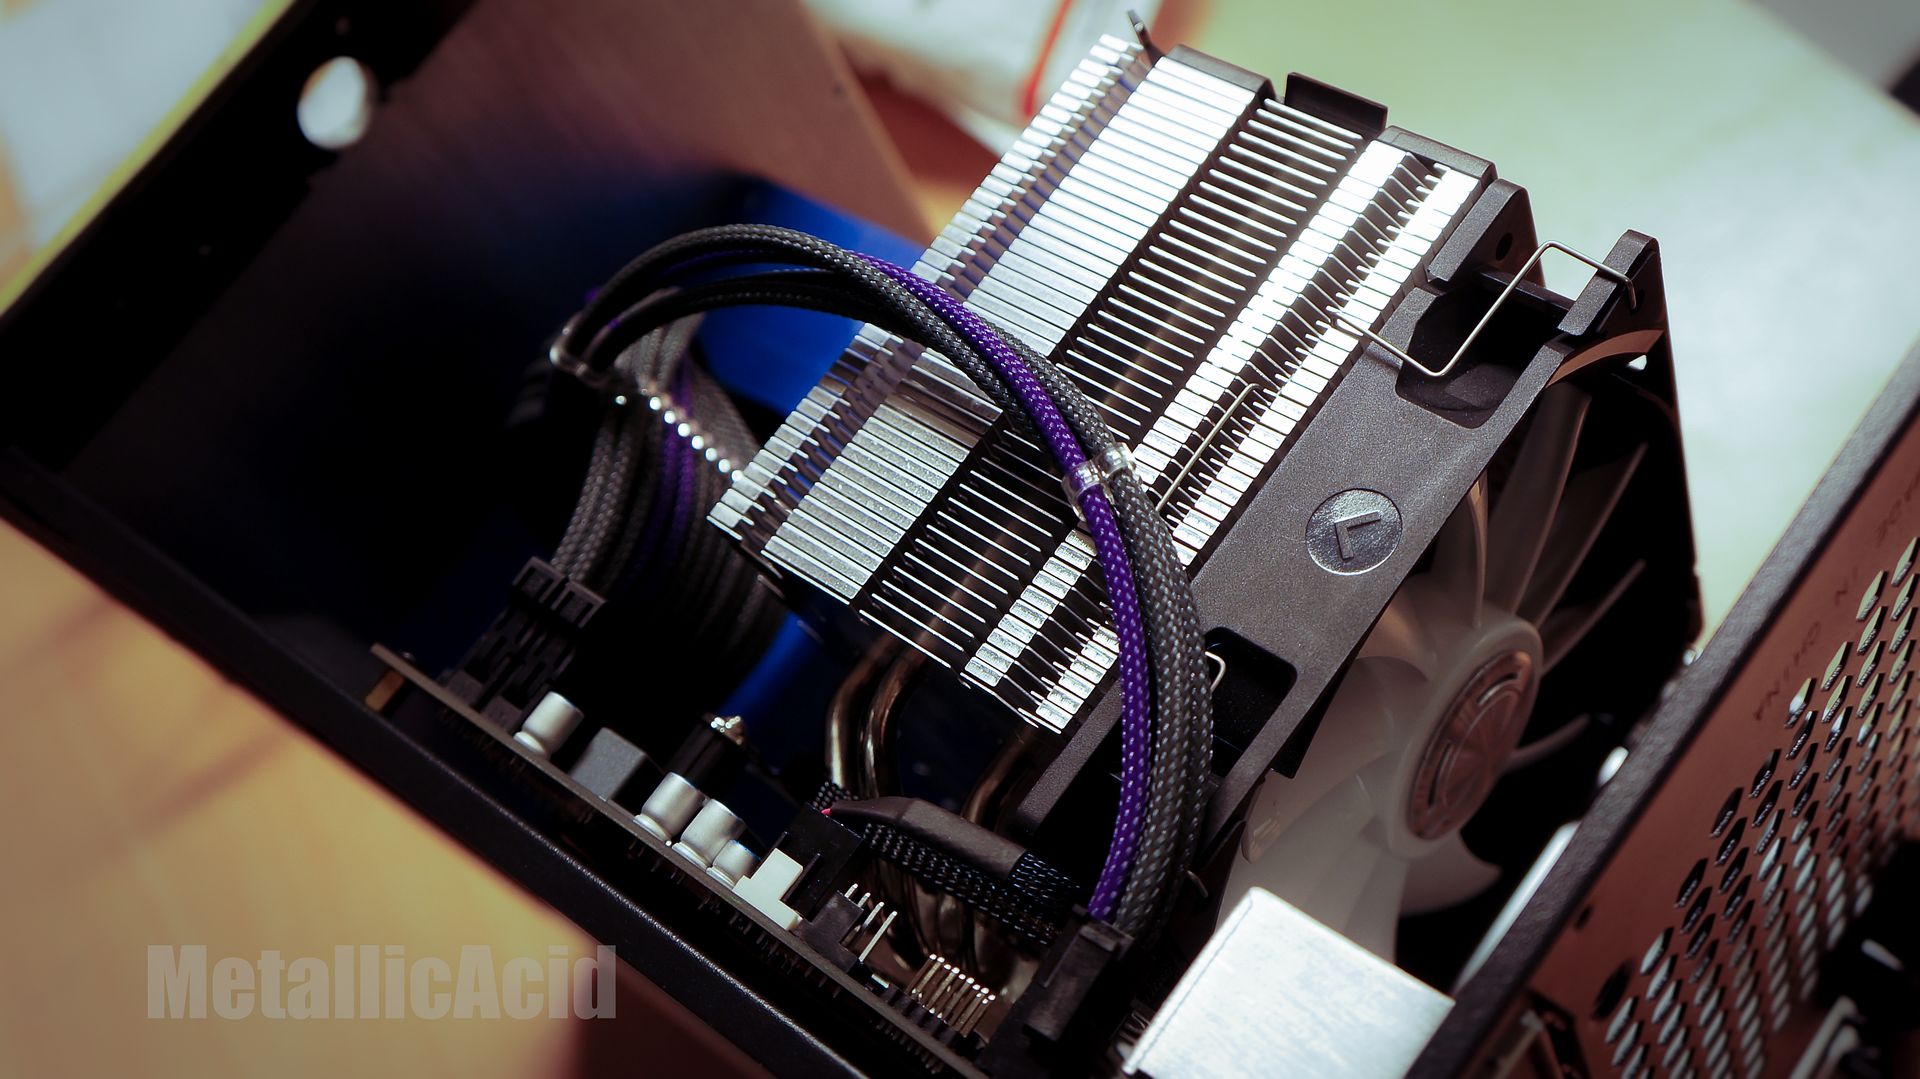
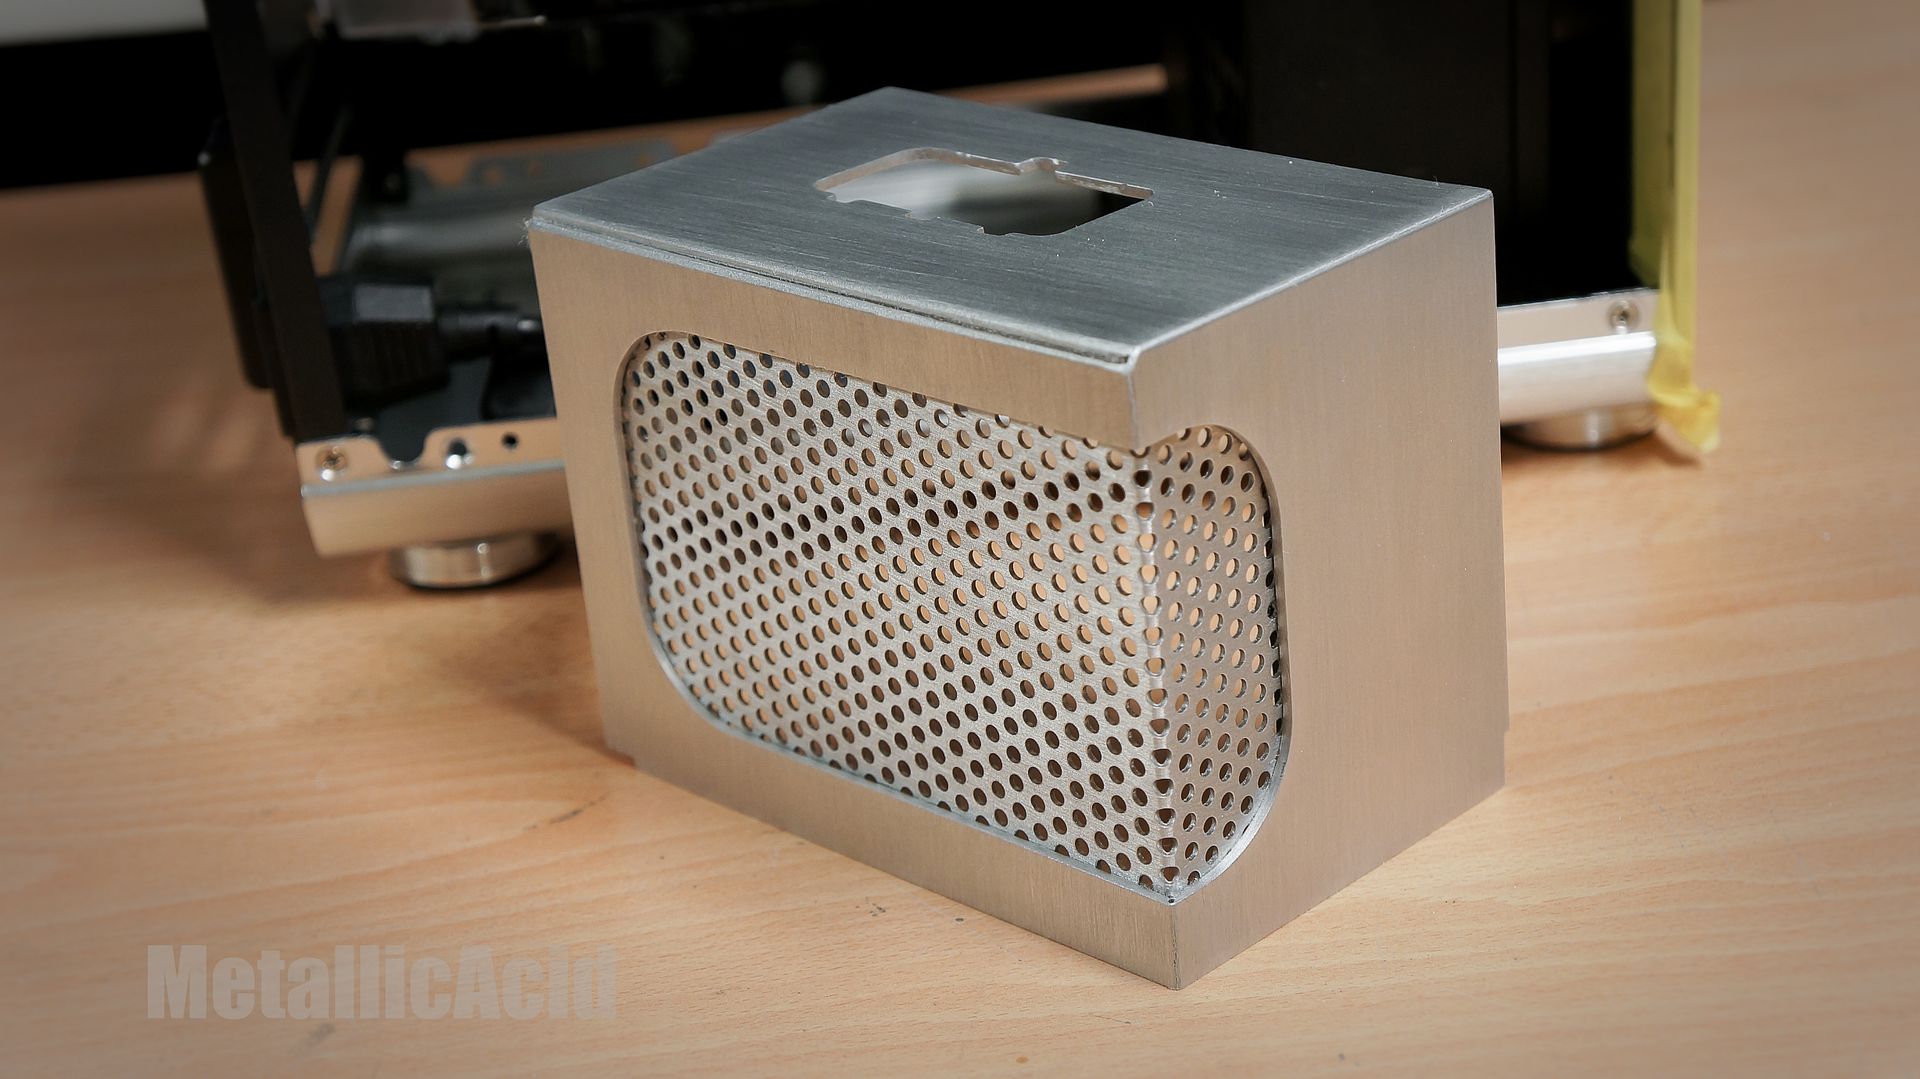
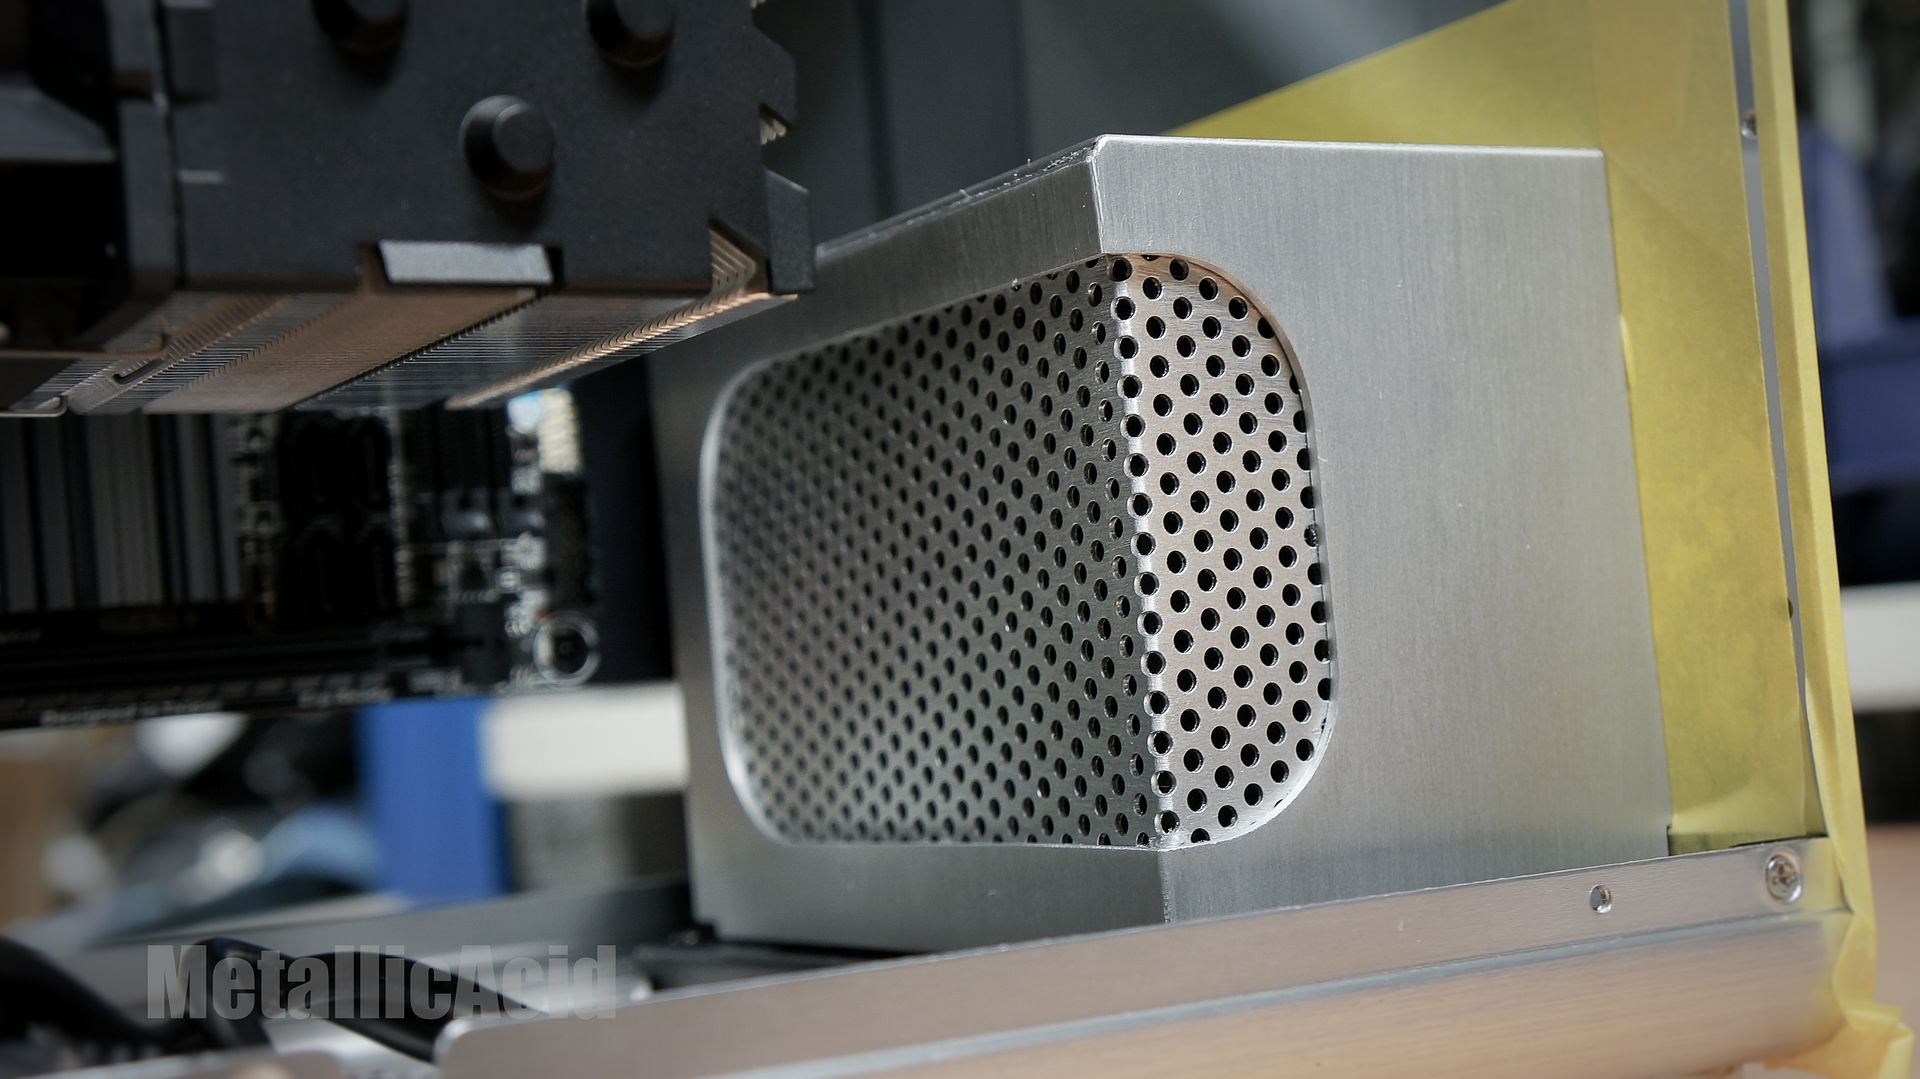
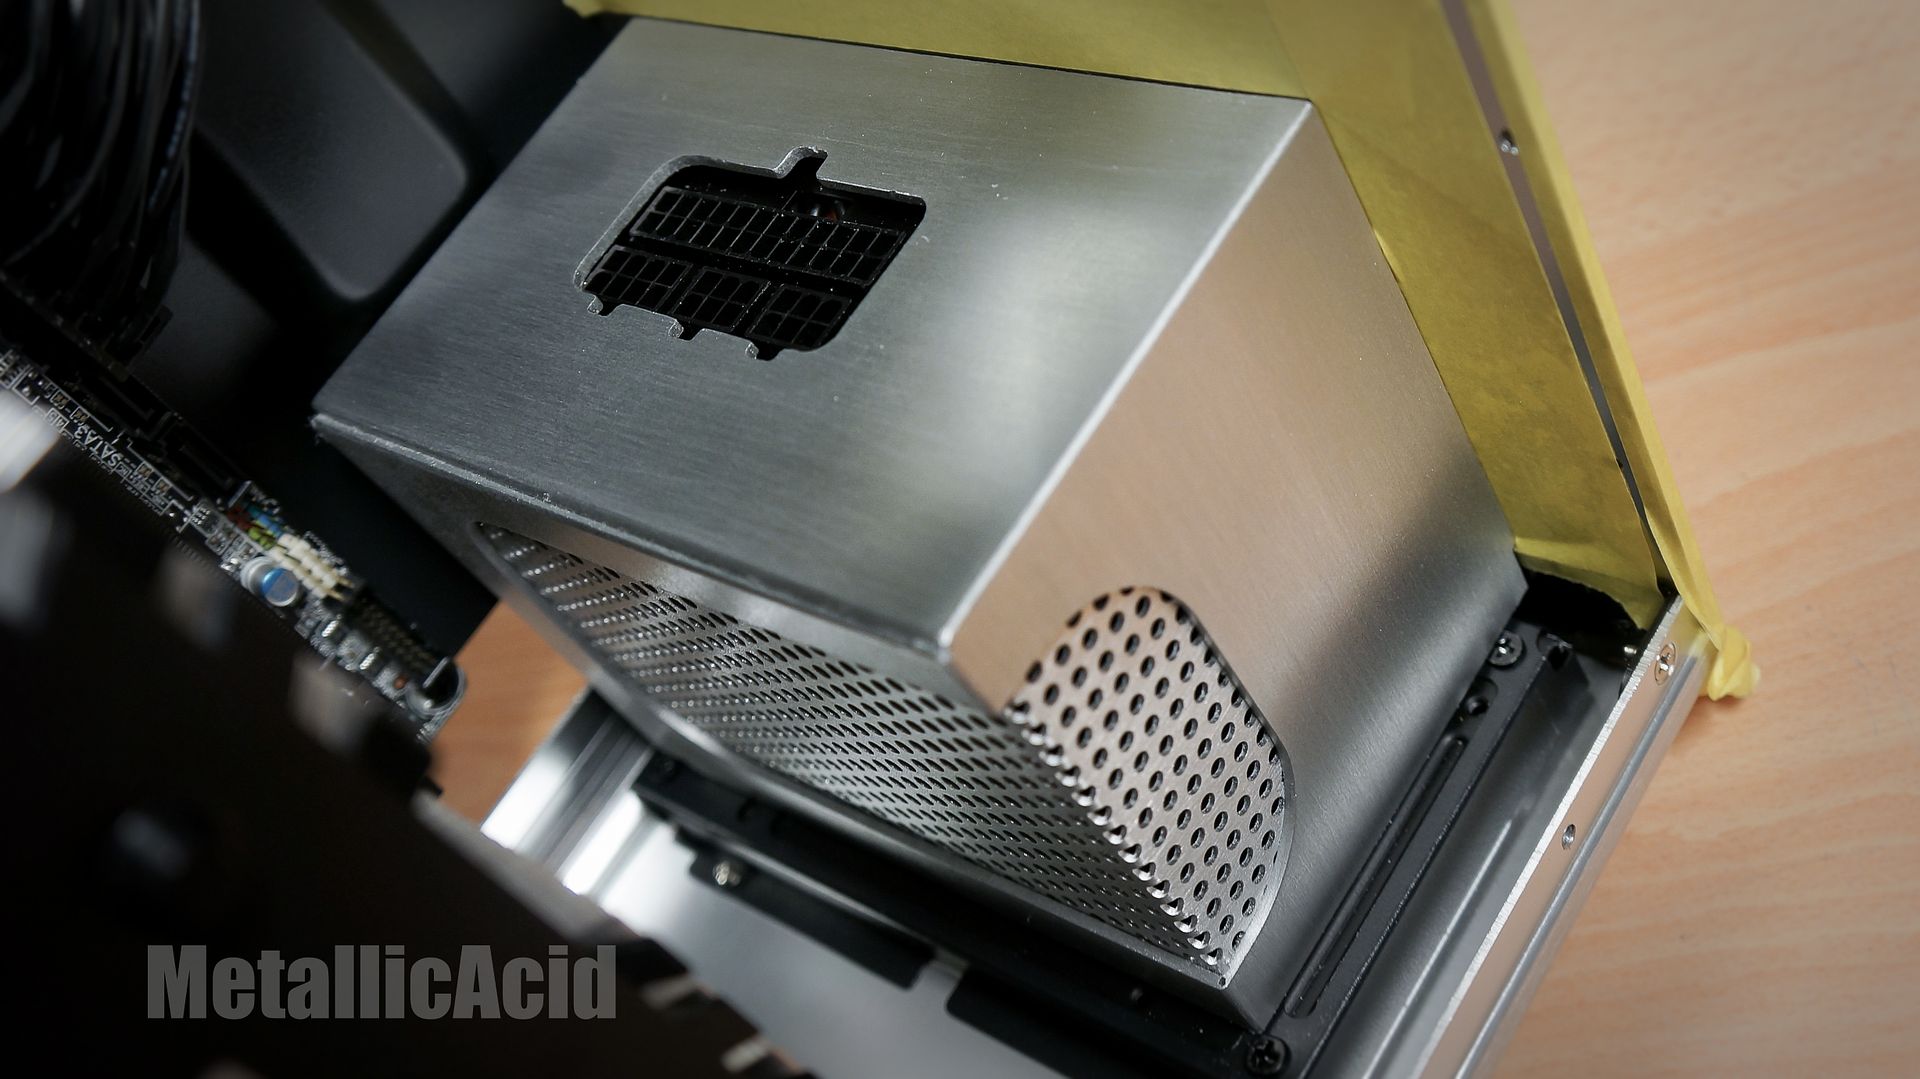
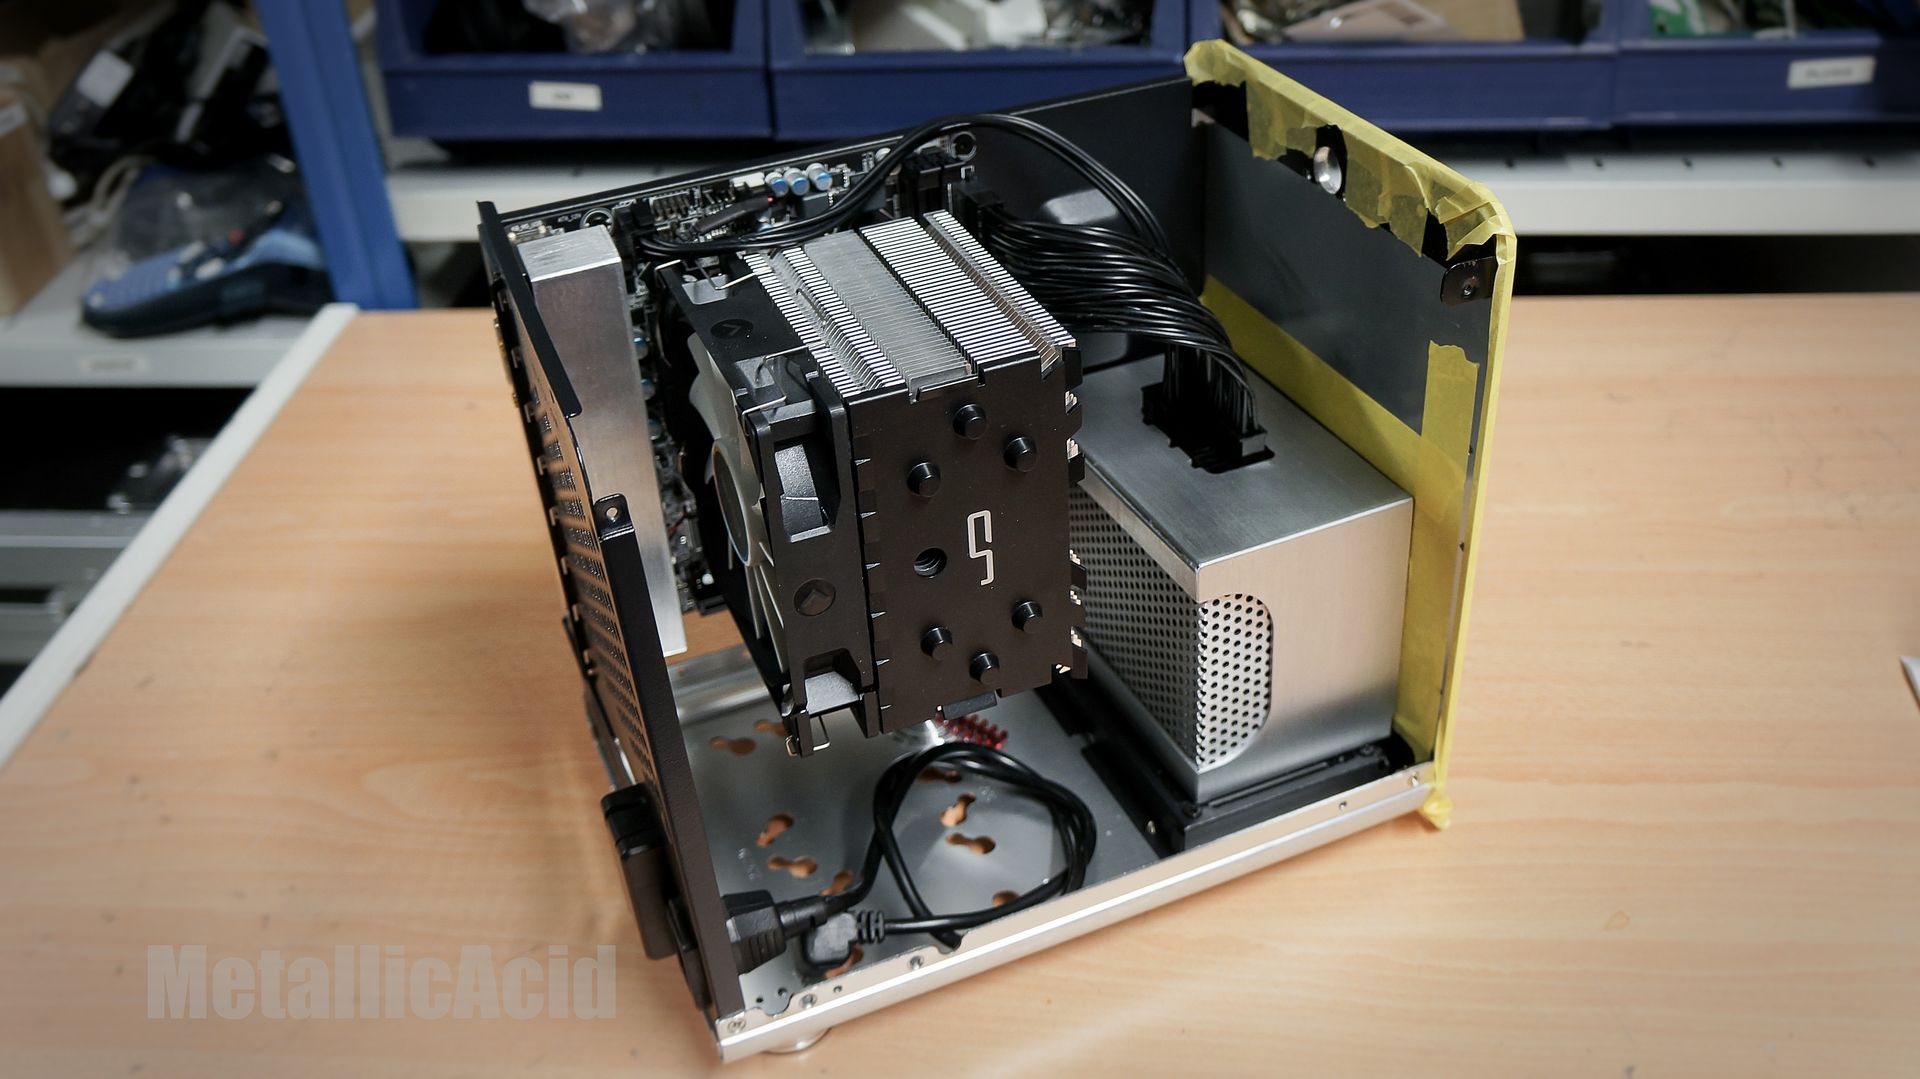
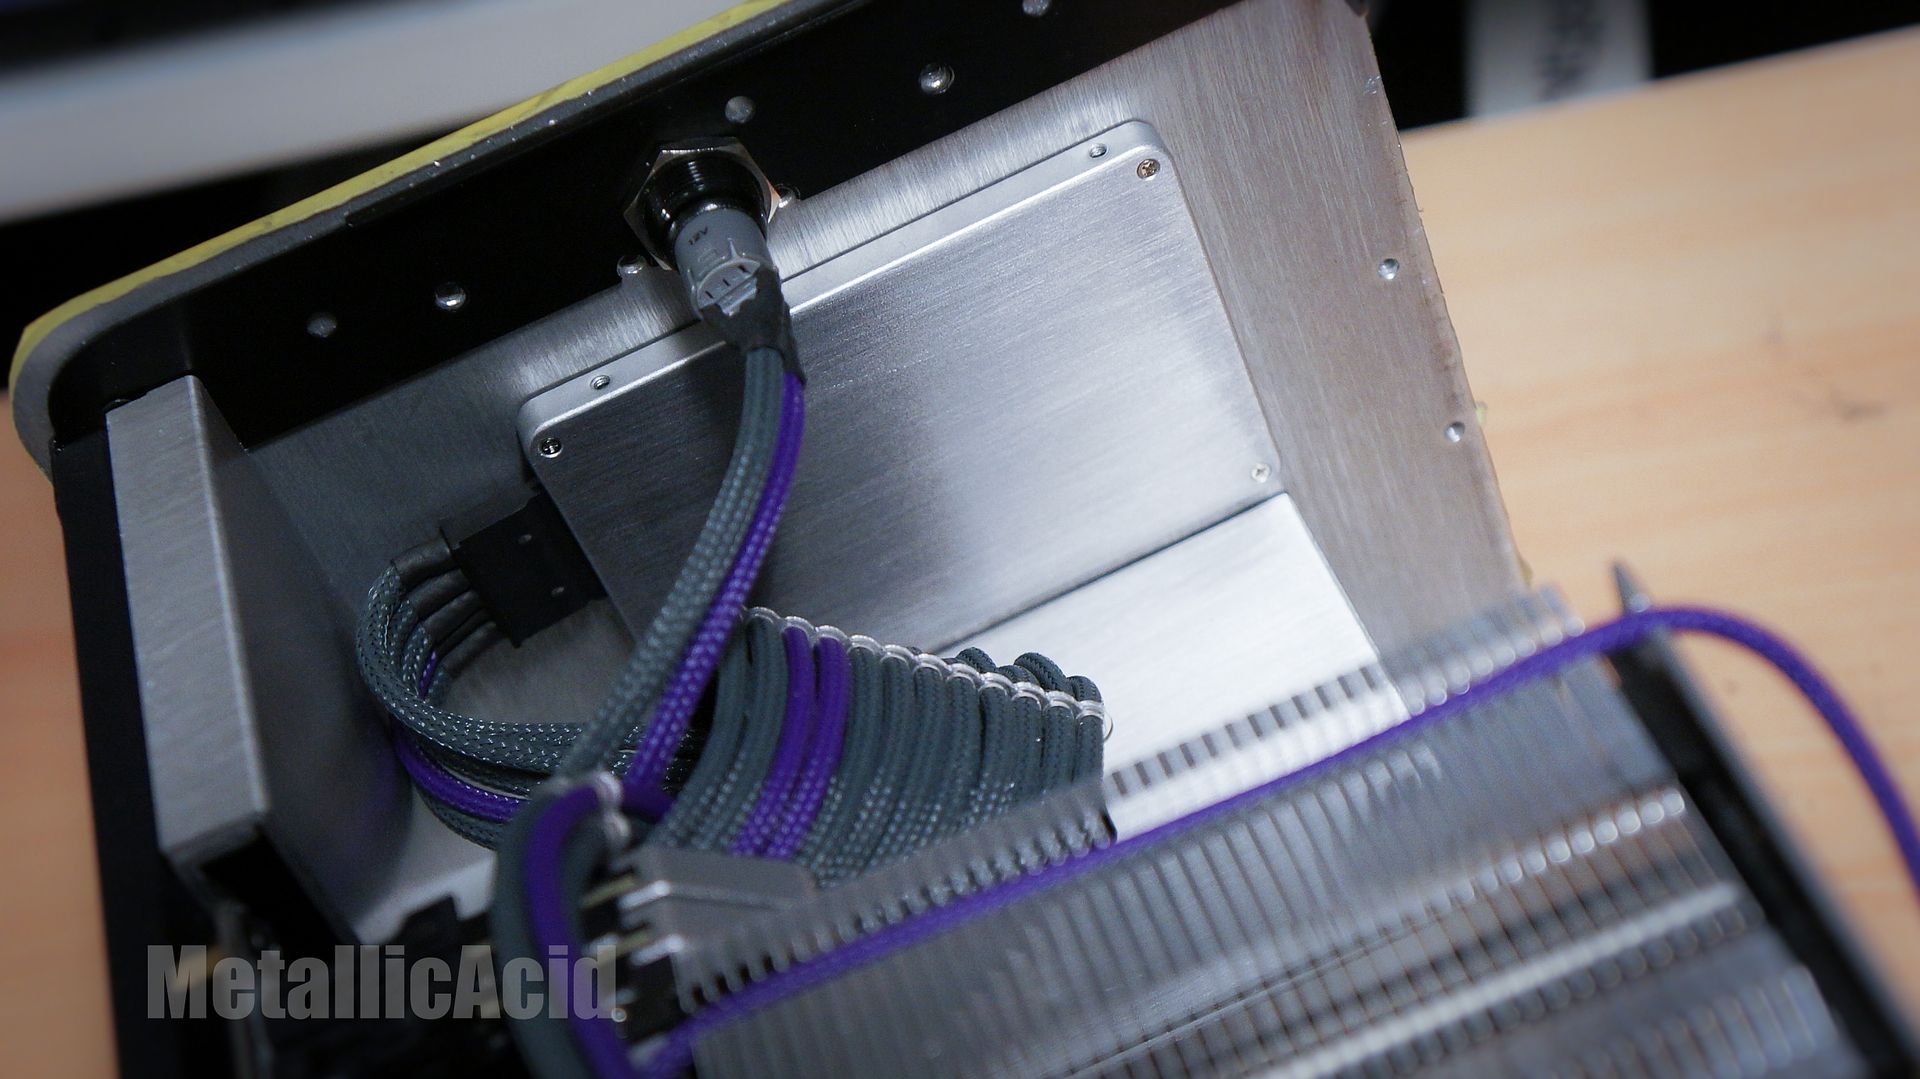
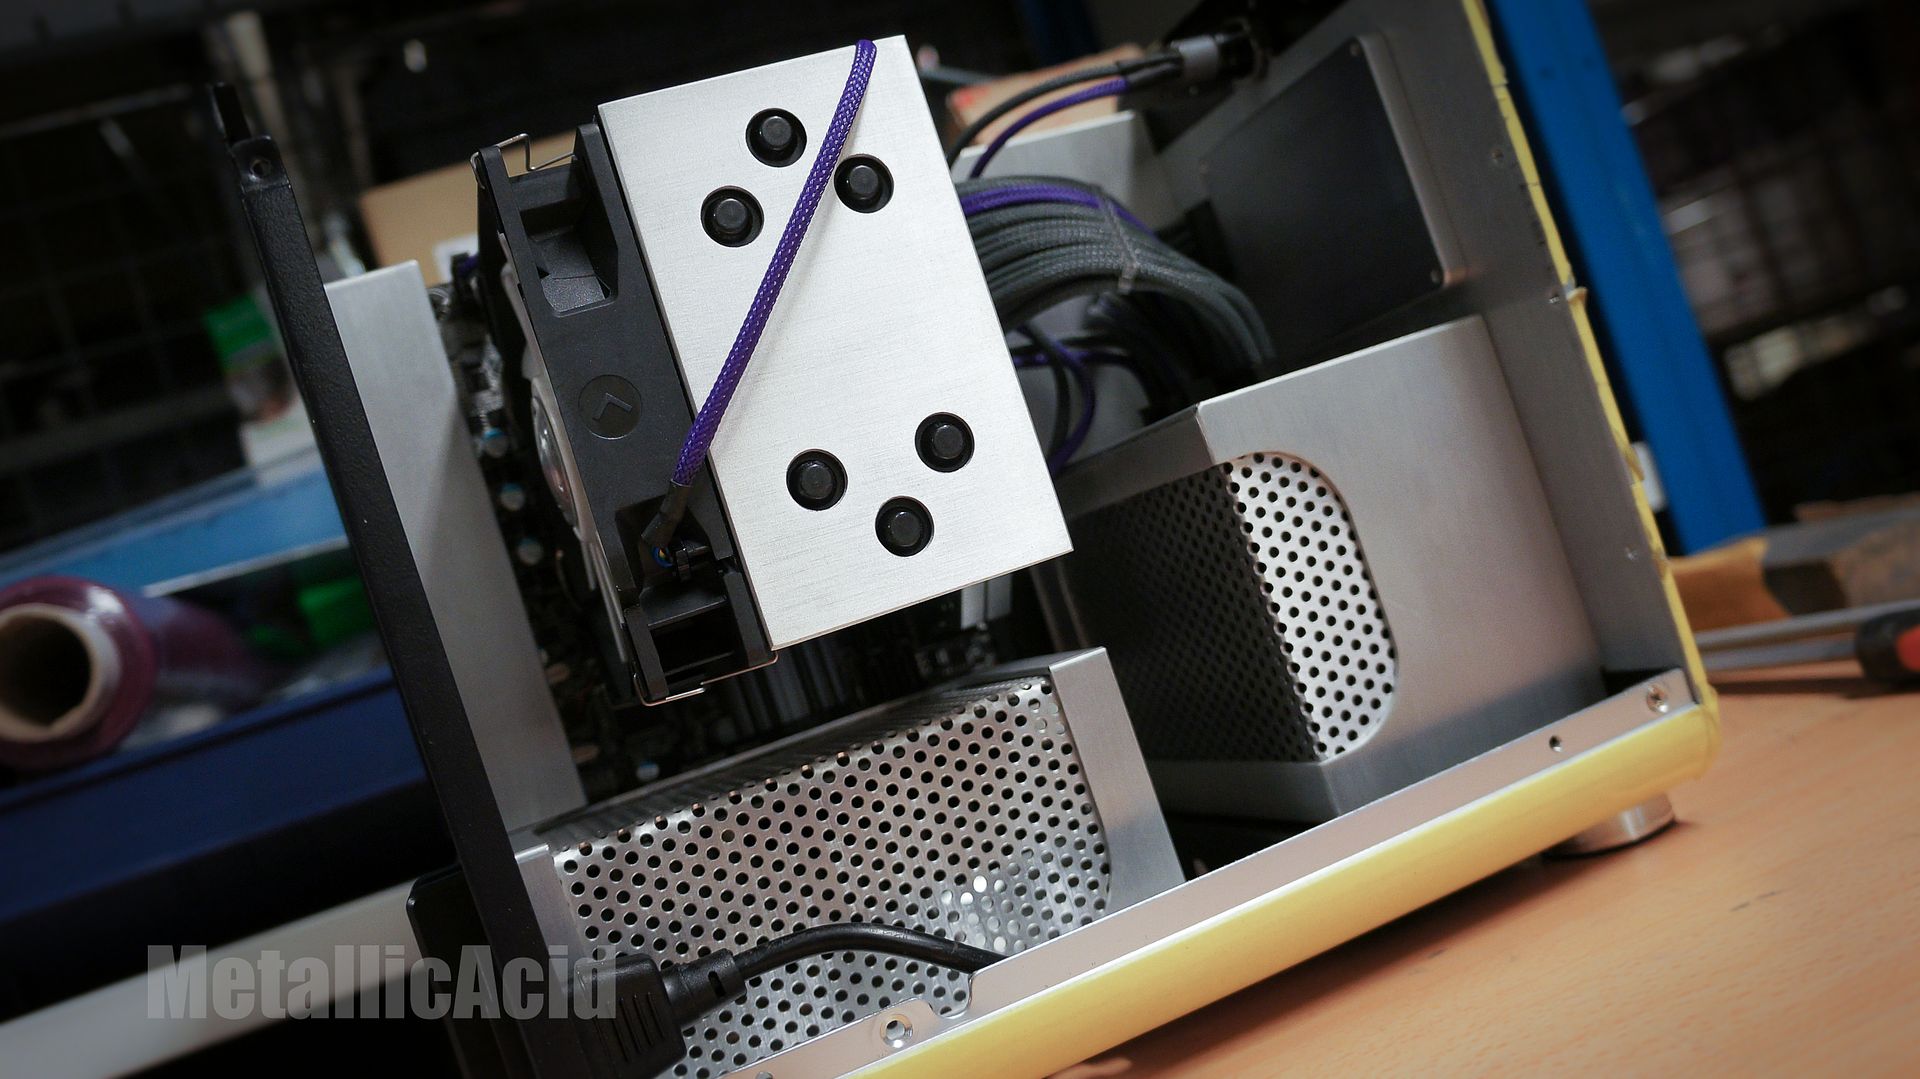
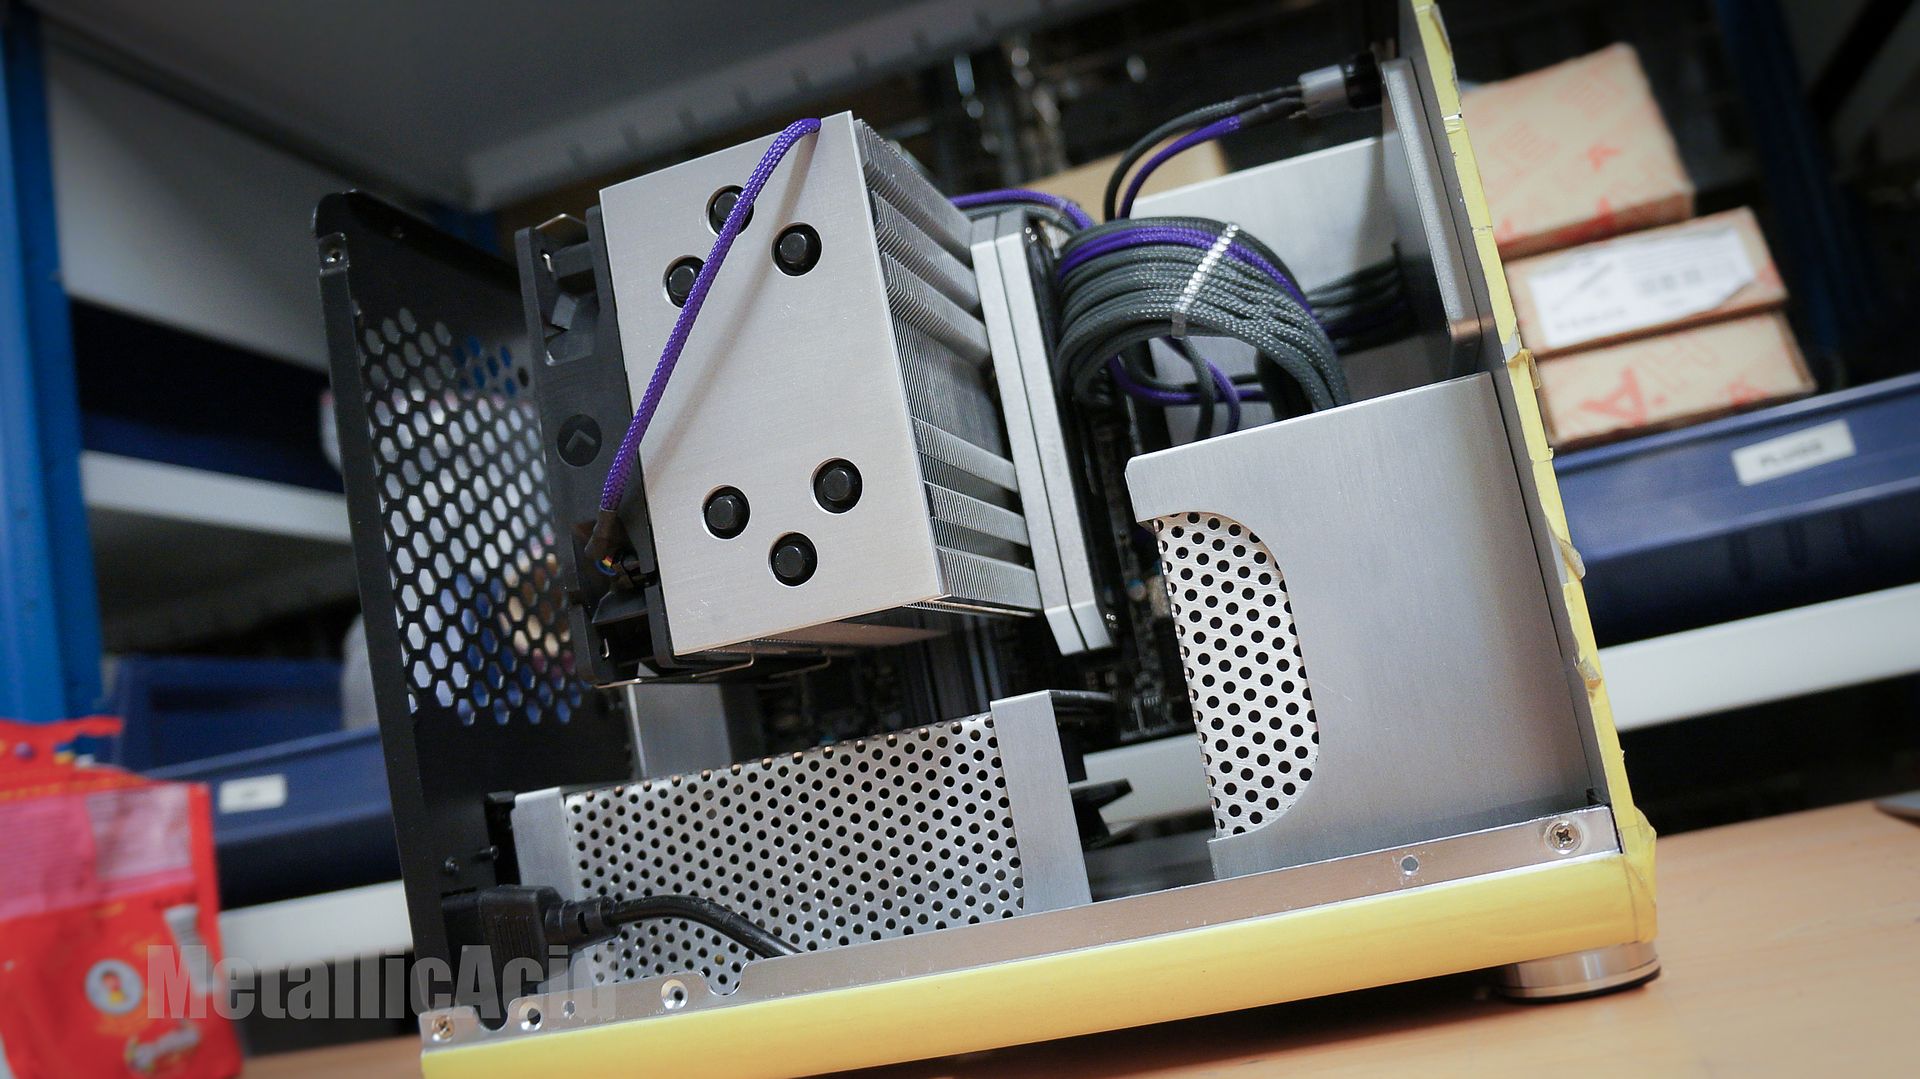
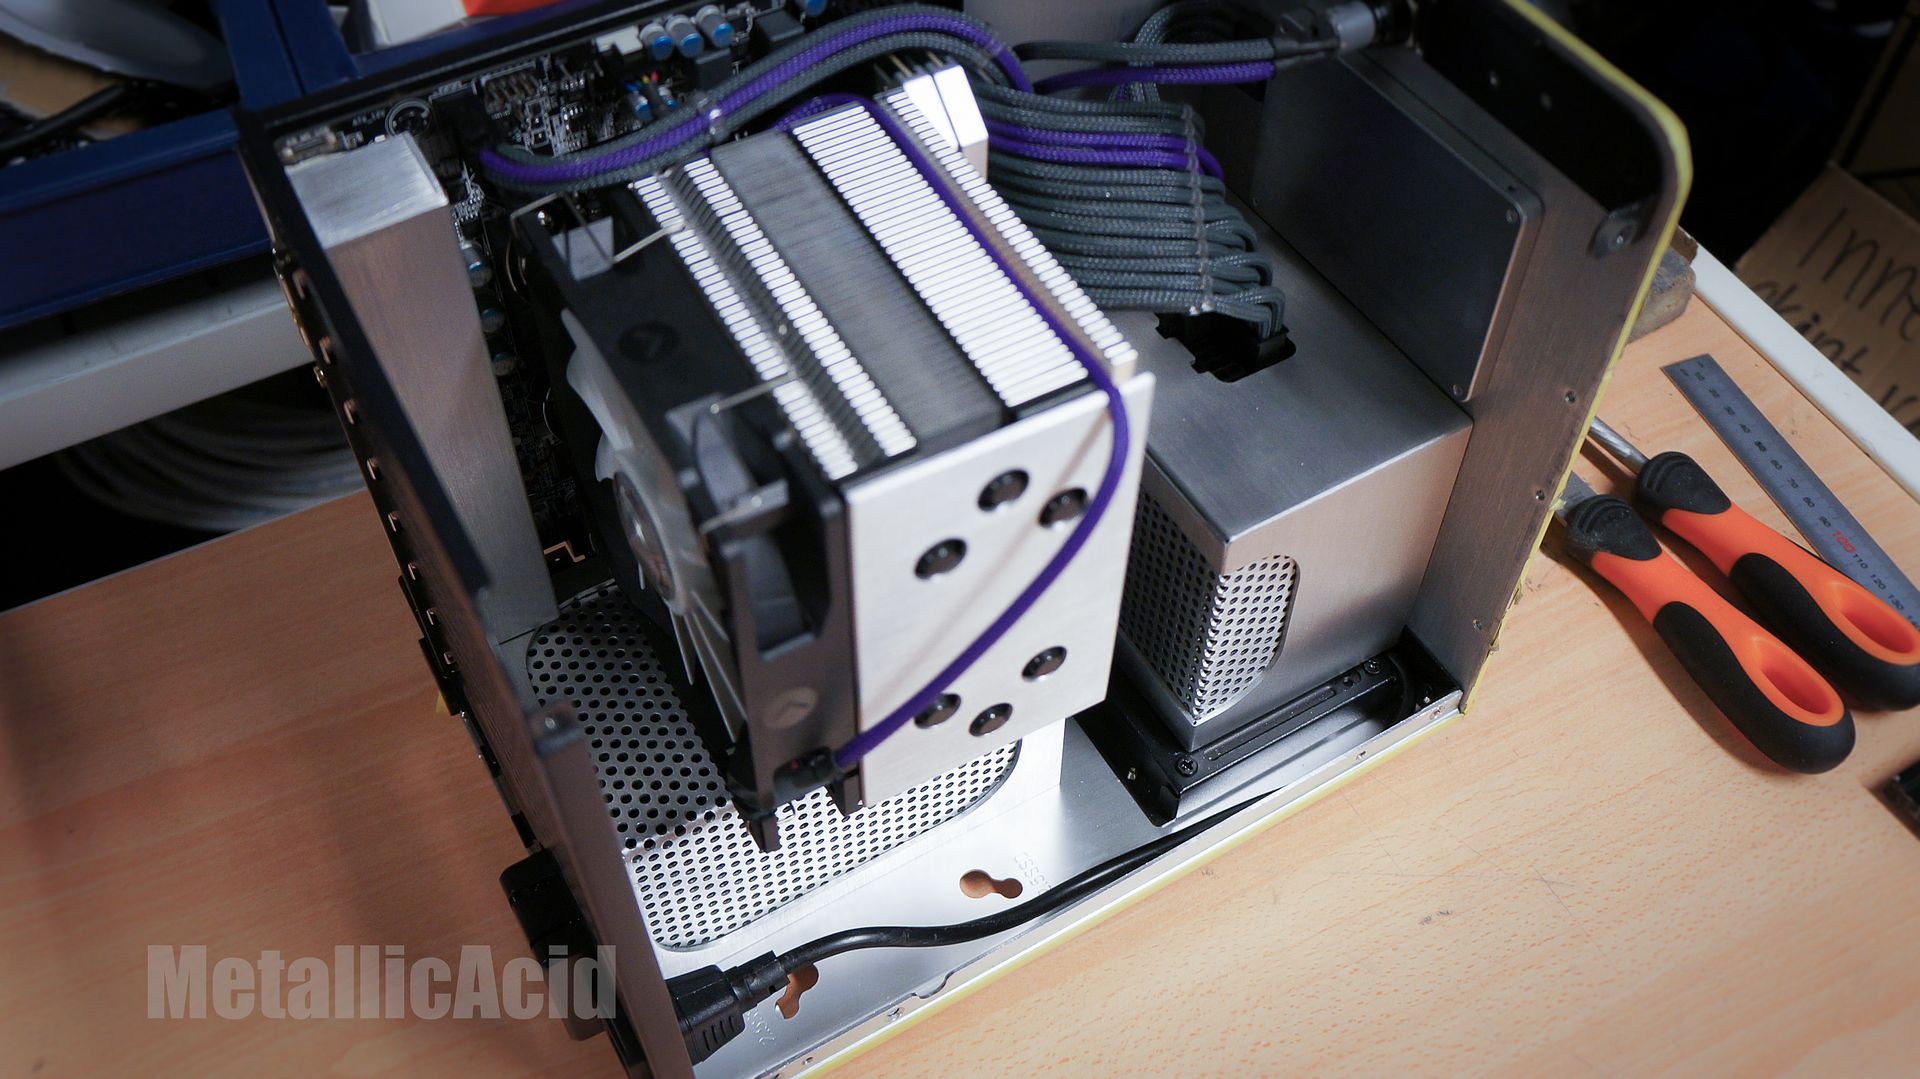
12c/24t 4.0GHz (Zen2) • 2x16GiB 3200MHz C14 • RTX 2080 FE 1965MHz 7000MHz • X570 I PW • Ghost S1 MKII

Permalänk
Proffsmoddare

Looking good! I'm rocking the same CPU and GPU in my project, IP66-M. But with a Streacom Nano 150W

Visa signatur

CRATER | VISION | TILT | CORE X | IRIS | TORQUE | AVOID | BLACKOUT | ISO
Instagram: timpelay Facebook: timpelay

Permalänk
Proffsmoddare
Skrivet av Icte:

Very interesting project, do you plan to make any more modifications to the case itself?

And how come you aren't watercooling the CPU and the GPU? Probably overkill for a G3258 but a custom loop in this case would be very neat

Thanks man! I have already made alot of modifications to the chassis itself, and have a few major mods planned as well. I am working on the images now so that I can update as soon as I get the chance

I would like to do a custom waterloop for this project, but for the sake of simplicity and to keep the budget in line I decided on air cooled. I was planning on a 120mm rad at the rear, and a 120mm in the floor. I would have used the Bitspower DDC+res combo due to it's size and functionality, or modded a Fractal Design or Cooler Master or Raijintek CPU/pump combo to drive the loop.

Skrivet av timez:

Looking good! I'm rocking the same CPU and GPU in my project, IP66-M. But with a Streacom Nano 150W

I checked it out, seems like a nice project. I am now following

/J

Permalänk
Proffsmoddare

MetallicAcid's

Thank you to my sponsors:

Updates..
Parts and stuff!

Reserved for last parts update

Permalänk
Proffsmoddare

MetallicAcid's

Thank you to my sponsors:

Update 3
PSU shroud fabrication

Hello and welcome my friends! This update is long overdue! I wish to have had all of the hardware photographed and posted in the build log before I got on with the real modding, but it seems that I might have a late sponsor wishing to provide some RAM to this glorious project! The communication is taking a while, so I thought that I would just reserve a post in the thread and edit that once I get the RAM in.

Well, this update is me fabricating a PSU shroud. This design process is just firing from the hip, and finding something that I am happy with on the spot as opposed to the meticulous planning and 3D rendering that I have been known to do. This is because the work computer is a piece of crap and unusable, and most of my free time I have to mod is actually when I am at work (ironically haha!).

I wish to talk you guys through the design process to near completion!

Version 1 of the shroud was with the PSU being at the bottom of the chassis, and the shroud being tall so that I could mount an SSD and do something cool with the sleeved cables. Although I liked this design, I thought that it would make the inside seem very cramped considering that it takes up a third of the inside space.

Version 2 of the shroud was created with the thinking that the PSU would be attached to the front panel, lifted up from the floor of the chassis. This is so that full GPU would have been able to be used in this chassis. Then I created this version of the shroud which went all the way to the floor anyways which defeated the purpose of moving the PSU in the first place.

It is really exciting to play around with placing the parts in different areas of the chassis, as one can open up so many new possibilities to improve on the original design or layout. At one point I was going to install dual 120mm fans in the bottom, just because I could.. I decided not to do so for the sake of clean design, and as this PC is such a power easy beast then I do not need the extreme cooling solution.

Version 3 of the shroud is with the PSU back on the floor (indecisive much?) and a small shroud that covers just the unit itself. I had the PSU rotated so that the cables would come out of the side of the shroud and back up to the motherboard. I didn't like this version though as it was the version 2 shroud cut to size and bent to fit. It didn't really sit flush with the front panel, and the black mesh didn't work with the overall theme.

Version 4 - The final version. This version is perfect Sits great, it is flush, cables show great, all brushed... Mmmm

The big reveal coming soon

What do you guys think?

I have made sooo much more progress already to show, like a new power button, custom cables, new case feet and much more, and will get some more updates out for your reading pleasure as soon as I have the time! Stick around

Kind regards,
Justin "MetallicAcid" Ohlsen

Permalänk
Proffsmobbare

Awesome update, great design and fabrication! Do want!

Permalänk
Proffsmoddare
Skrivet av Laine:

Awesome update, great design and fabrication! Do want!

Cheers Laine! I am very pleased with the results

/J

Permalänk
Medlem

that's one smexy cover!<3

Visa signatur

Ryzen 5 1600, Gigabyte 1070, MSI B350M MORTAR, Crucial 16GB, Samsung EVO 500GB, Define Mini C, Corsair RM550x (╯°□°)╯​︵ ┻━┻

Permalänk
Proffsmoddare
Skrivet av Marticus:

that's one smexy cover!<3

I am very happy with how it turned out!

/J

Permalänk
Proffsmoddare

Riktigt fint hantverk Justin.

Visa signatur

Crystal 280X ~ i7 8700K ~ B360M MORTAR ~ GTX1080ti ~ 32GB DDR4 ~ RM650i ~ AOC 34" IPS ~ Virtuoso SE
The Red One ~ Cold Winter ~ CURV3D ~ BarPC ~ F4DE

För allt om PC-moddning ~ Minimalistic PC

Permalänk
Proffsmoddare
Skrivet av C4B12:

Riktigt fint hantverk Justin.

Thank you mate!!

/J

Permalänk
Proffsmoddare

MetallicAcid's

Thank you to my sponsors:

Update 4
Lots of modding!

Hey guys and girls!

I have a nice sized update with lots of different modding Here you will see the installation of a new power button, new custom cables for the PSU, new case feet and cutting a larger hole into the motherboard tray for the CPU cooler bracket!

So, lets start with the new case feet!

Next up we have the motherboard tray cut out, which allows for the bracket of the CPU cooler to sit without pressing against, and flexing the PCB

Here I bore out the hole to a larger diameter, then install a 16mm vandal switch

And last up I create some custom length cables. Fine tuning will come in a later update, as well as some gorgeous cables sleeve

More updates coming up real soon guys, so stick around

Kind regards,
Justin "MetallicAcid" Ohlsen

Permalänk
Proffsmoddare

MetallicAcid's

Thank you to my sponsors:

Update 4

Too many mods to specify a title too!!!

Hello and welcome!

I have been very busy with the Elegance project, trying to wrap things up and get it completed. There are a couple of things left on my list to do, but nothing too major. I am slowly getting around to posting the images up on the net for you guys to see, so bare with me during this process!

There are a few things that I have been working on that I would like to show with this update, so in normal fashion I shall name what it is that I have done with a brief description, then reveal the photos of that work. Please enjoy!!

Front button modding, making some custom cables which were perfect in length. These have been sleeved, but that is for another update!

Next up, I sacrificed an unused GTX780 reference cooler, and reused the aluminium circle from the fan on my Cryorig QF120 CPU tower fan. Stylish

I noticed that the inside of the Metis chassis was unbrushed, so I took out the front panel, gave it a brush and clear-coat and reinstalled it. Looks sweet!

As much I love the OCZ SSD for it's documented reliability, I love it's aluminium shell even more. So I removed the sticker and gave that a hit with 80grit sandpaper and clear-coat as well!

Last but defnitely not least is the massive window modding that I have completed for this project! These two windows give a fantastic view of all of the parts and custom sleeving, and look great to boot! I am really happy to have had you - the community help me with the decision of which design would be the most original and best looking. You guys really know something nice when you see it!! Final reveal of the window mod will be revealed with the final images when the project is completed.

Next update will be presented within a week or so, and will feature a new sponsor and some sleeving goodness! Let me know what you think of the project so far, and what I can do to make it even better

Thanks for reading,
Justin "MetallicAcid" Ohlsen

Permalänk
Medlem

That cut-out really made a difference! Good job!
Now, i know this isnt finished, but are you planing on doing some more with the cooler? With all that high-class feeling with the brushed aluminium i, personally, feel that the cooler is in another theme, you thougts?

And, i like the cables better without any sleeve at all!

Edit: just watched the pictures again... That top cut out is truly amazing!

Keep up the awsome work, a big source of inspiration!

Visa signatur

Mina projekt: Airvolv | W2AX (Cootek W2)
Social: Facebook | Instagram

Björn showed us what kind of level one can achieve with a keen eye for detail and a sense for style. - SM i PC moddning 2015

Permalänk
Inaktivt företagskonto
Permalänk
Proffsmoddare
Skrivet av Nizr:

That cut-out really made a difference! Good job!
Now, i know this isnt finished, but are you planing on doing some more with the cooler? With all that high-class feeling with the brushed aluminium i, personally, feel that the cooler is in another theme, you thougts?

And, i like the cables better without any sleeve at all!

Edit: just watched the pictures again... That top cut out is truly amazing!

Keep up the awsome work, a big source of inspiration!

Hey, and thank you for checking out my project! I have already done a little modding to the cooler which I will reveal in a coming update that I hope that you enjoy

Skrivet av Corsair Johan:

Riktigt intressant bygge Justin, gillar fönstret.

Cheers Johan for taking the time to look at my progress

/J

Permalänk
Medlem

Really looking forward to seeing the completed window mod! It already looks pretty insane.

Visa signatur

Gamingrig | Intel Core i7-6700K @ 4.2 GHz | Nvidia GeForce GTX 980 Ti | ASUS ROG Maximus VIII Formula | 16GB 2133MHz HyperX DDR4 | SSD: Samsung 850 Pro 512GB + Intel 535 480GB + Samsung 840 Pro 256GB | HDD: 2x WD Black 2TB + 2x WD Green 4TB | Creative Sound Blaster ZxR+Sennheiser HD650 | Corsair RM1000 | Corsair H100i V2 | Phanteks P400S Tempered glass | Asus ROG Swift 1440p 165Hz + Asus 1440p PLS | Retina Macbook Pro | i7-3820QM | 8GB RAM | MS Surface Pro 3&4 | Intel i5 | 8GB RAM | 256GB SSD |

Permalänk
Proffsmoddare

MetallicAcid's

Thank you to my sponsors:

Update 5
Reveal for the custom PSU shroud
Sponsor update
Custom cables

Well hello there friends!

I have another large update for you guys, and this time I have the reveal for the custom PSU shroud, the custom sleeved cables, and a sponsor announcement!

With this update I would like to introduce Ultimate Personal Computers as a sponsor, who have donated a generous amount of sleeving and extra little bits and pieces needed so I can make my custom length cables look the best in the world. I have actually chosen instead of taking them on their offer as I believe that Adam's Aegis sleeving is the best to work with, and is just as pleasant to work with when I compare them too MDPC sleeving.

Next up I have the reveal for the PSU shroud which I have made from Aluminium, and hole mesh. This shroud is made from a single piece of Aluminium, and has been given a brushed finish so that it matches the outside of the chassis. I have also given it a clear coat so that it protects the shroud from oxidization and scratches.

There is a hole mesh which has been brushed and clear coated as well. This is to give a nice design feature, but also to allow airflow to the 80mm fan located on the PSU.

Now just a little text update on what is coming up in the next update: I am currently working on the floor panel, which will be of the same design as the PSU shroud, and I am also working on a panel which sits beside the motherboard, and behind the PSU shroud. These panels will be installed so that there is almost no visible seems, and give a nice overall classy look to the inside of the chassis.

I will soon work on a custom GPU backplate, and a custom panel for behind the motherboard. I will then go ahead and start installing the hardware and wiring up some LED lighting.

What do you guys think of the project so far? Please let me know!! I am always trying to think of new and fresh ideas to make my modded projects stand out from everything else in the world!

With kind regards,
Justin "MetallicAcid" Ohlsen

Permalänk
Medlem

Feast for the eye!

Permalänk
Medlem

That shroud looks really great, blends with the chassi but makes a real impression at the same tame!

Still waiting for that CPU heat stink mod though

Visa signatur

Mina projekt: Airvolv | W2AX (Cootek W2)
Social: Facebook | Instagram

Björn showed us what kind of level one can achieve with a keen eye for detail and a sense for style. - SM i PC moddning 2015

Permalänk
Proffsmoddare
Skrivet av Niwa:

Feast for the eye!

Skrivet av Nizr:

That shroud looks really great, blends with the chassi but makes a real impression at the same tame!

Still waiting for that CPU heat stink mod though

Thanks you Nizr and Niwa The CPU plate will be displayed in the next update

/J

Permalänk
Proffsmoddare
Visa signatur

"Hannes has taken a CrossHair IV Formula, a Lian Li case and plenty of BitsPower watercooling and created more than a case mod; Theory is a work of art. With attention to detail so fine that he even polished the ROG board capacitors, Theory is modding at legendary standards" - ASUS

Permalänk

Holy sheeet, thats sexy af Can't wait to see the finished product, you rock MA <3

Permalänk
Proffsmoddare

I don't care!!! I love it!

Skrivet av Nitra:

Holy sheeet, thats sexy af Can't wait to see the finished product, you rock MA <3

Awesome! Thank you Nitra

/J

Permalänk
Proffsmoddare

MetallicAcid's

Thank you to my sponsors:

Update 6

This was supposed to be the last update, but I accidently thought of more things to fabricate....

Hello and welcome again to Justin's house of madness, where I continue to make my own life difficult and come up with more and more ideas that only prolong the finish date of this modding project!! Haha

Every time I look at what I have created so far, I always look and most of the time find more things to do to this project. If I continue like this, I will never be finished!

Todays update includes several new features, all hand made and fabricated from 100% recycled materials from my workplace. Not only are they very nice, they are also environmentally friendly! But enough jibber-jabber from me, and onwards with the update.

First up we have another custom cable. This time it is a SATA power cable, which is just 7cm long

Next up, I fabricated an aluminium plate which blends the Cryorig H7 CPU tower into the overall design

I installed the OCZ Arc100 SSD

I fabricated a GPU backplate/shroud thingy

I am currently working on a backplate which covers the CPU towers support plate, and which will be visible through a windowed side panel. Design that will appear on this panel is not finalized though

As work continues, I find myself thinking that I do not want for this project to finish. I am having way too much fun with it Anyways, thank you so much for reading and I hope that you have enjoyed this update.

Kind regards,
Justin "MetallicAcid" Ohlsen

Permalänk
Medlem

Great, just great! And so god damn inspirational!
Is that a sticker of you logo, or a print to cut out? And where do you buy the aluminium?

Again, Awesome!

Visa signatur

Mina projekt: Airvolv | W2AX (Cootek W2)
Social: Facebook | Instagram

Björn showed us what kind of level one can achieve with a keen eye for detail and a sense for style. - SM i PC moddning 2015

Permalänk
Proffsmoddare
Skrivet av Nizr:

http://i.imgur.com/0D9K70R.gif

Great, just great! And so god damn inspirational!
Is that a sticker of you logo, or a print to cut out? And where do you buy the aluminium?

Again, Awesome!

Awesome, thank you!!!

The logo is just printed from a regular printer onto regular paper. I went ahead and stuck it into place with double sided tape, then started drilling and cutting out the logo.

It is now finished, and I will be taking a few glory shots of it hopefully tomorrow

All of my aluminium that I use is recycled from my workplace. We have a picture production where I work, and they often have lots of spill aluminium and acrylic sheet. If you live in Stockholm, or can travel here one day, I can give you some for no charge

Kind regards,
Justin

Permalänk
Proffsmoddare

Hey everyone,

Just to let you all know, I am working on the final photos for Elegance. Here is a small teaser

This project has also been nominated as MOTM here on Bit Tech, so please head over and cast your vote for Elegance http://www.bit-tech.net/modding/mod-of-the-month/2015/05/07/m...

With Best regards,
Justin

Permalänk
Proffsmoddare
Skrivet av MetallicAcid:

Hey everyone,

Just to let you all know, I am working on the final photos for Elegance. Here is a small teaser

This project has also been nominated as MOTM here on Bit Tech, so please head over and cast your vote for Elegance http://www.bit-tech.net/modding/mod-of-the-month/2015/05/07/m...

---pics---

With Best regards,
Justin

Looks damn good!

Visa signatur

CRATER | VISION | TILT | CORE X | IRIS | TORQUE | AVOID | BLACKOUT | ISO
Instagram: timpelay Facebook: timpelay