Case unboxing and review: Bitfenix Shadow
Hello and welcome to the PC case unboxing and review of...
Hello, my name is Justin "MetallicAcid" Ohlsen, and I have yet again the pleasure to bring to you a PC case unboxing and review. Today's victim is the Bitfenix Shadow. This case comes in at a measly cost of just 650kr, and for that price there is alot of stiff competition. We will first go through this case's features, and then give my "Modders Opinion" if you are looking to modify this case in any way.
Case specifications from Bitfenix.com:
Materials Steel, Plastic
Colors (Int/Ext) Black/Black
Dimensions (WxHxD) 190 x 440 x 506mm
Motherboard Sizes ATX, Micro ATX, Mini-ITX
5.25” Drive Bays x 3
3.5” Drive Bays x 7
2.5” Drive Bays x 1
Cooling Front 120mm x 2 (1 included)
Cooling Bottom 120mm x 1 (optional)
Cooling Rear 120mm x 1 (included) or 92mm x 1 (optional) or 80mm x 1 (optional)
PCI Slots x 7
I/O USB 3.0 x 2, USB 2.0 x 2, HD Audio
Power Supply PS2 ATX (bottom, multi direction)
Extras SofTouch™ Surface Treatment, selectable red/blue LEDs, removable dust filters, tool-free drive locking mechanisms
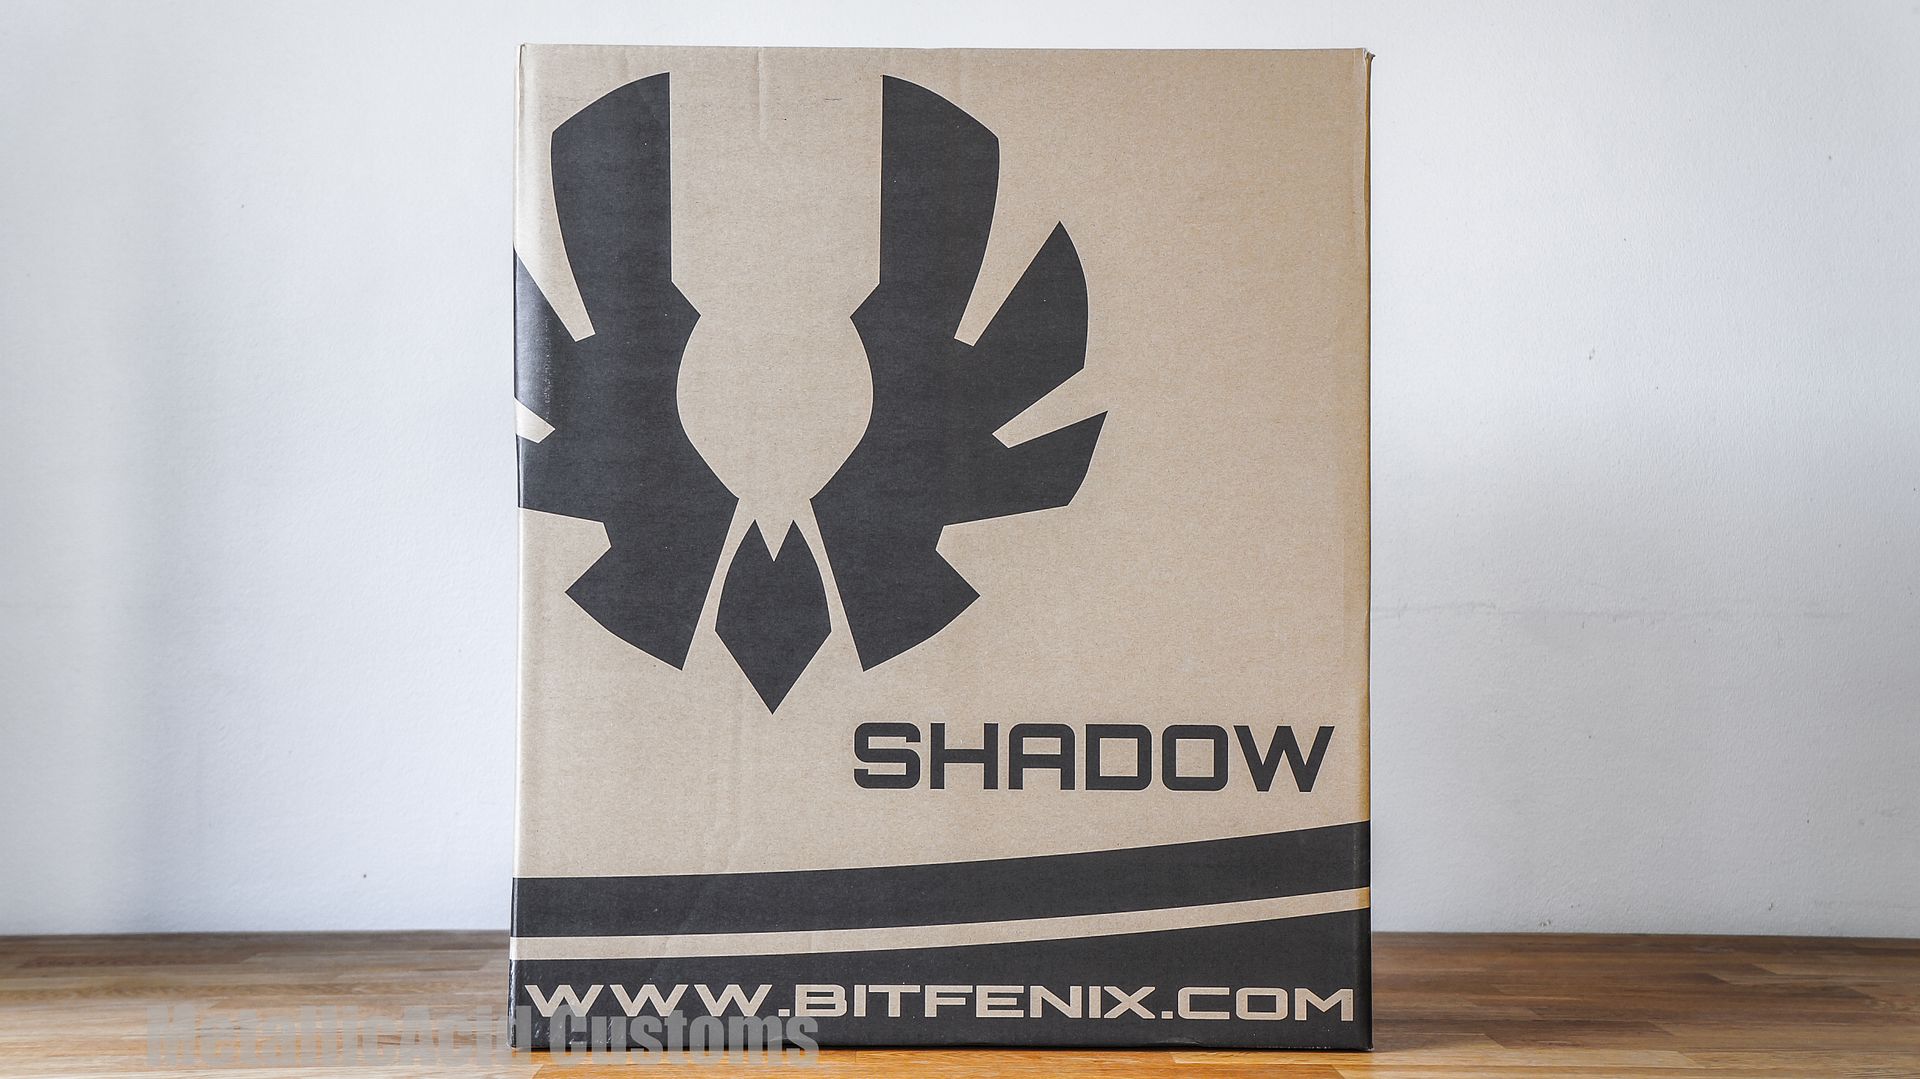
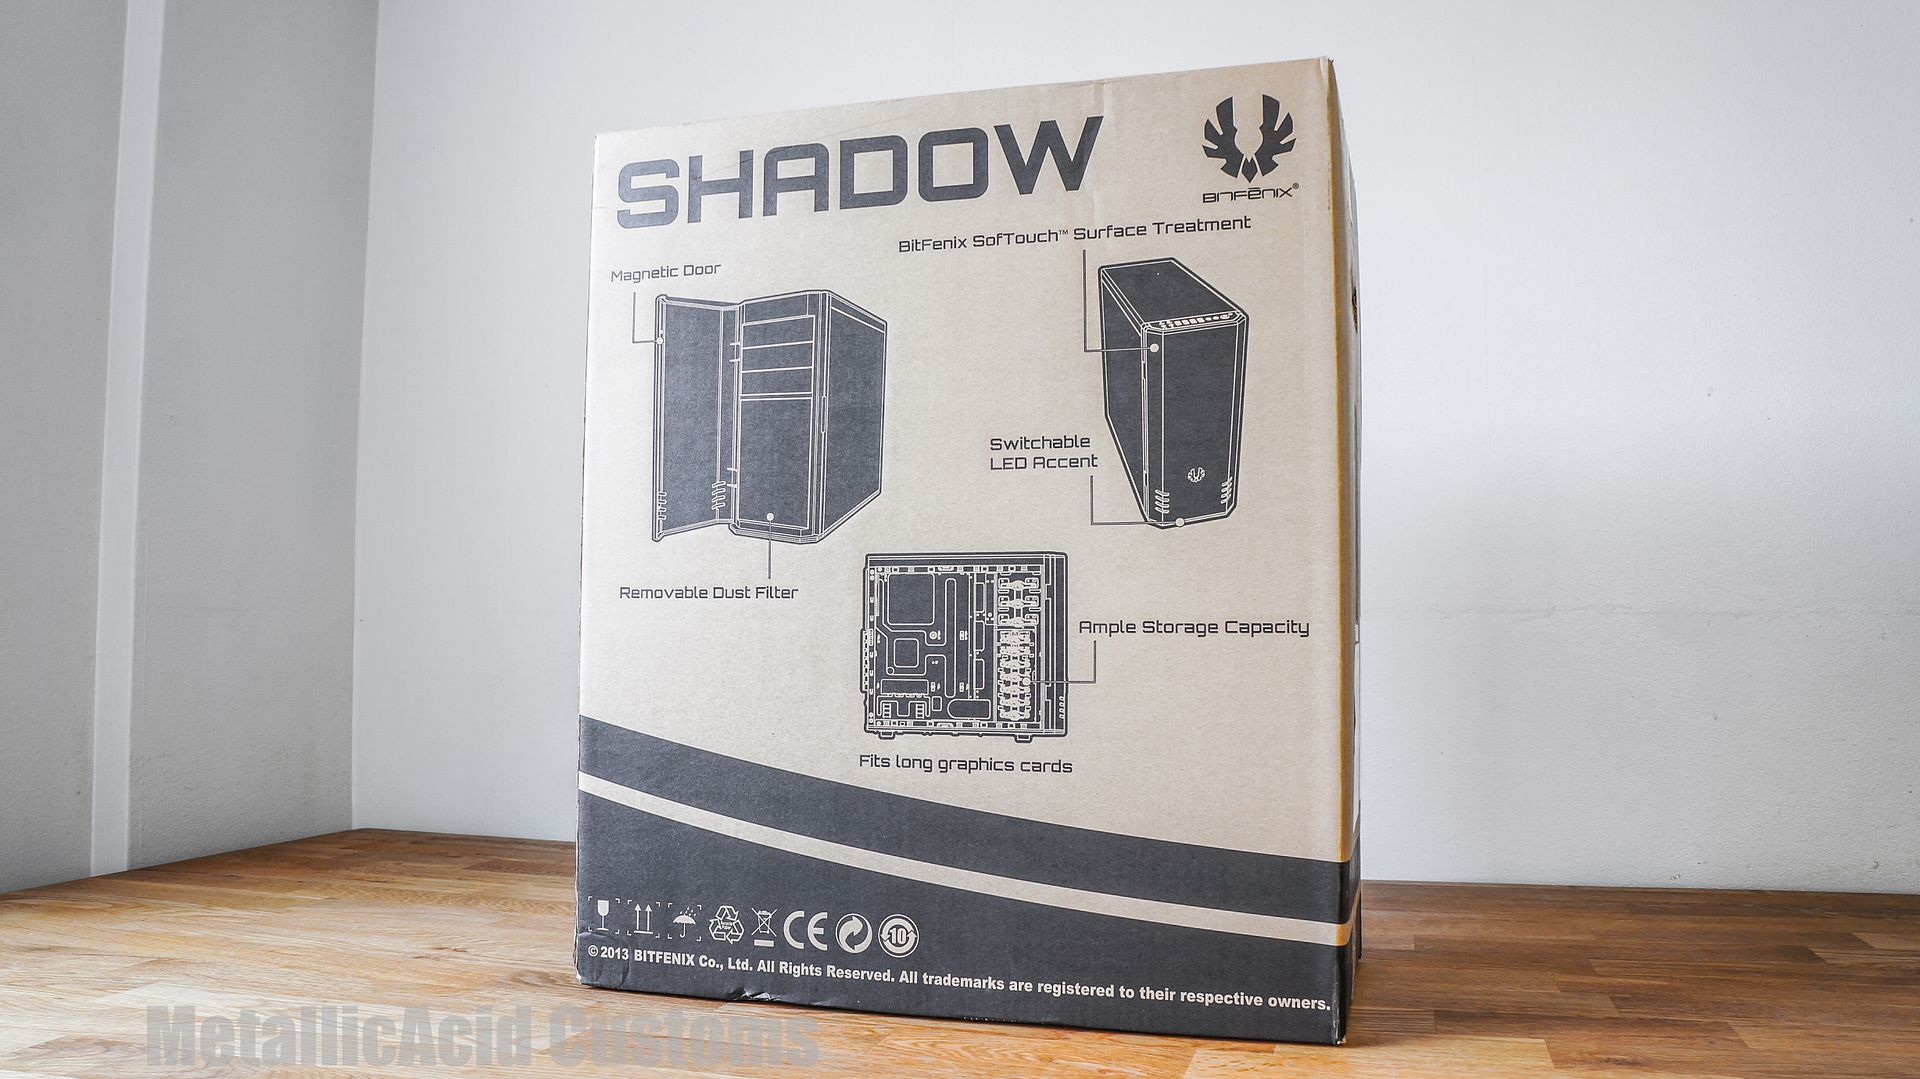
Firstly we will take a look at the packaging. The packaging is just the simple brown rigid cardboard box with simple black text, like all other Bitfenix PC cases. On the backside you can see the key selling features of this case. The case itself is packed in a plastic bag, with hard Styrofoam To stop the case from moving around inside the box during transport.
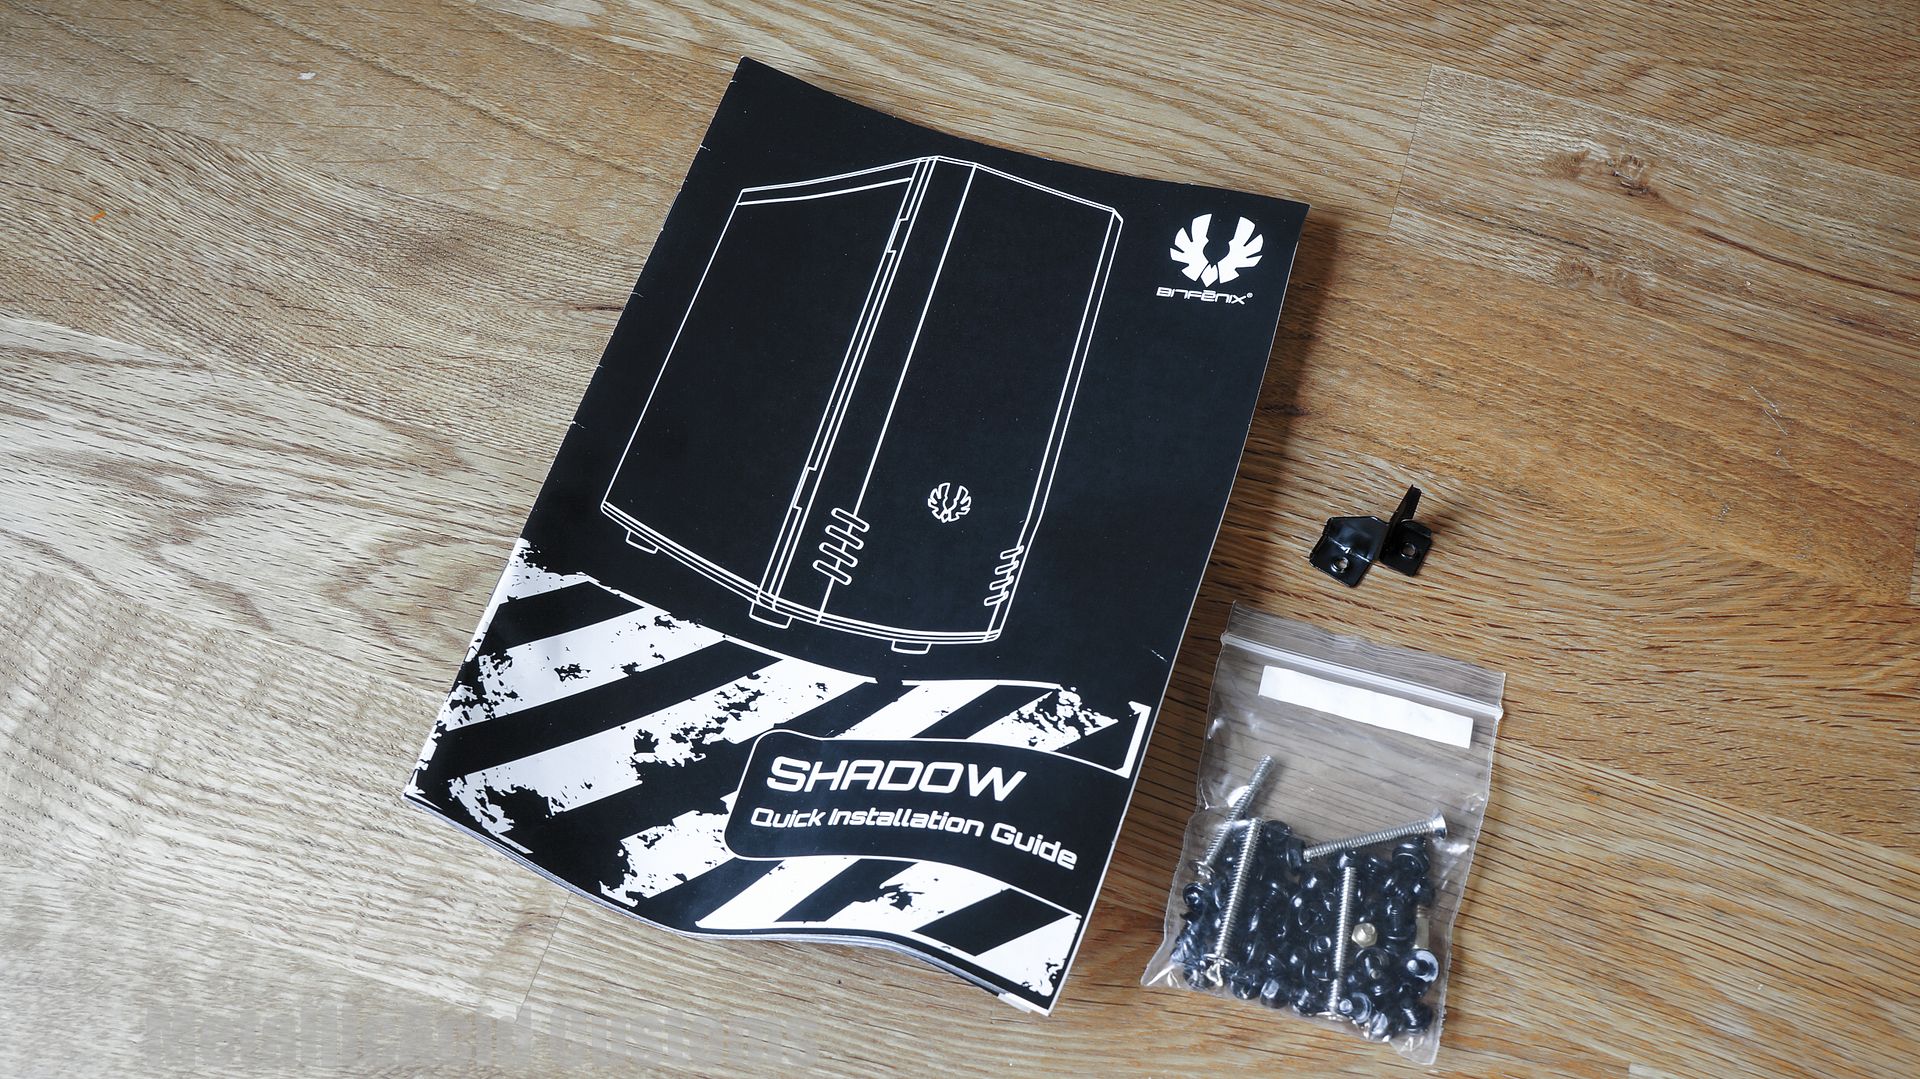
The goodies back was looking bare with this case but this is not expected given it's price point. The bag includes instructions, a set of screws/motherboard standoffs, and a bracket to give the PSU more stability after it is installed.
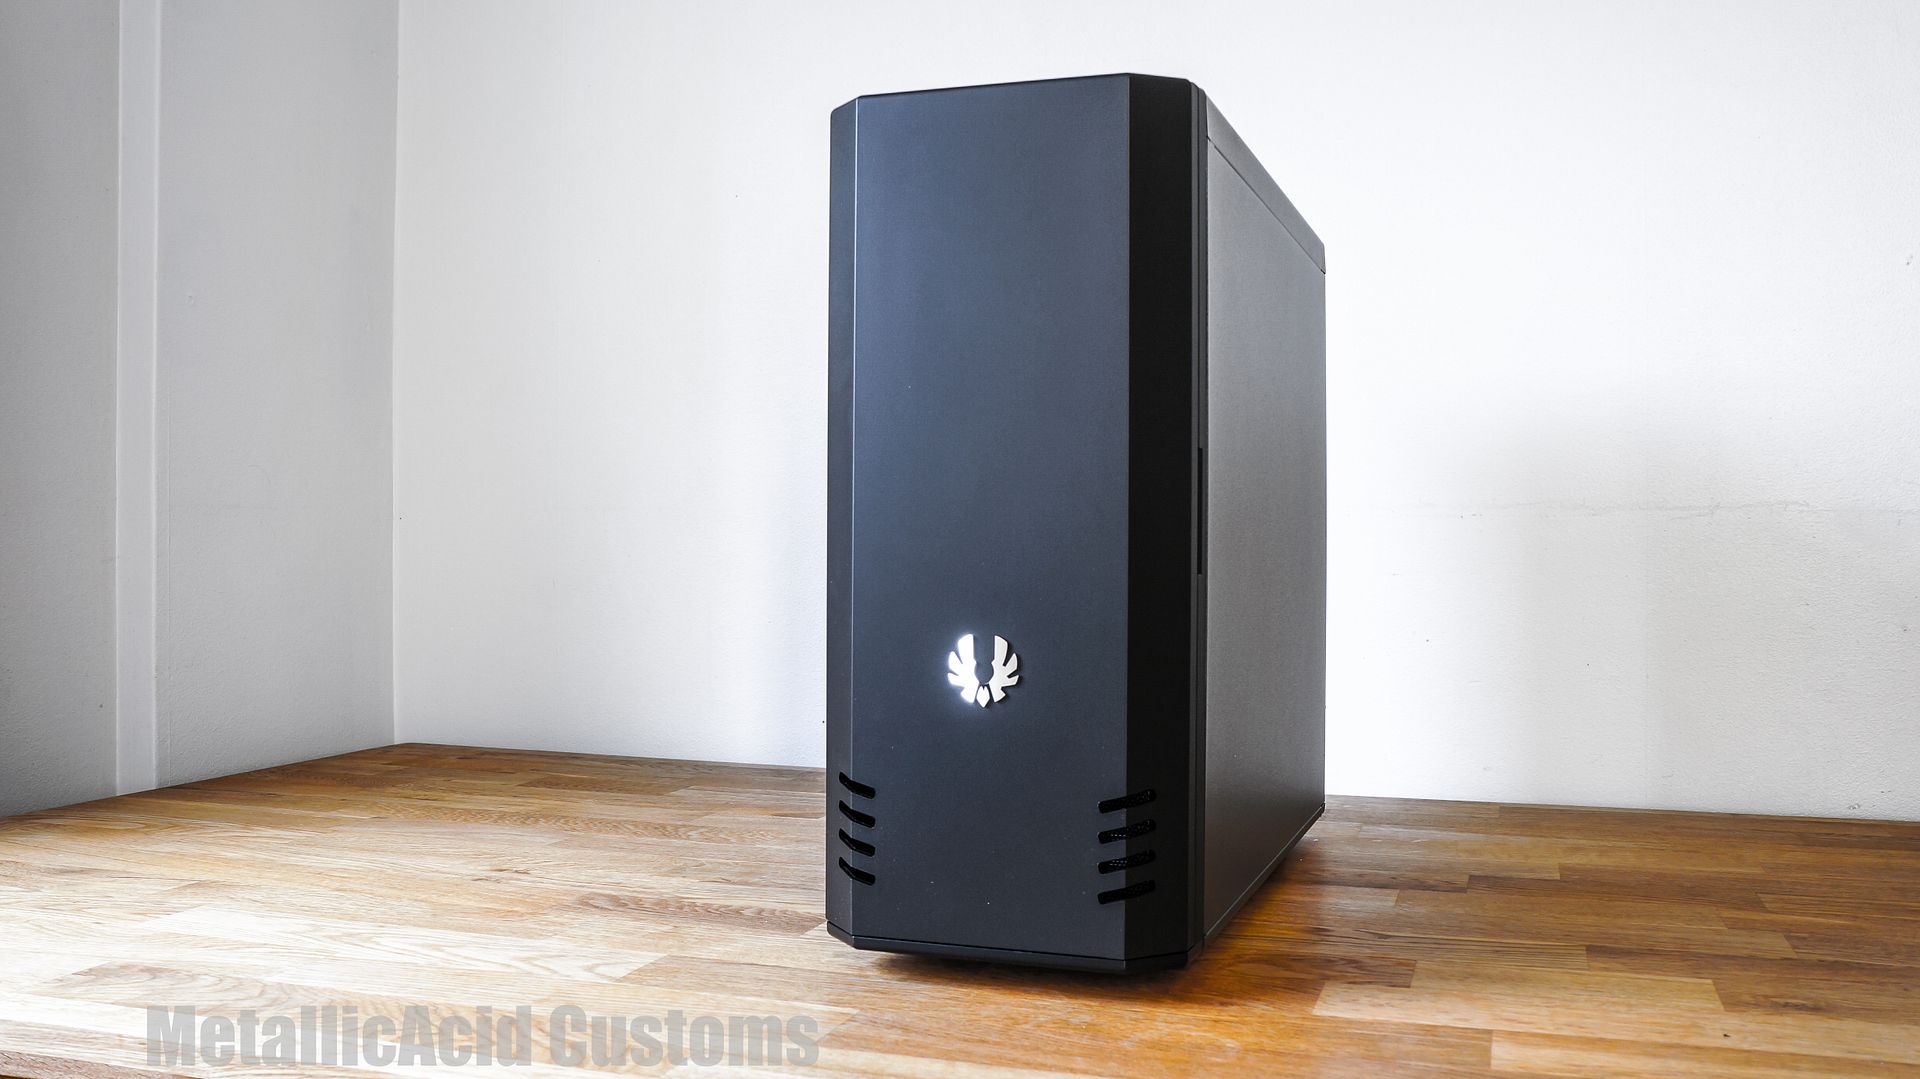
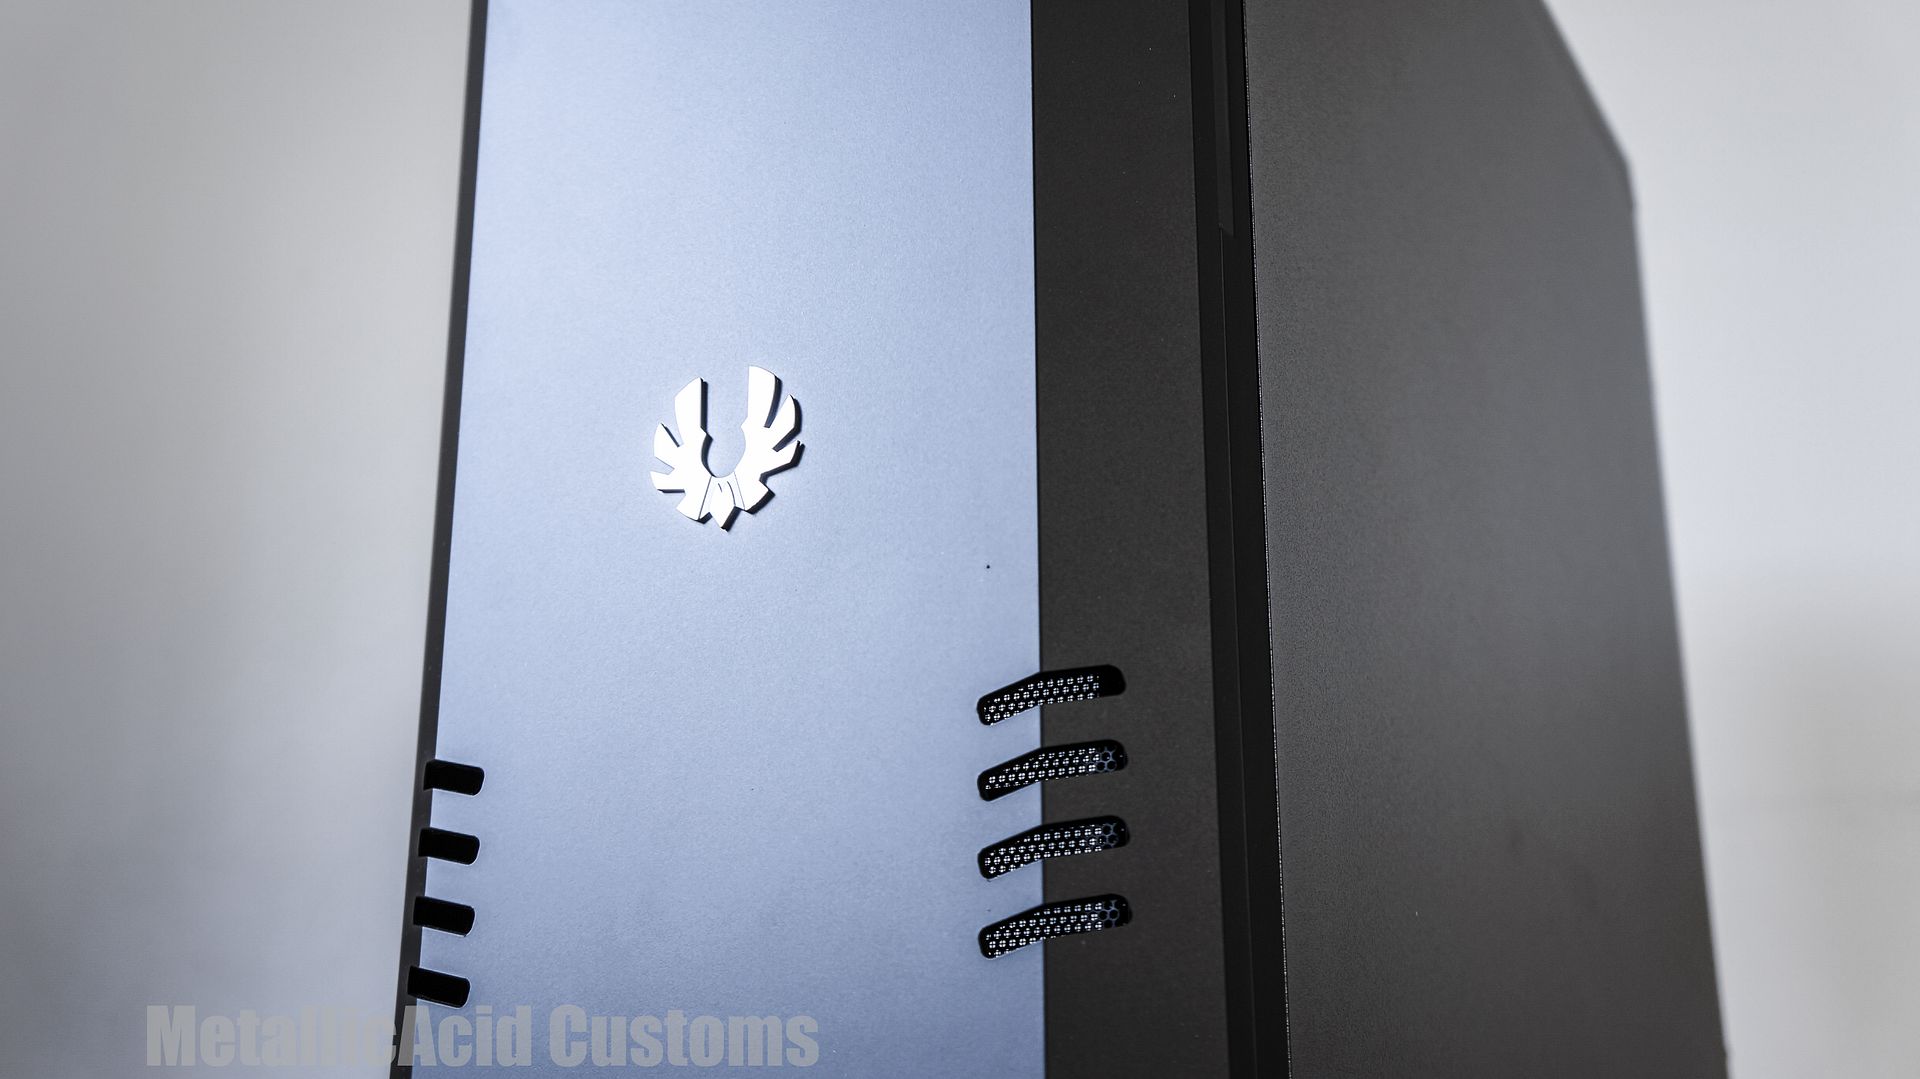
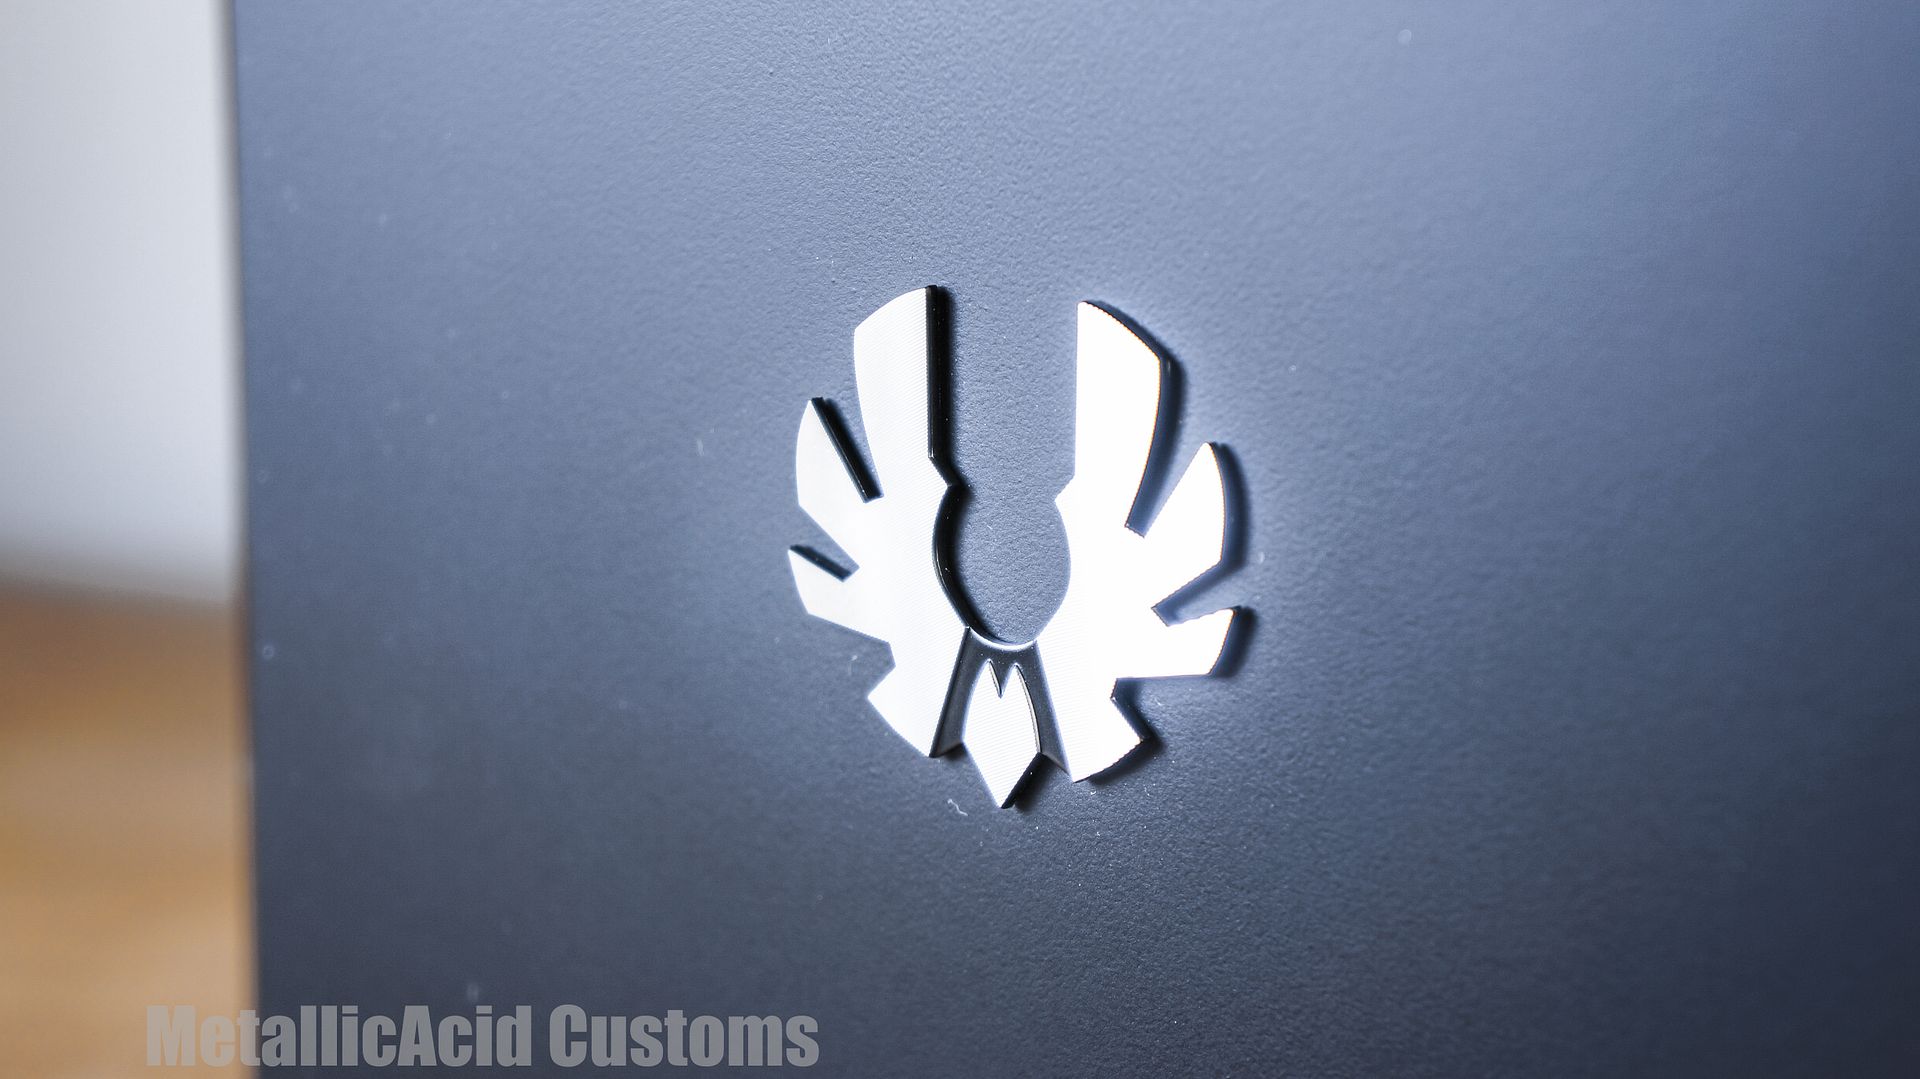
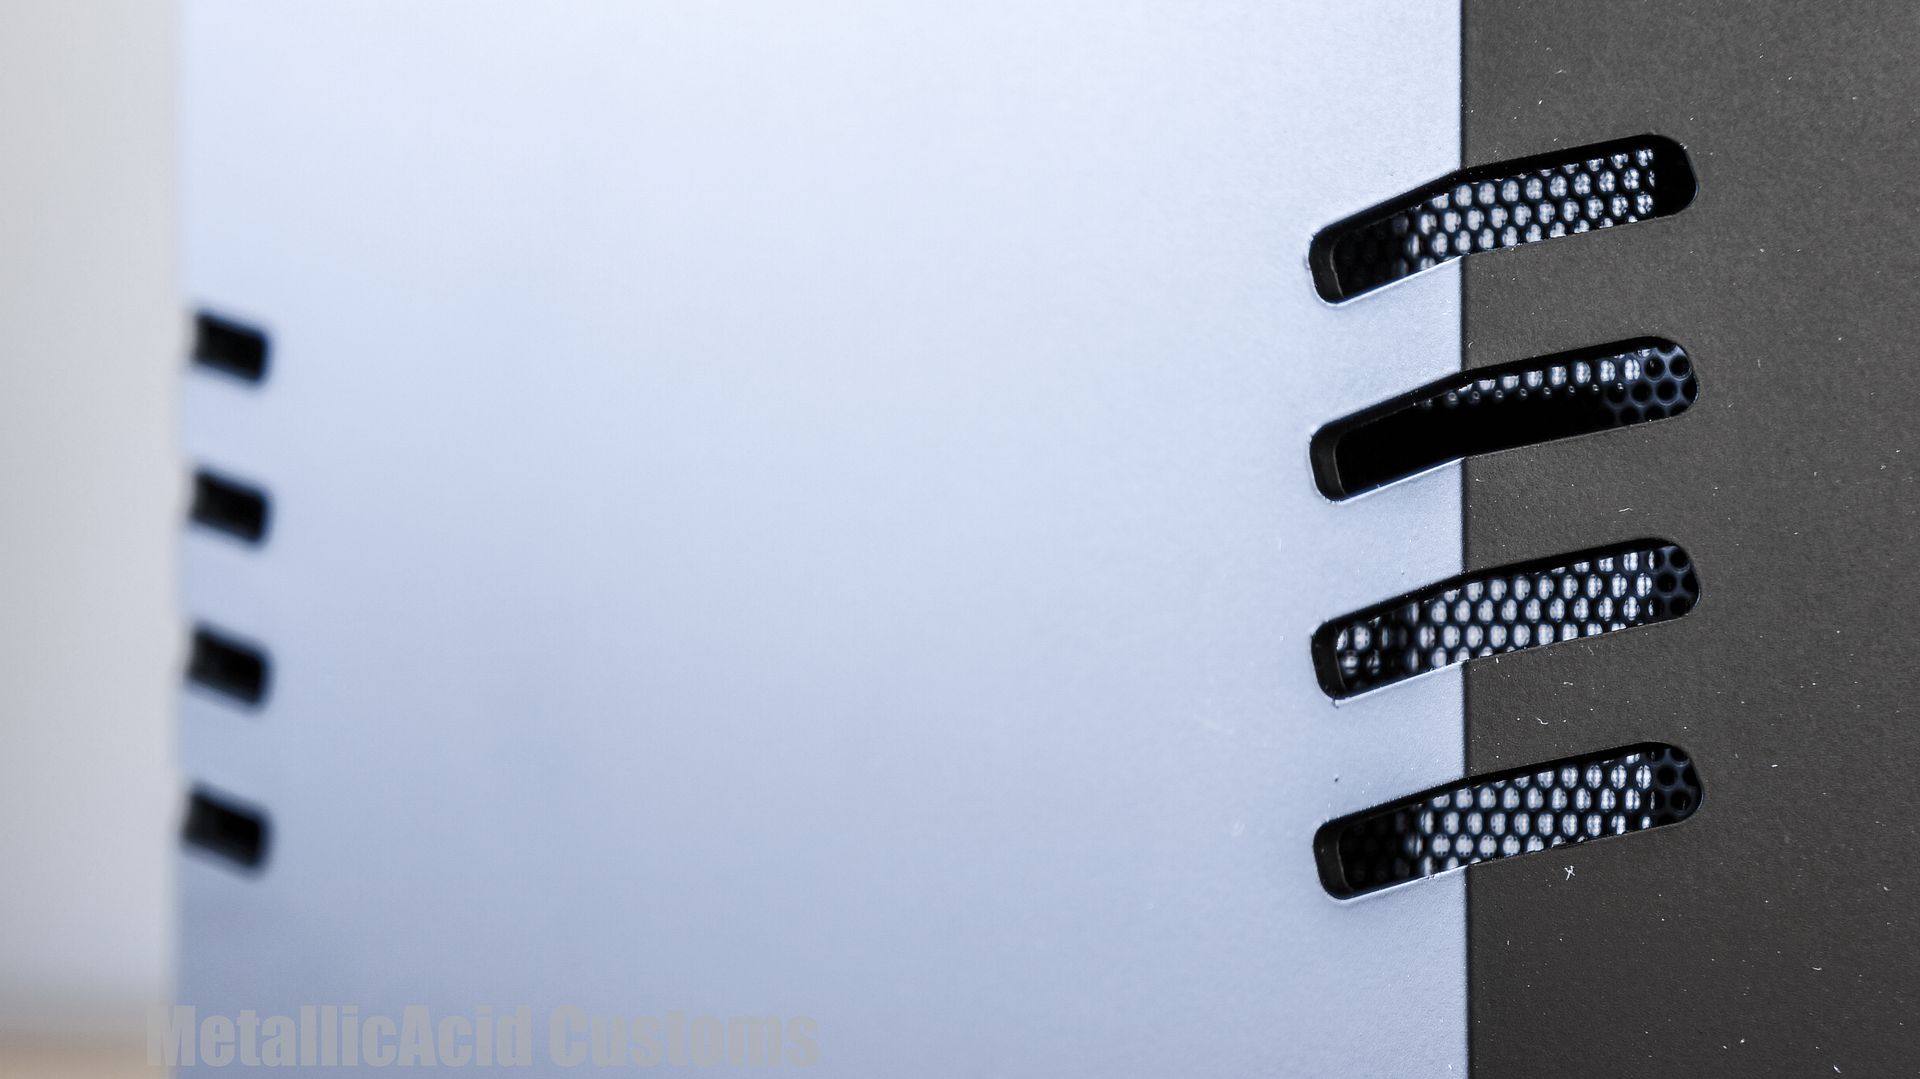
The front of the case has simple yet striking appeal to it. We can see the Bitfenix logo made from aluminium, ventilation for the front intake fans, and the patented "Soft Touch" finish that feels so nice, that it is almost naughty.
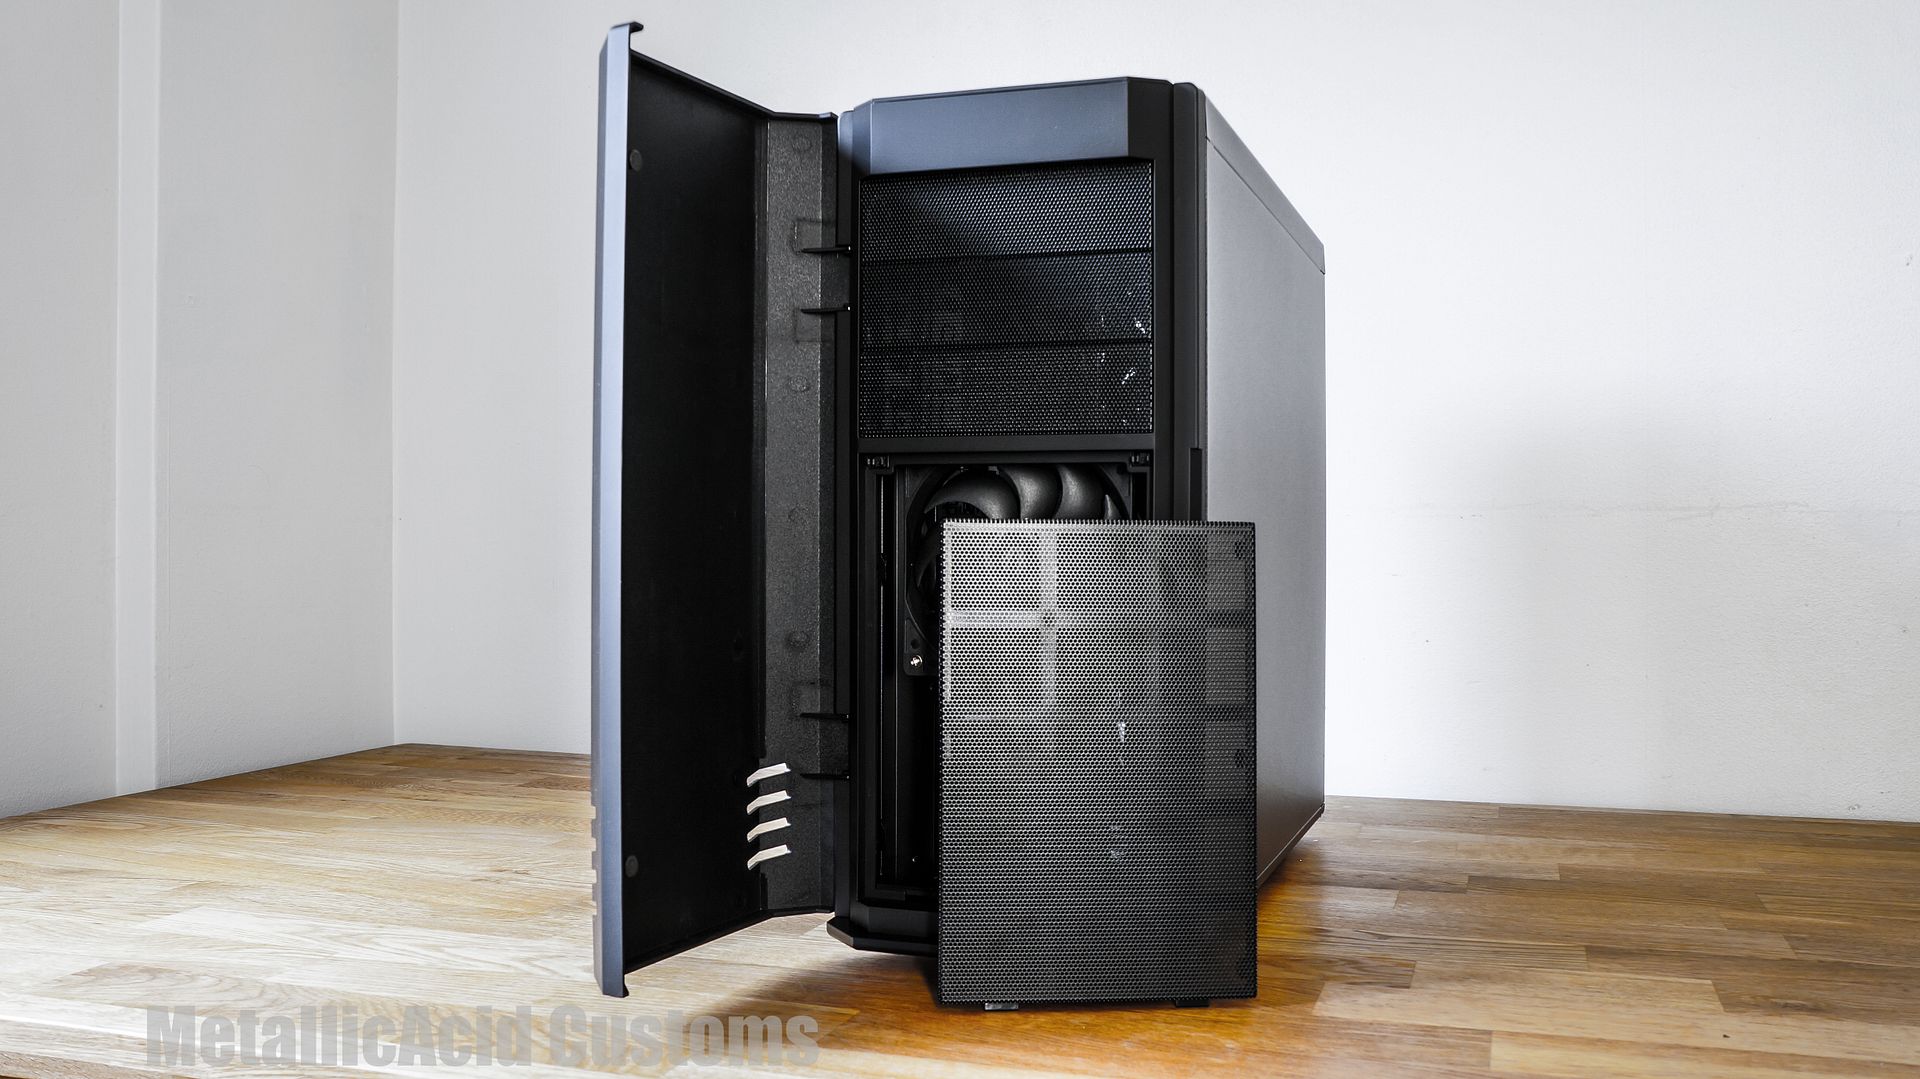
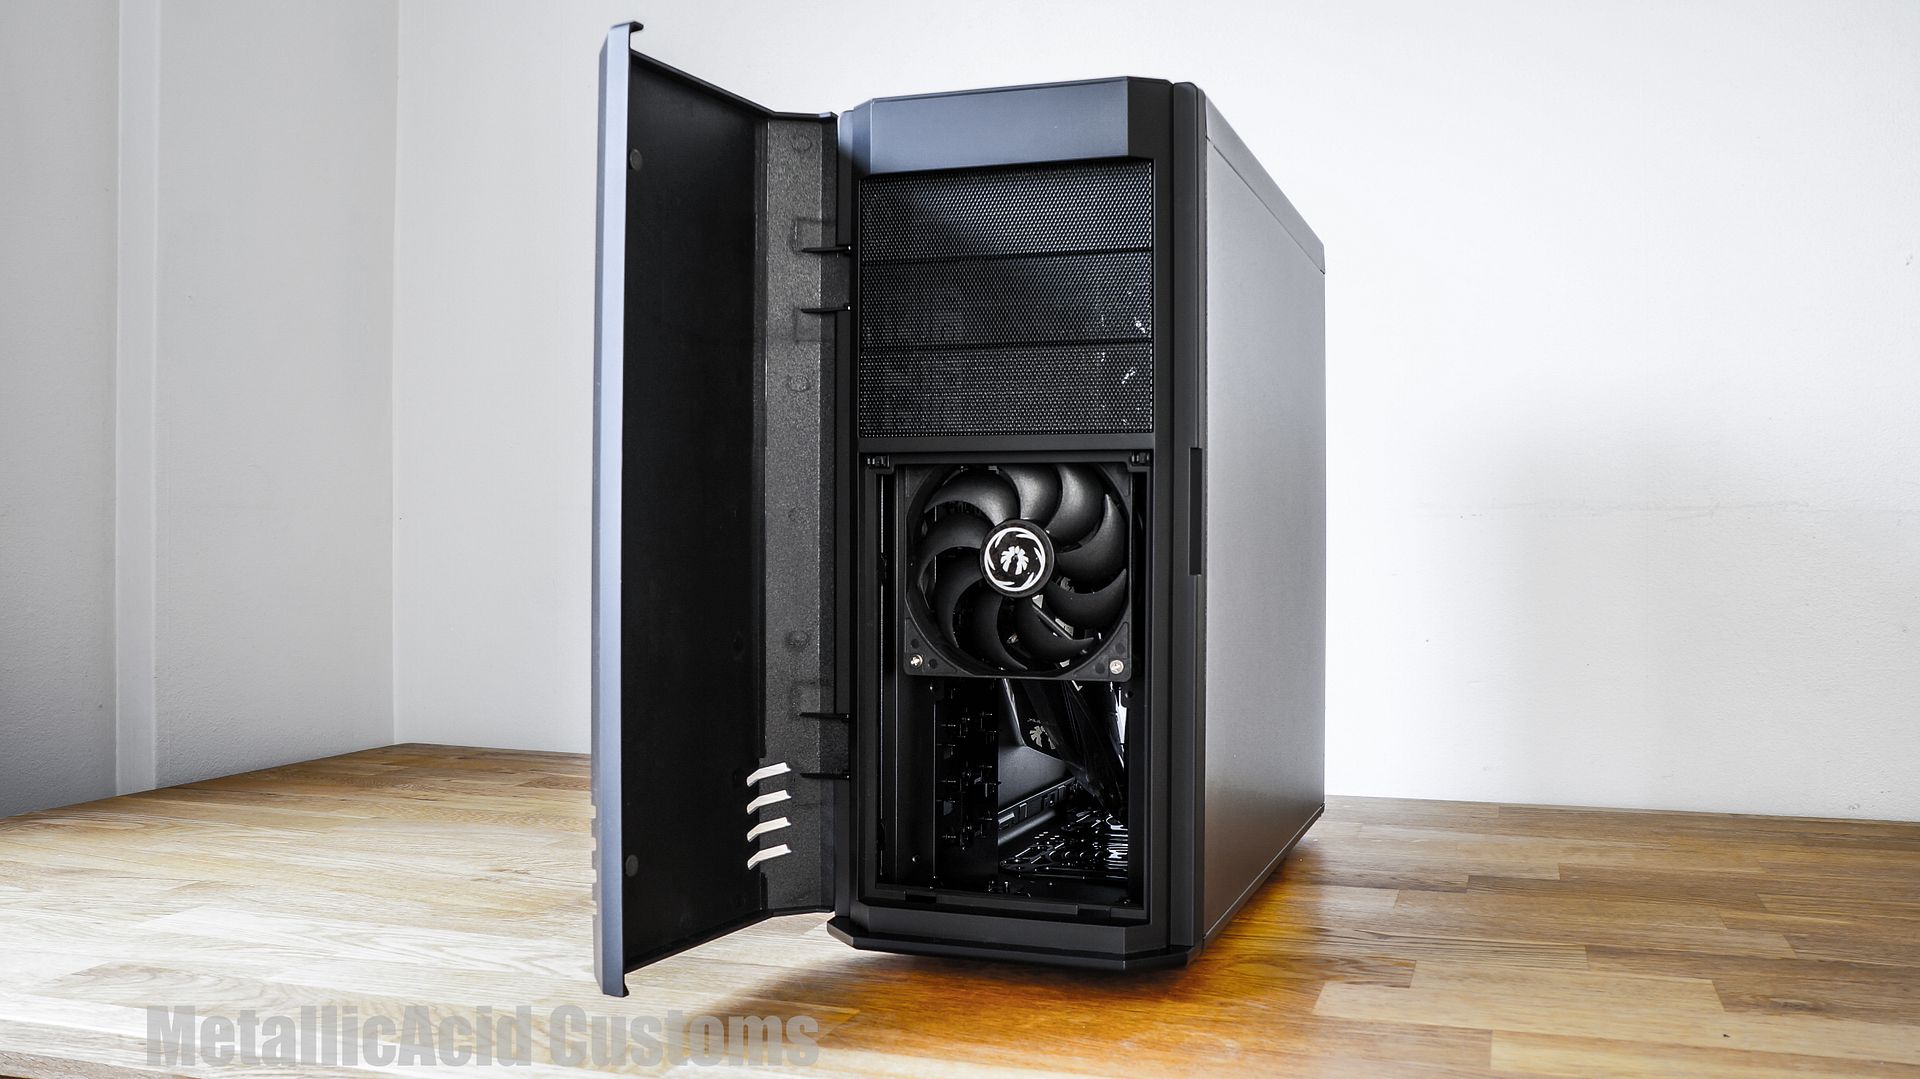
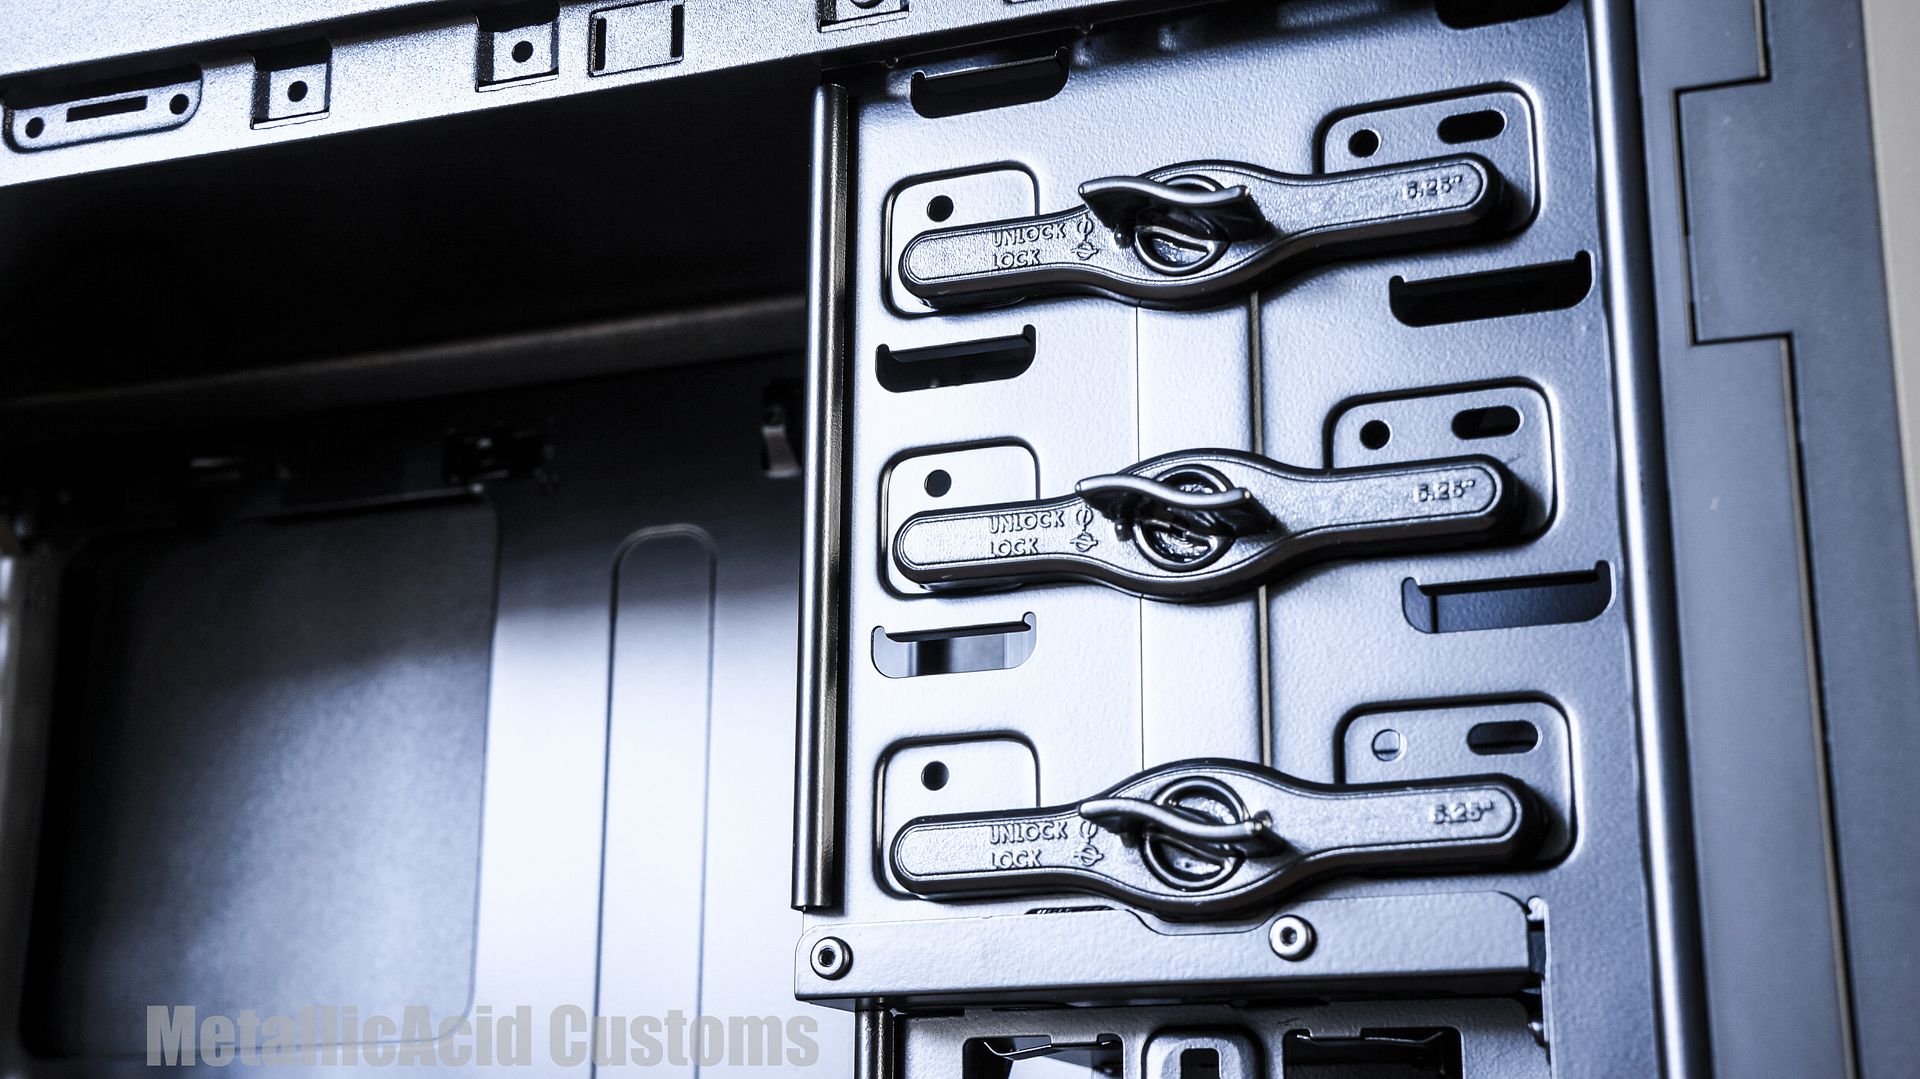
When we open the door we are greeted with 3 fully ventilated 5.25" bays, and a removable mesh with dust filter covering the intake for one provided fan from Bitfenix. I like how this looks, and how easy it is to remove the mesh/dust filter. The mesh/filter is held in place with 2 click tabs - one in each corner - and a simple press on both releases it from the case.
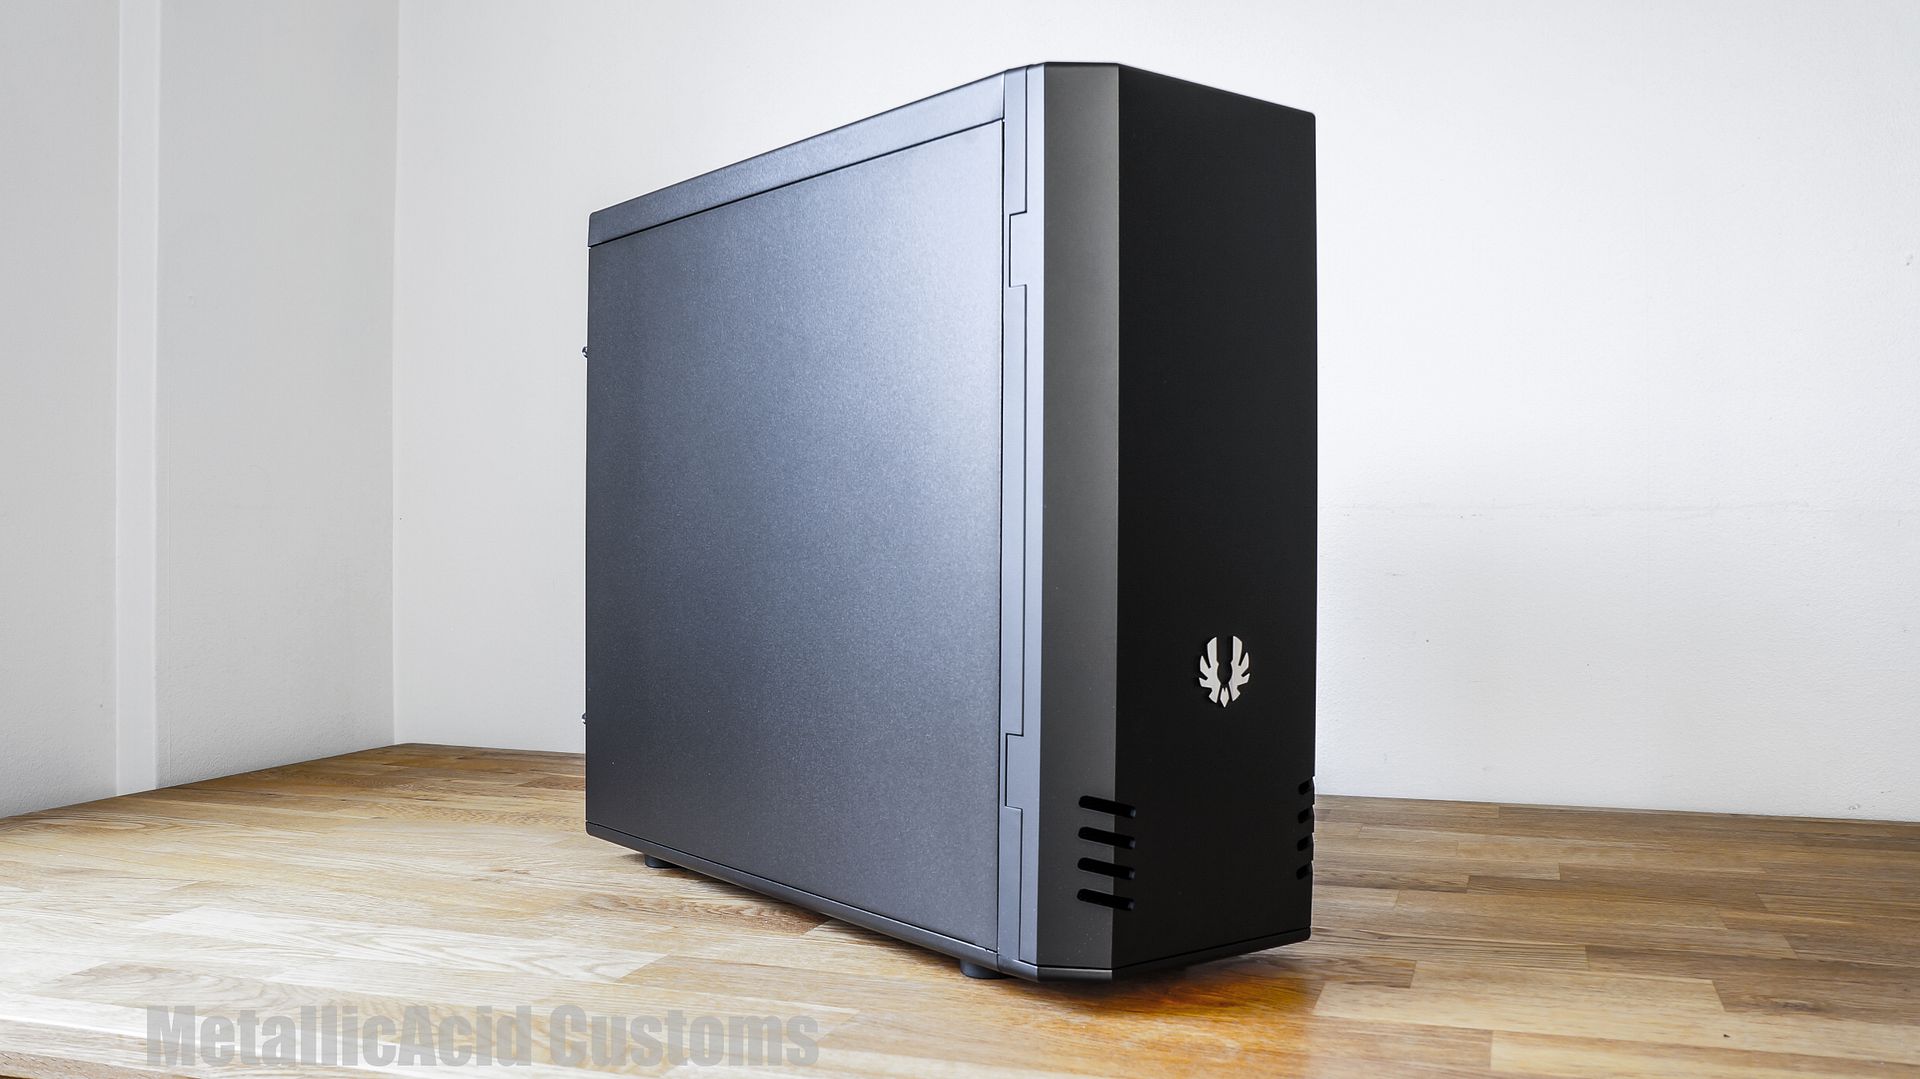
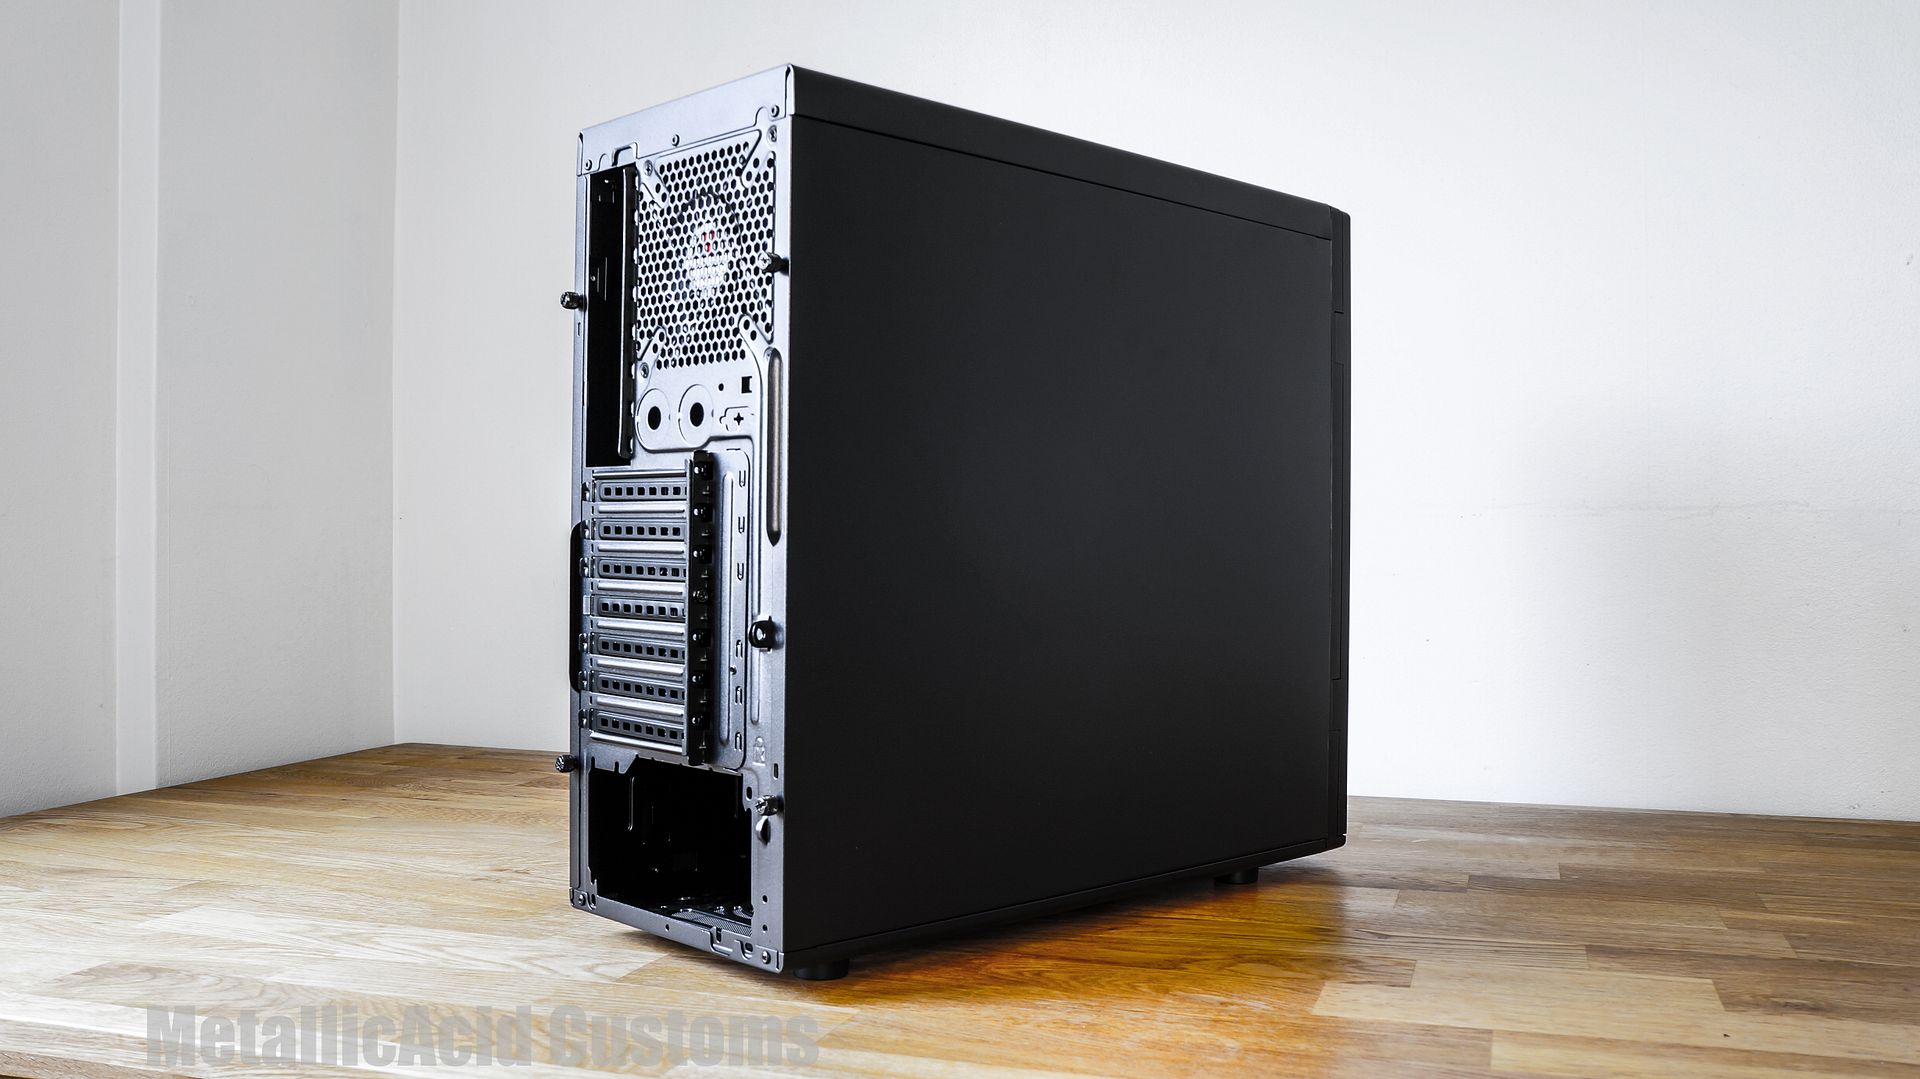
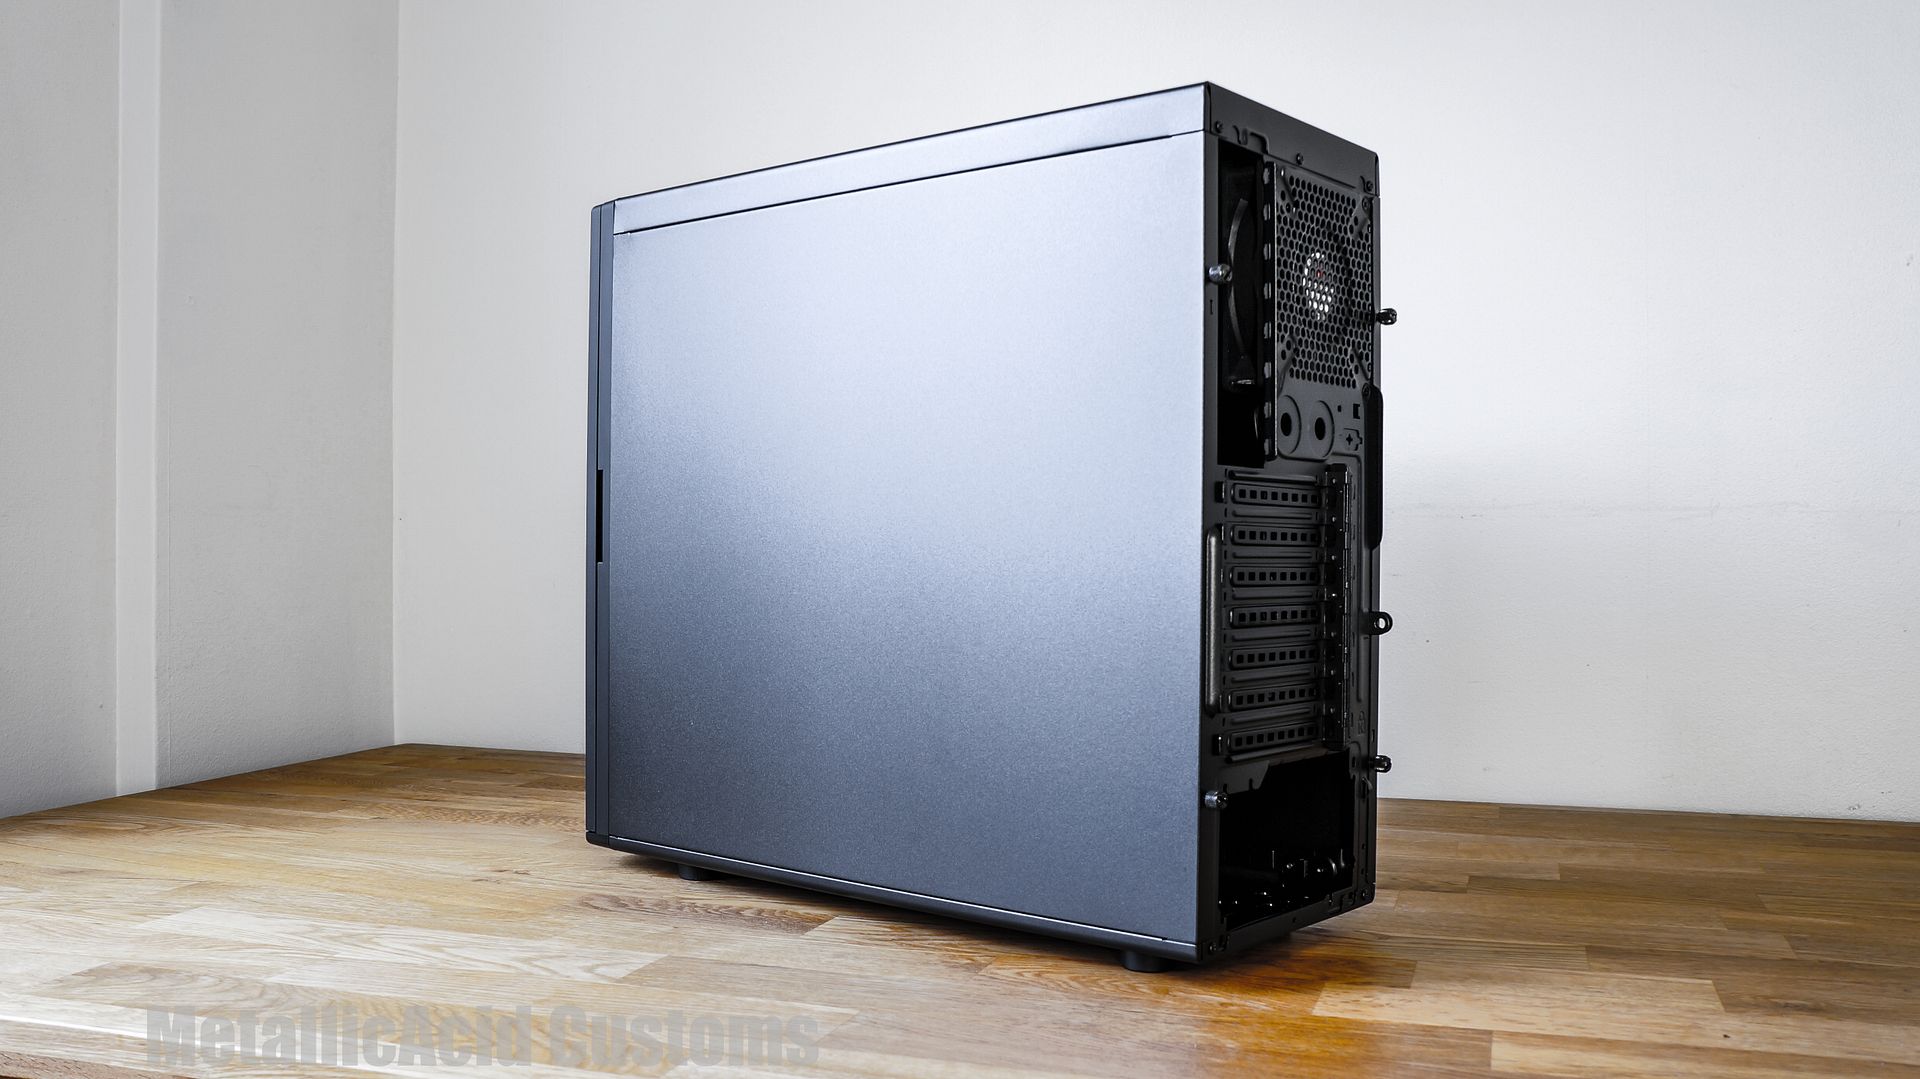
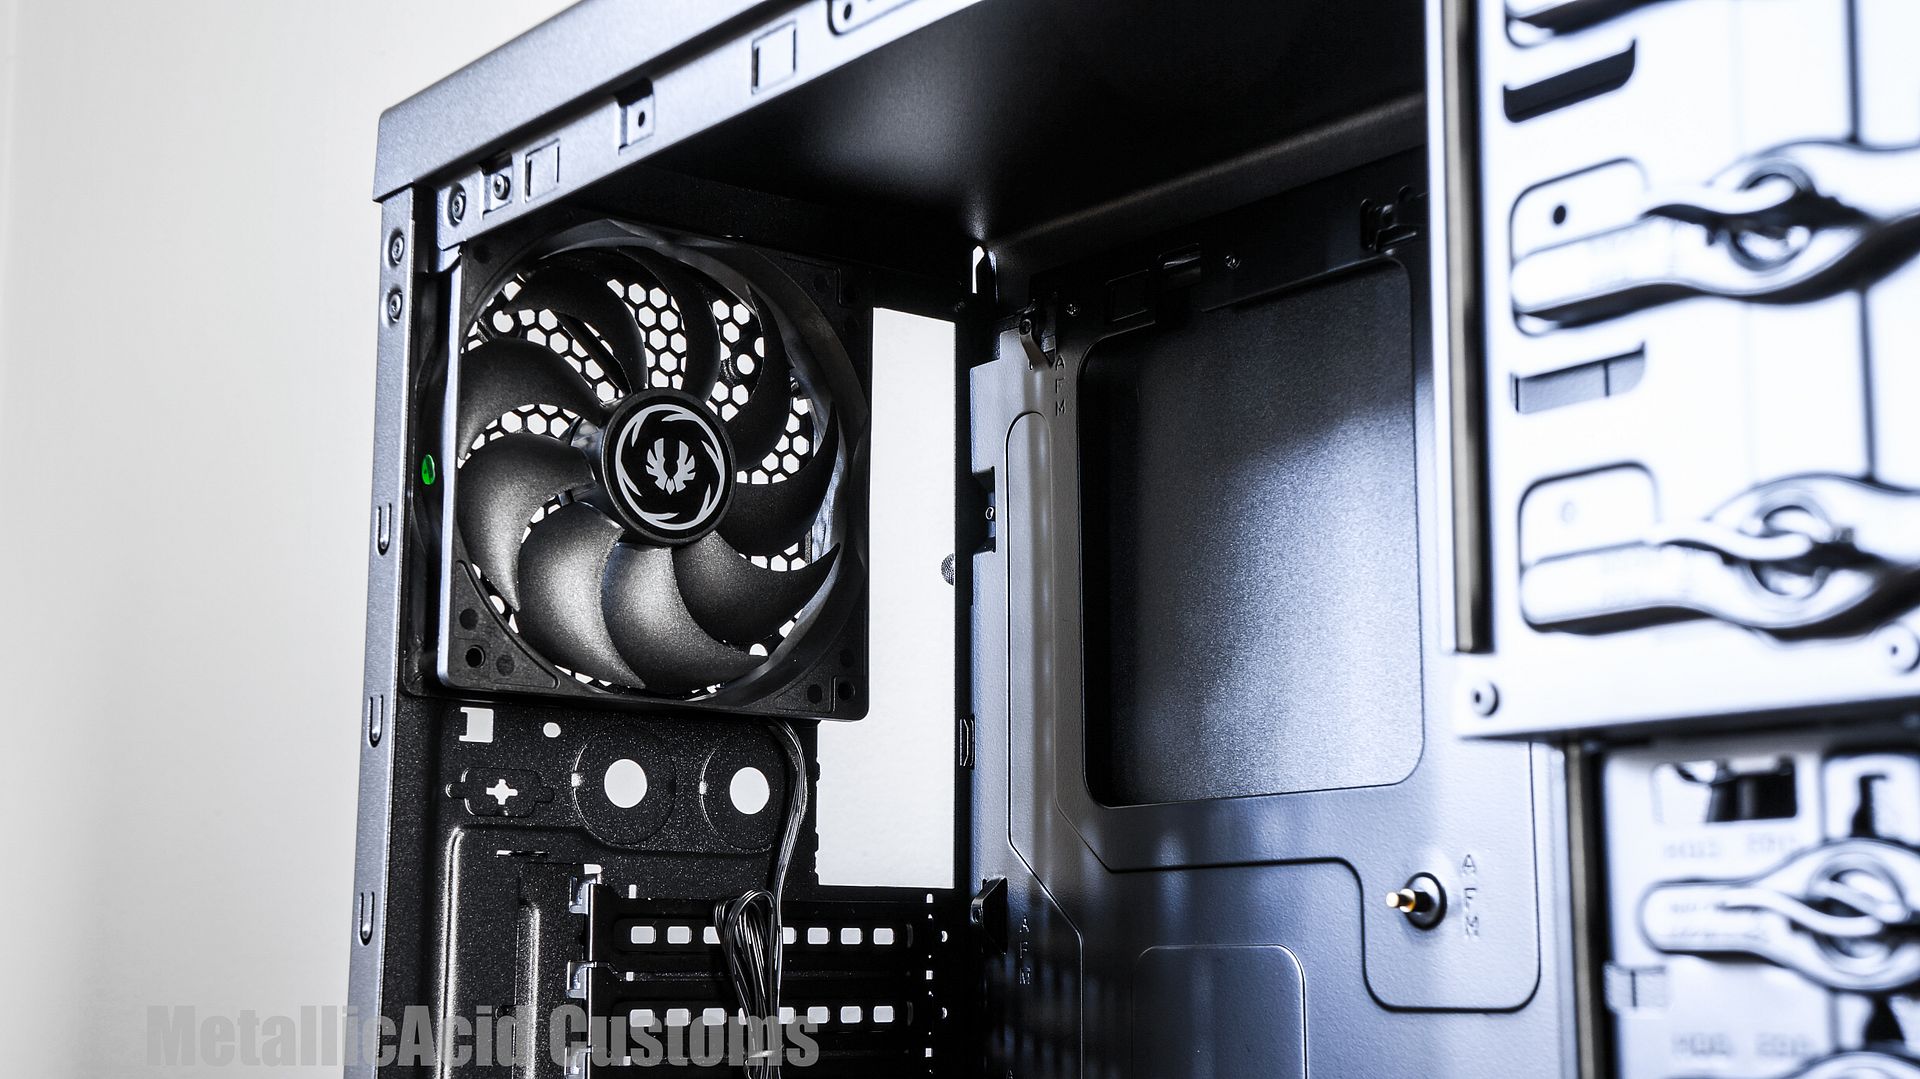
The left side, right side and back panel are next up for inspection. We can see an exhaust for an included 120mm from Bitfenix, 7 PCI slots, holes for external water cooling solutions, and the standard PSU/motherboard IO cutouts. Thumbscrews hold the side panels in place, and the side panels are without windows.
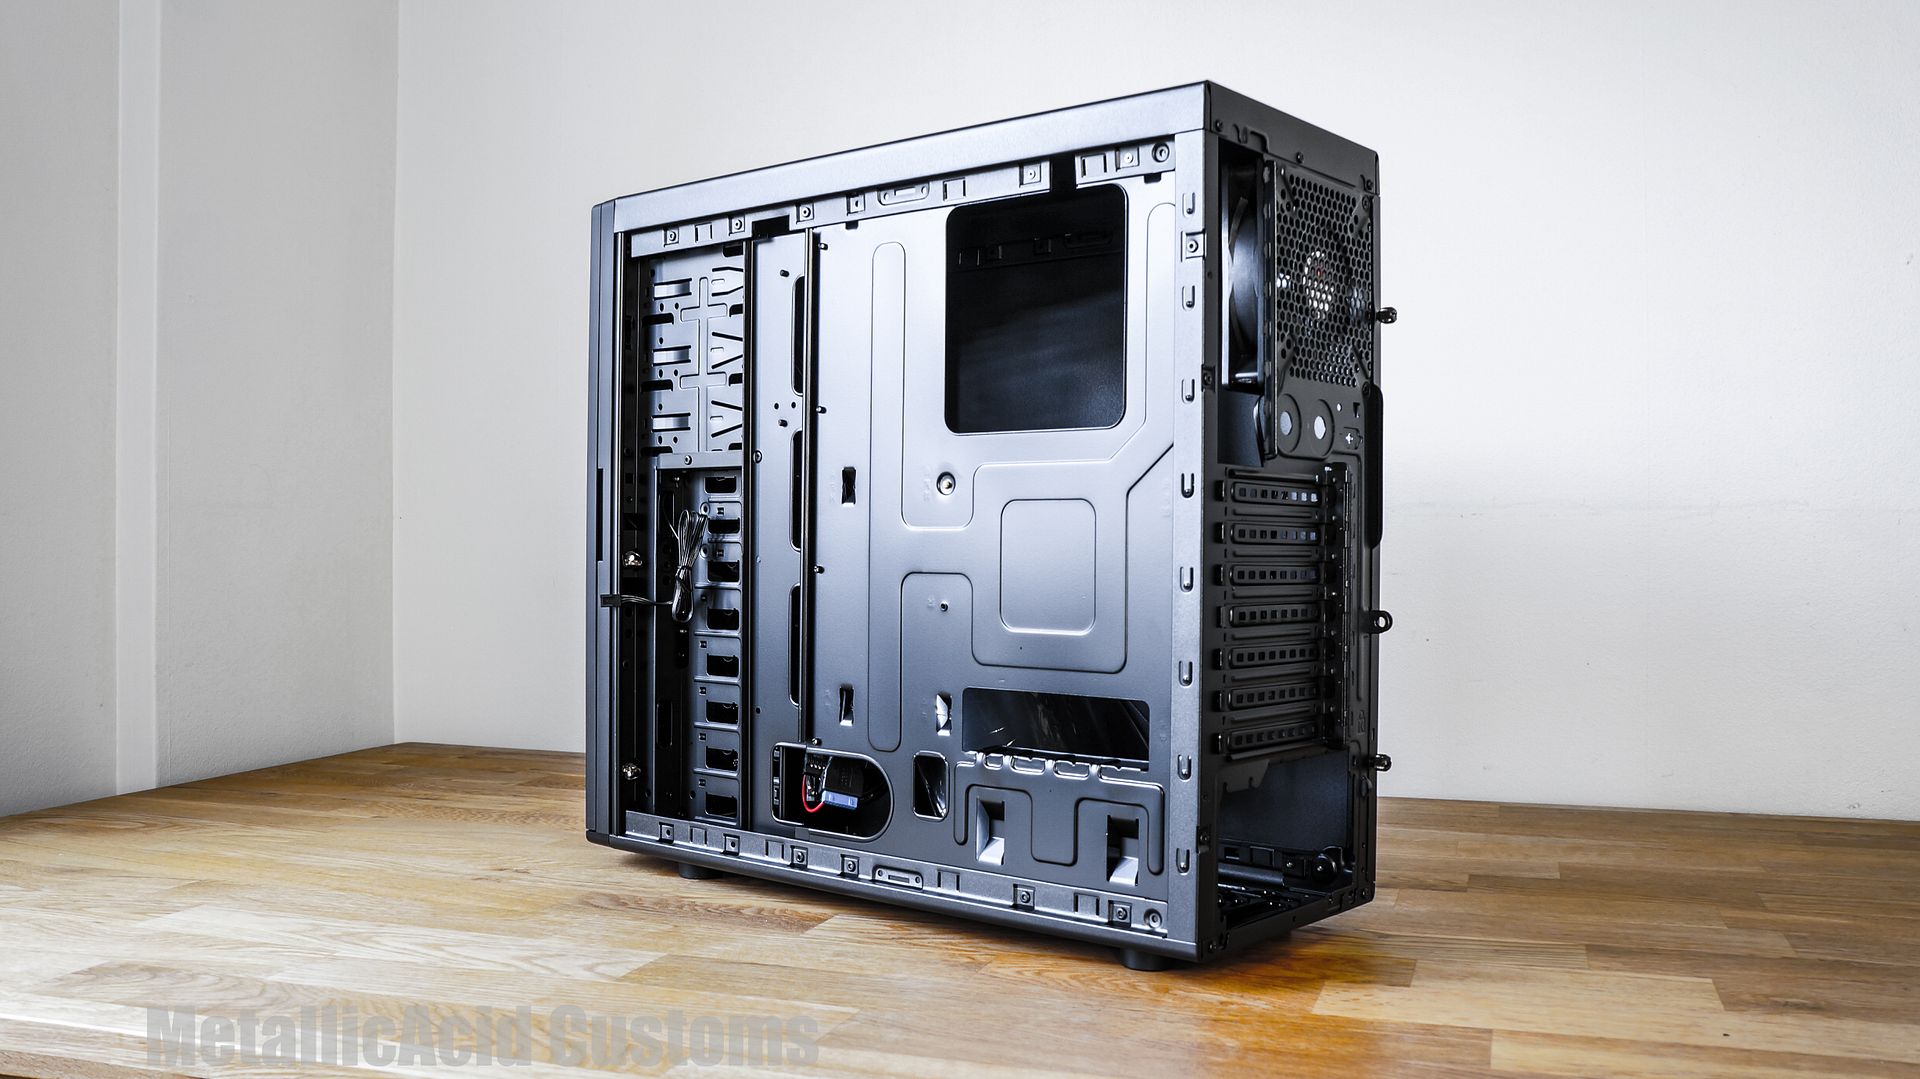
After taking off the side panel on the case's right side, we can see behind the motherboard. Cable routing behind here will be tight as there is just 15mm room to use. A large CPU backplate cutout means that this case will accommodate all motherboard versions so one can change the CPU cooler without removing the motherboard from the case.
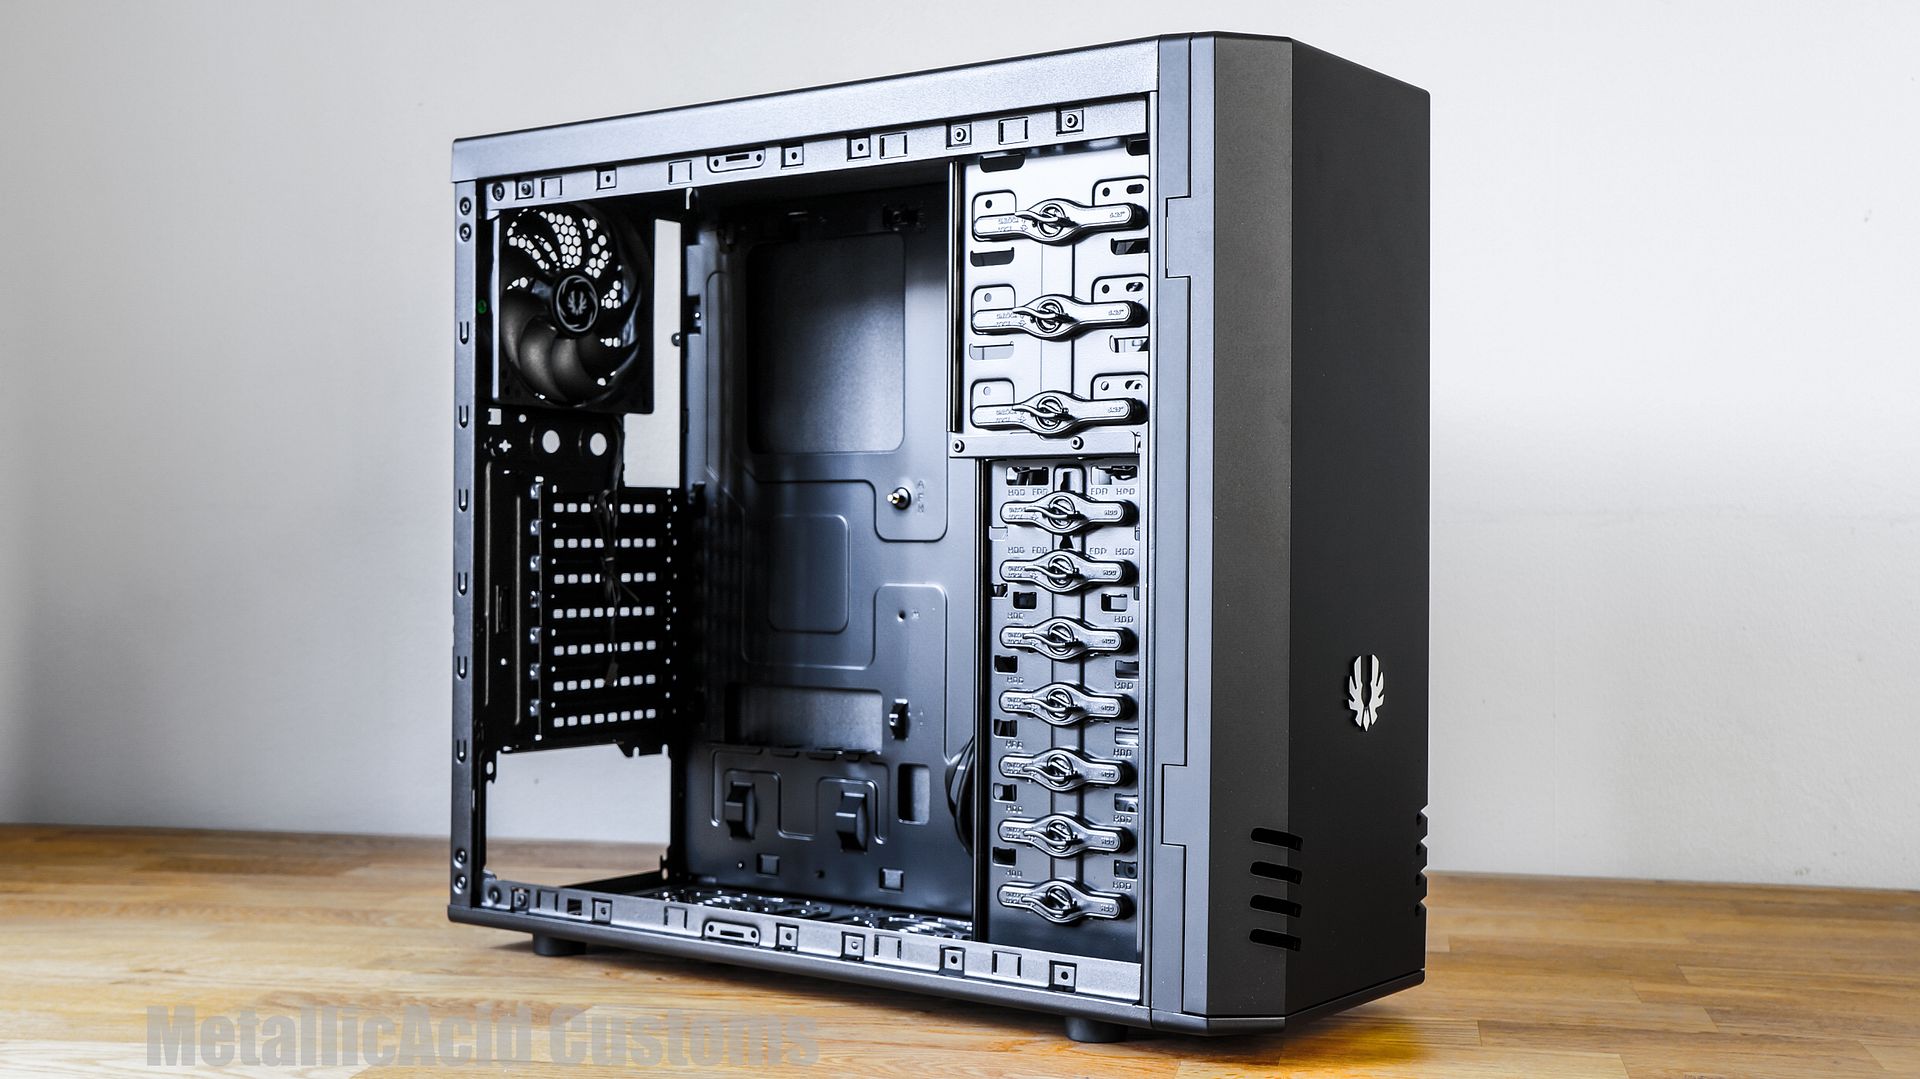
A nice shot of the other side of the case without side panel on.
At the rear we have the 120mm exhaust fan in the usual spot.
There is room for a full ATX PSU of any length, and can be orientated to have the fan facing either up or down. There are 2 dust filters located at the bottom of this case. If you have a PSU which is longer than 160mm it will then slightly cover the second intake dust filter. If you use a 160mm PSU, yu will have enough space to install a 120mm fan as an intake. If you need to clean the filters at any time, this can be a tricky process. This is due to the face that the filters are on the inside of the case, but the release tabs are underneath on the outside. You basically have to remove both the PSU and the intake fan to access the filters. Be sure to use a fully modular PSU to save on the headaches.
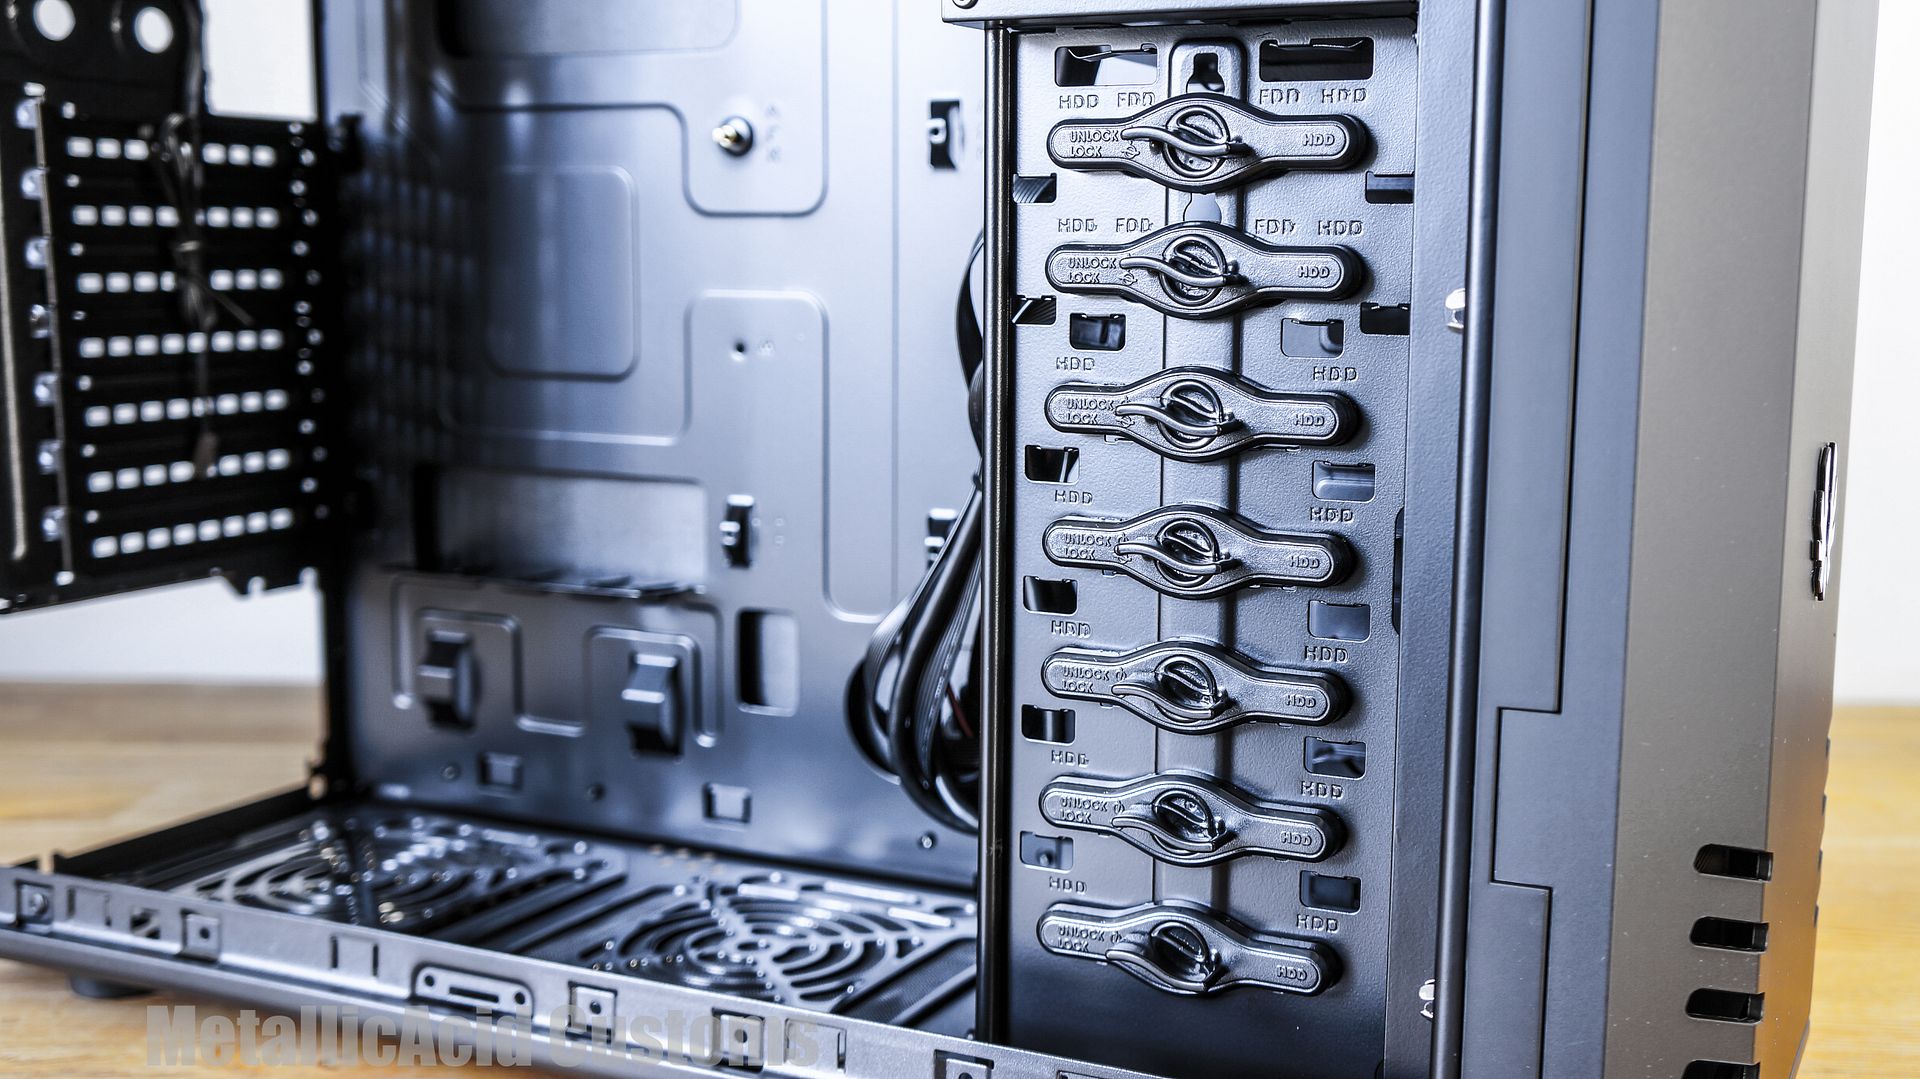
Here we see 10 bays for 3.5" HDDs with quick install latches made from plastic. This cage is pop-riveted in place. We can also see the same quick release latches on the 3 5.25" bays up top. There is 1 space to have an SSD native in this case and that space is on the floor at the bottom of the 3.5" bays, screwed directly onto 4 raised points.
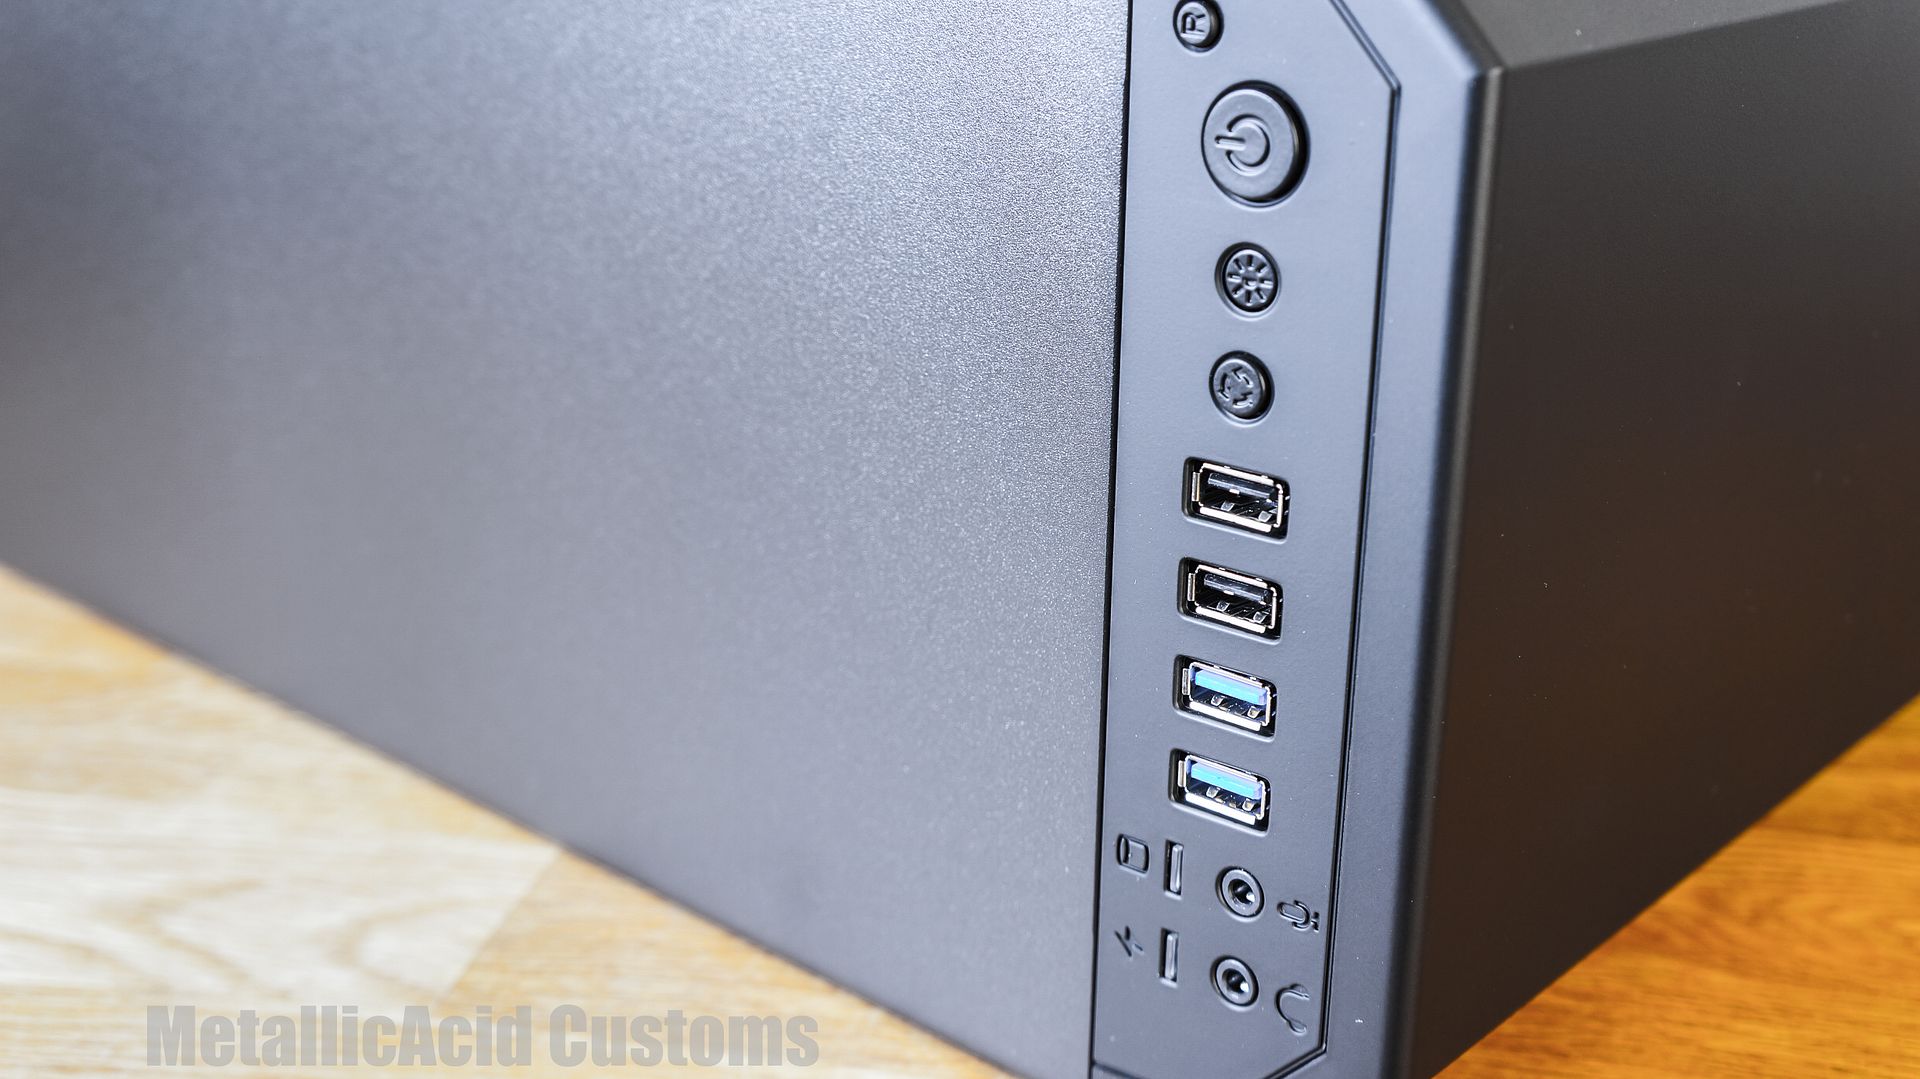
Lastly on this tour we see the IO connections on the top of the case. This consists of 2 USB3.0, 2 USB2.0, on/off and reset, LED on/off and the mic/headphone jacks.
Beauty shot.
All aluminium Bitfenix logo.
Ventilation on front of case for intake fans.
What about the "Modders Opinion" you ask? I like this case. It gives a nice blank canvas to make some uniques mods to! One thing that I did not take a photo of was the red and blue led lighting which comes stock on this case. If you do not want to be tied down to these 2 colours, you could pick yourself up a Bitfenix Alchemy LED strip and solder it into place. You should be able to still turn it on and off via the button on the top of the case. You also have that massive blank door to cut into with your own special design and have it lit up with more LEDS, all connected up to the same on off button! And those side panels are screaming for some dremel loving!
The inside of the case is a little boring with it's OEM cages and latches, but they are easily removable. I would remove the 3.5" bays totally and have just a single high capacity SSD behind the motherboard tray. This will clean up the inside drastically. I would remove the 5.25" fast install latches too and use some regular screws, then cover the bays with black acrylic glass to tidy it up even more.
Watercooling in this case is hard without major modification, and I would recommend to just look for another case with native support.
I hope that you have liked this unboxing and review of the Bitfenix Shadow, so with this I would like to thank Bitfenix and Inet for providing this review sample to present to you.
PROS:
2 included fans
Blue/red LED lighting at front of case
Black cabling for IO cables
Deep behind door fits all fan controllers
Easily removable dust filter at front of case
Tooless latched for fast installation of HDD/5.25" devices
Fits long graphics cards
Fits long power units
CONS:
Door swings just one way
No exhaust at top of case
Tooless latches feel flimsy and cheap
Tight behind motherboard for cable routing
Thank you for reading and I hope to have another review for you soon!
Best regards,
Justin "MetallicAcid" Ohlsen
