Permalänk
Proffsmoddare

Update 9
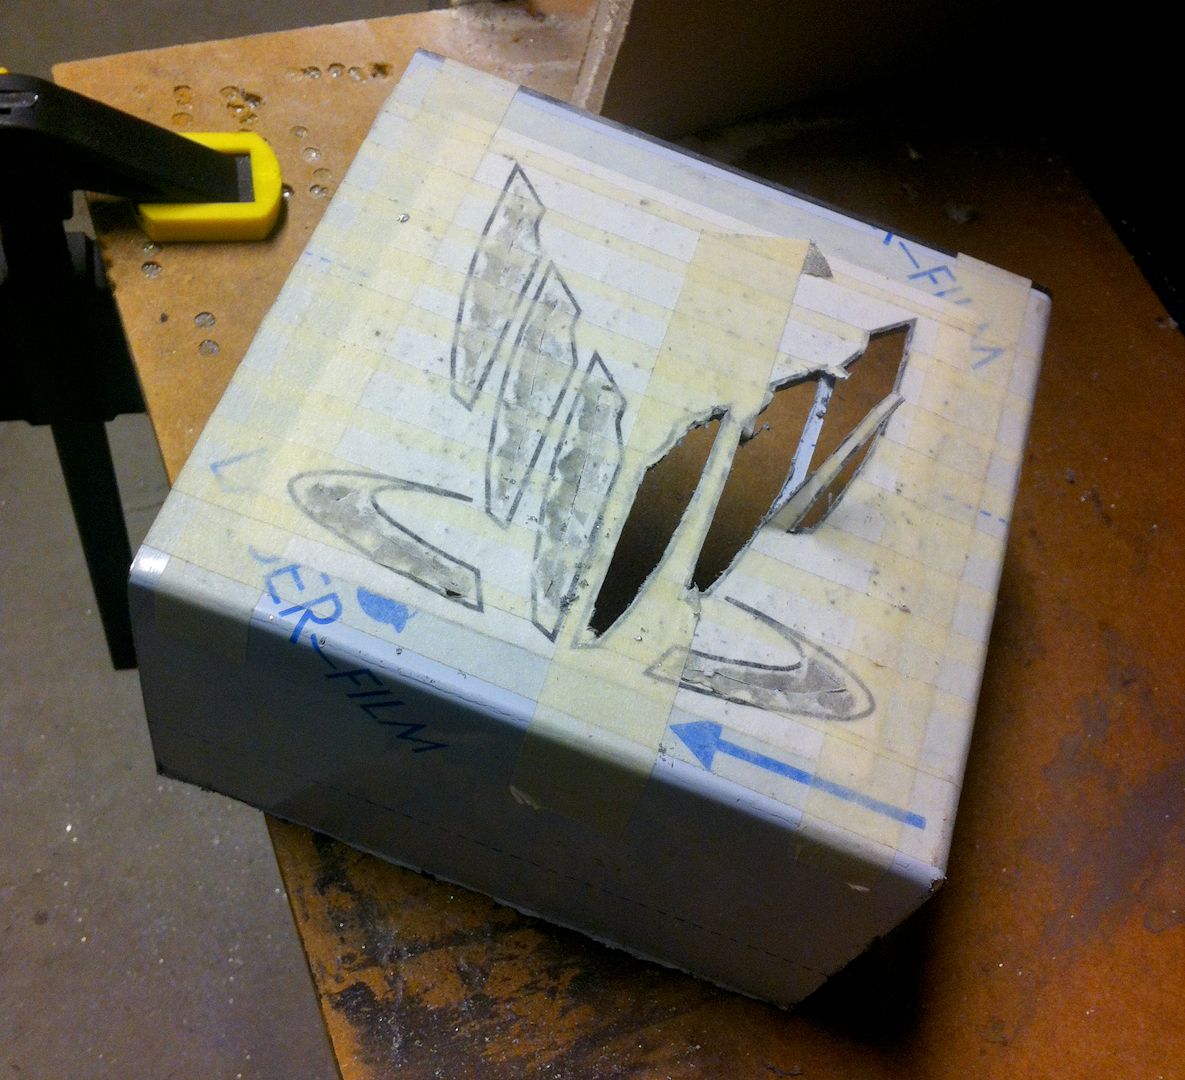
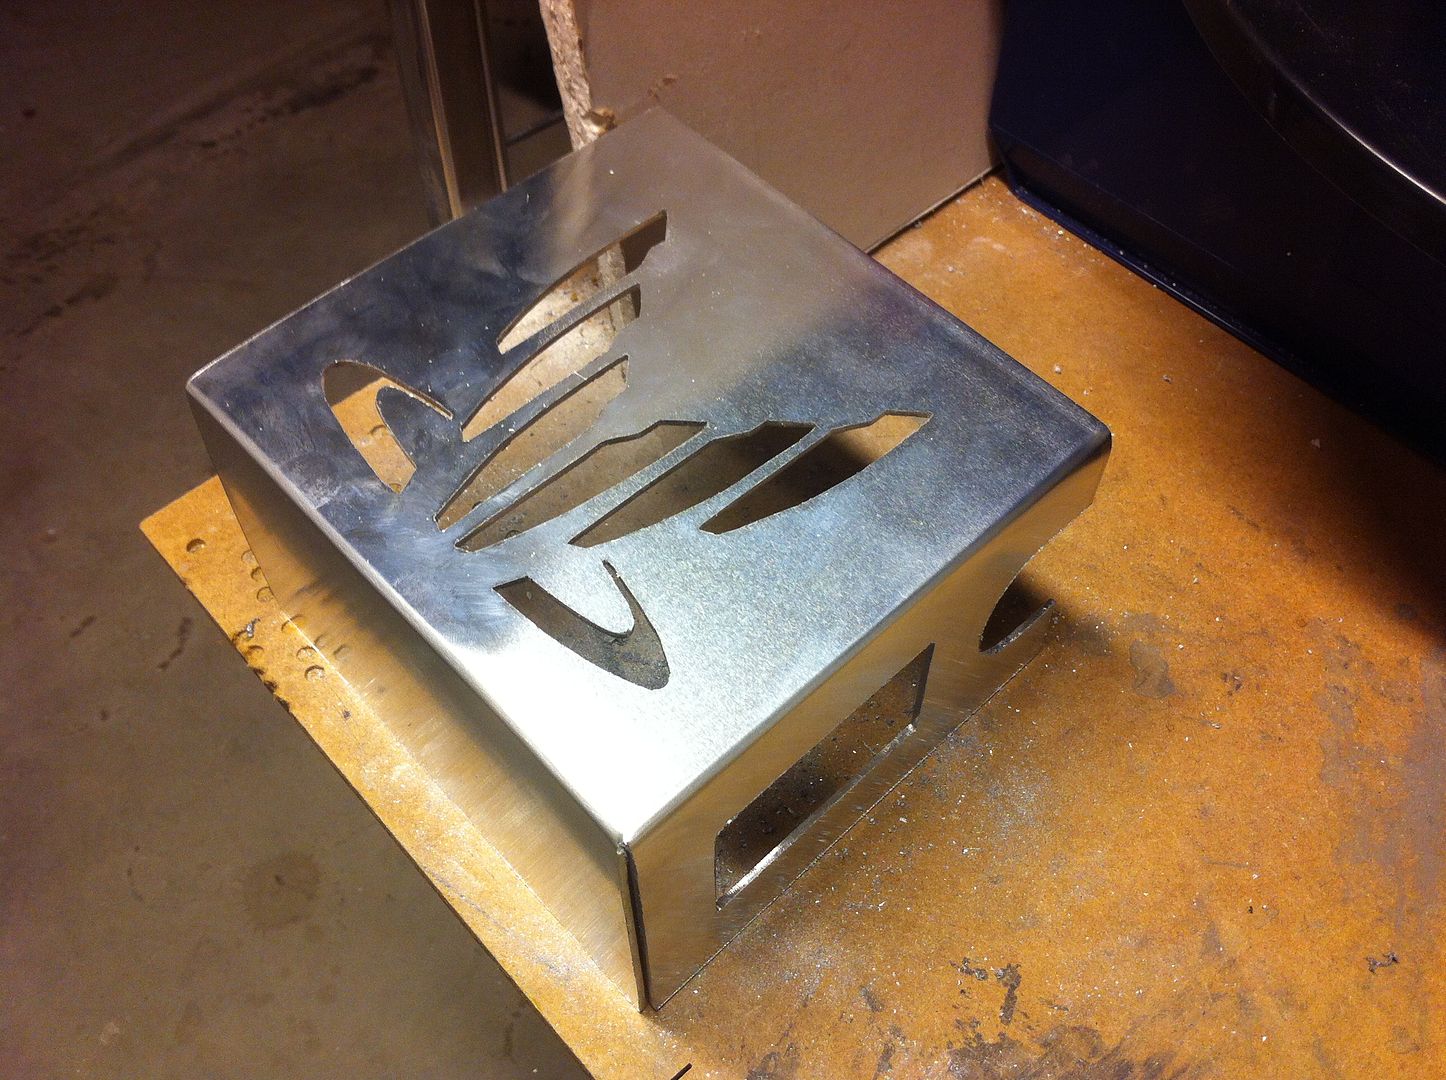
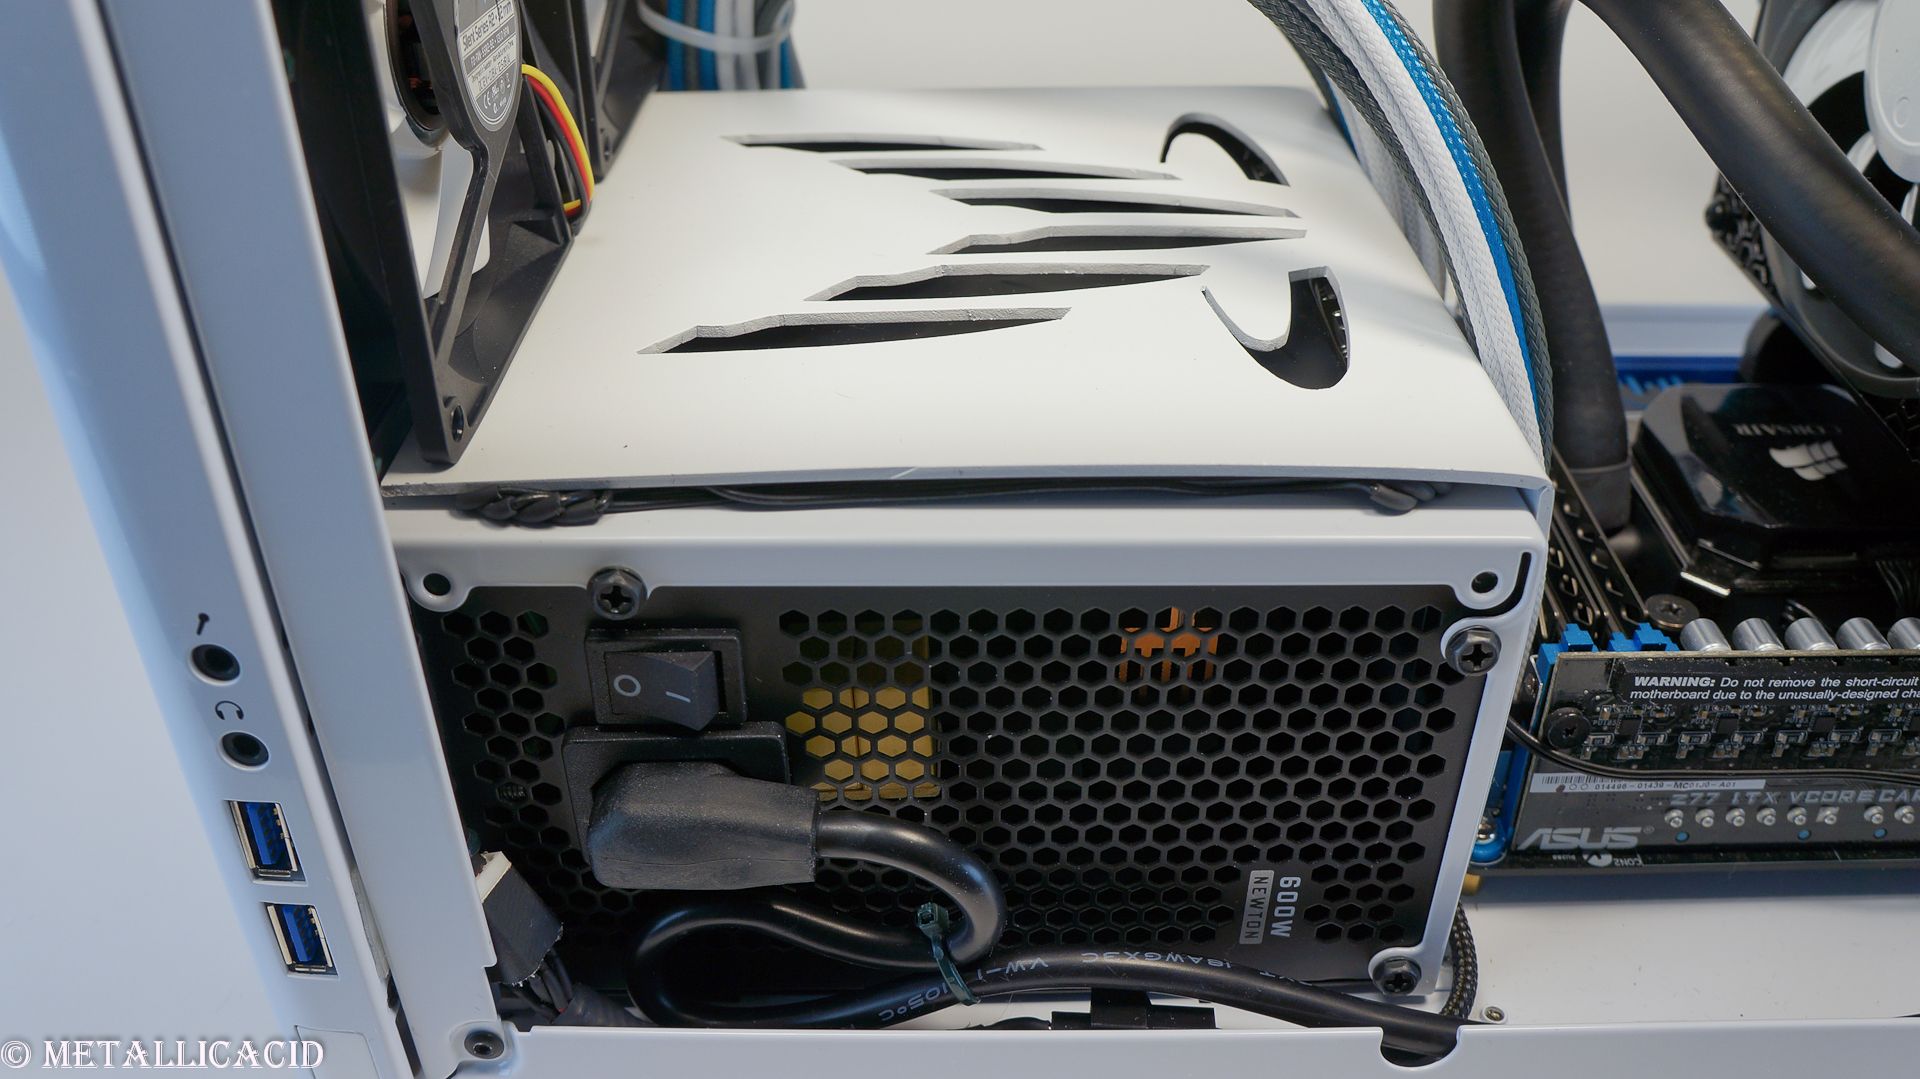
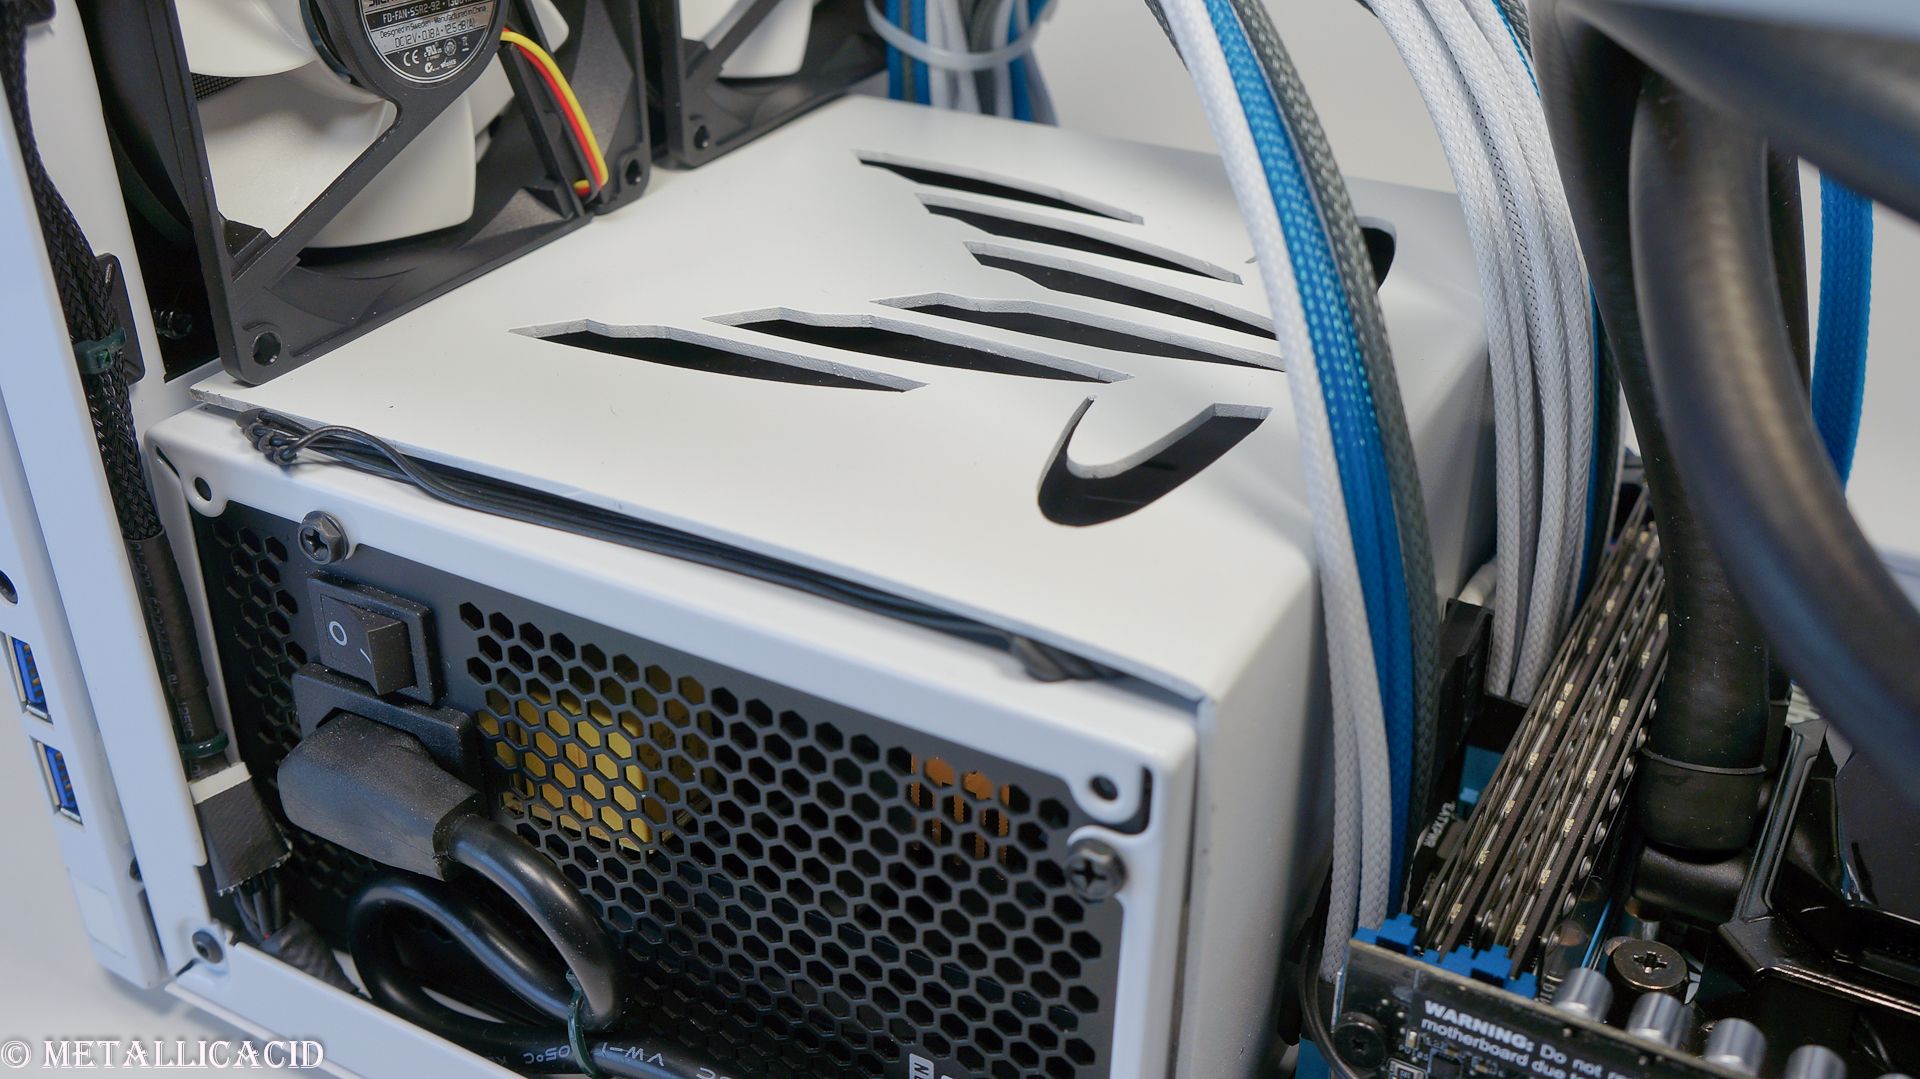
The PSU shroud. I am so proud! I'm floating on the 9th cloud. I hope you're WOWed! (part 1)

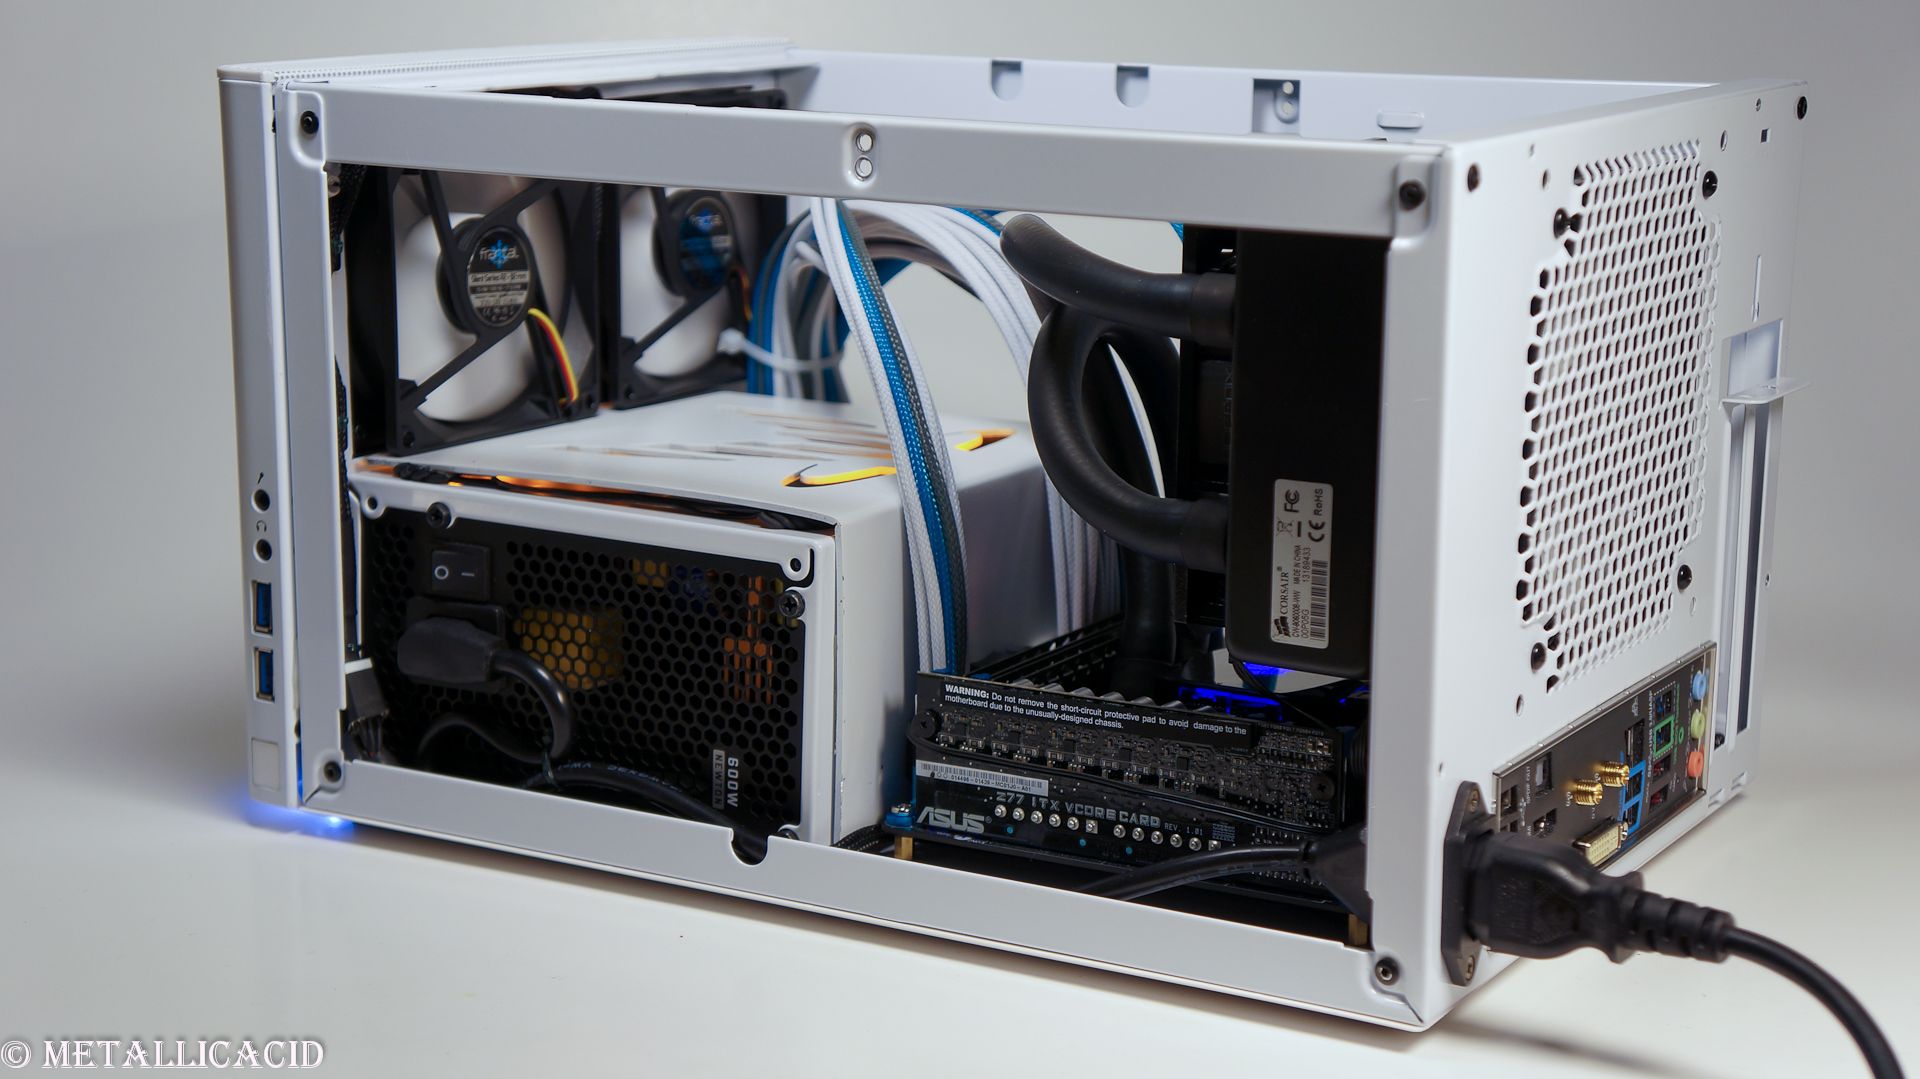
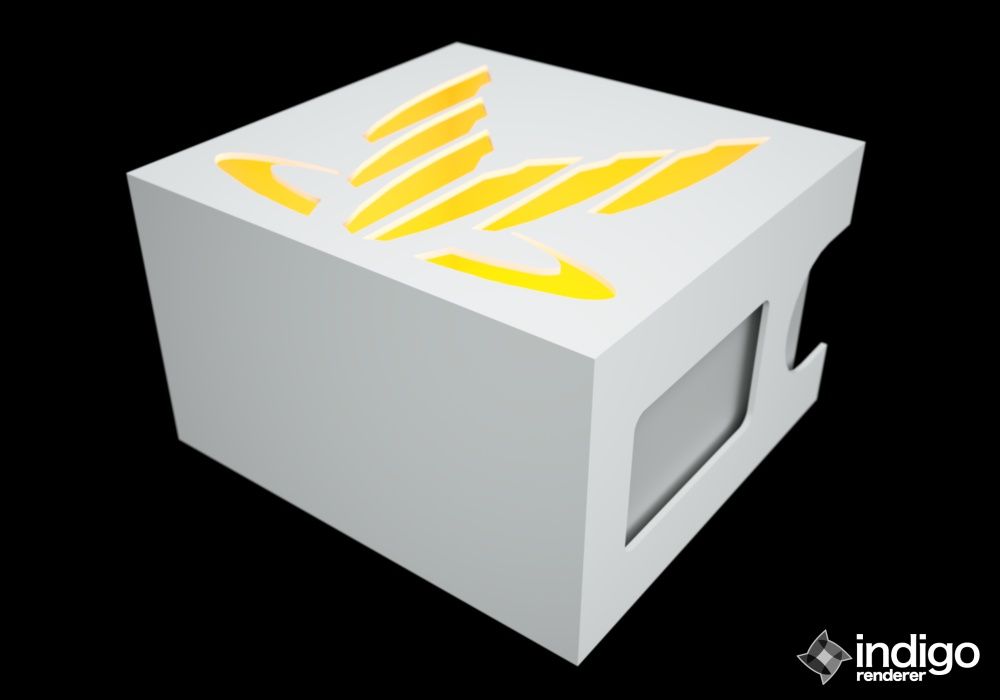
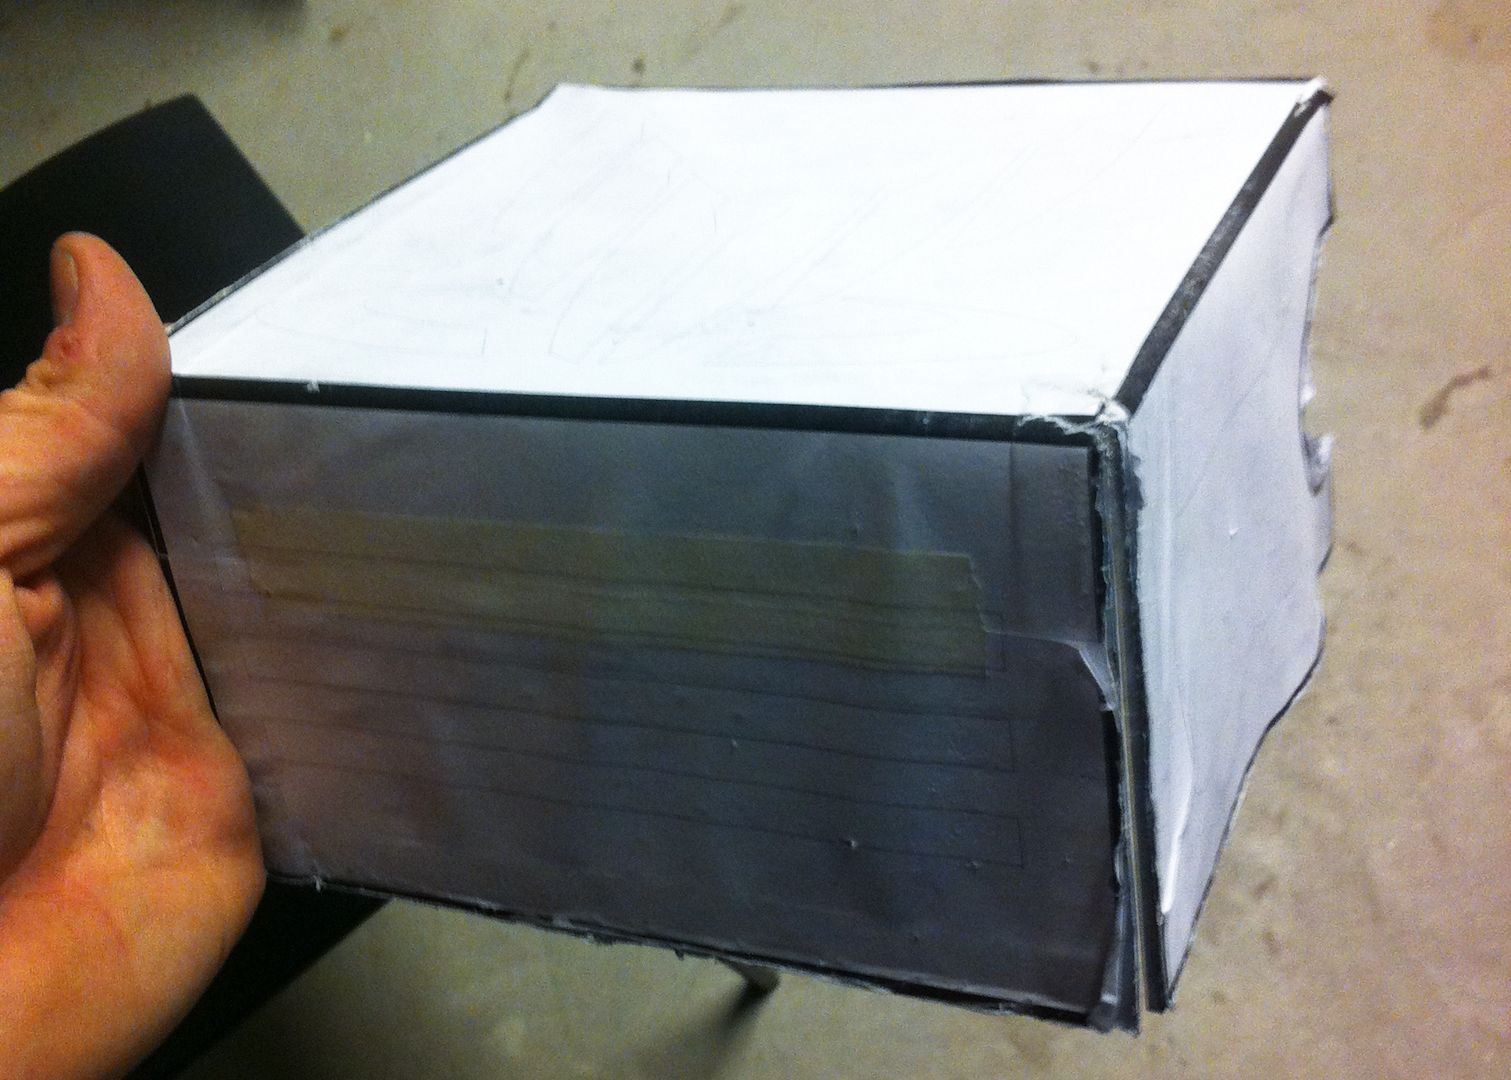
Hello!!!! I am in a funny/excited mood! My tests are over as of 2 hours ago, and I am full of energy!! As of Thursday next week, there is no more school! With this energy (at 2200 ) I would like to show you what I have been working on the last few days. A couple of shots are dodgy phone snaps while I was at work today, and a couple are glamour shots here at home of the PSU WIP.

Firstly I would like to show you the concept for the GPU shroud, and the dodgy WIP shots from work:

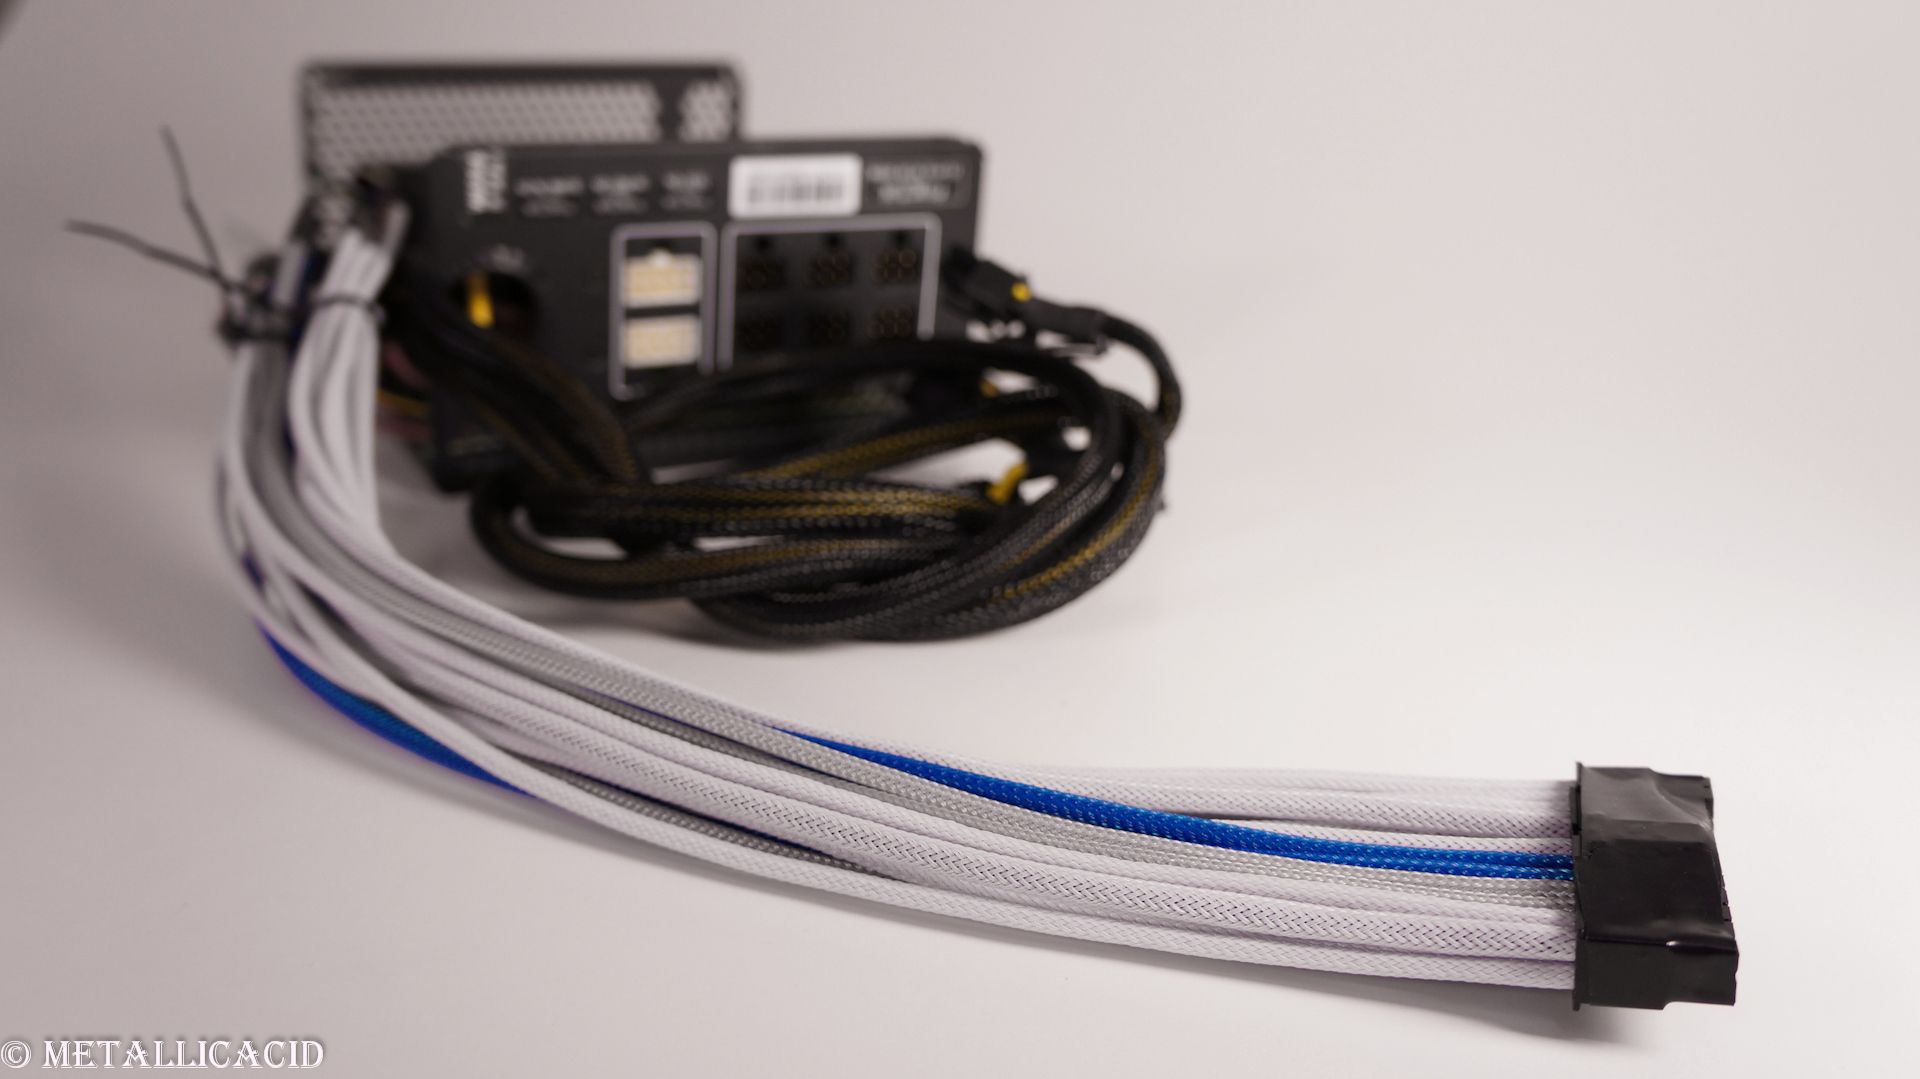
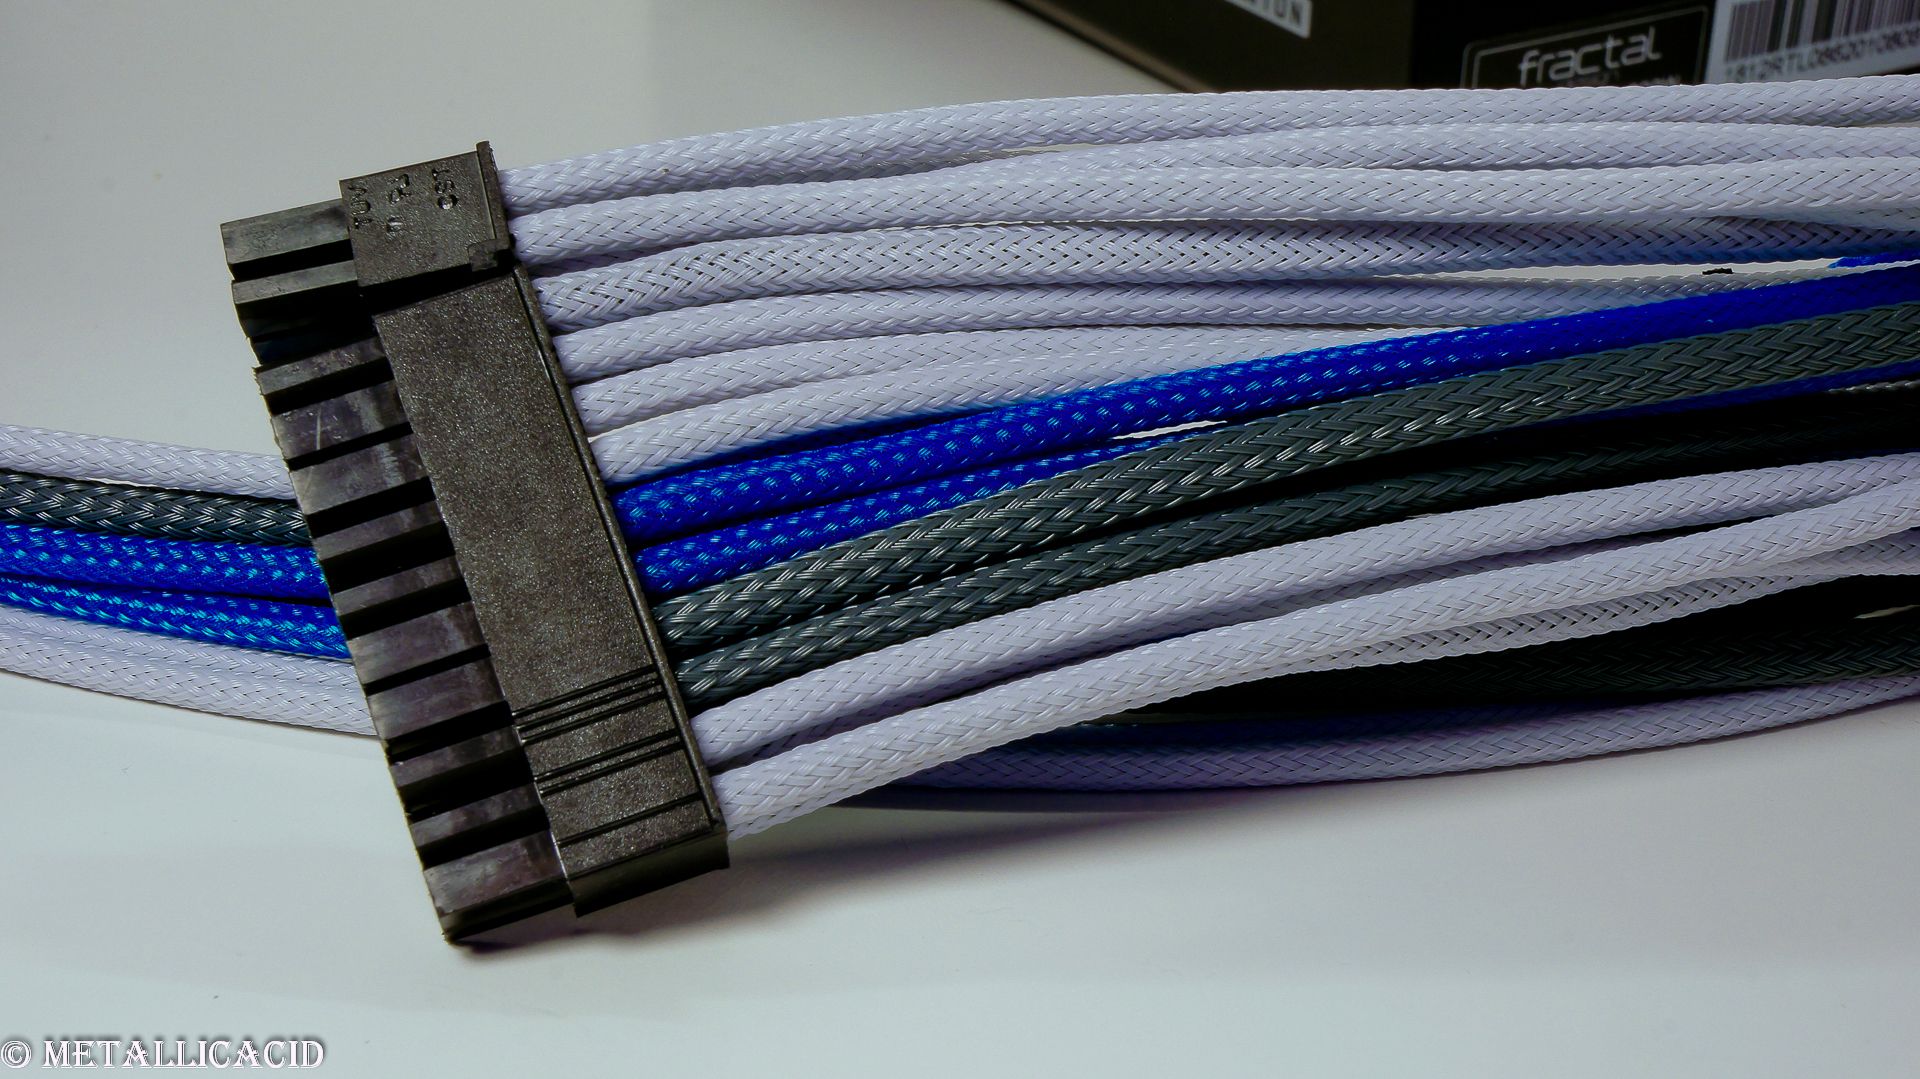
And here is one shot of the PSU after I had finished sleeving the 24pin:

I have decided though that the grey sleeve that I received from MSCB was unfortunately not dark enough, so I decided to use instead some Grey Mark II which was left over from an order from MDPC. This grey matches perfectly to the grey paint I have, but I do not have any photos to share of it right now.

Well, I hope you have all enjoyed this latest update! I will be continuing work on the shroud, and hopefully have the design finished, and the whole shroud prepped for some paint by the end of today, and then work on the PSU if we do not have any dinner plans elsewhere. Geewhiz, I feel so productive!

Best regards,
MetallicAcid

Permalänk
Medlem

God damn.. This build is going to be E.P.I.C!

Permalänk
Proffsmoddare

Hey kära!

I would like to present a mini update on the PSU shroud which is now ready to be sanded and painted. I will be visiting my local hardware store tomorrow after work to pick up some supplies, and will hopefully get the PSU finished by the weekend.

In other news, I will be cutting and filing a wider hole PSU tomorrow, and hopefully have it put together with some glory shots later tomorrow night. I'll keep you guys updated

Thanks for reading! Have a good one
MetallicAcid

Permalänk
Proffsmoddare

A quick mini update for you guys, I was hoping to have the hole cut larger to accommodate the cables, and have the PSU put back together before I finished work today. Then I was going to take some glory shots and present them to everyone... I cut the hole, put the PSU back together, then broke my big toe and twisted my ankle.

The PSU is still at work, so no photos have been taken yet of it. I will take the day off tomorrow, and hopefully pick up the PSU on Thursday and get some shots of it ASAP! I am sorry for the delays guys.All I know is that my foot hurts like hell, and it sucks that I had to rush off without the PSU!

Until next time,
MetallicAcid

Permalänk
Hedersmedlem

Mitt favoritspel och min favoritmoddare. Gillar dina skapelser Justin. Kör hårt! Som avslutning ett litet citat från den bästa spelserien någonsin skapad:

Sovereign: We are legion. The time of our return is coming. Our numbers will darken the sky of every world.

Visa signatur

|| SWECLOCKERS.COM ||
|| Självutnämnd Silverstone FT02-riddare ||
|| Silverstone FT02B-WRI "Limited Edition" No. 0743 & 0640 ||
|| Sweclockers officiella FT02-tråd ||

Permalänk
Proffsmoddare
Skrivet av Überklass:

Mitt favoritspel och min favoritmoddare. Gillar dina skapelser Justin. Kör hårt! Som avslutning ett litet citat från den bästa spelserien någonsin skapad:

Sovereign: We are legion. The time of our return is coming. Our numbers will darken the sky of every world.

Thanks man, such kind words! I am still looking forward to taking a look at your FT02

FYI Legion from ME2 was my fav character from the entire series, followed by Garrath!

Best regards,
Justin.

Permalänk
Proffsmoddare

Update 10
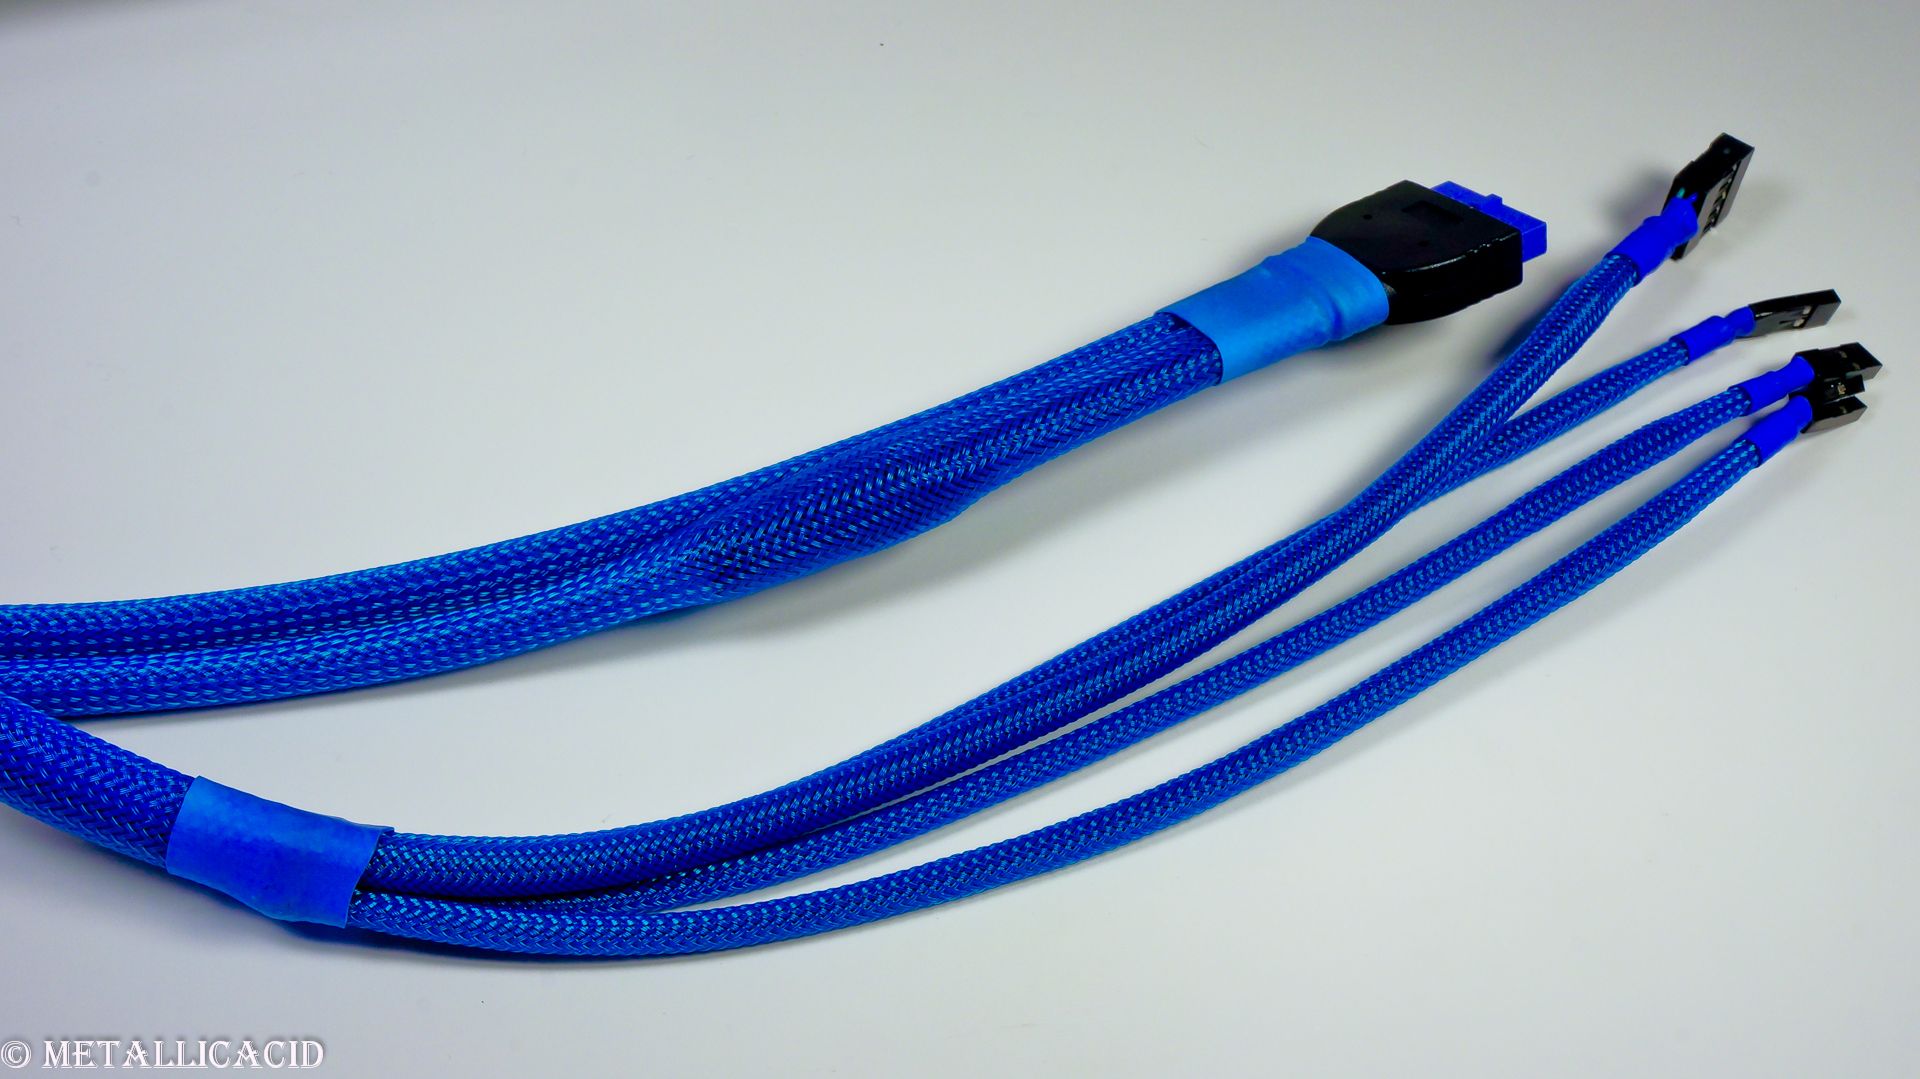
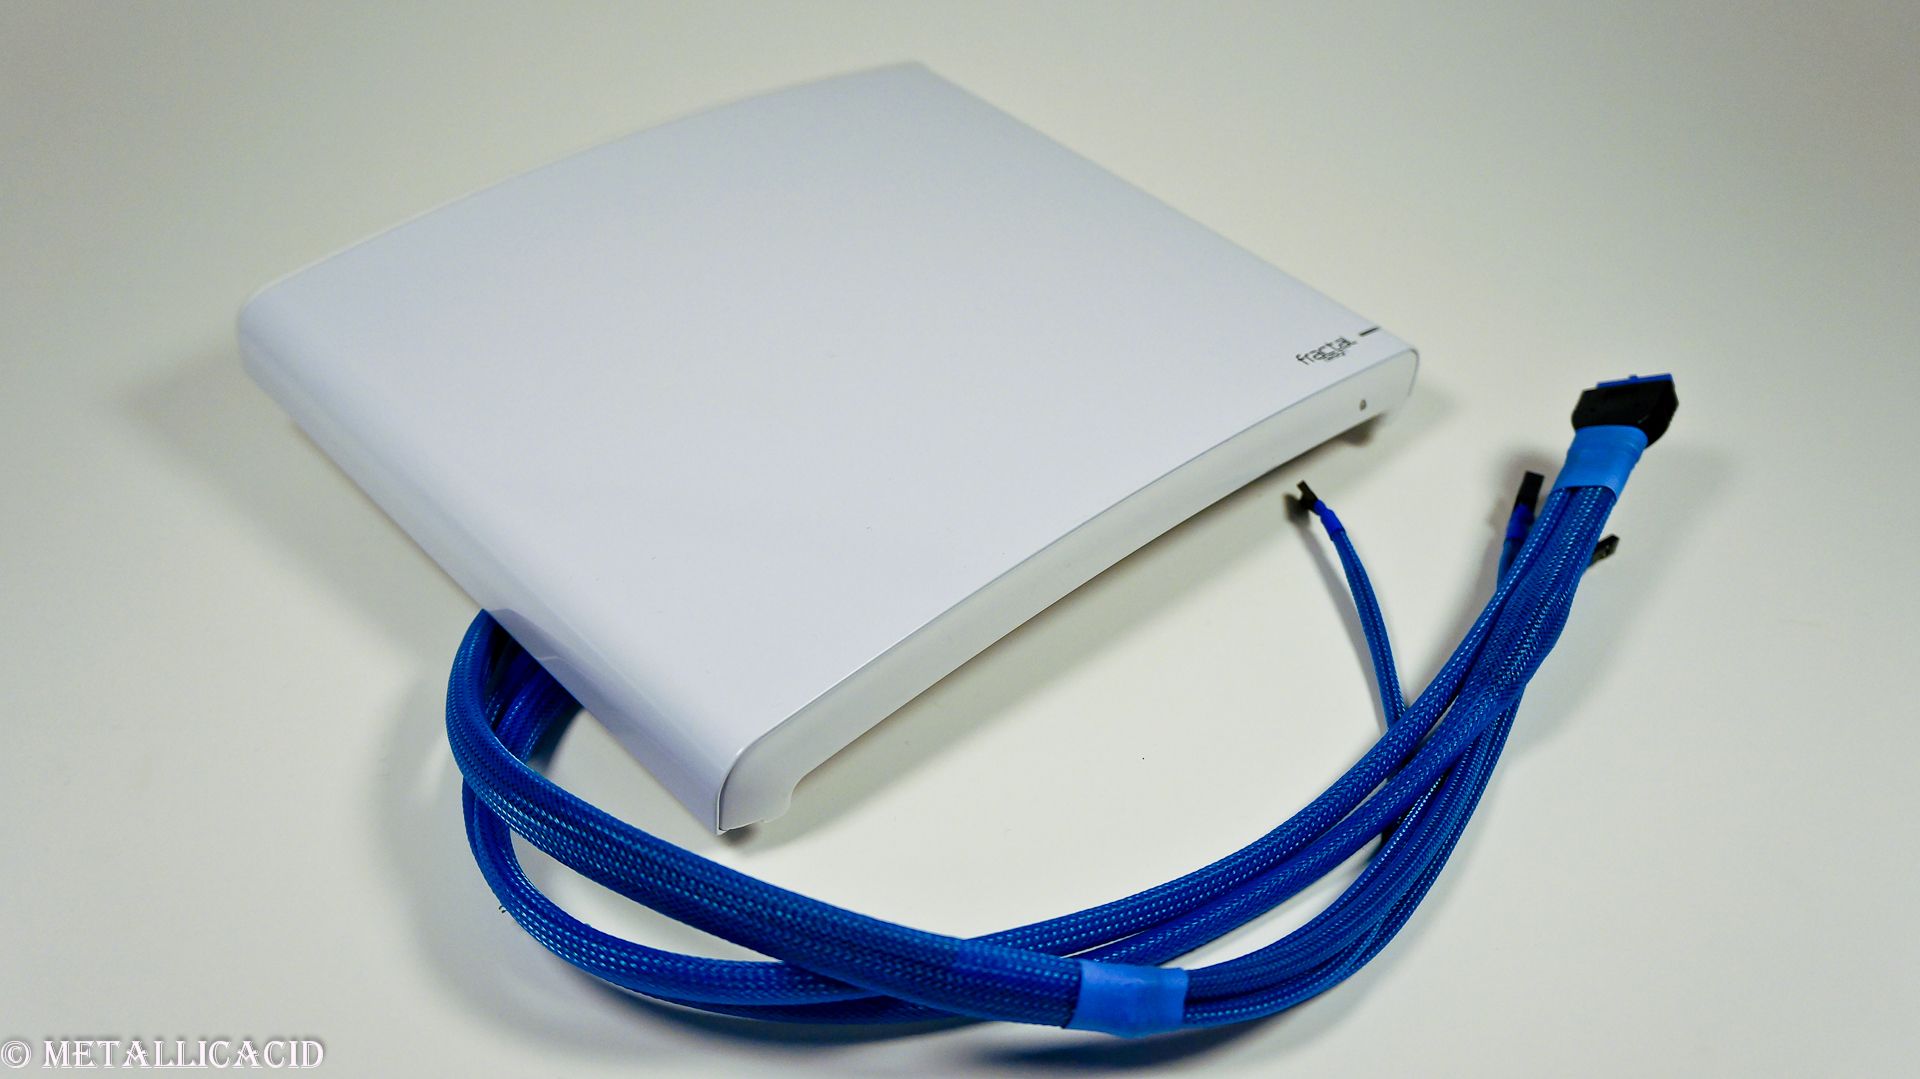
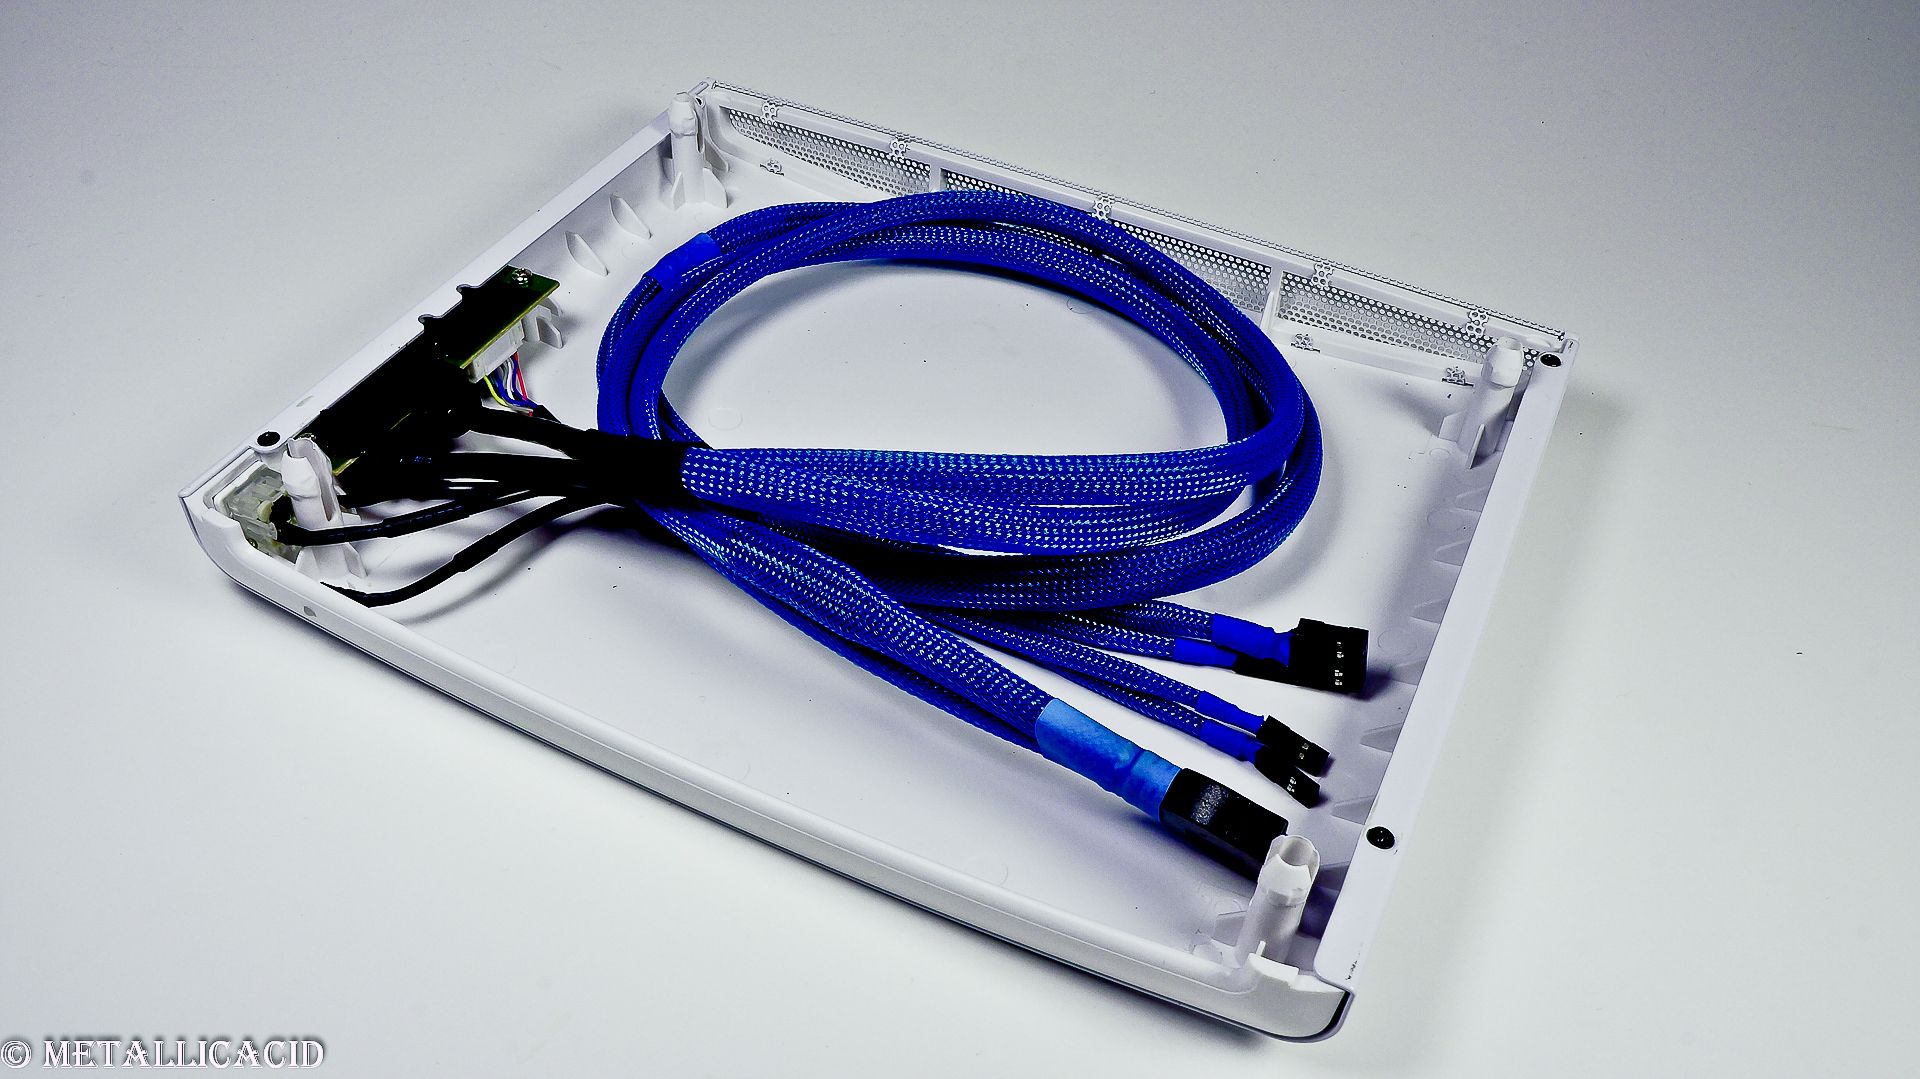
Look!! Mum look!! I sleeved my USB 3.0 cable!! (and IO panel cables )

Hello, and welcome back once again for another fantastic update in this fun little project I have going on here!

Today I would like to present to you my sleeved IO panel and USB cables, of which I used the SATA sleeving I have received from MSCB.se! The USB 3.0 cable was a bitch to sleeve, as I had to desolder the connections from a PCB strip, then force that female USB header through the SATA sleeving. It was like pushing an elephant into a car. It was like putting a whale into an ice cream container. It was like putting a sailing ship into a bathtub! You should have gotten the picture by now... Then I had to then resolder the USB female headers back in place before screwing the PCB back into place.

"Shut up and show me the pictures already!" you say? OK!

Here is a small text update on the other bits and pieces left to do, and what I am still in the process of doing for this project.
In process of doing:

  • The PSU is now at home, and pictures will be taken tomorrow at some point.

  • The PSU shroud is now ready for its first coat of primer.

  • Bitfenix fans are in the process of being painted.

  • Node 304 "armour" is being repainted.

Things left to do:

  • Paint PSU shroud.

  • Create GPU plexiglass shroud.

  • Installation of all components.

  • Installation of LEDs.

  • Cable management.

  • Final photoshoot.

I hope you guys have enjoyed this update! I do look forward to any and all positive/negative feedback you have for me
Best regards,
MetallicAcid

Permalänk
Proffsmoddare

Update 11
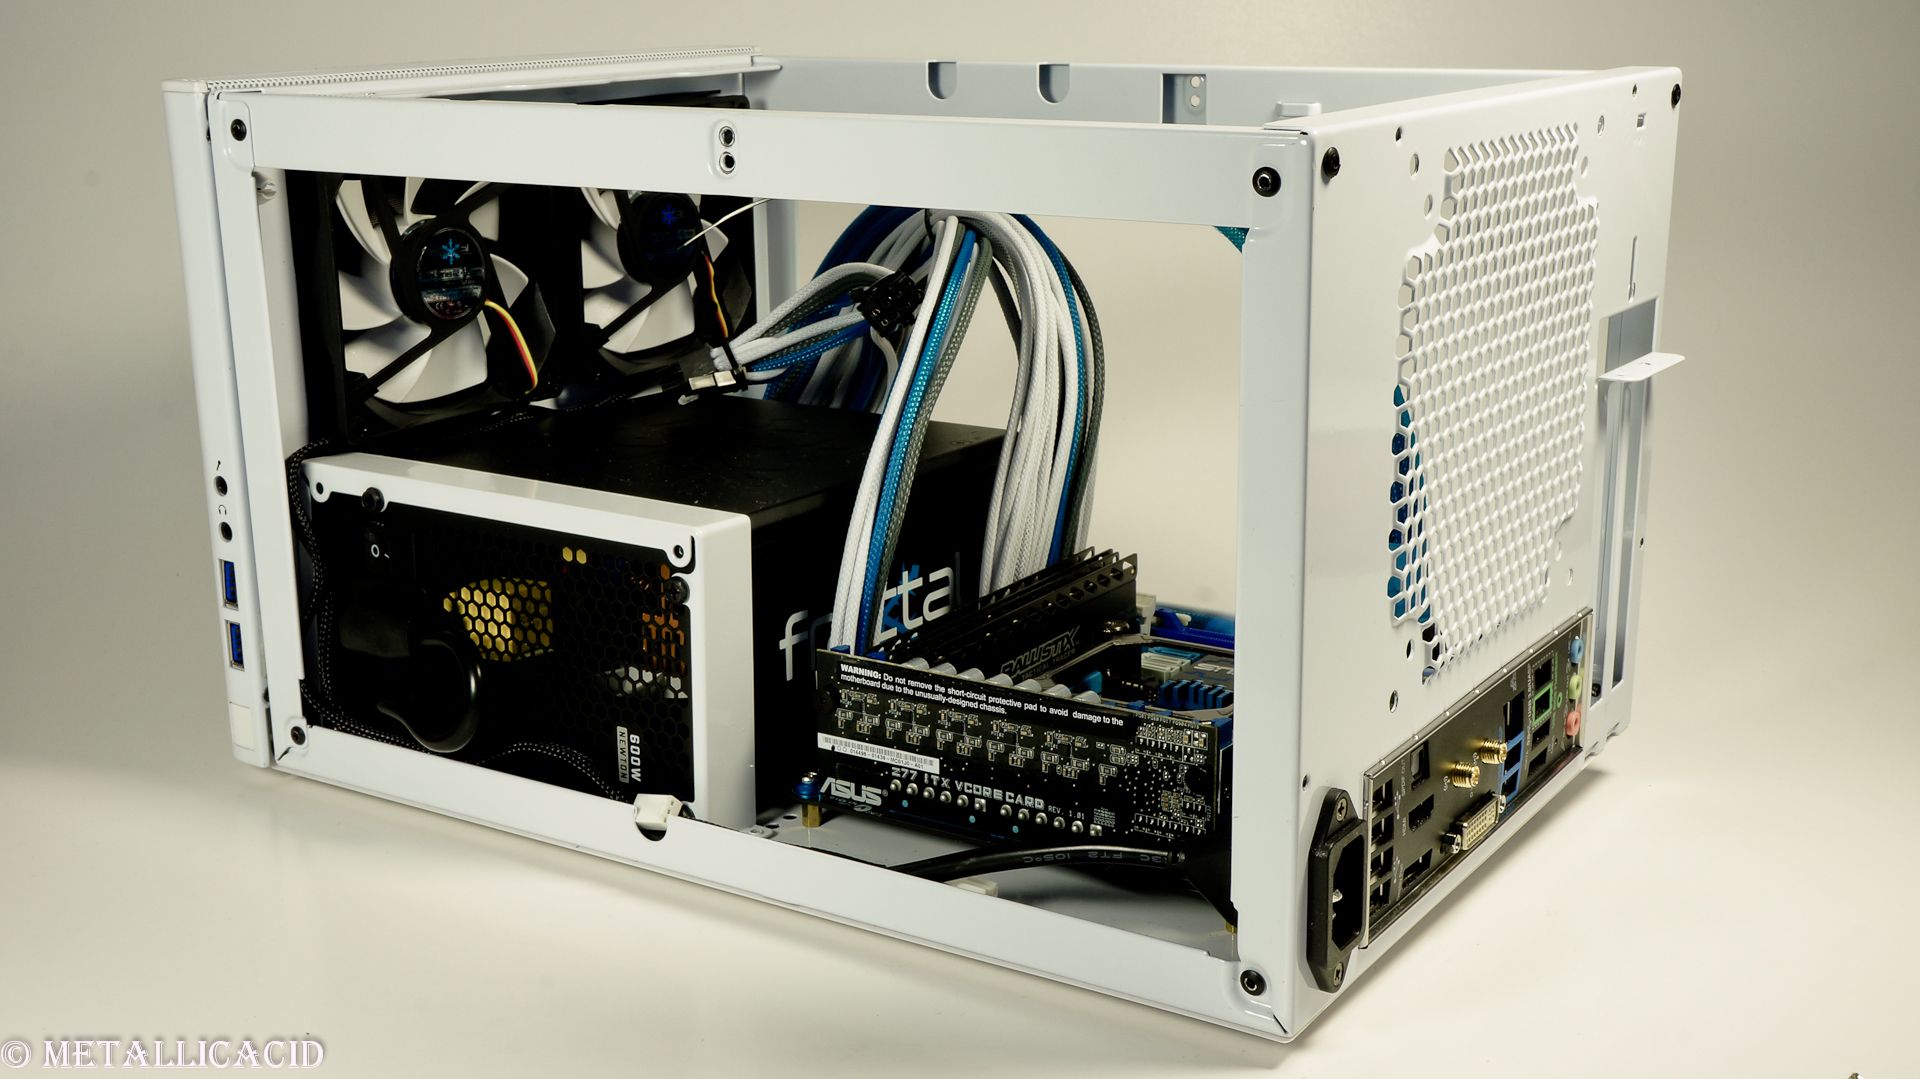
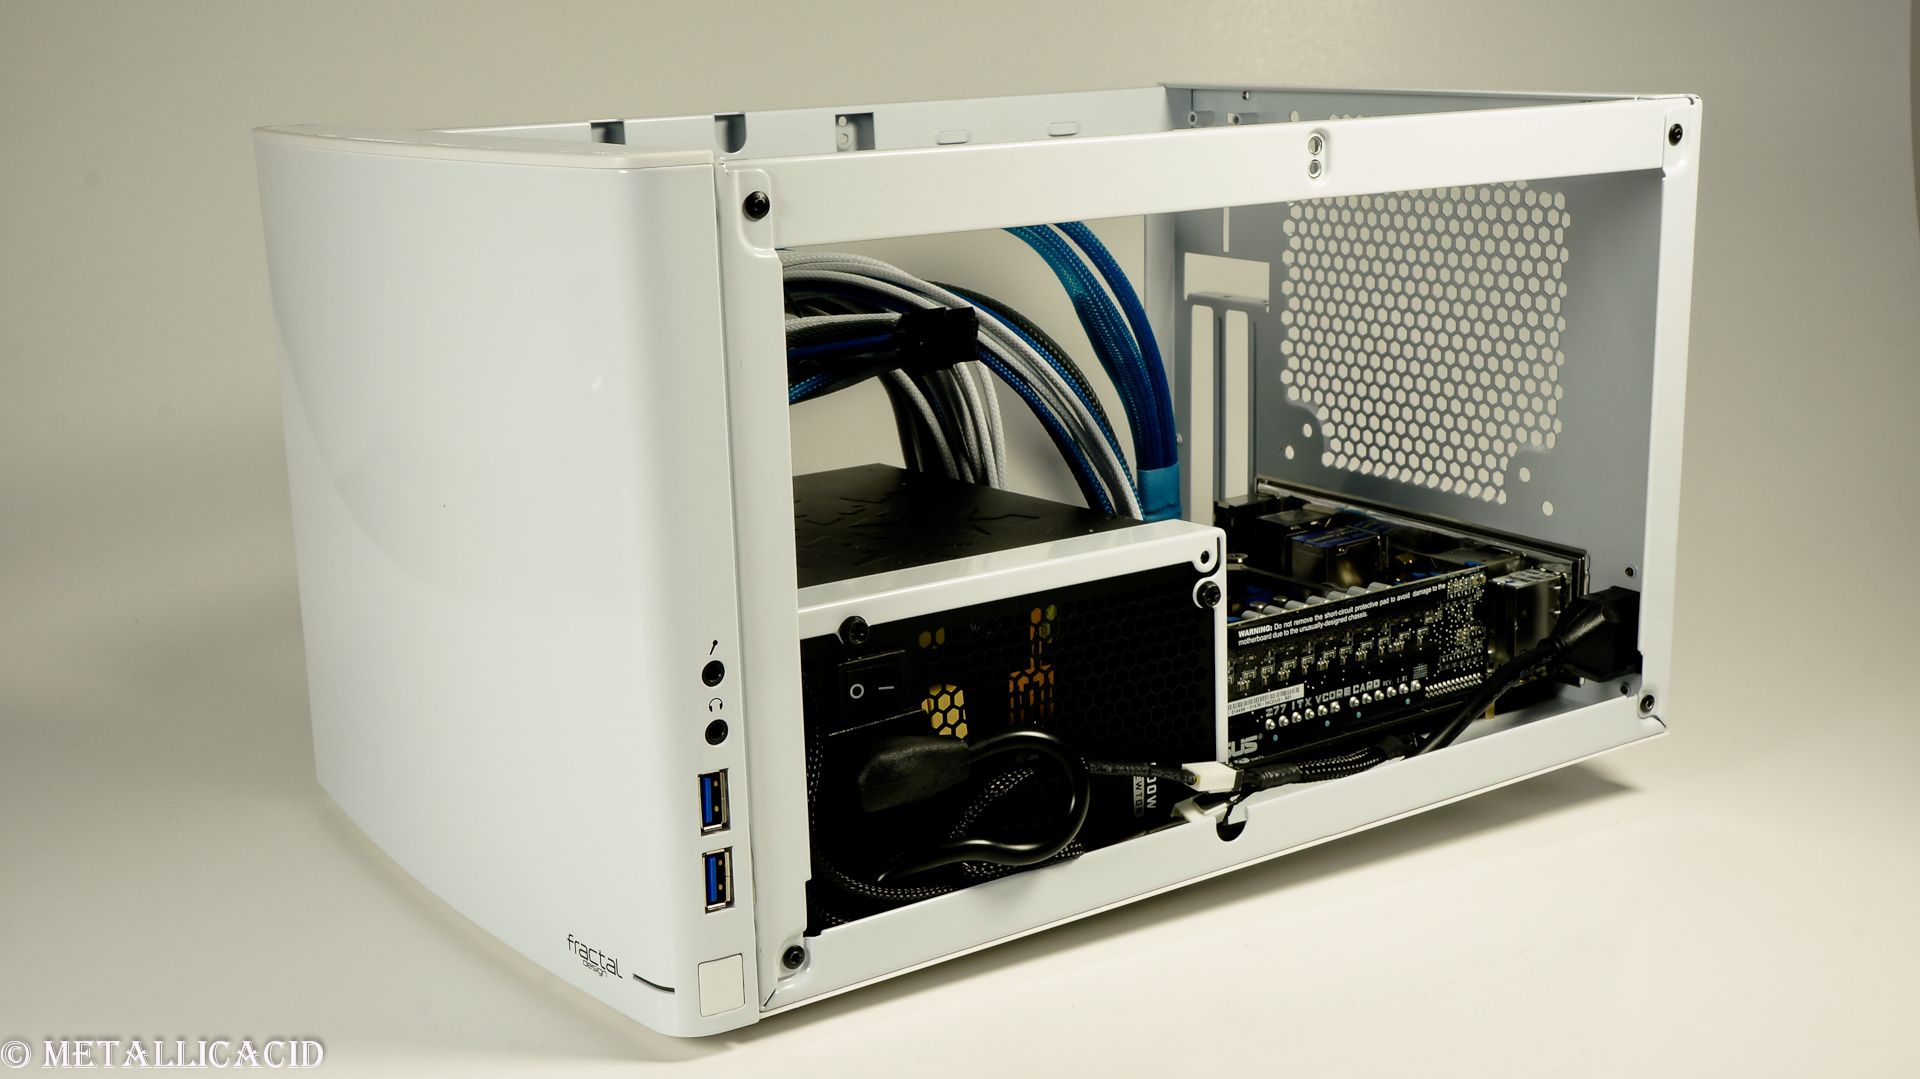
Warranty? Pfft, that's for losers and pussies (Part2)

G'day everyone!

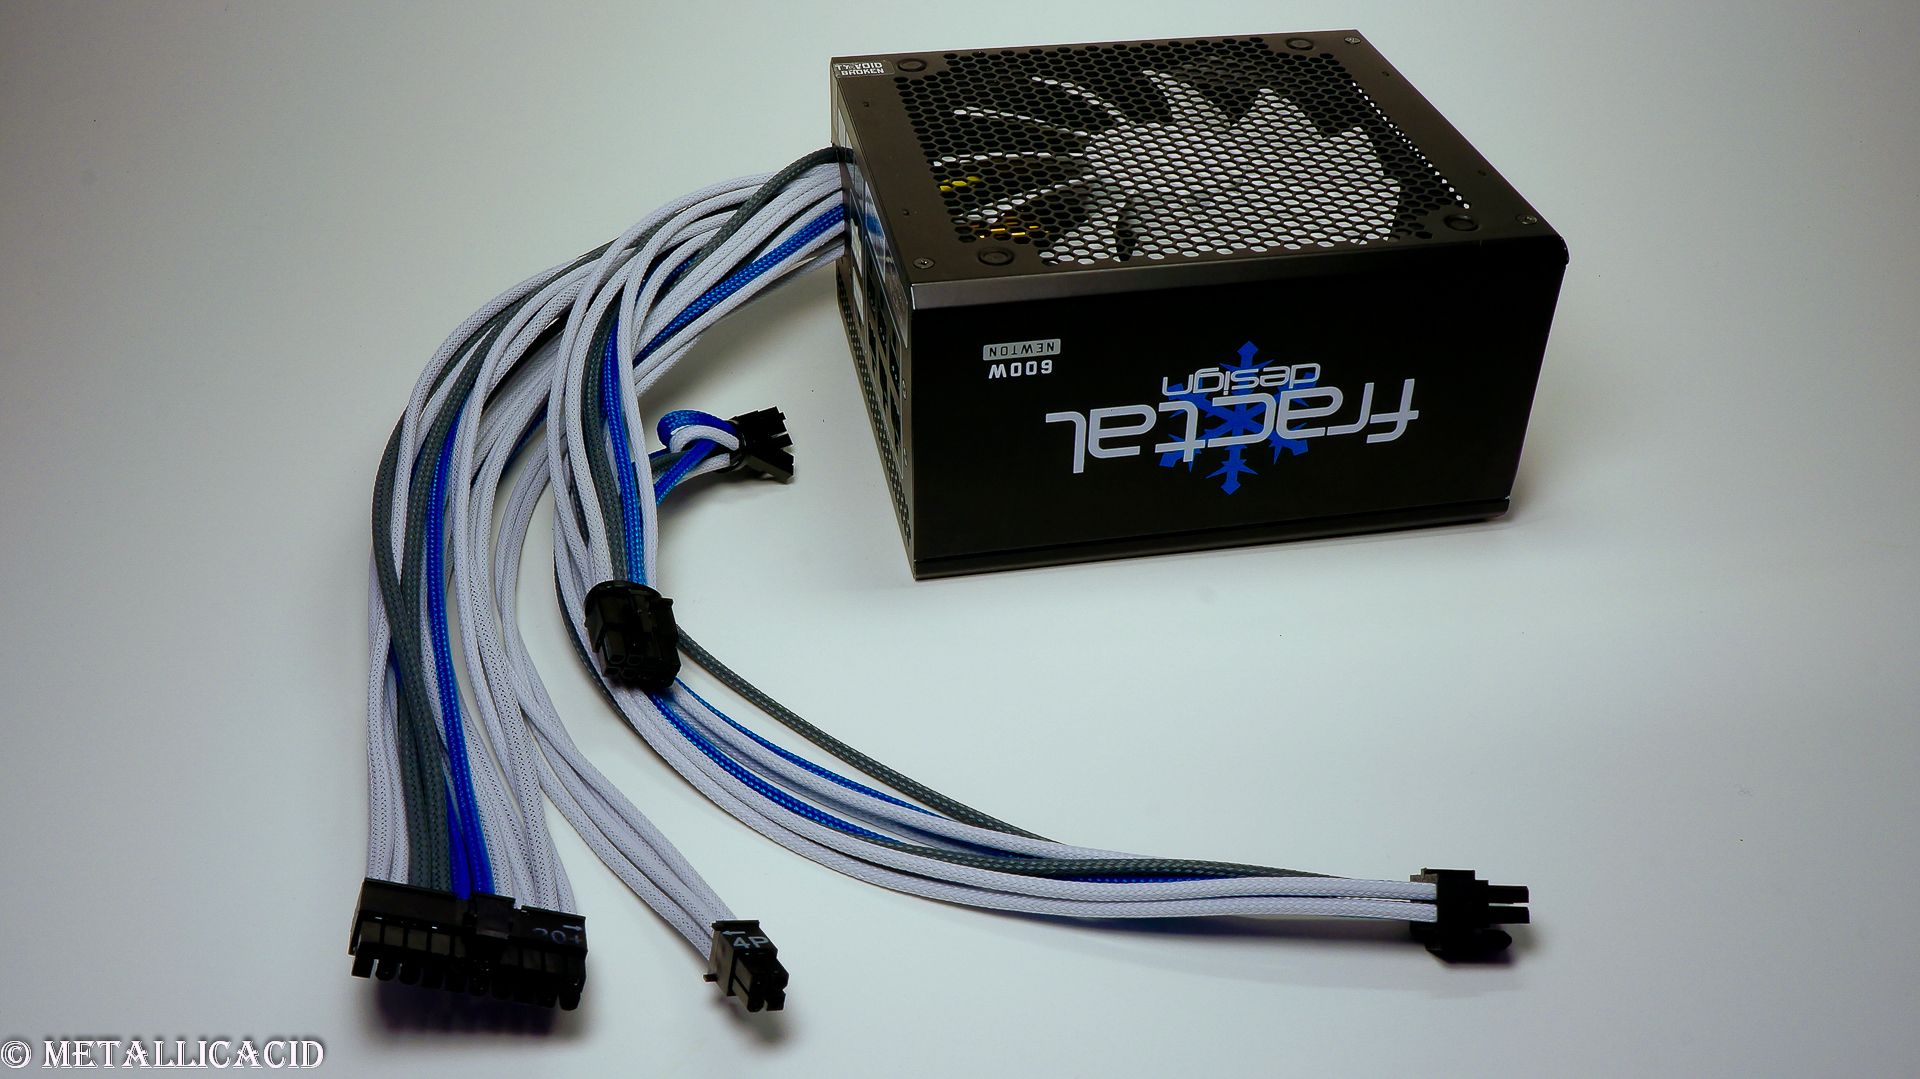
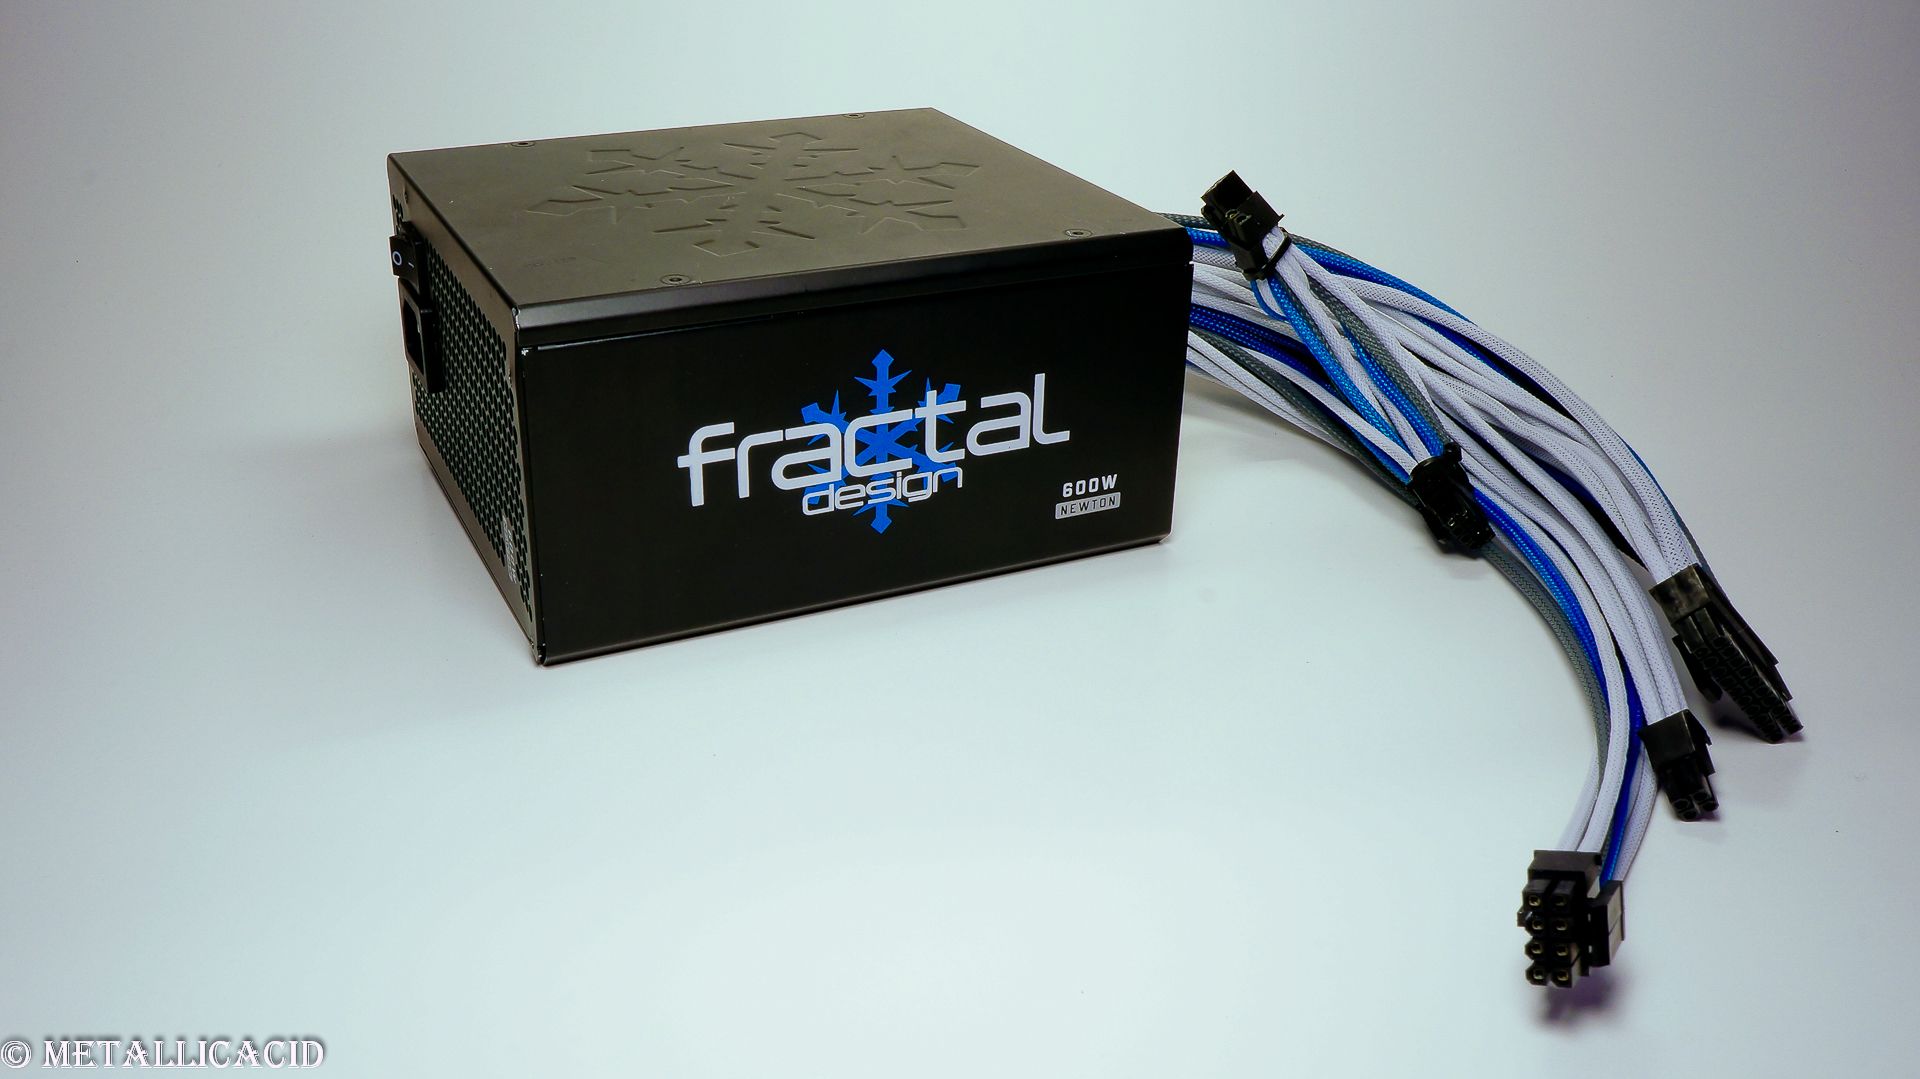
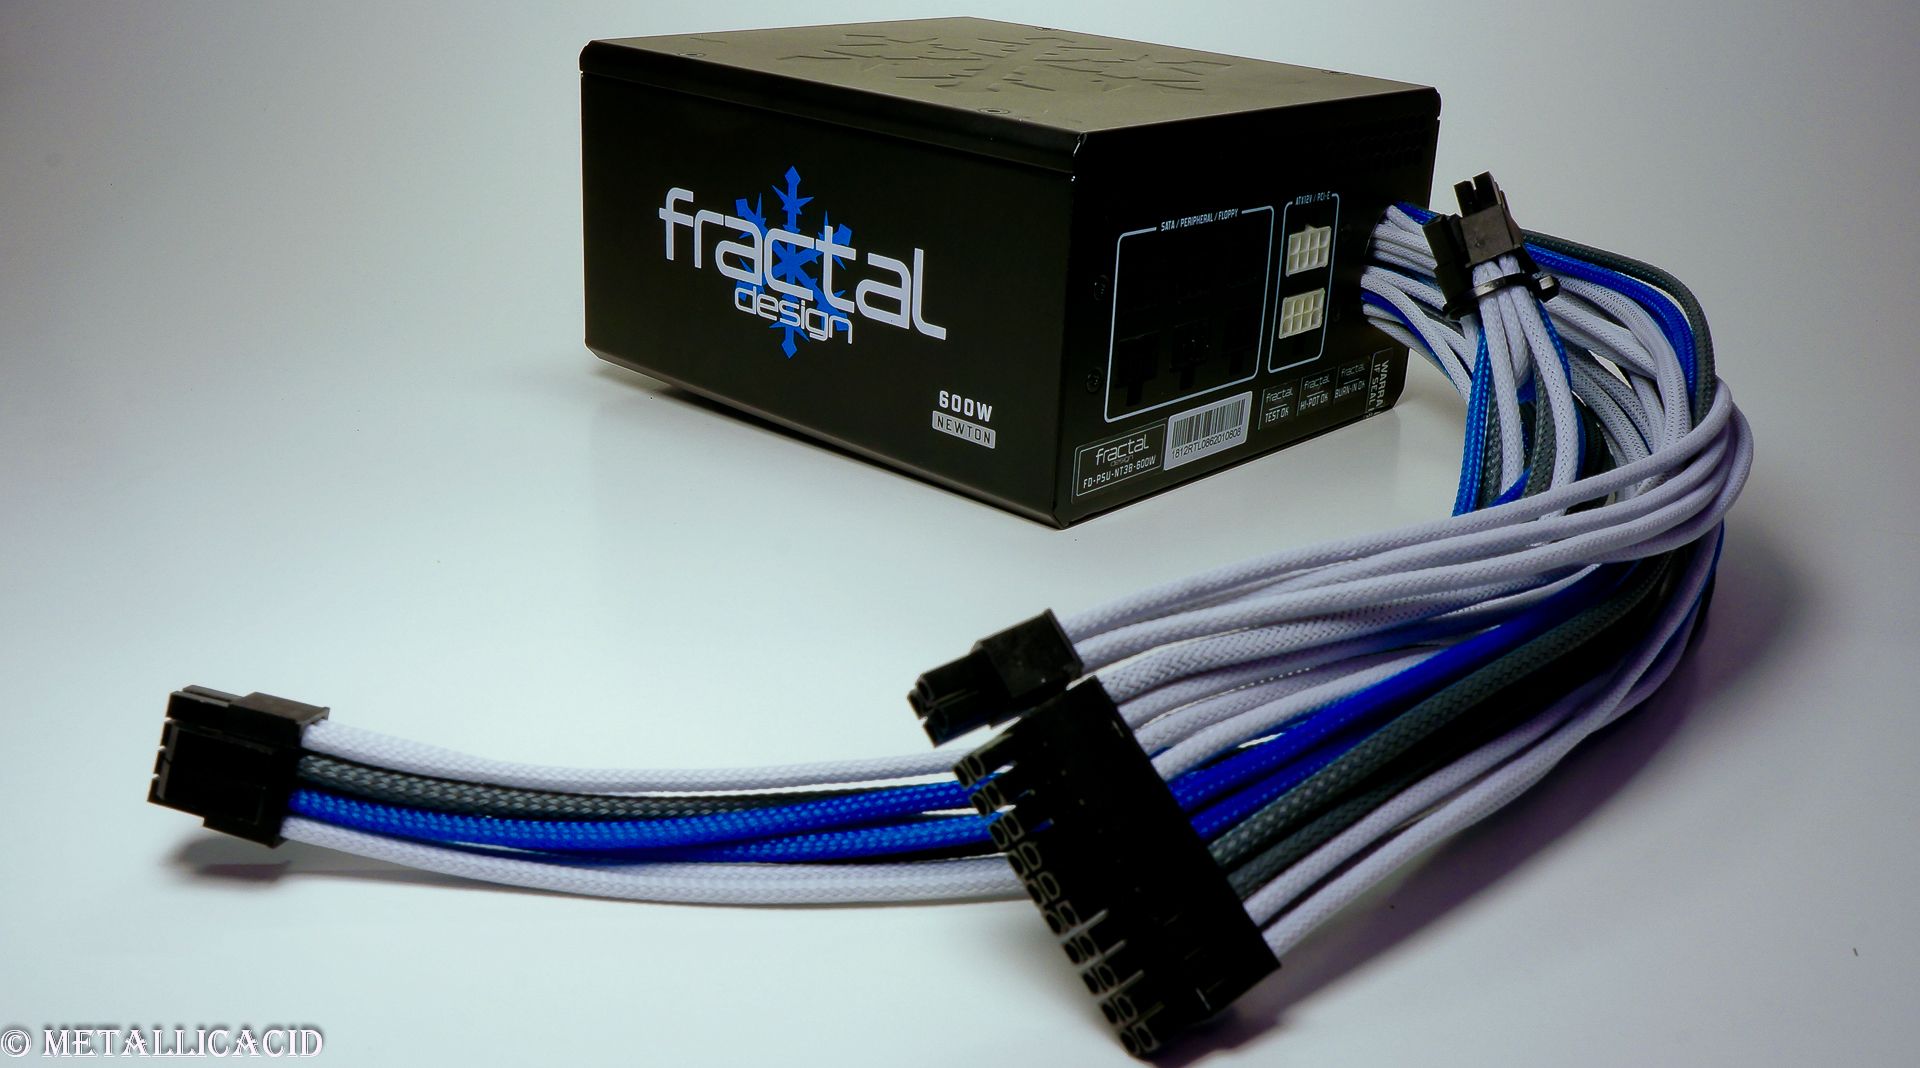
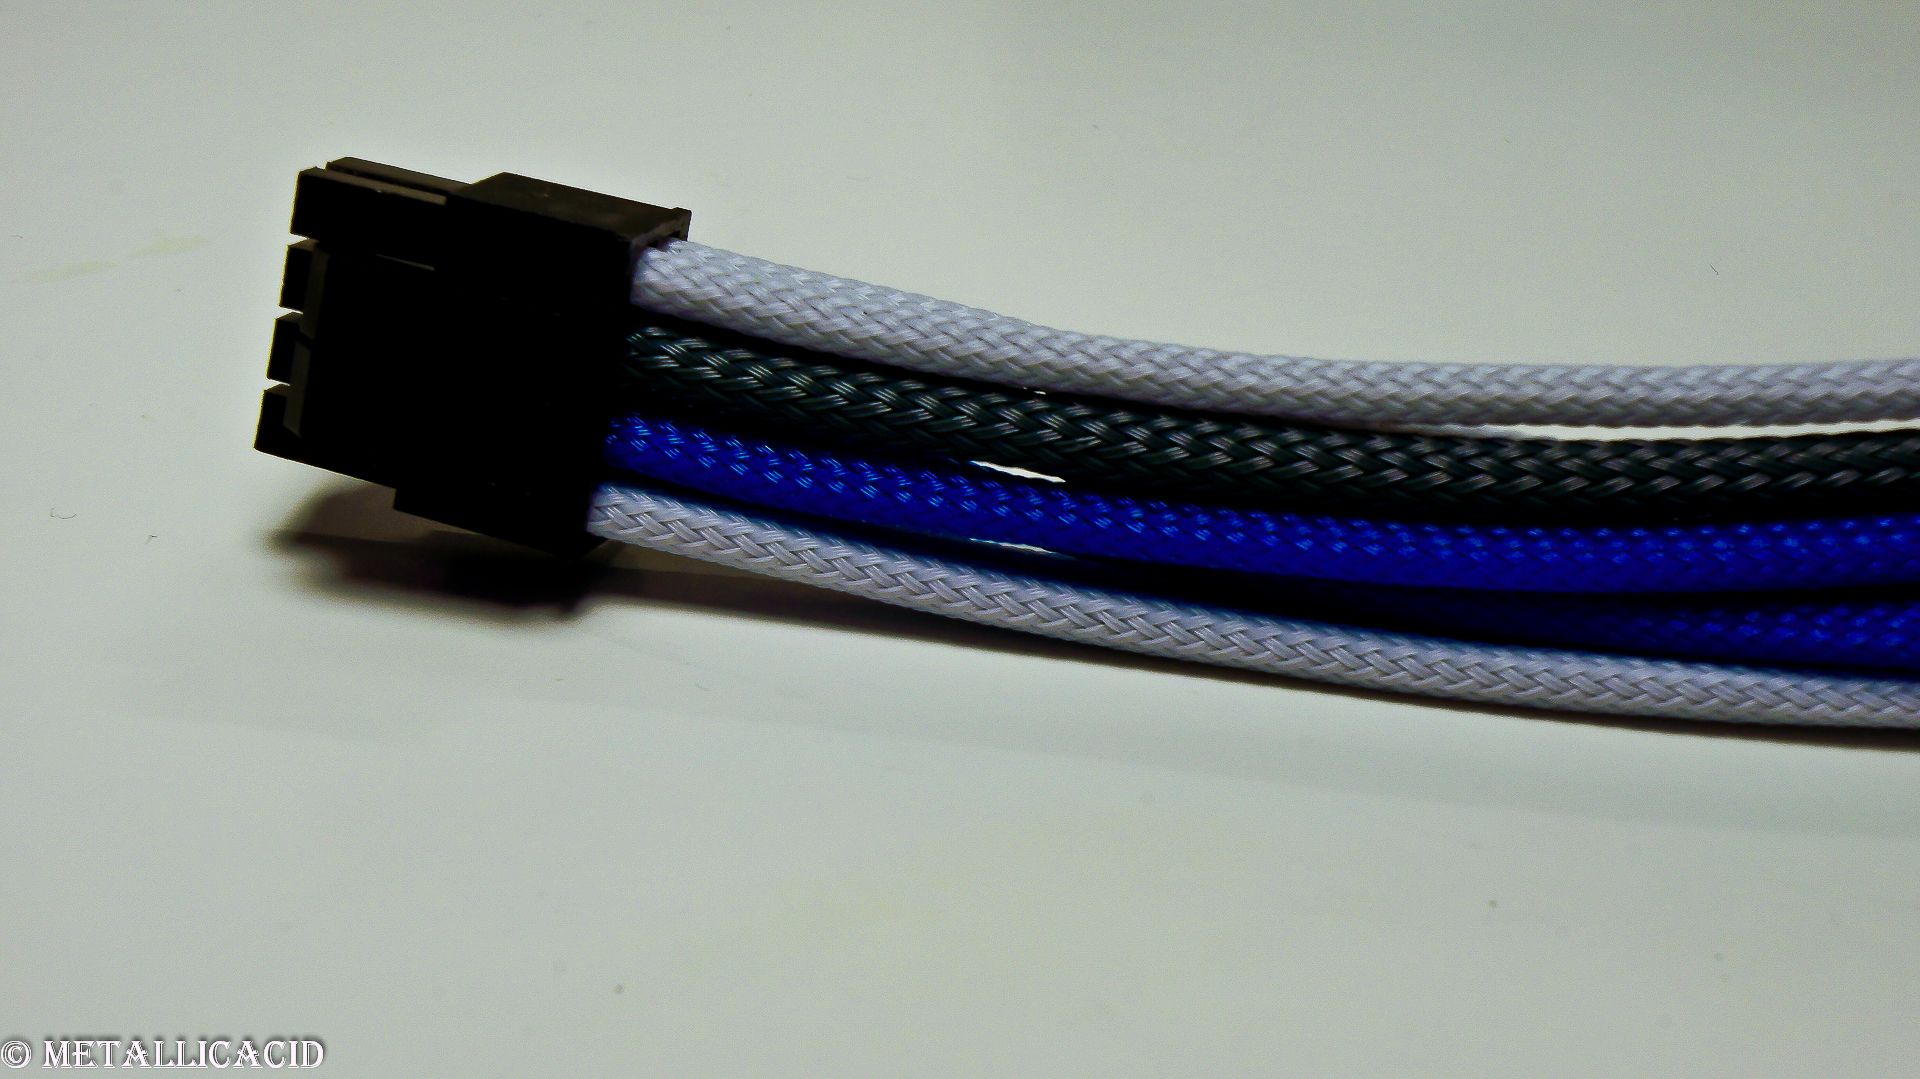
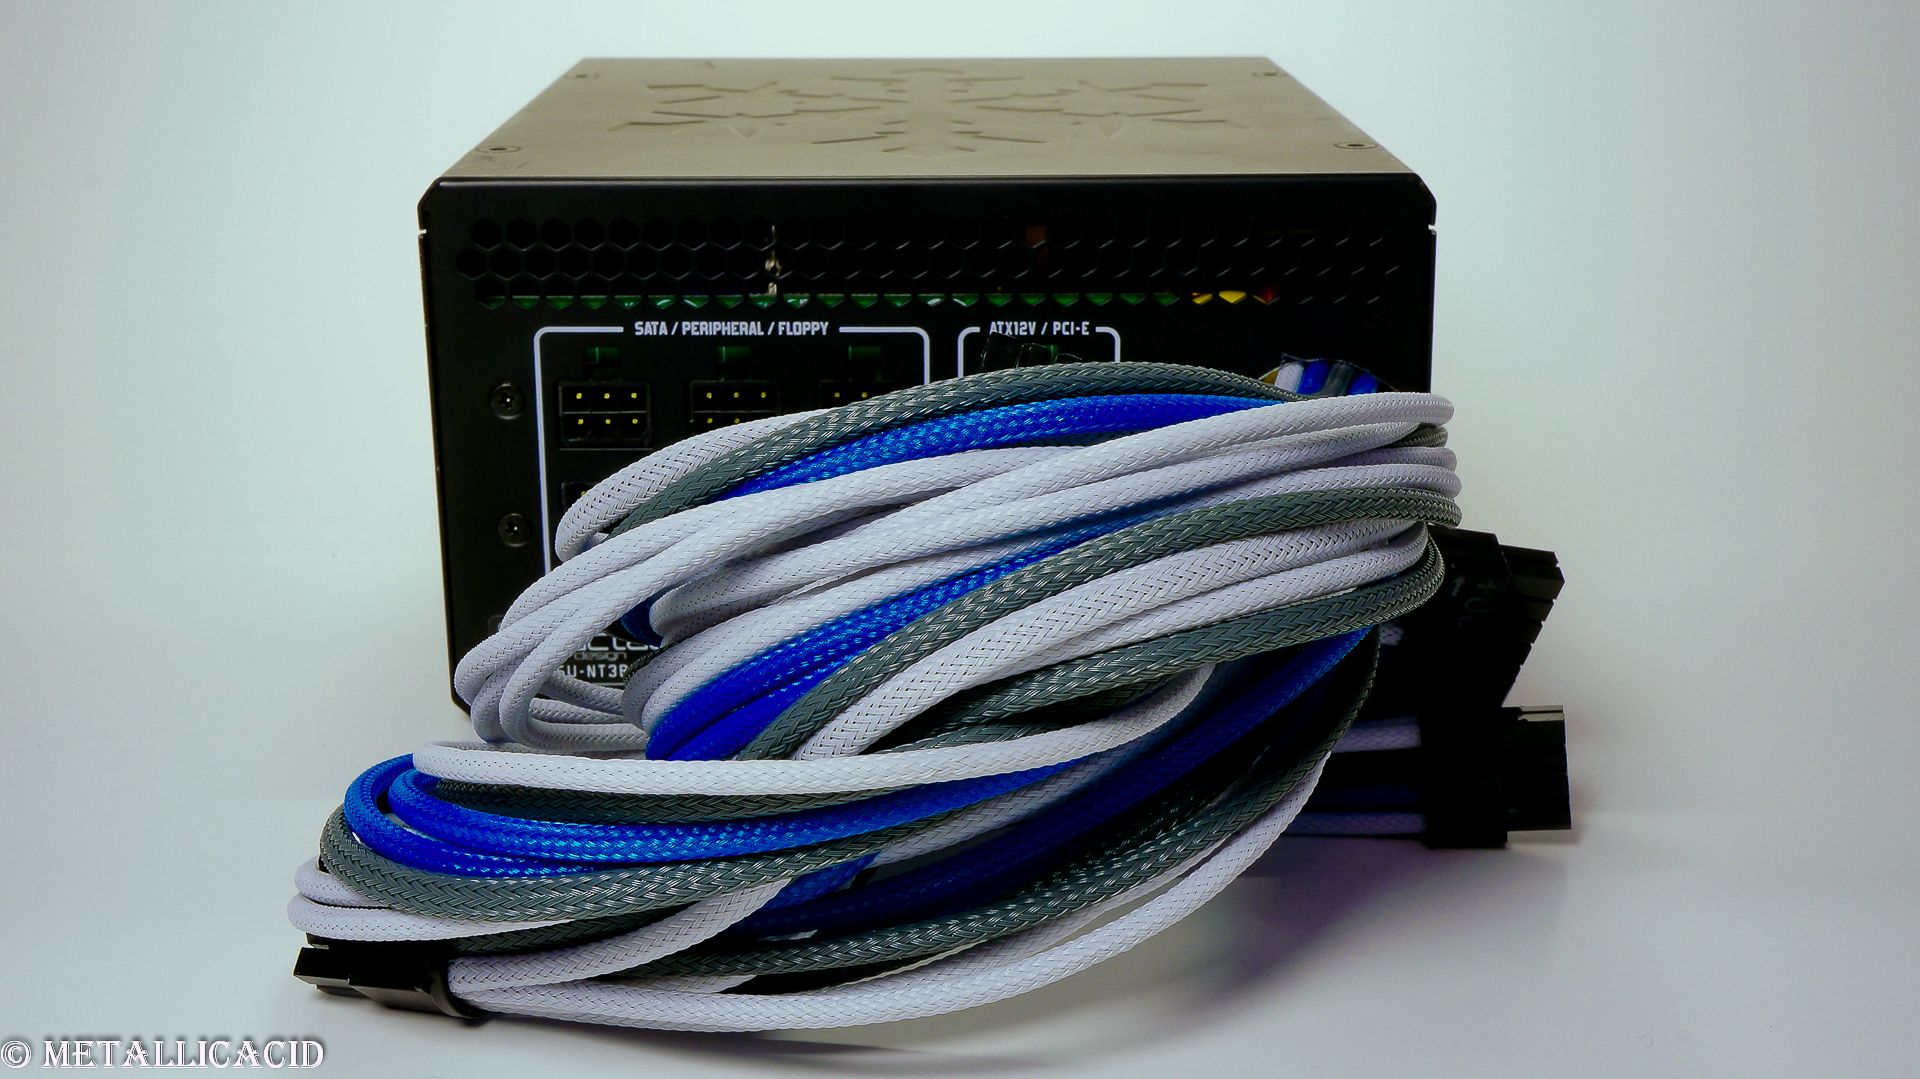
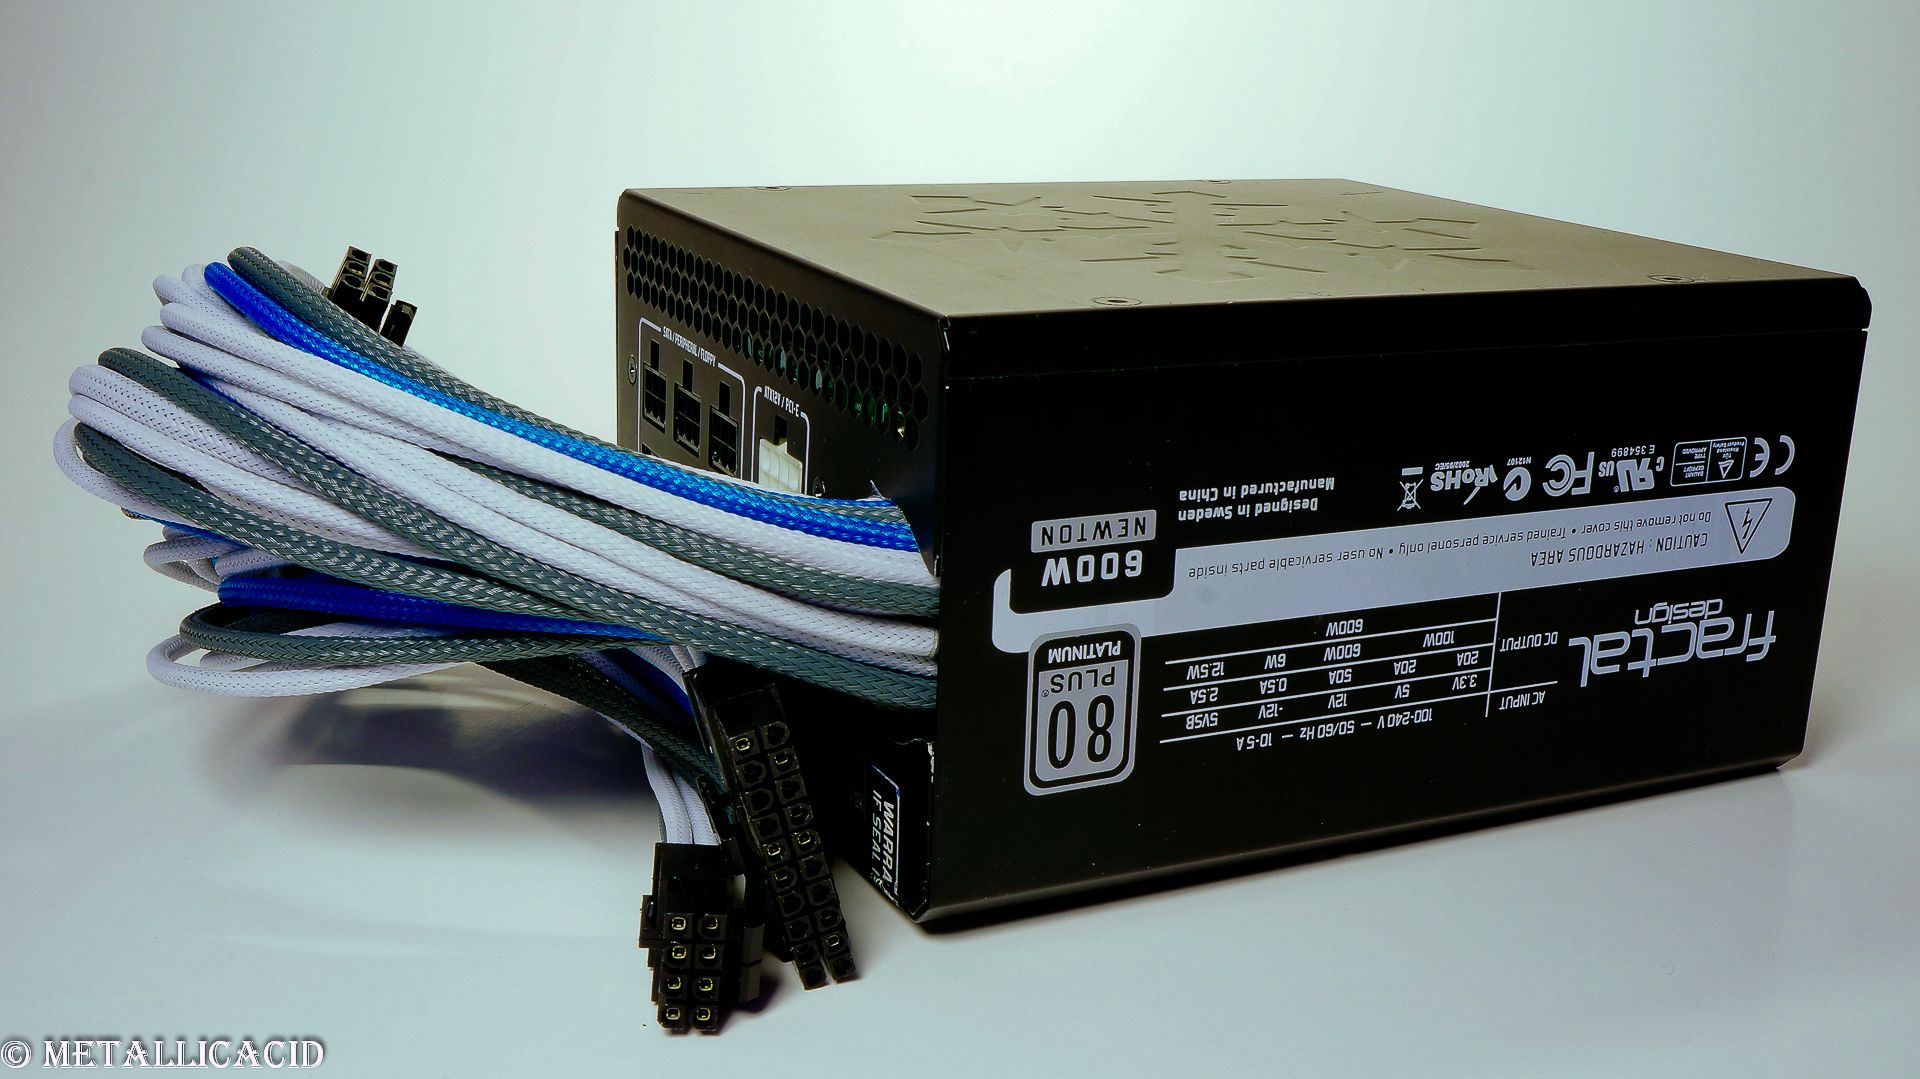
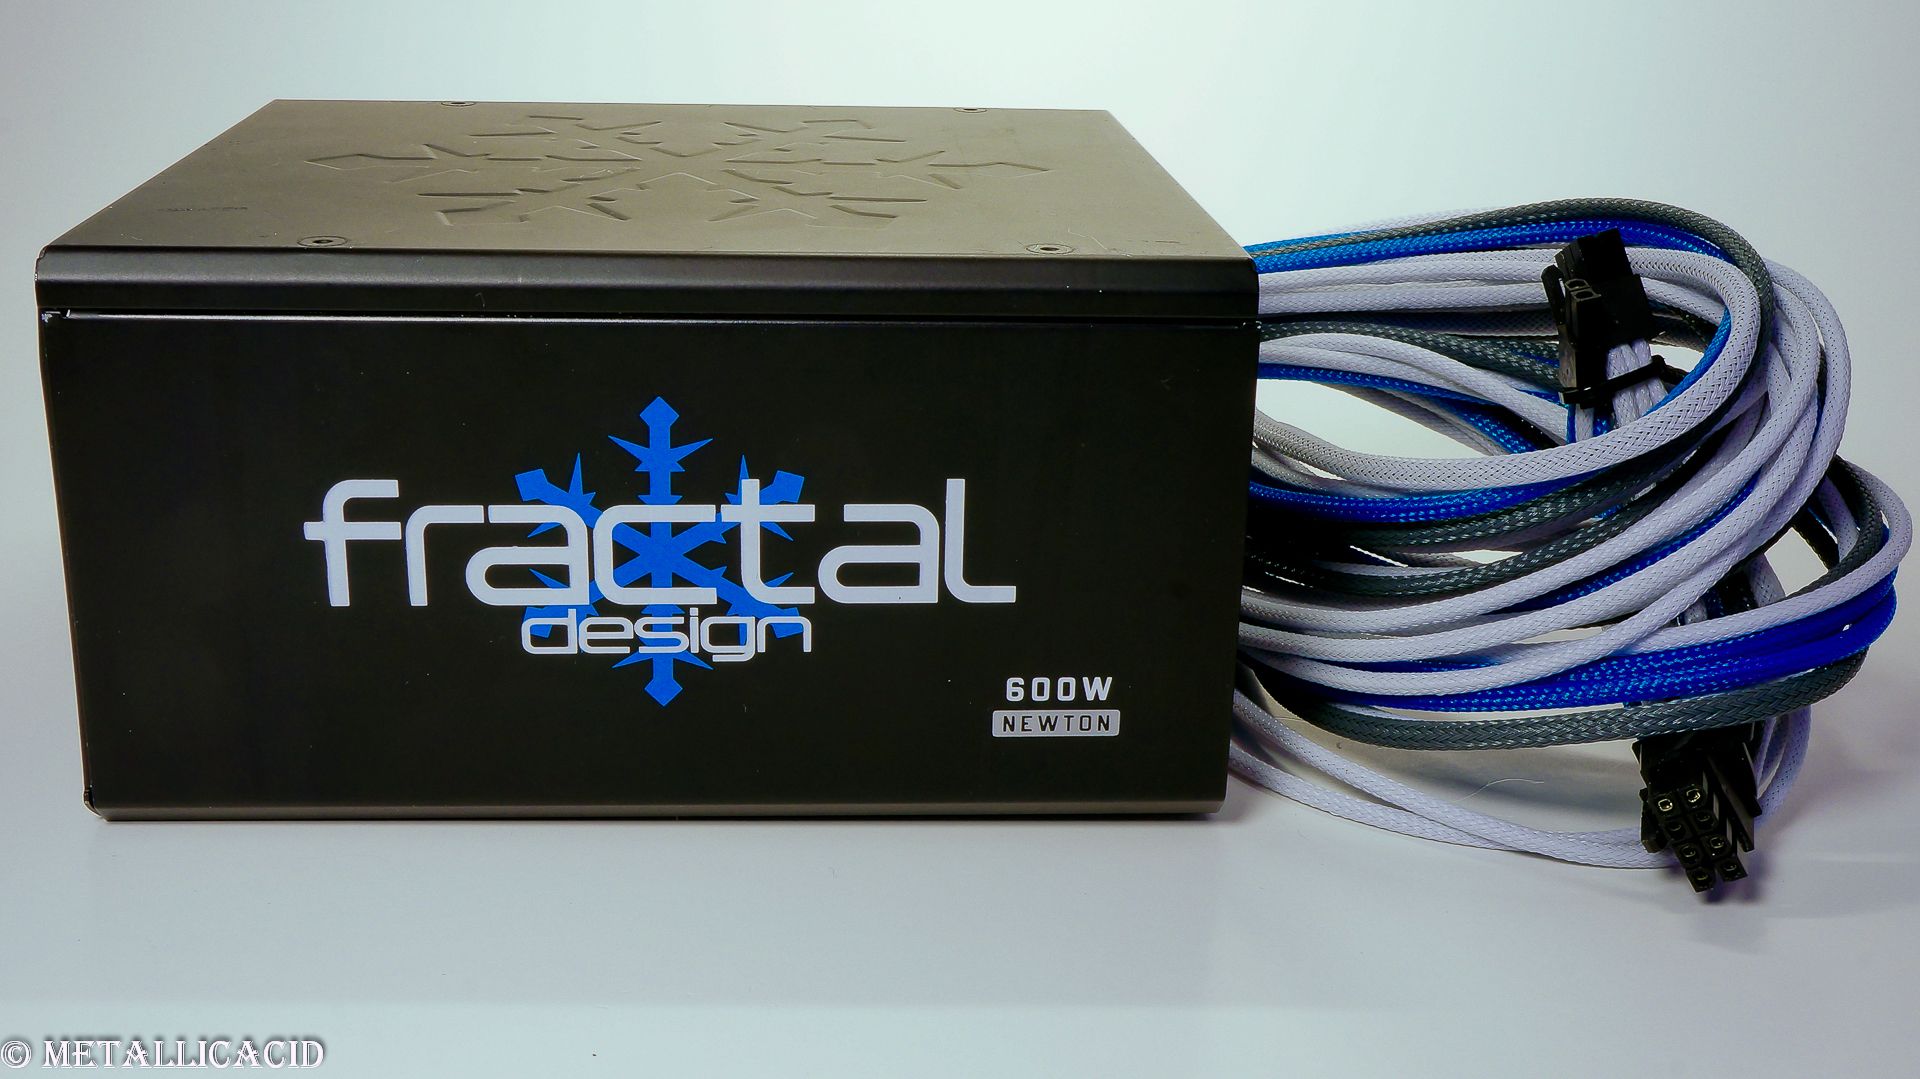
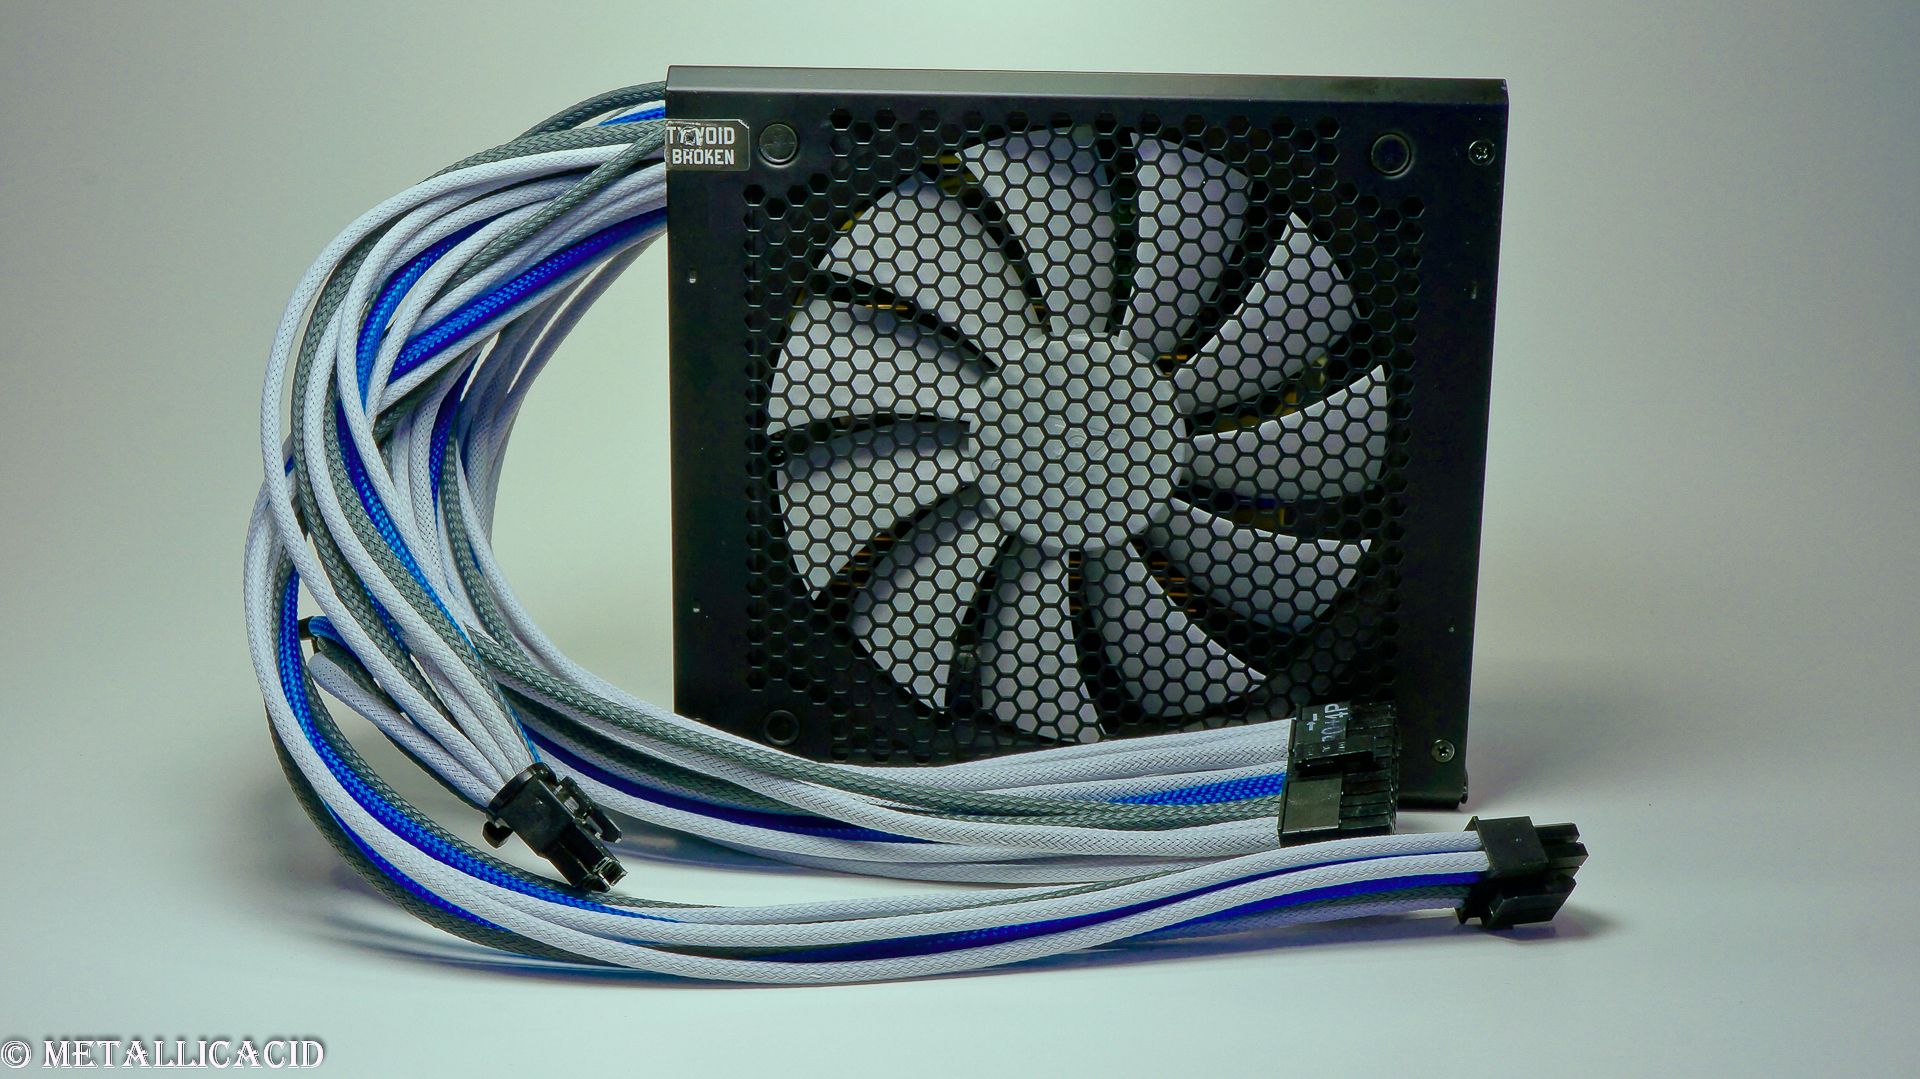
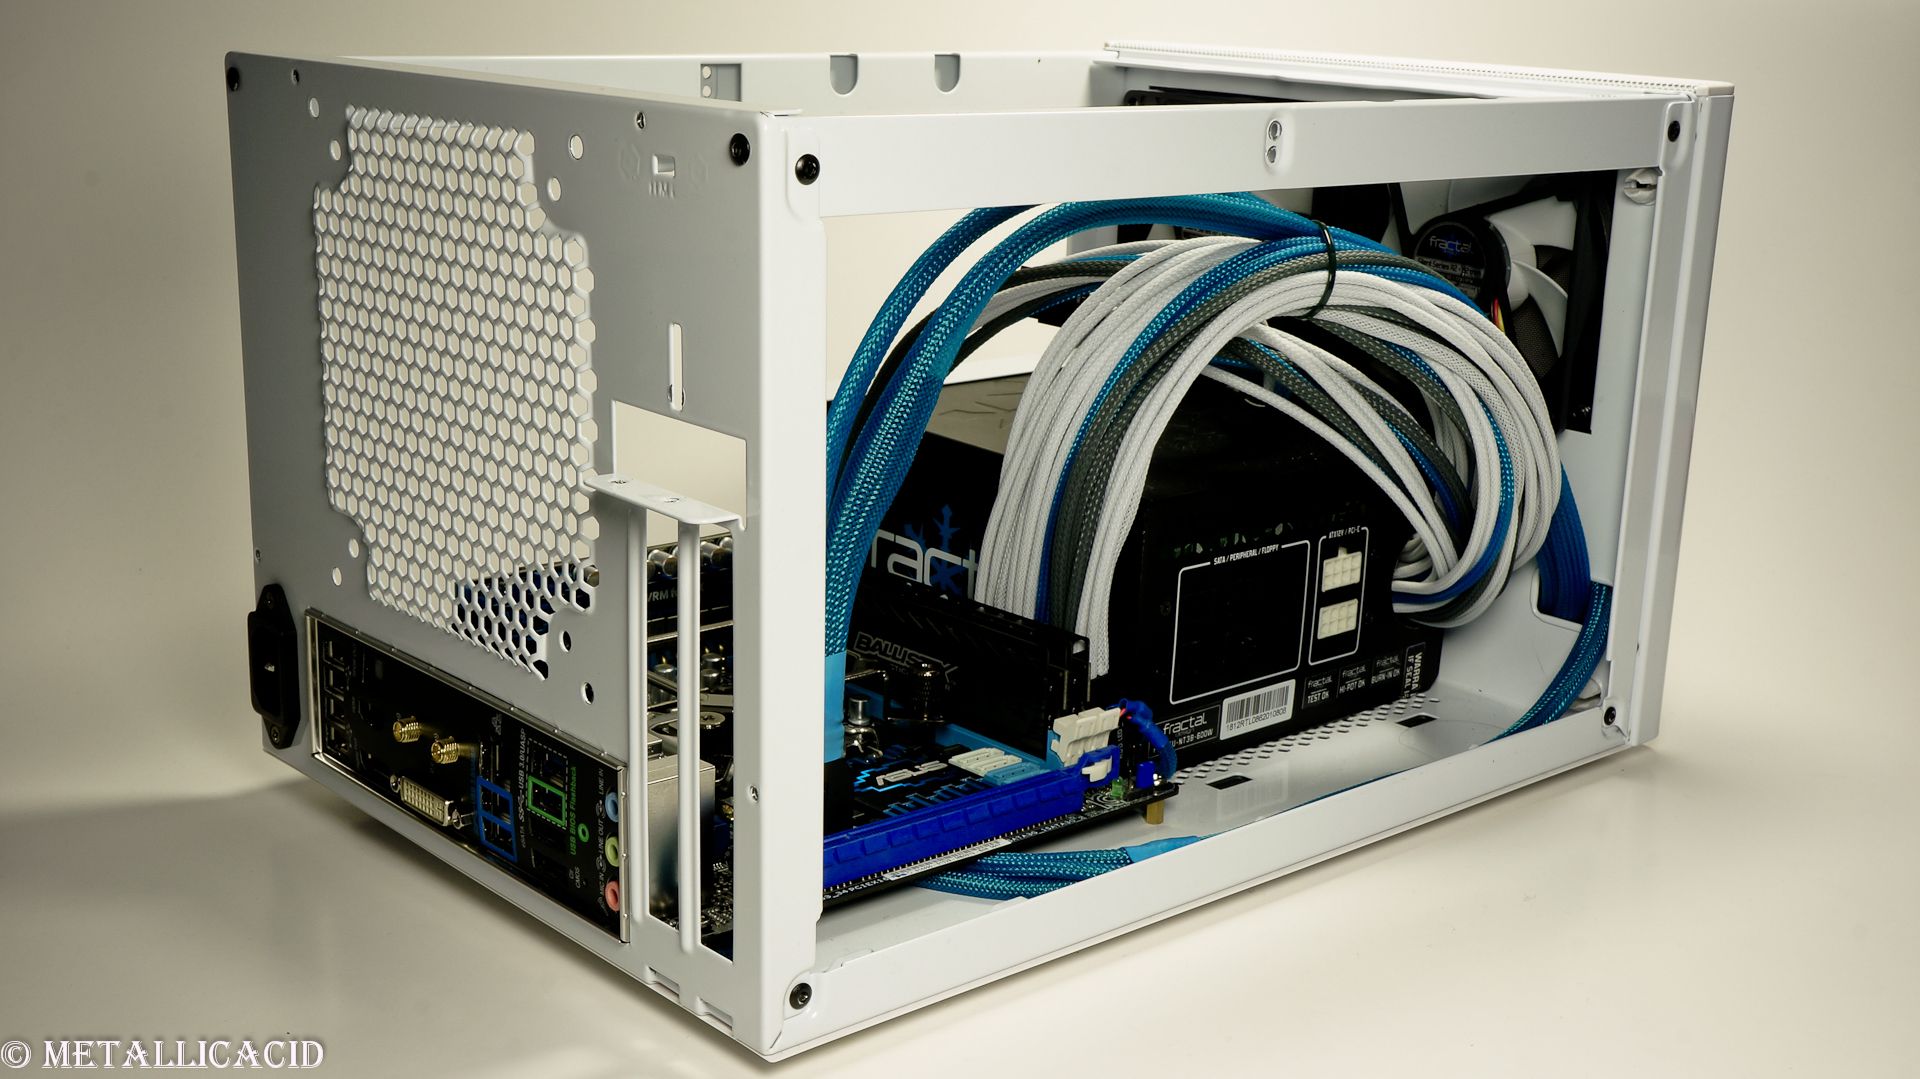
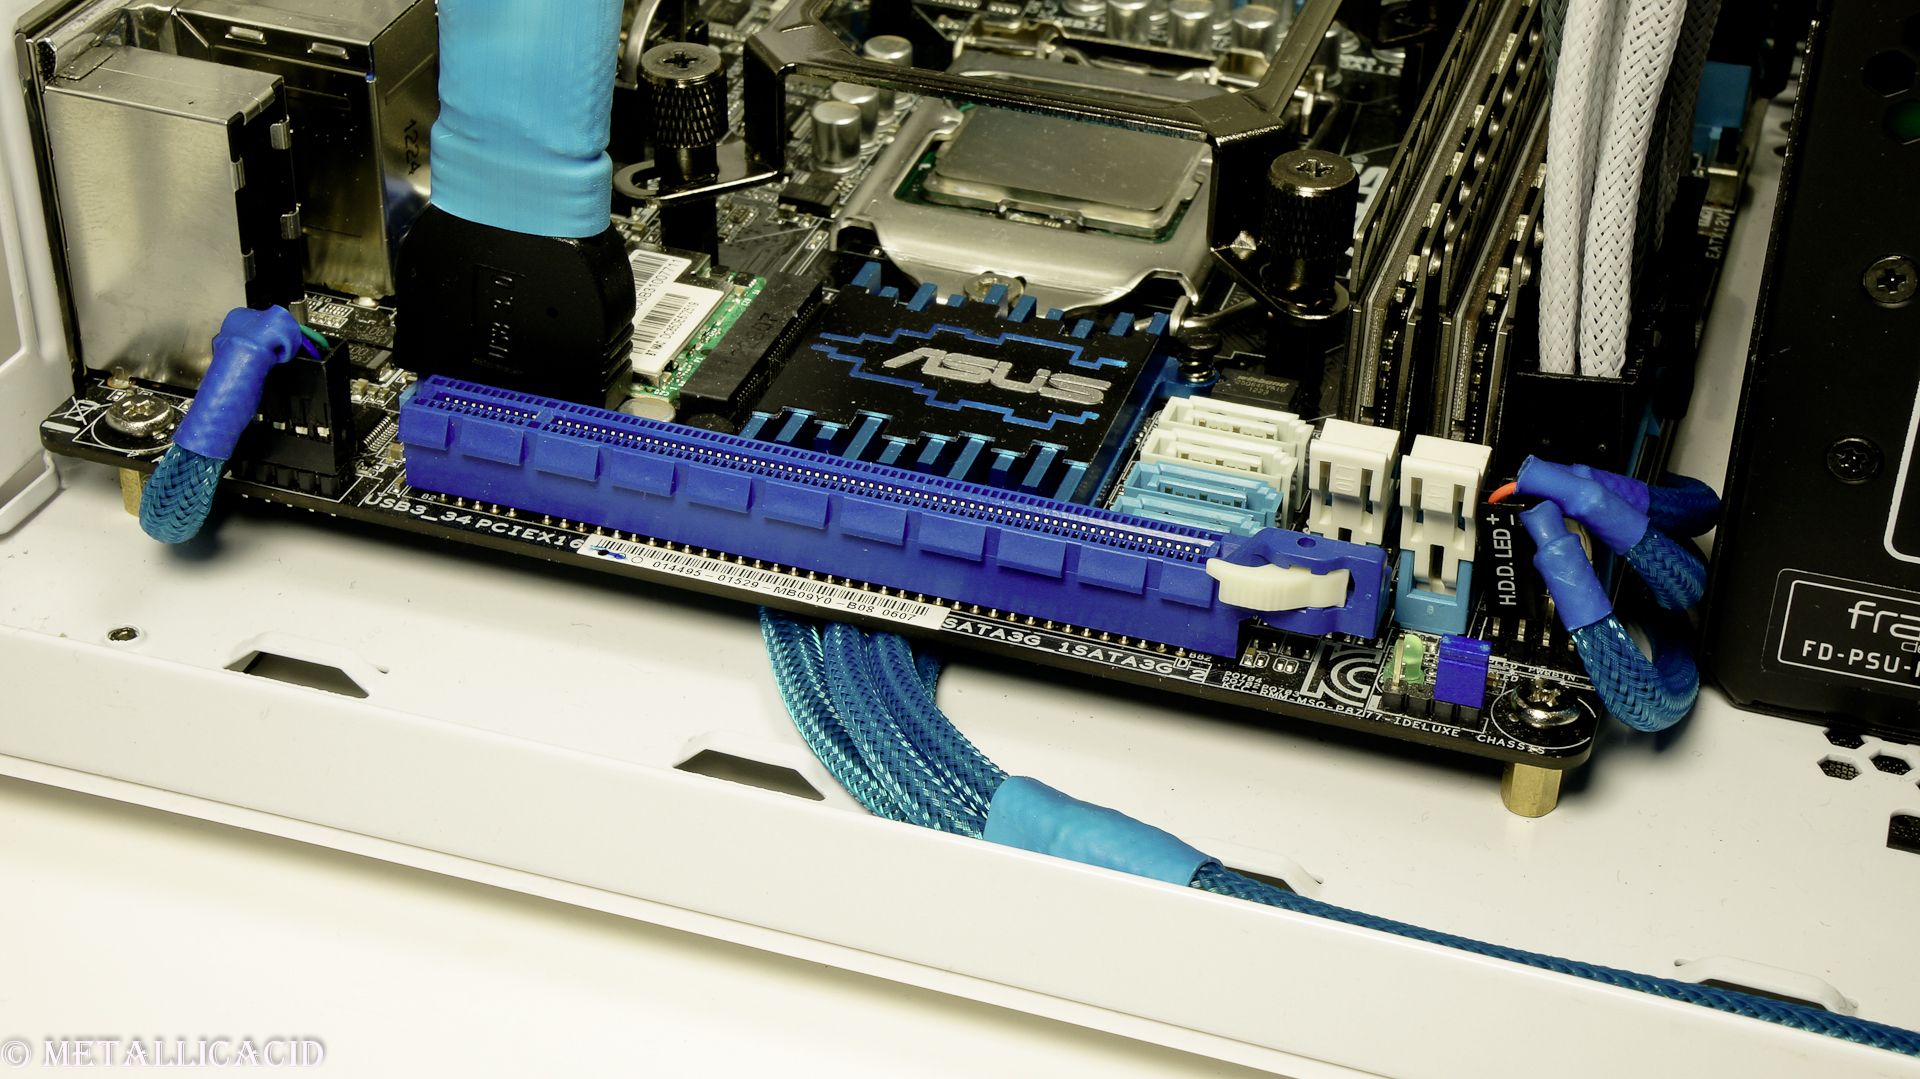
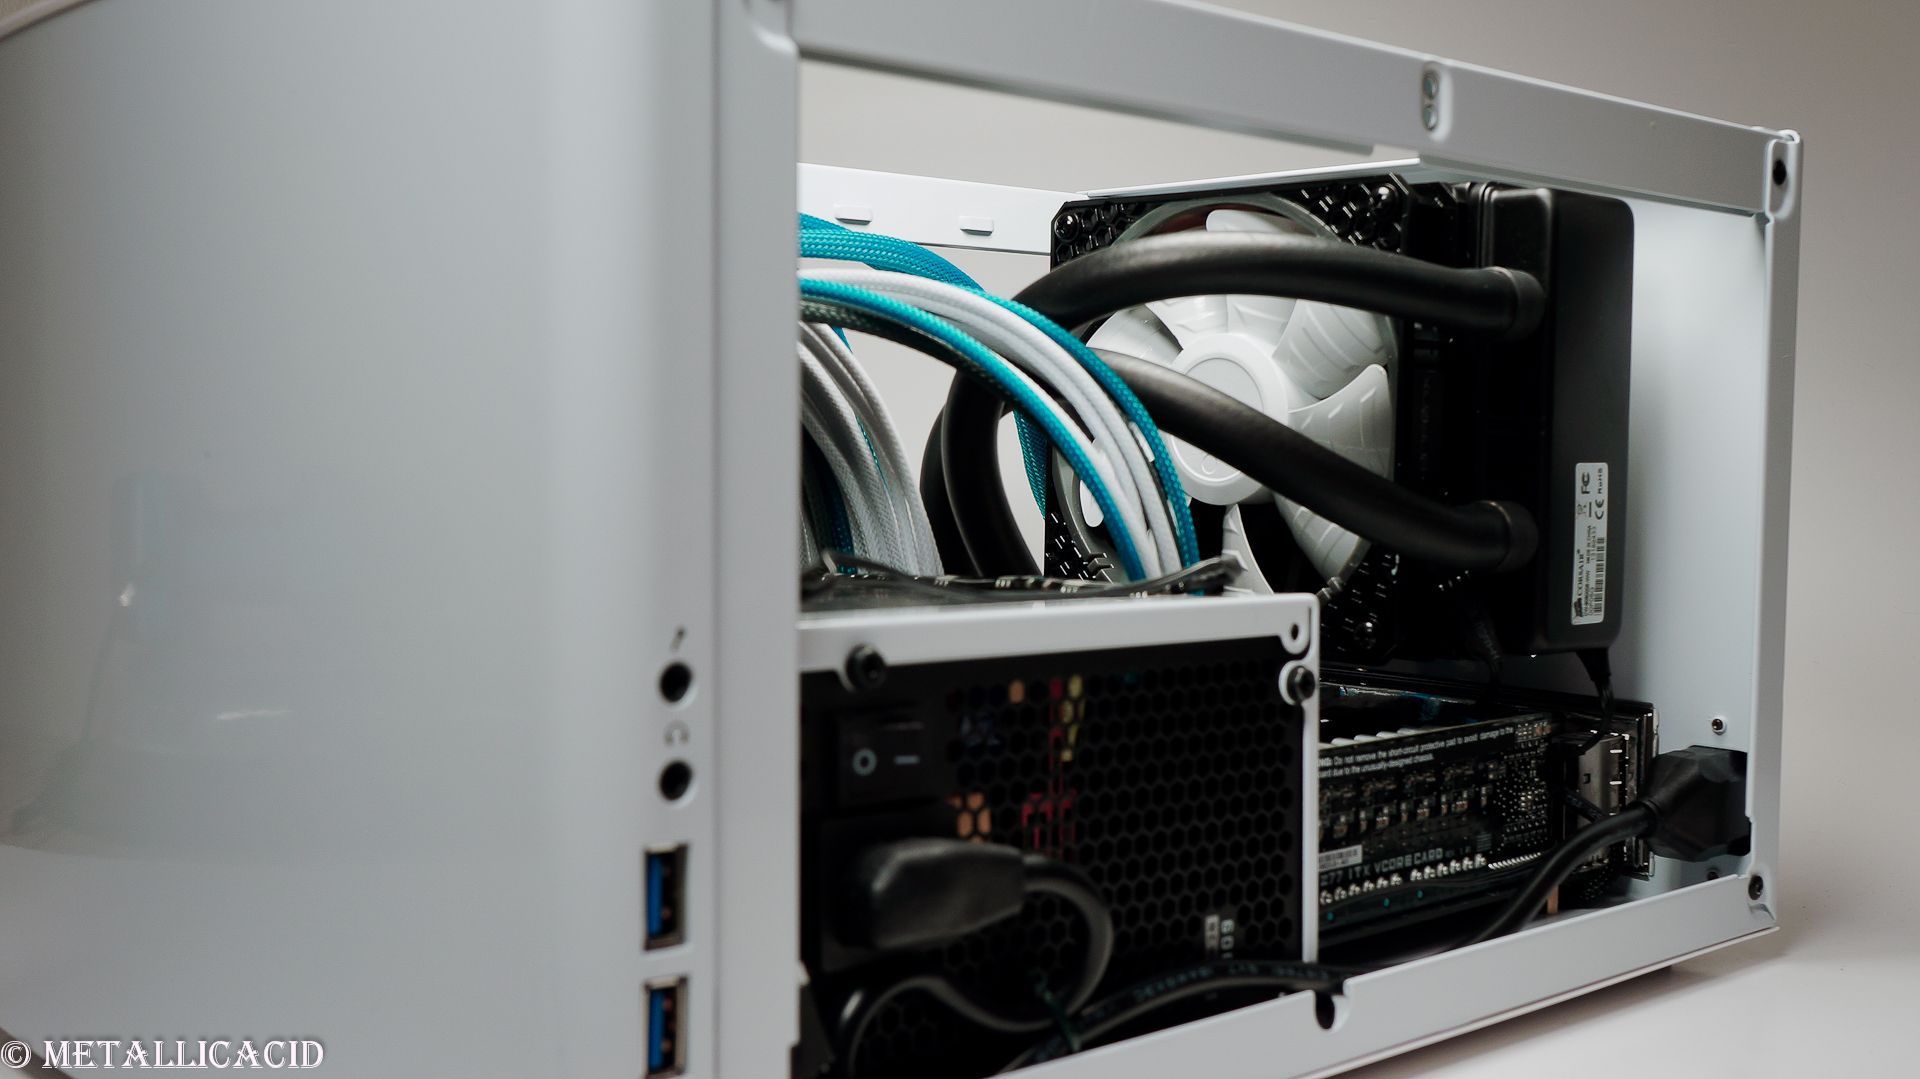
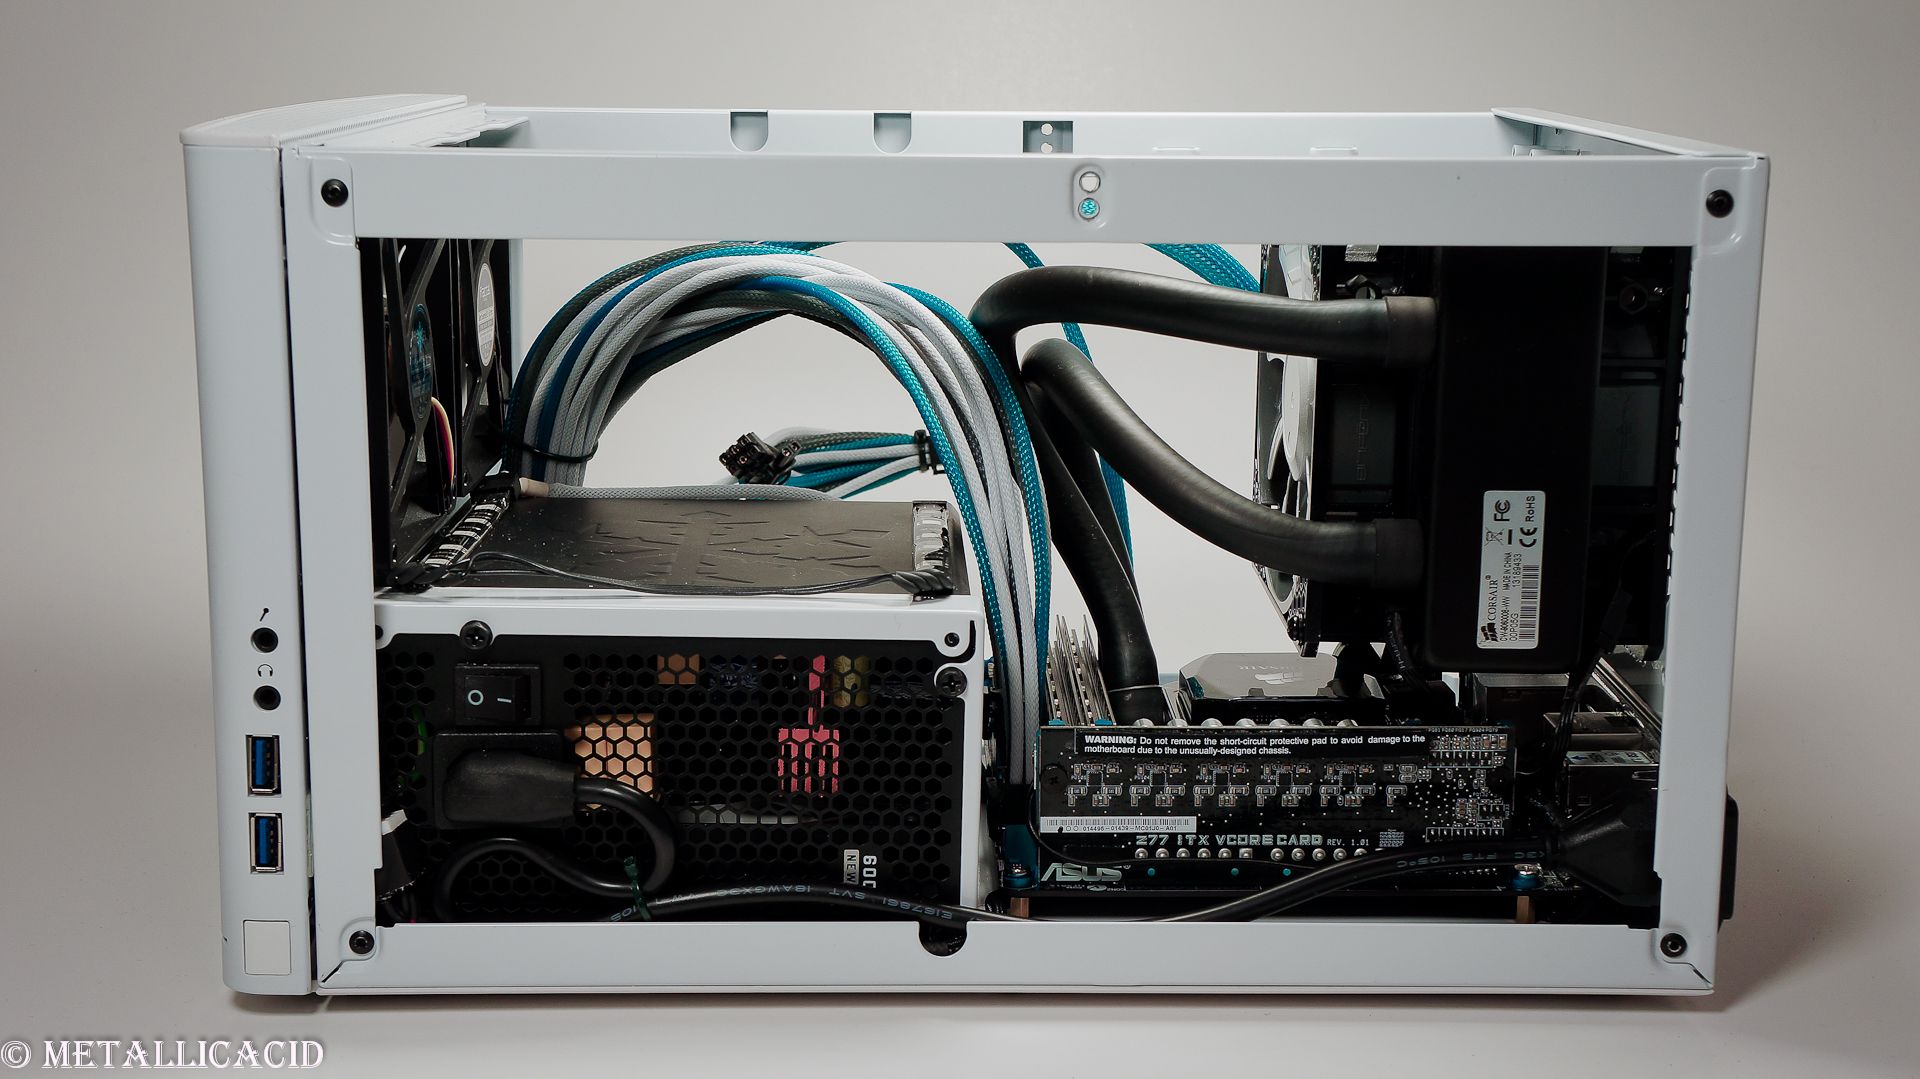
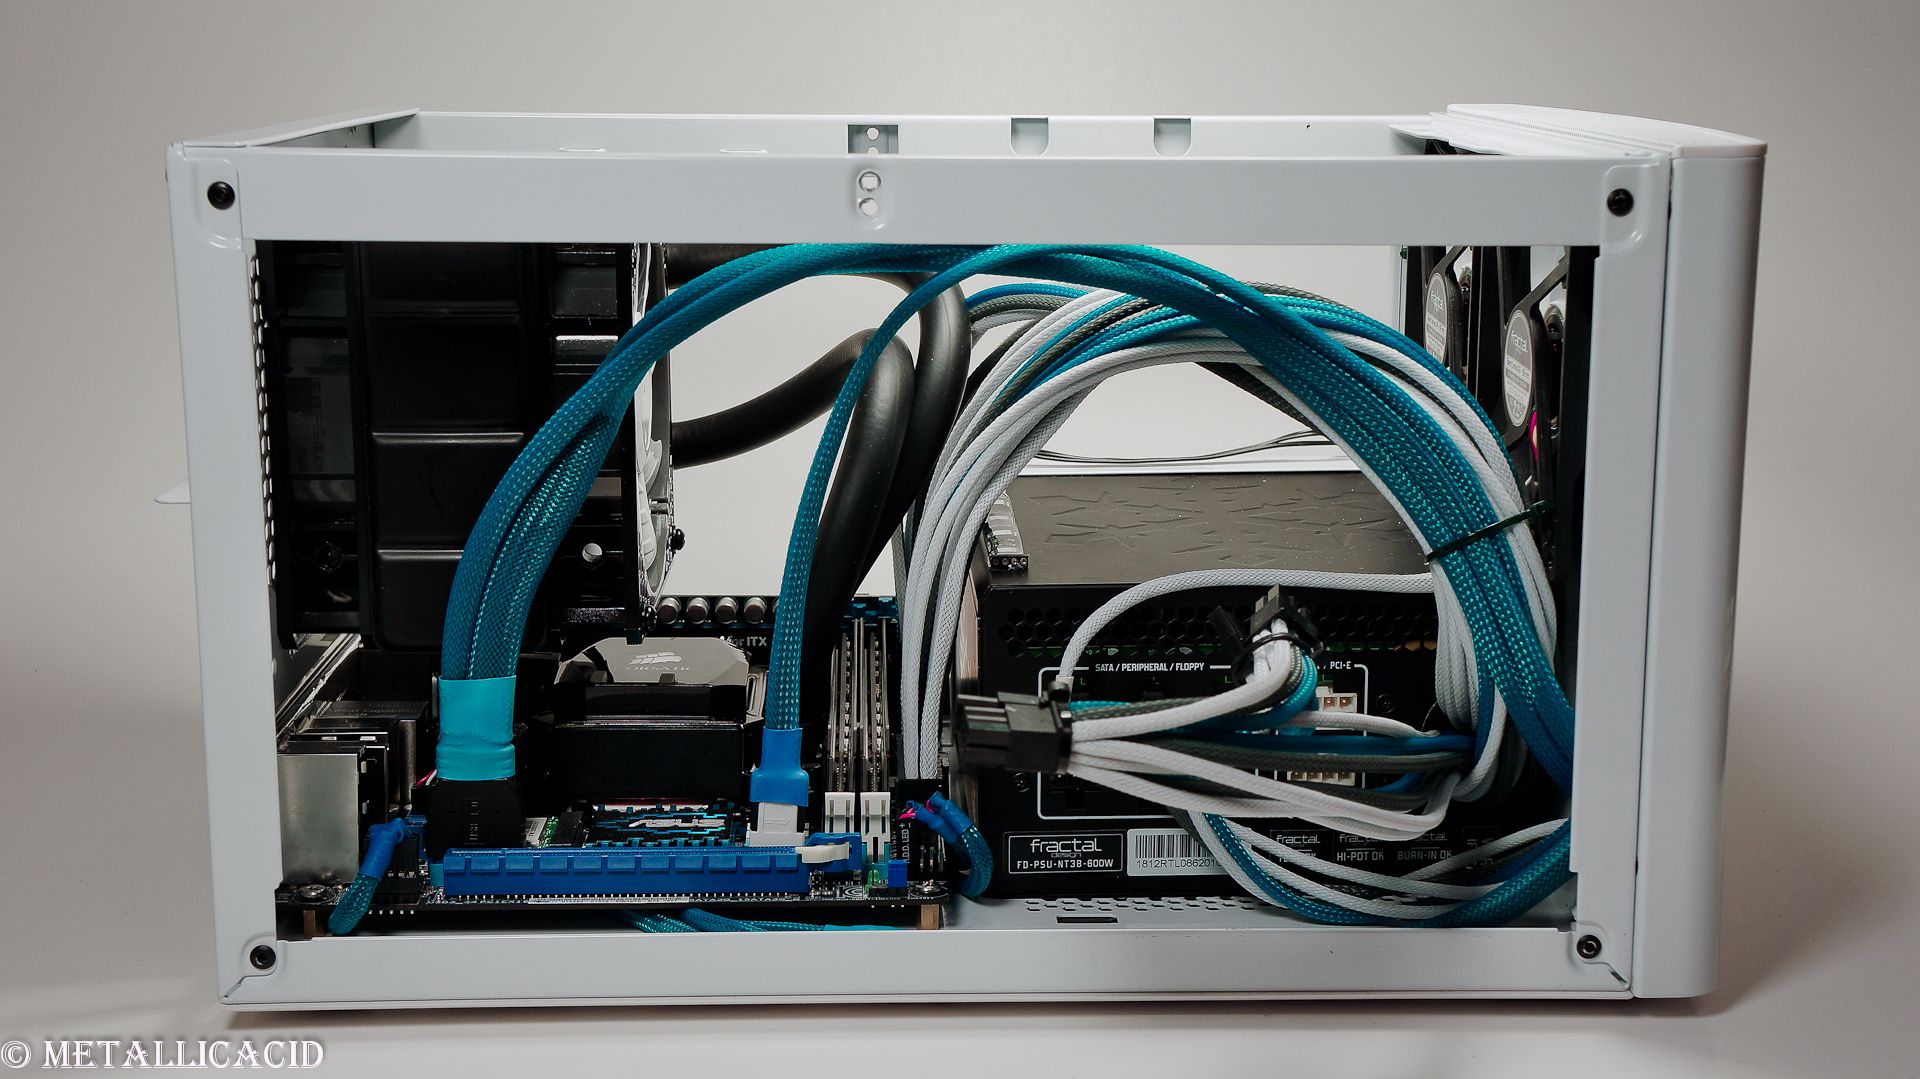
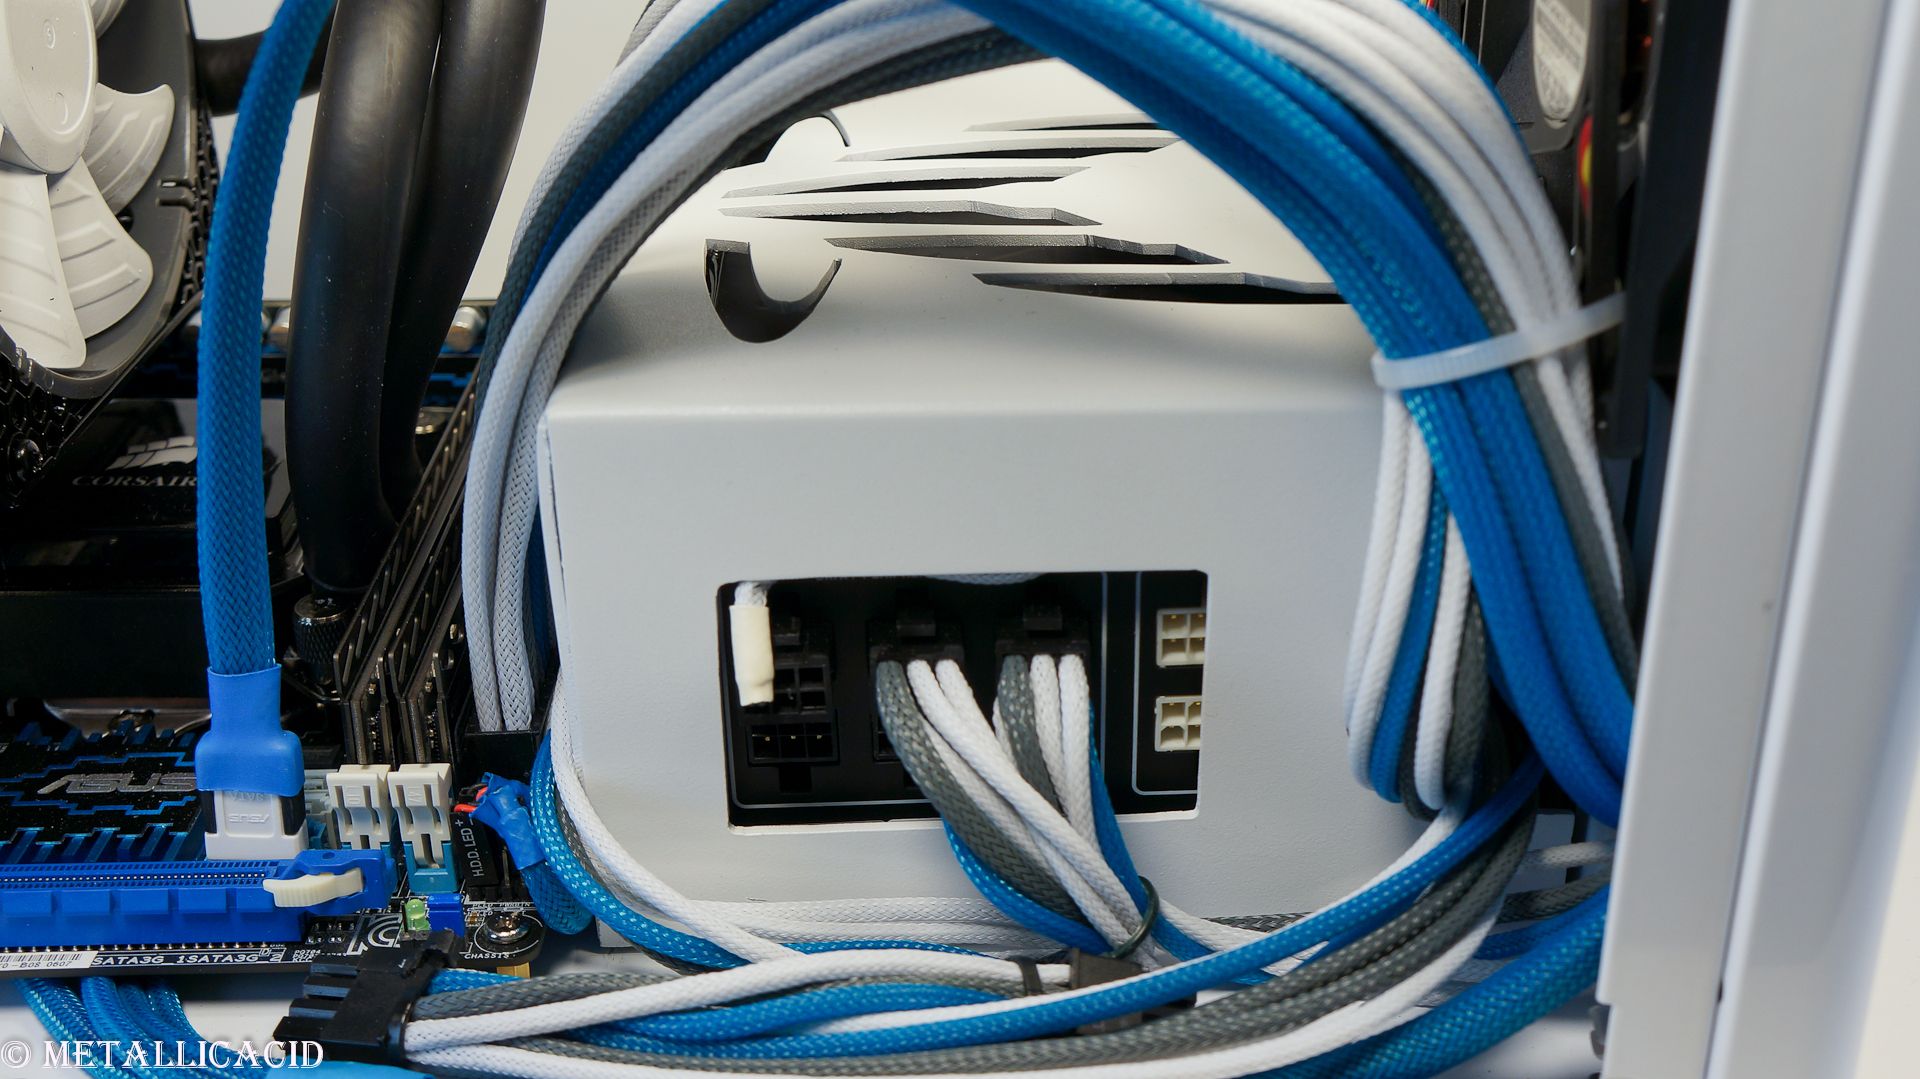
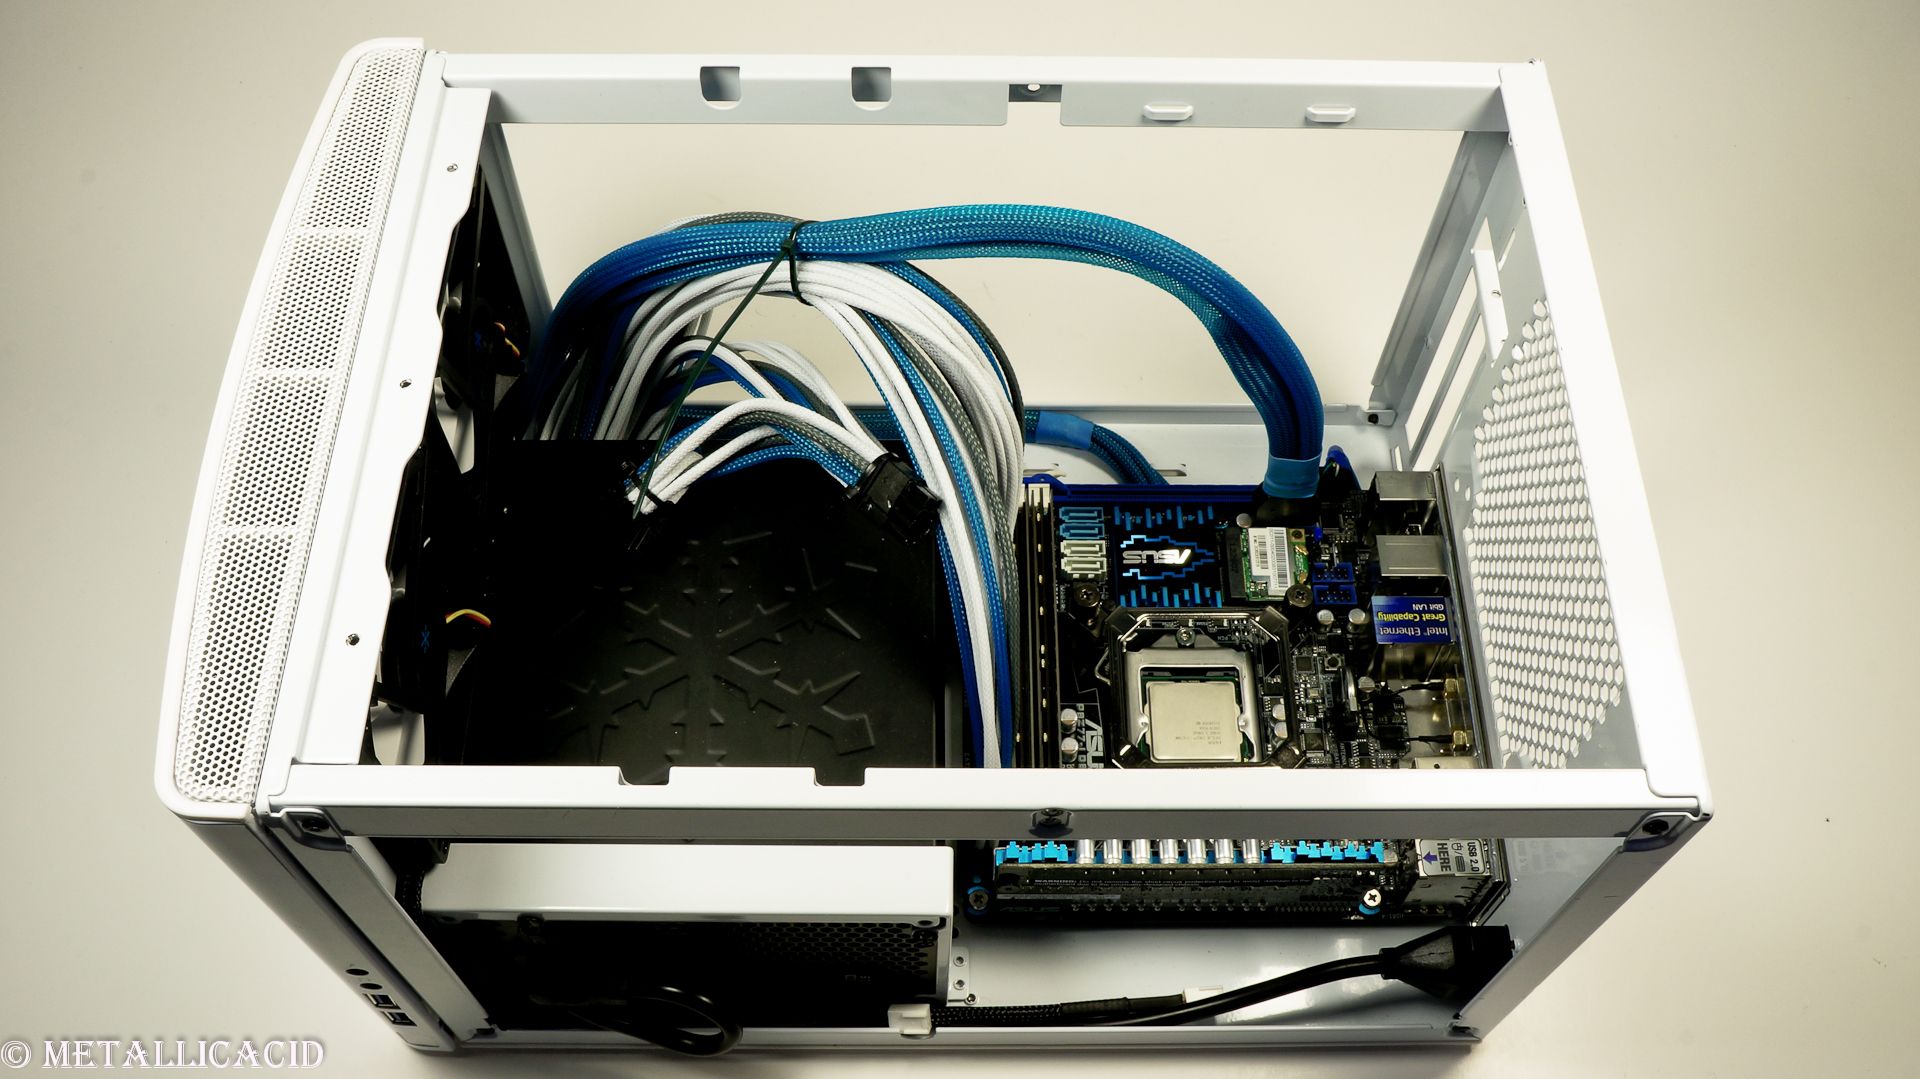
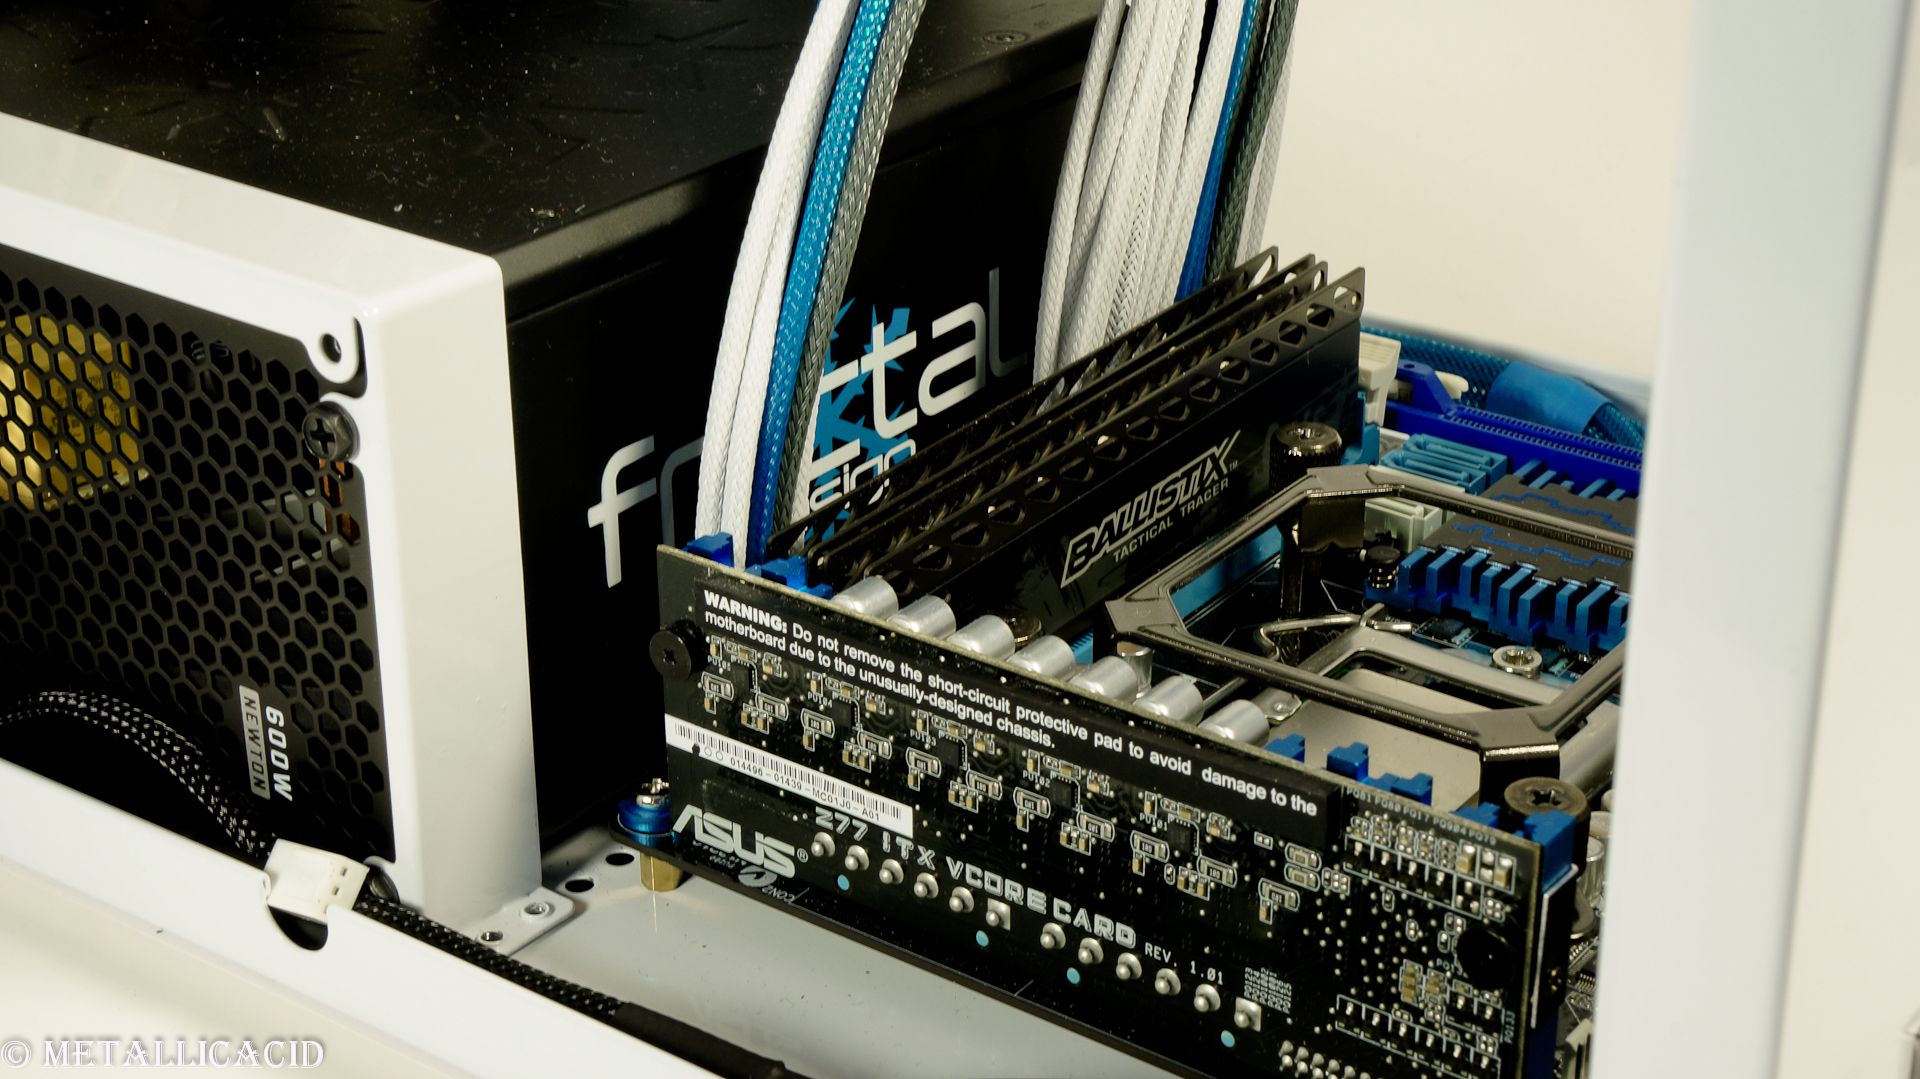
I would like to present to you guys part 2 of my PSU sleeving, the finished product! I just have to start this update with that I will NEVER EVER EVER EVER EVER sleeve a semi-modular PSU EVER again. One time is enough. I have done it once, but never again! With this said, it did turn out better than I had hoped for :).

A short recap of what I have done with this PSU:

  • Shortened all cables by at least 30cm.

  • Recrimped all wires.

  • Sorted and sleeved all wires.

So here come some pictures for you!

Things done since last update:

  • PSU photos have been taken and posted.

  • Bitfenix fans have been painted.

  • PSU shroud has received two coats of primer.

  • "Armour" has had a new coat of white and grey paint.

  • Bought an ASUS GTX770 DCII 2GB graphics card.

In process of doing:

  • Painting PSU shroud.

  • Putting Bitfenix fans together.

Things left to do:

  • Finish painting PSU shroud.

  • Install the PSU shroud.

  • Paint top of case grey, and side of case red with black stripes.

  • Buy orange plexiglass.

  • Create GPU plexiglass shroud.

  • Attaching the "armour" to the top of the Node 304.

  • Installation of all components.

  • Installation of LEDs.

  • Cable management.

  • Final photoshoot.

Well guys, that's it for this update. I am going to continue putting together my fans, and get back to you hopefully tomorrow with some glory shots. If time permits, I might even install the PSU and frontplate for the Node 304.

With best regards,
MetallicAcid

Permalänk
Medlem

A question. Can you tell me how did you sleeved the god damn USB 3.0?

Permalänk
Proffsmoddare
Skrivet av bl00keRs:

A question. Can you tell me how did you sleeved the god damn USB 3.0?

Haha! Goddamned indeed!

I desoldered the female USB headers from the PCB on the front panel of the case and sleeved over those connections. Once they were sleeved, I soldered them back into place again.

I hope this helps!!
MA

Permalänk
Proffsmoddare

Update 12
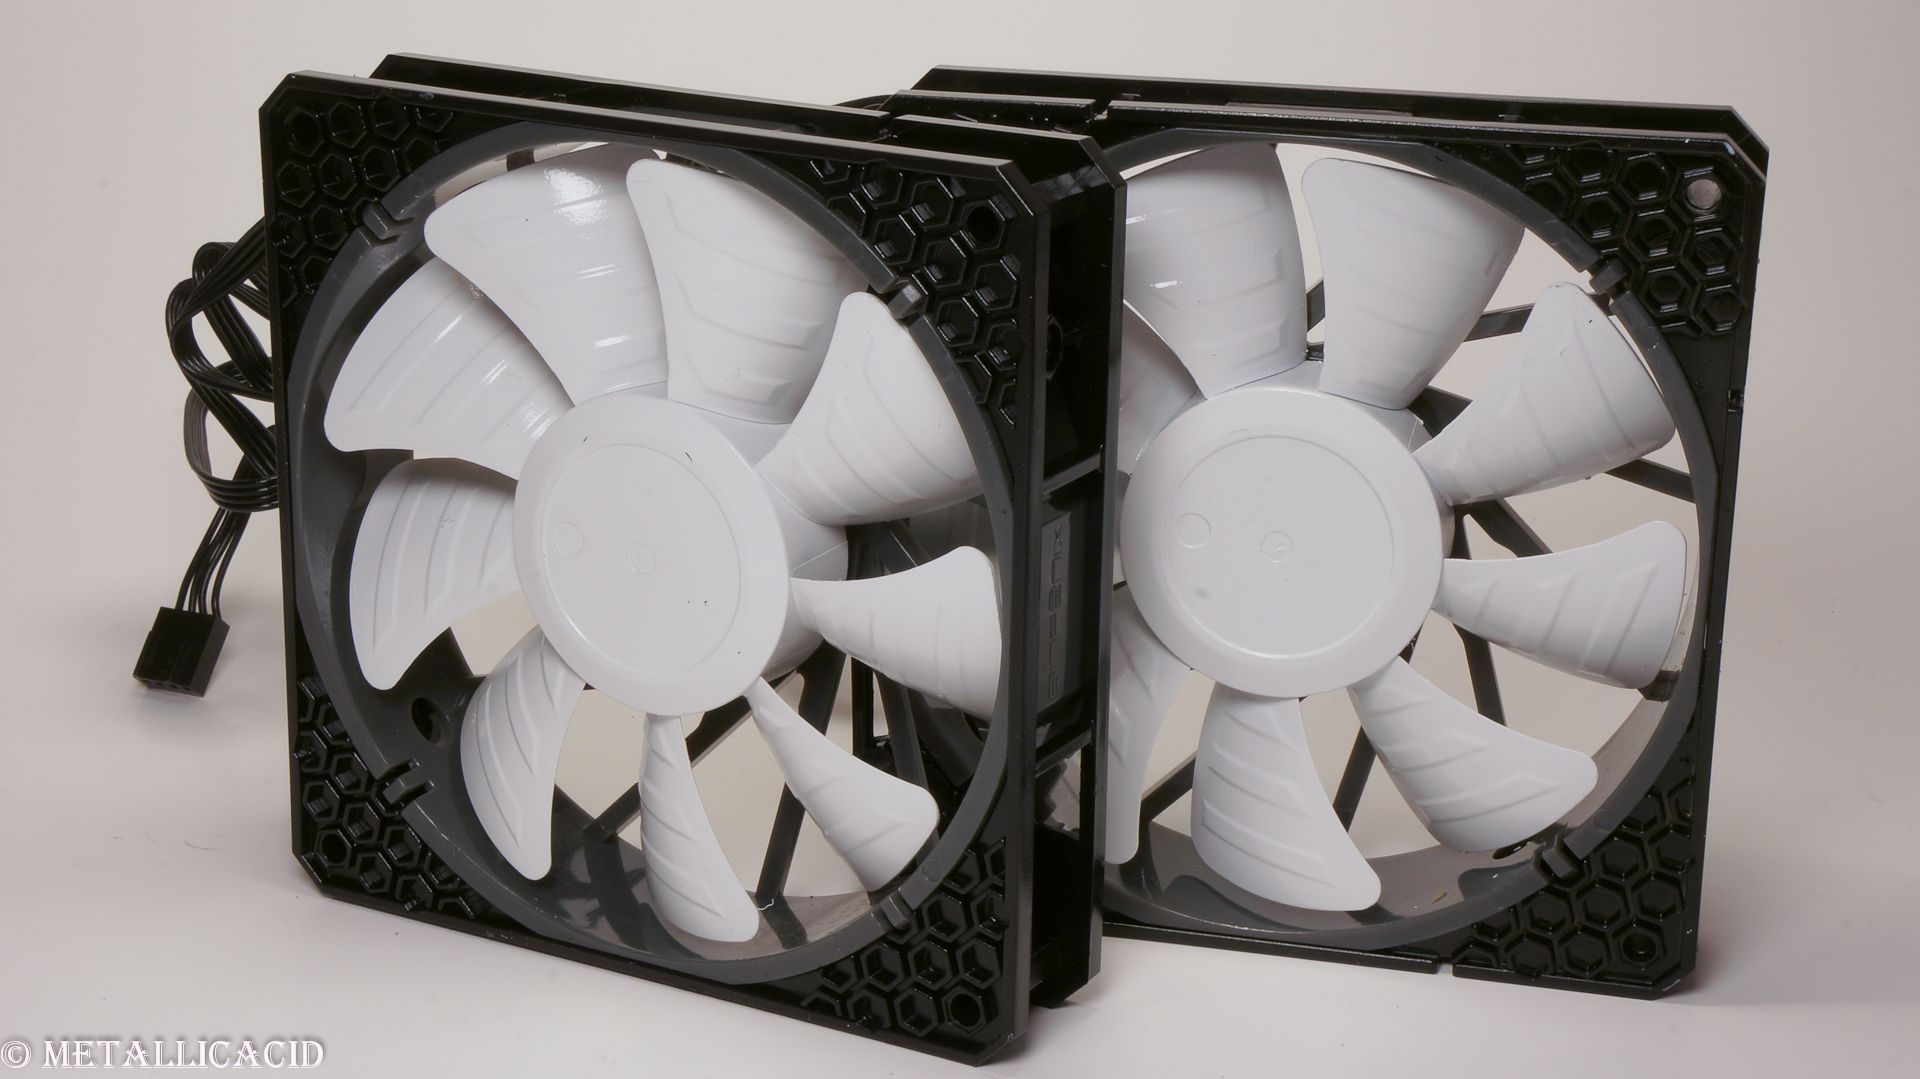
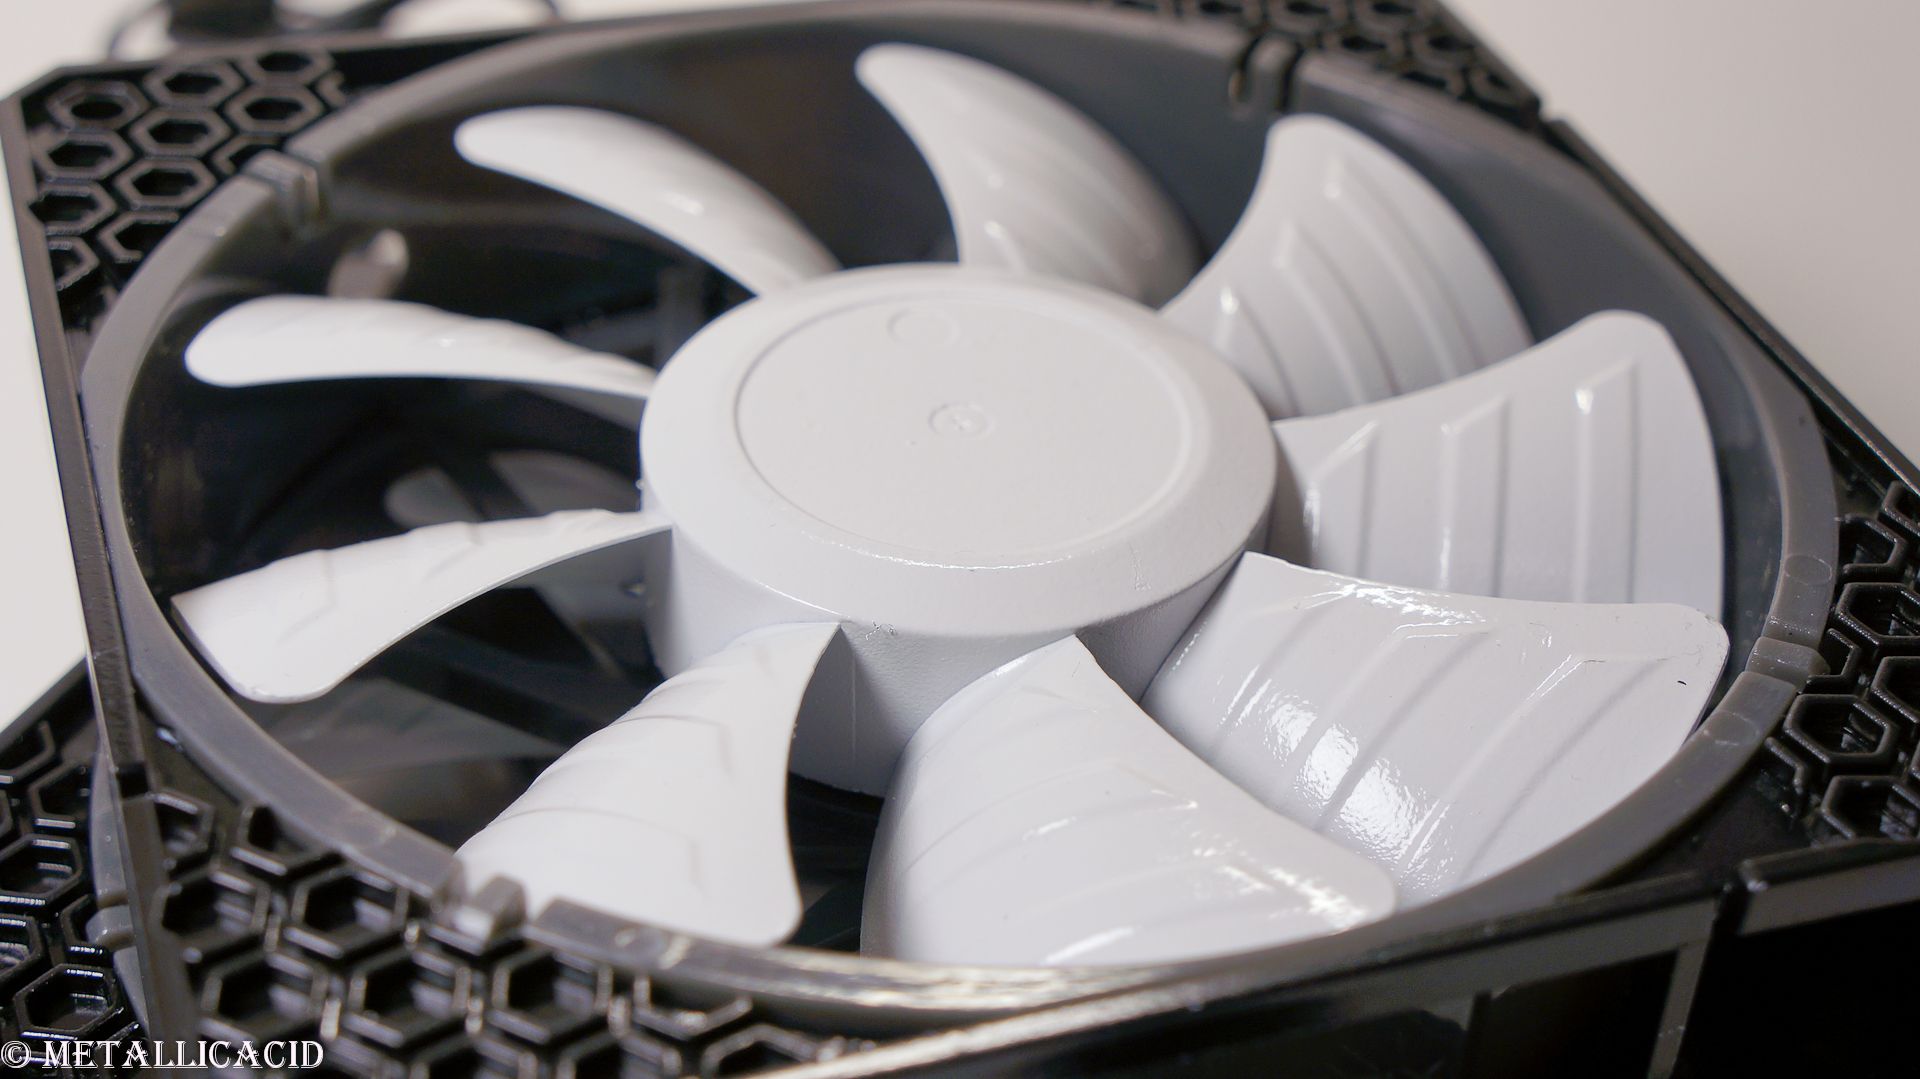
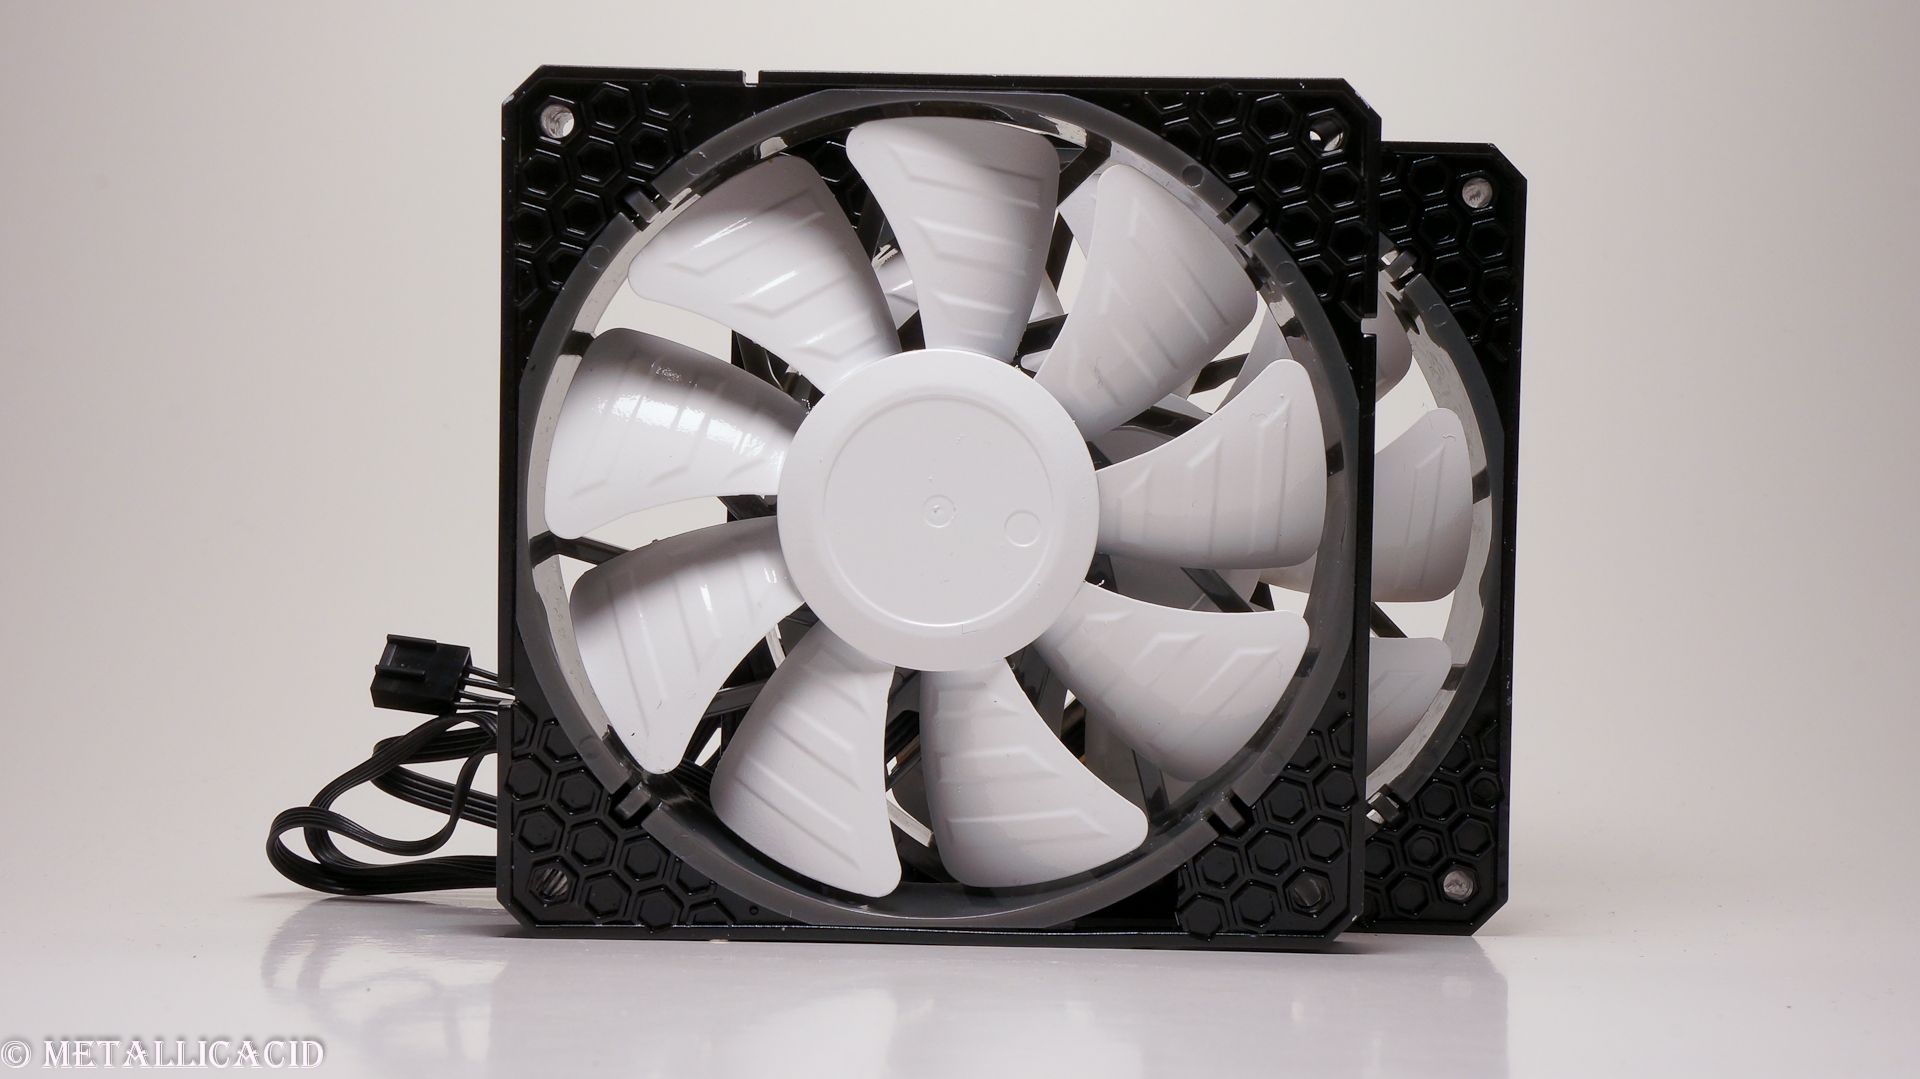
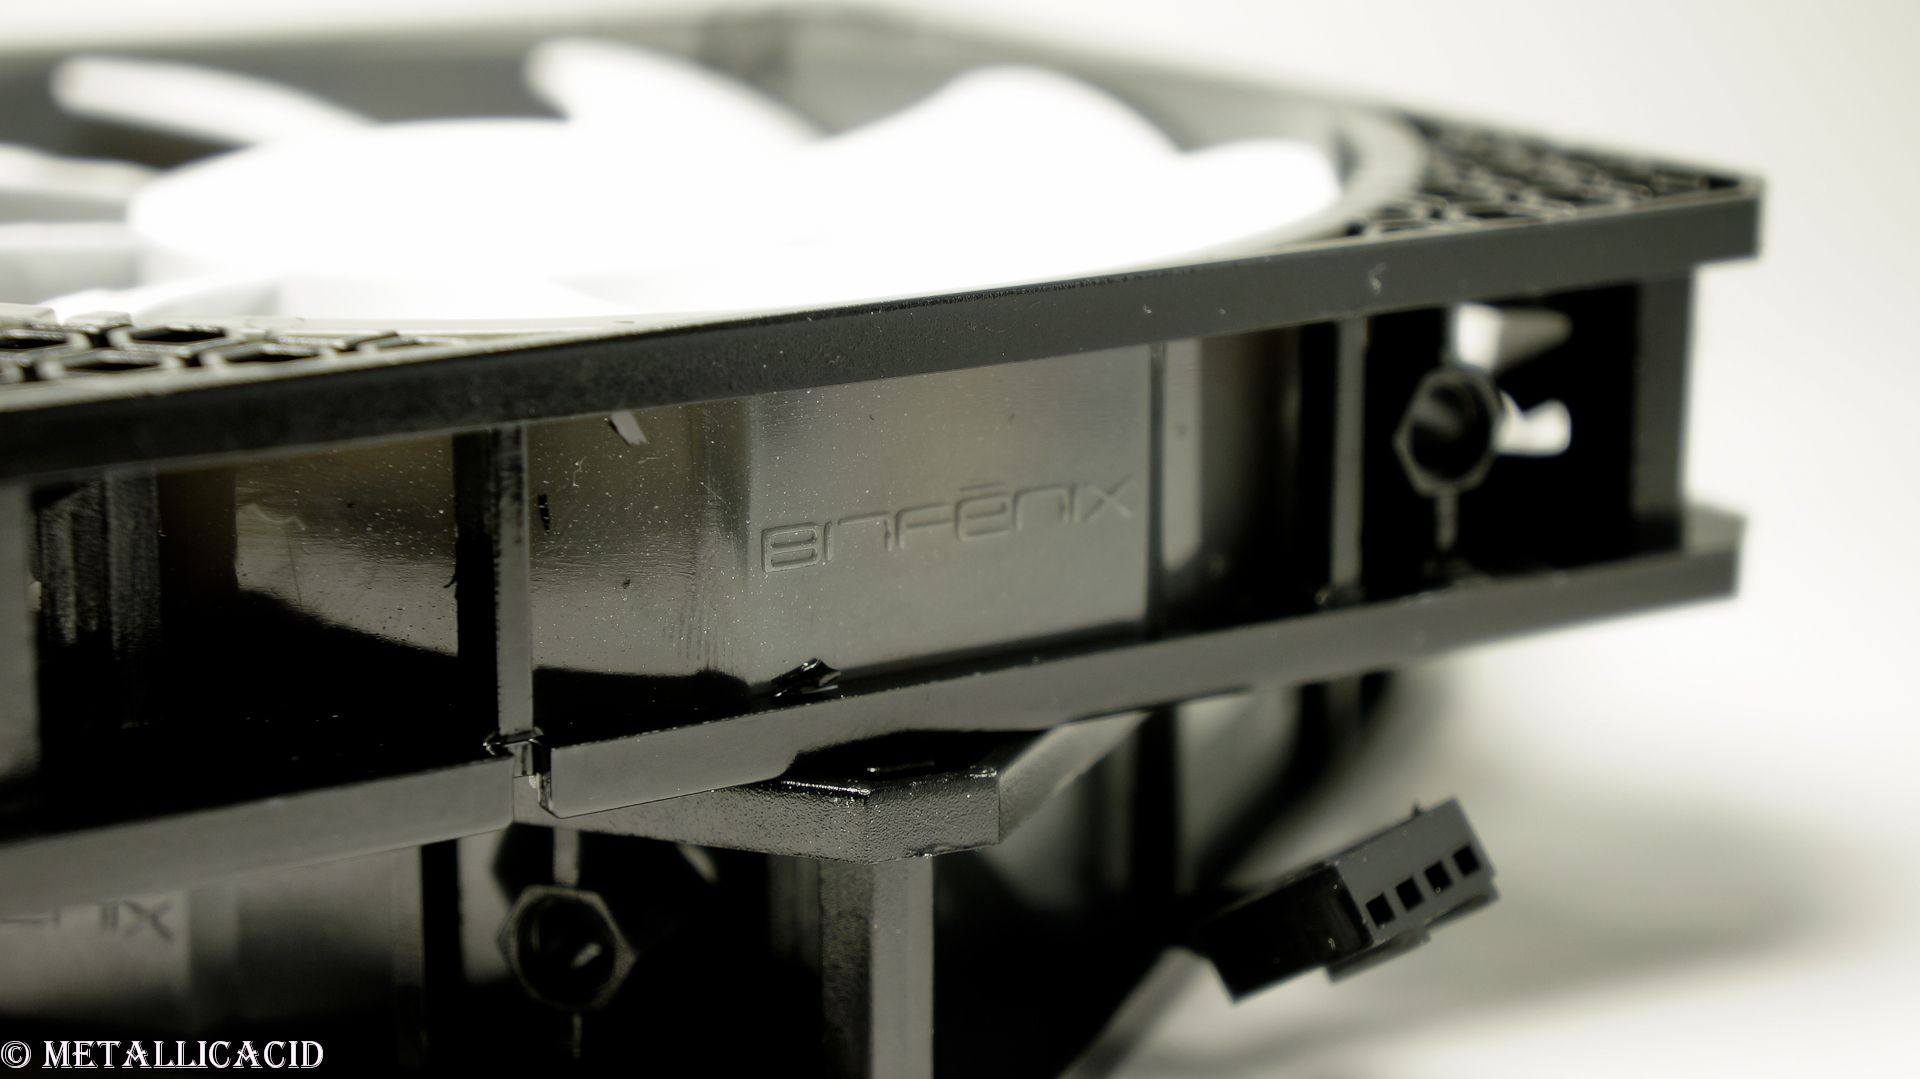
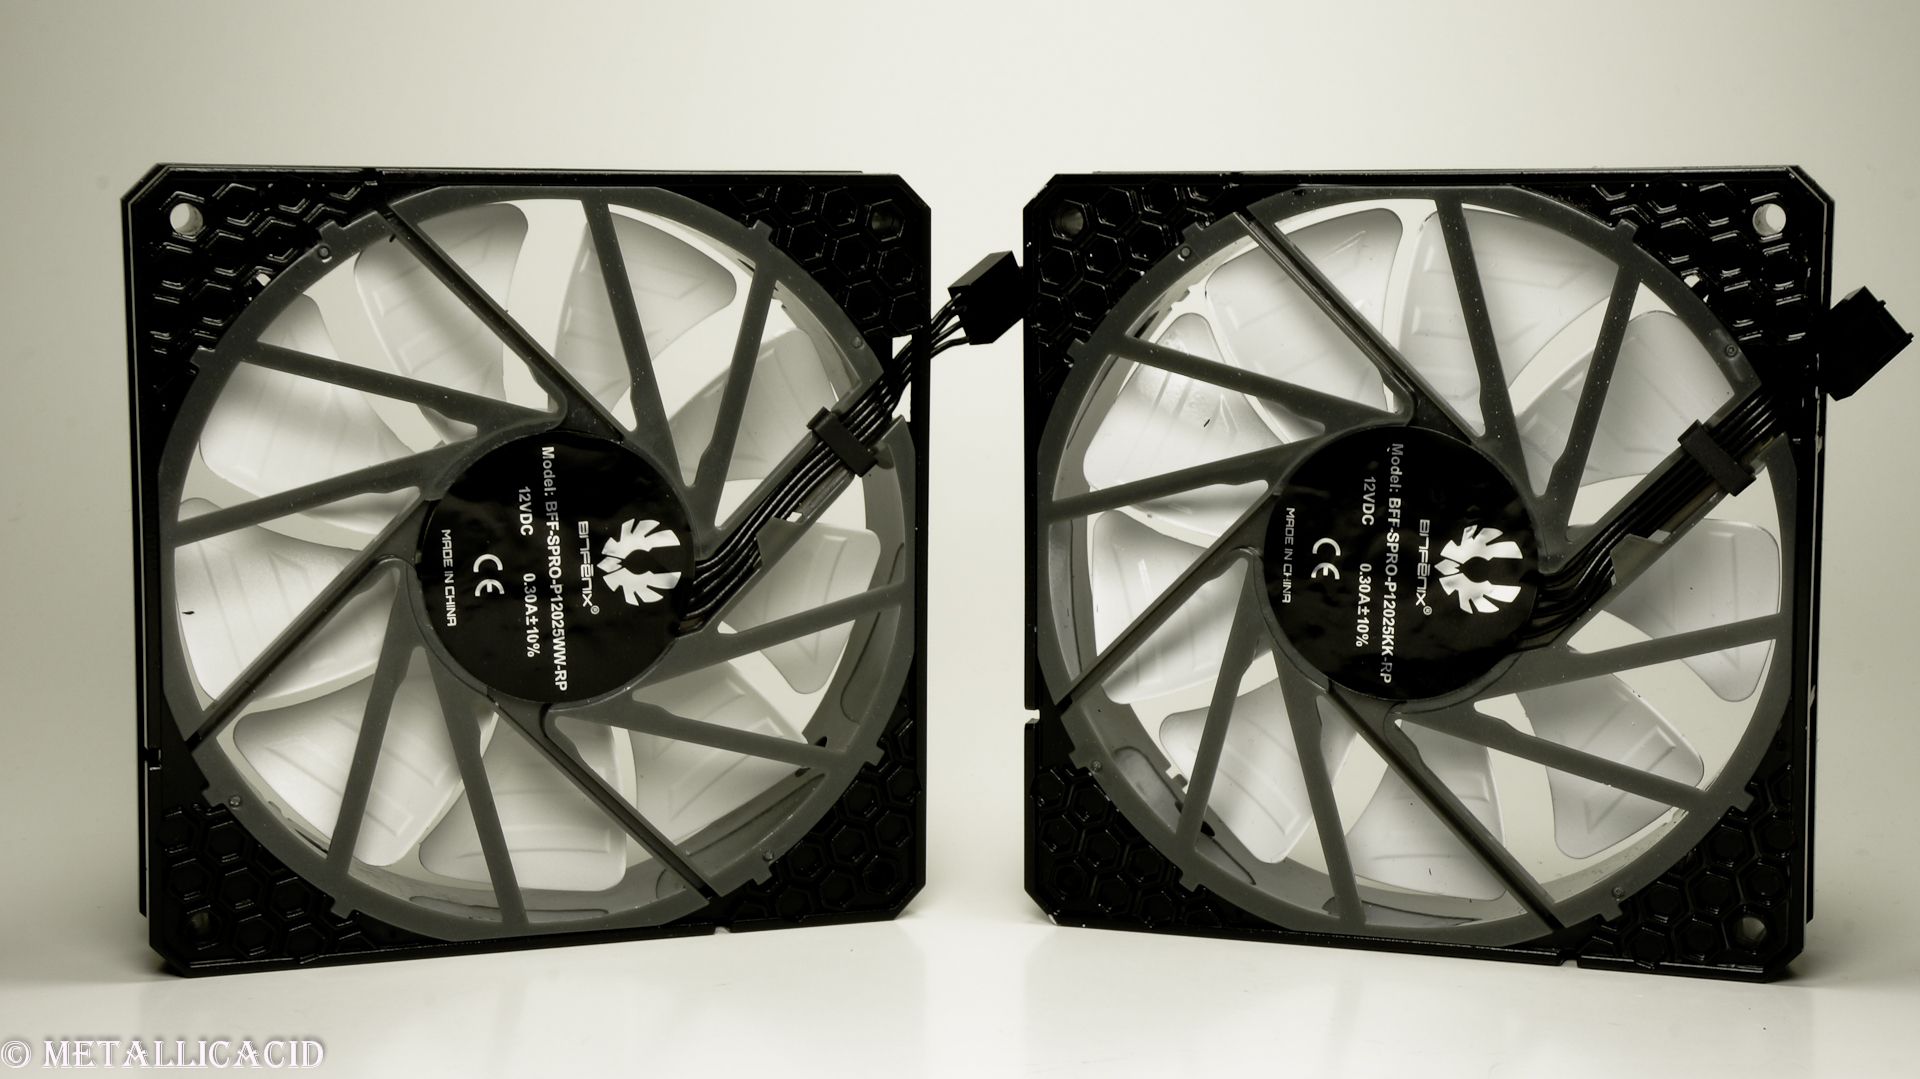
I would like to introduce to you my biggest fans!

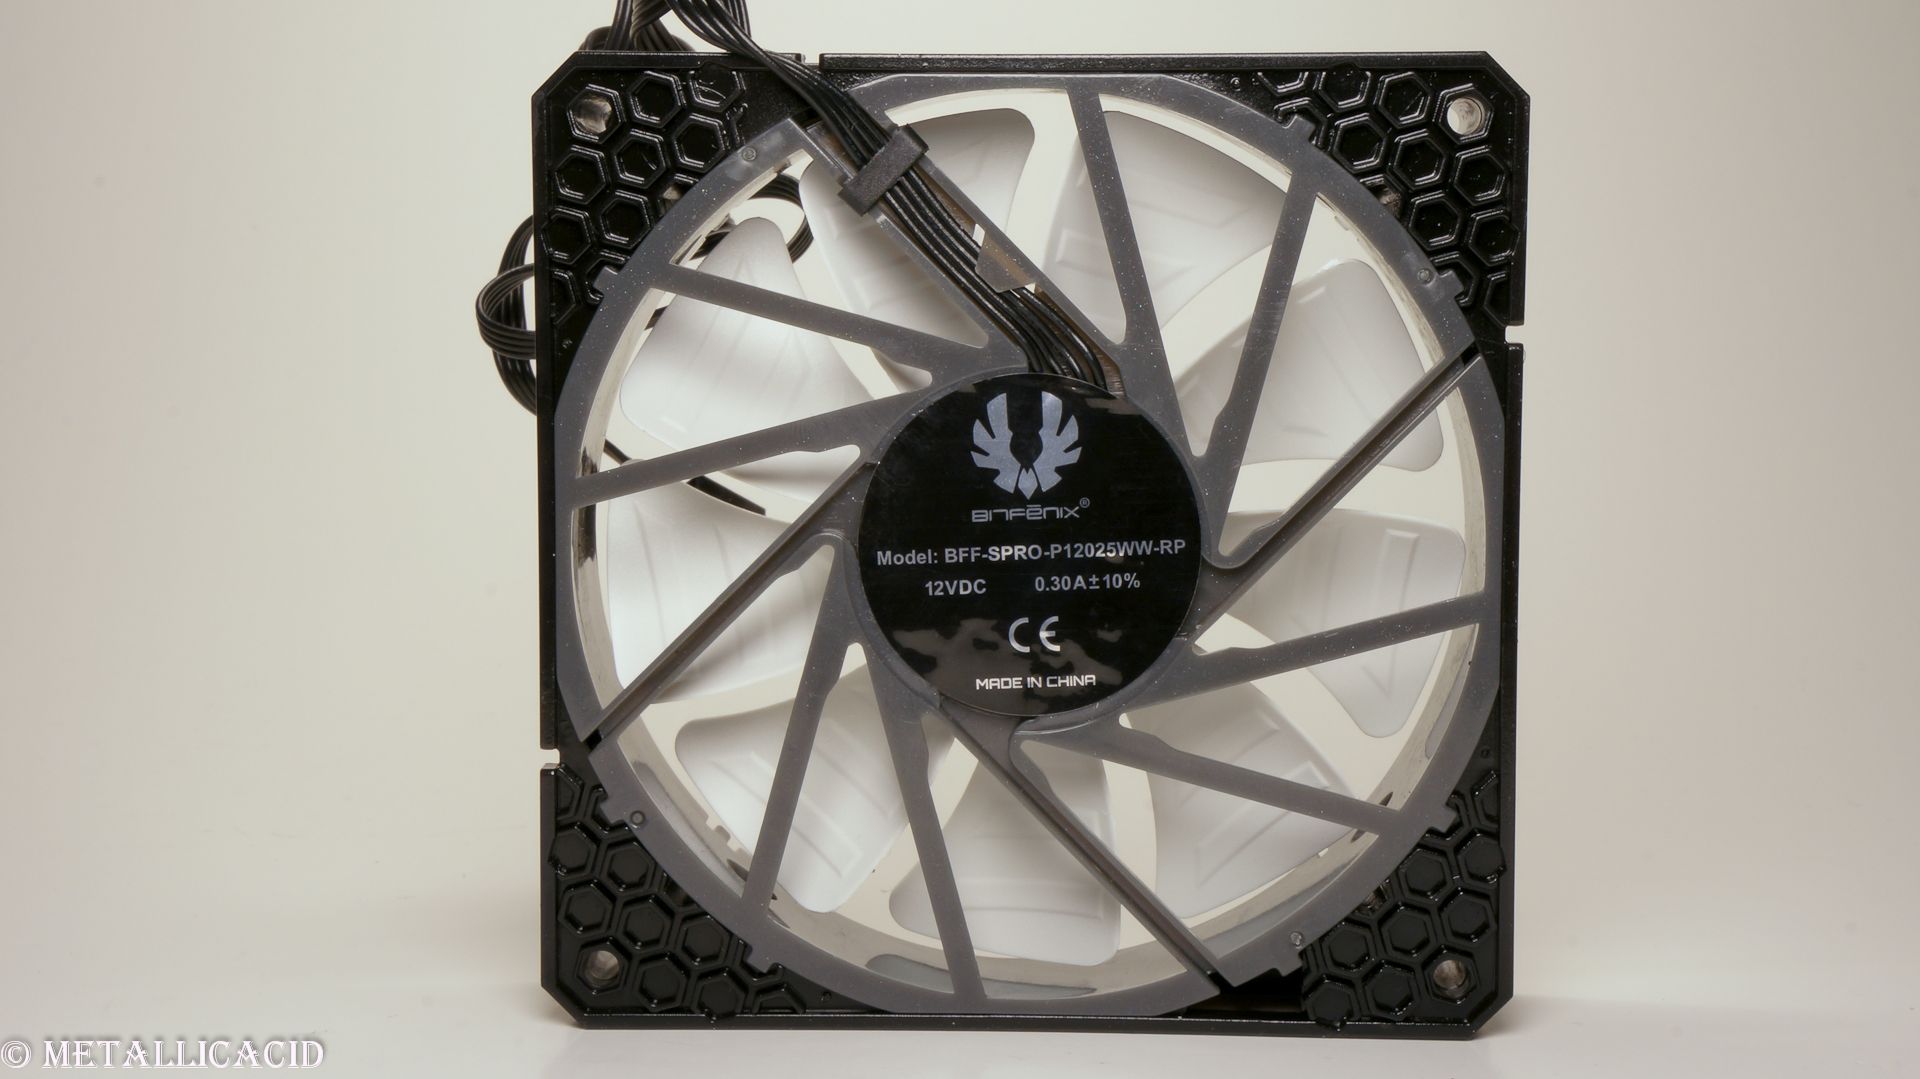
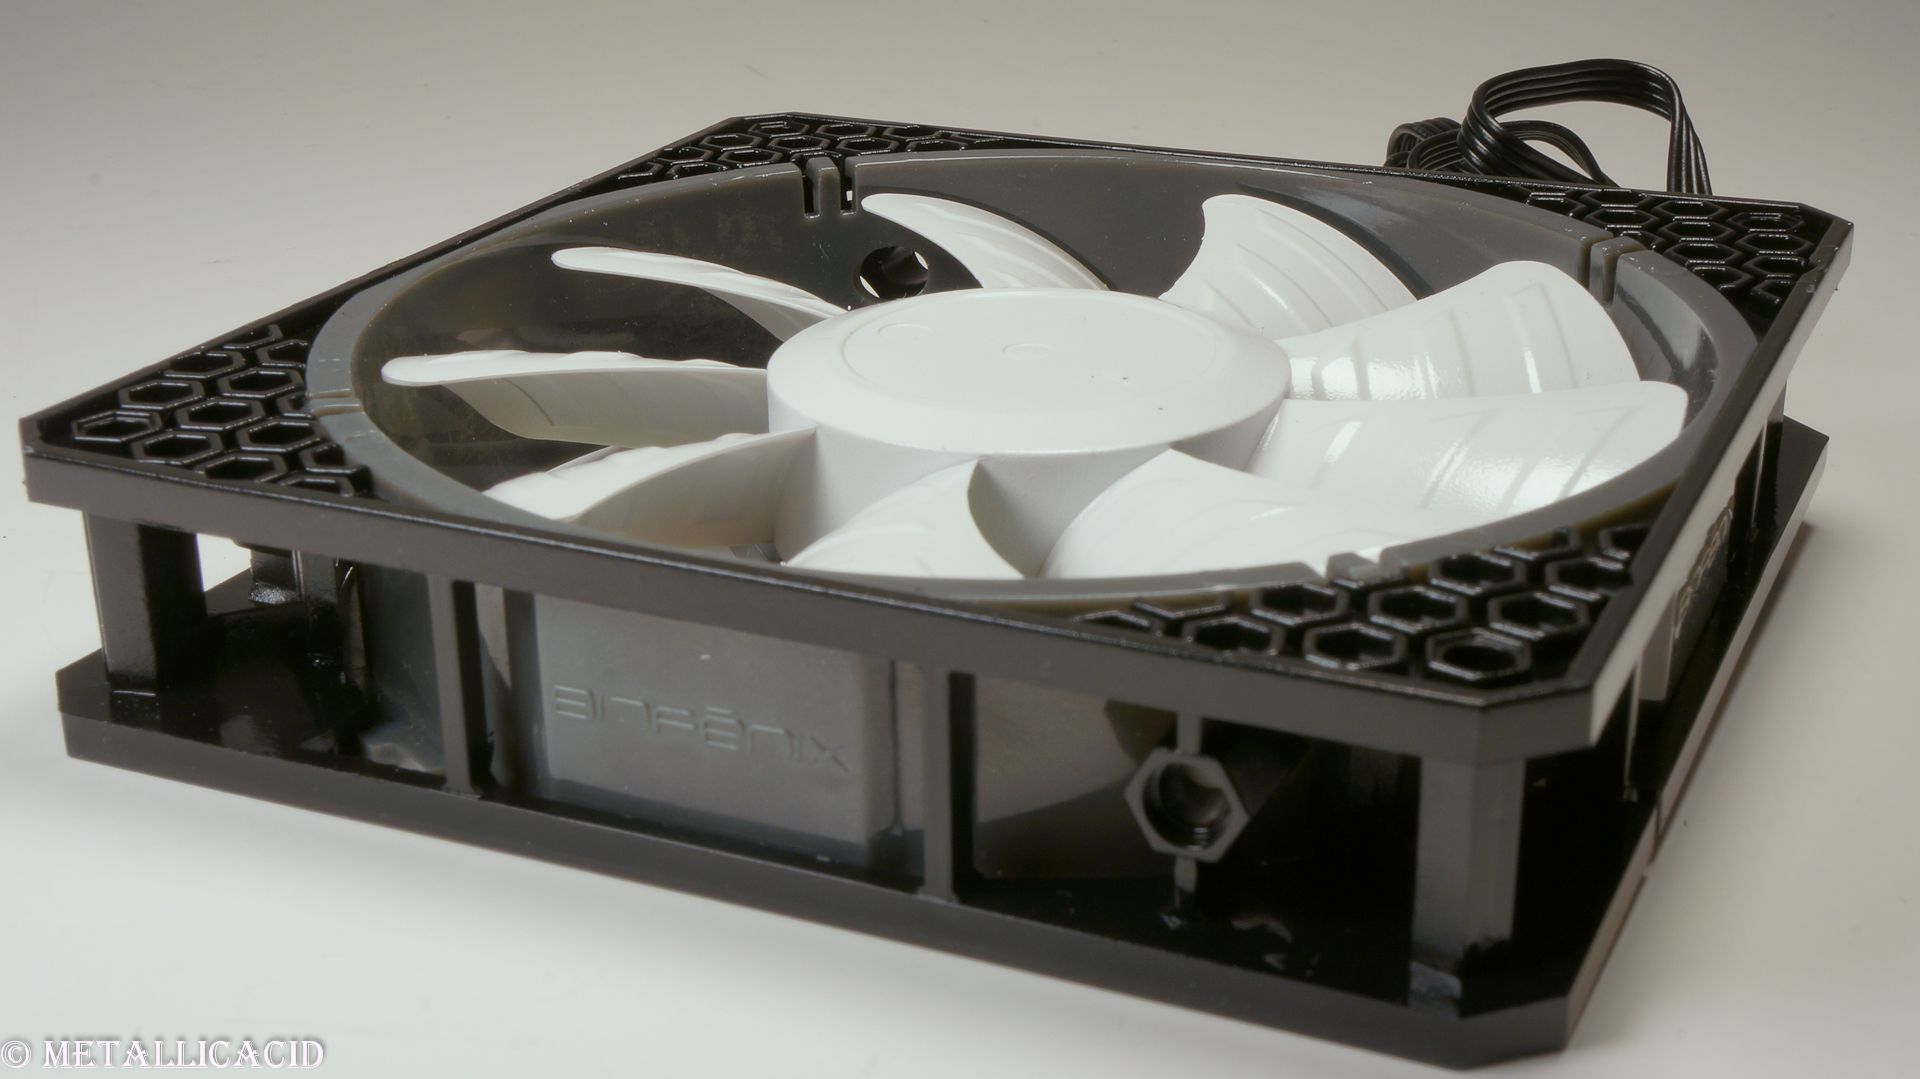
Hello once again everyone! I have a quick update for tonight. I would like to present my two painted Bitfenix fans which will be used as push/pull on the Corsair H80i. I thought that black white and grey would work really well with the overall colour scheme as the H80i is black, the grey is featured in the "armour" and white is the dominant colour in this build.

I hope you like these pictures

Things finished since last update:

  • Bitfenix fans have been put back together.

In process of doing:

  • Painting PSU shroud.

  • Installing PSU into case.

  • Installing H80i.

  • Installing front panel.

Things left to do:

  • Finish painting PSU shroud.

  • Install the PSU shroud.

  • Paint top of case grey, and side of case red with black stripes.

  • Buy orange plexiglass.

  • Create GPU plexiglass shroud.

  • Attach the "armour" to the top of the Node 304.

  • Installation of all components.

  • Installation of LEDs.

  • Cable management.

  • Final photoshoot.

That's it for now guys. Stay cool!
MetallicAcid

Permalänk
Medlem
Skrivet av MetallicAcid:

Haha! Goddamned indeed!

I desoldered the female USB headers from the PCB on the front panel of the case and sleeved over those connections. Once they were sleeved, I soldered them back into place again.

I hope this helps!!
MA

Thanks. I thought so but was no sure.

Permalänk
Proffsmoddare

Hey guys!!

Since the last update I have shortened the cables so that there is just 10mm then just the female fan connecter. They will be hooked up to a Corsair H80i, so I do not need the extra long cable Pics to follow when I have time to get them from the memory card

In other news, I have started putting everything together inside the case. I have to say that my own expectations of how it look have been blown out of the water… This is one very unique Node 304 indeed! I am currently working on some custom cables to deliver electricity to the LEDs which will be located under the PSU shroud. I will also create a fan extension cable to power the front two fans from the motherboard, which serve as intake to the Node. I do not wish to use the the stock two-speed fan controller which comes with the Node as I think it is ugly.

Best regards,
MetallicAcid

Permalänk
Proffsmoddare

Update 13
Size (length) matters!

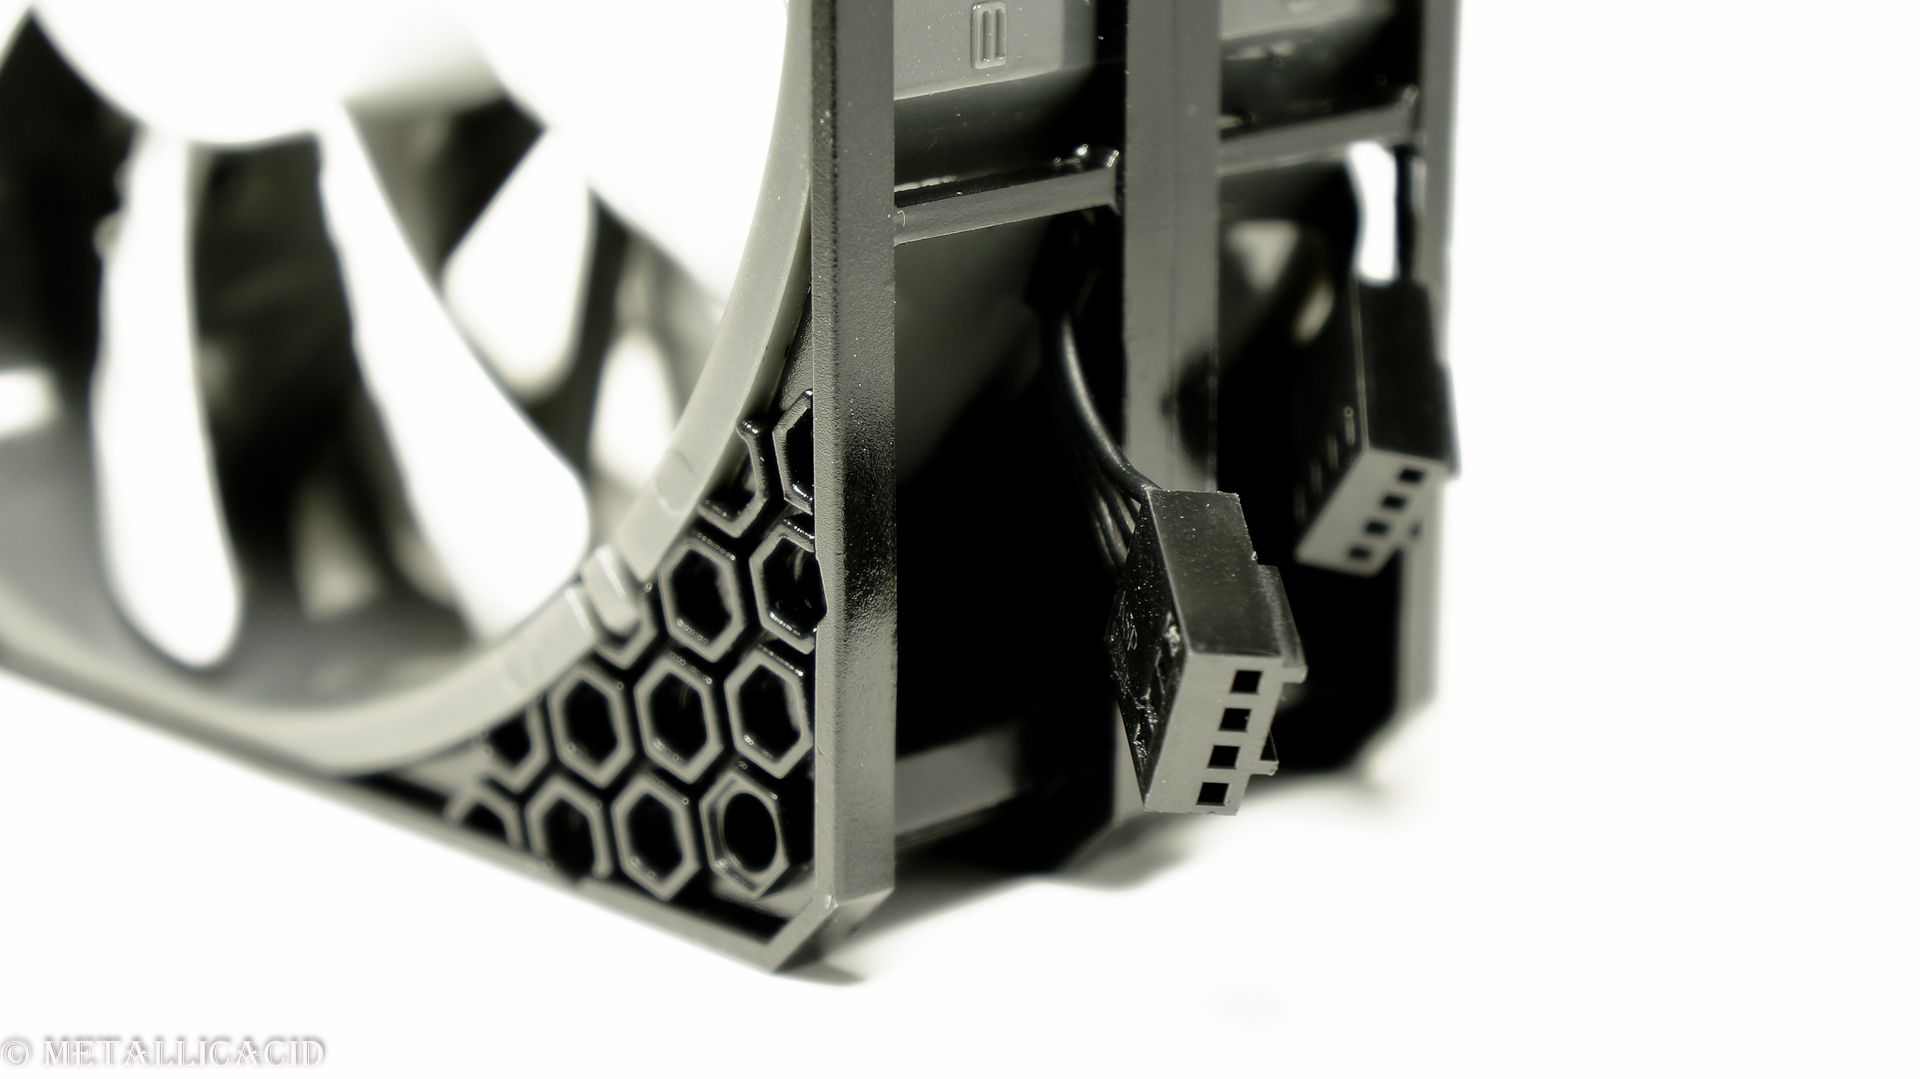
Hello once again, and welcome to a small update involving the two Bitfenix fans that I have been modifying. In this update, I have shortened the cables by all of their length, and make it so that just the connectors are showing. The reason I have done so is because they will be connected up the Corsair H80i, an do not need any extra length, making any clutter in my project.

Here are a couple of photos to show the finished fan:

Things finished since last update:
Shortened fan cables.
Painted PSU shroud.
Installed front panel.

In process of doing:
Installing H80i.
Installing PSU shroud.
Installing components.
Creating fan extension cable.
Installing LEDs.
Cable management.

Things left to do:
Paint top of case grey, and side of case red with black stripes.
Buy orange plexiglass.
Create GPU plexiglass shroud.
Attach the "armour" to the top of the Node 304.
Installation of LEDs.
Cable management.
Final photoshoot.

That's it for now, take care
MetallicAcid

Permalänk
Proffsmoddare

Update 14
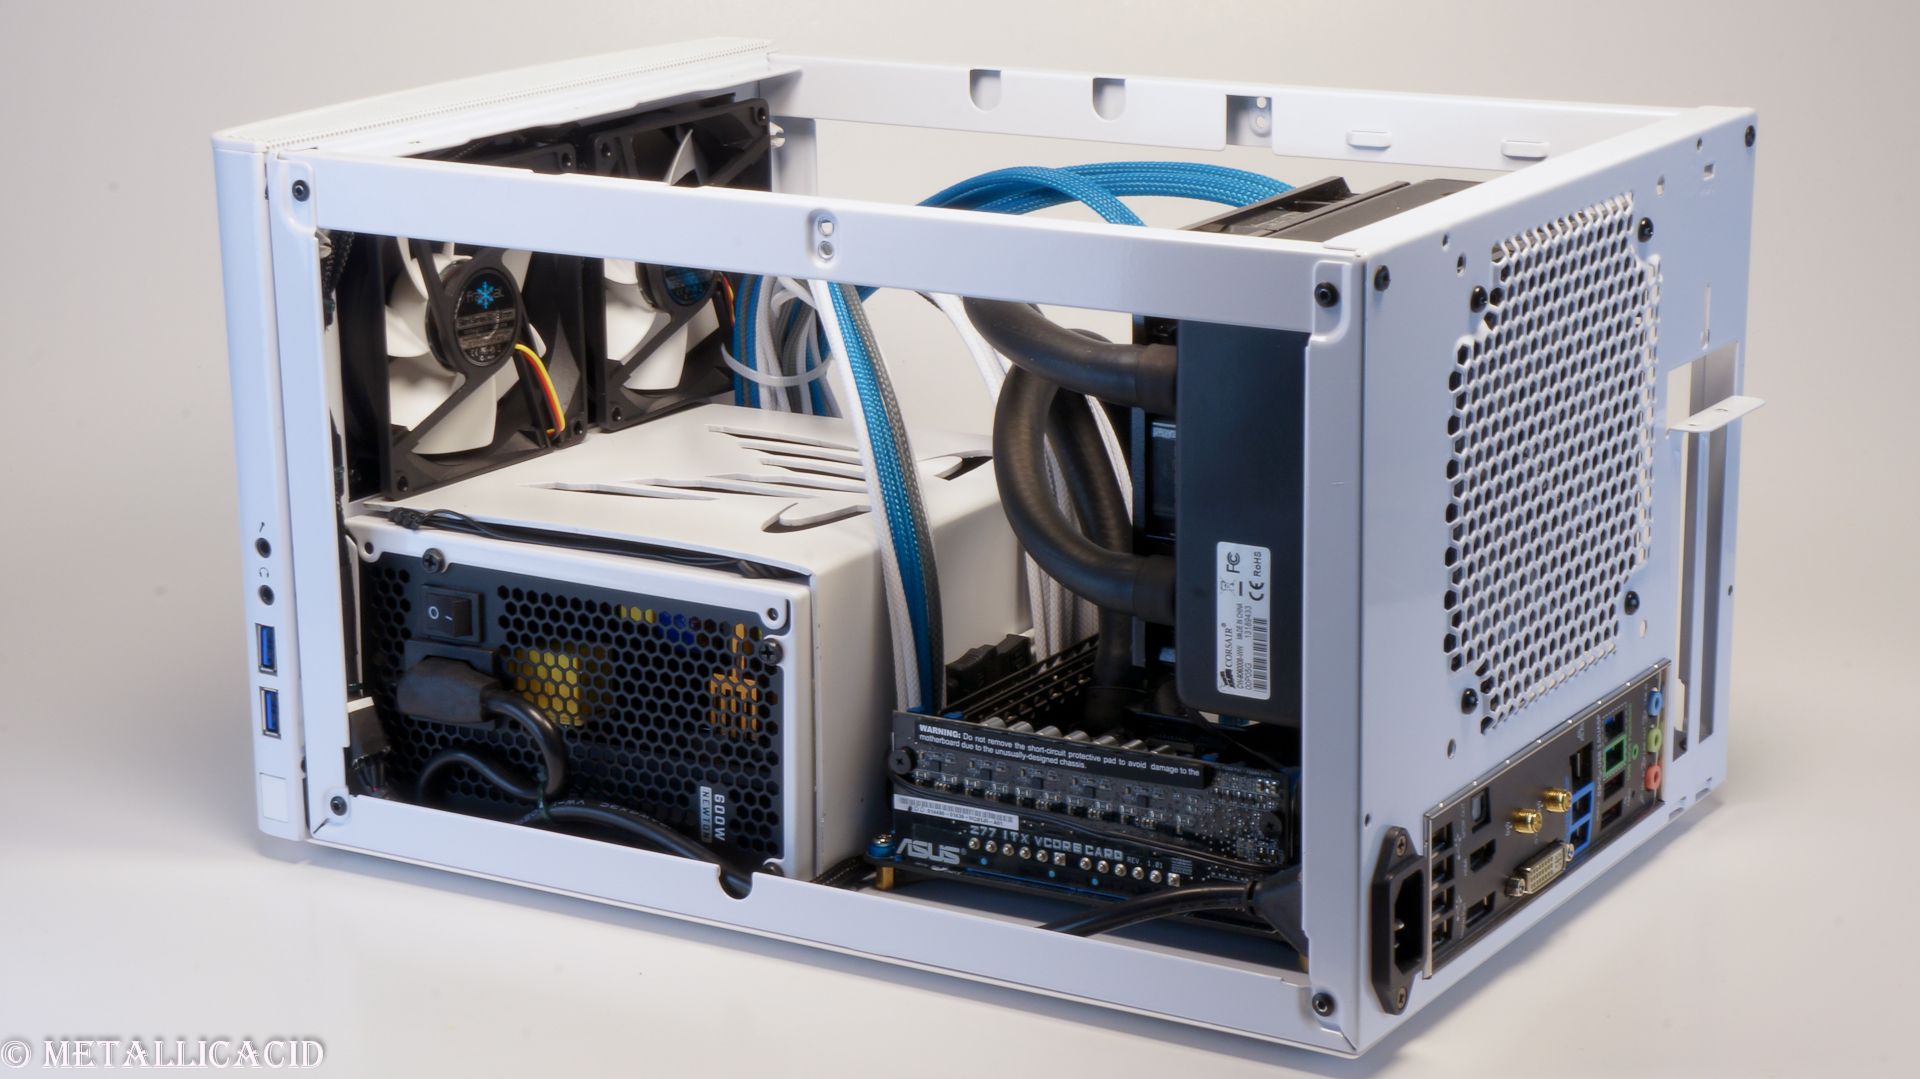
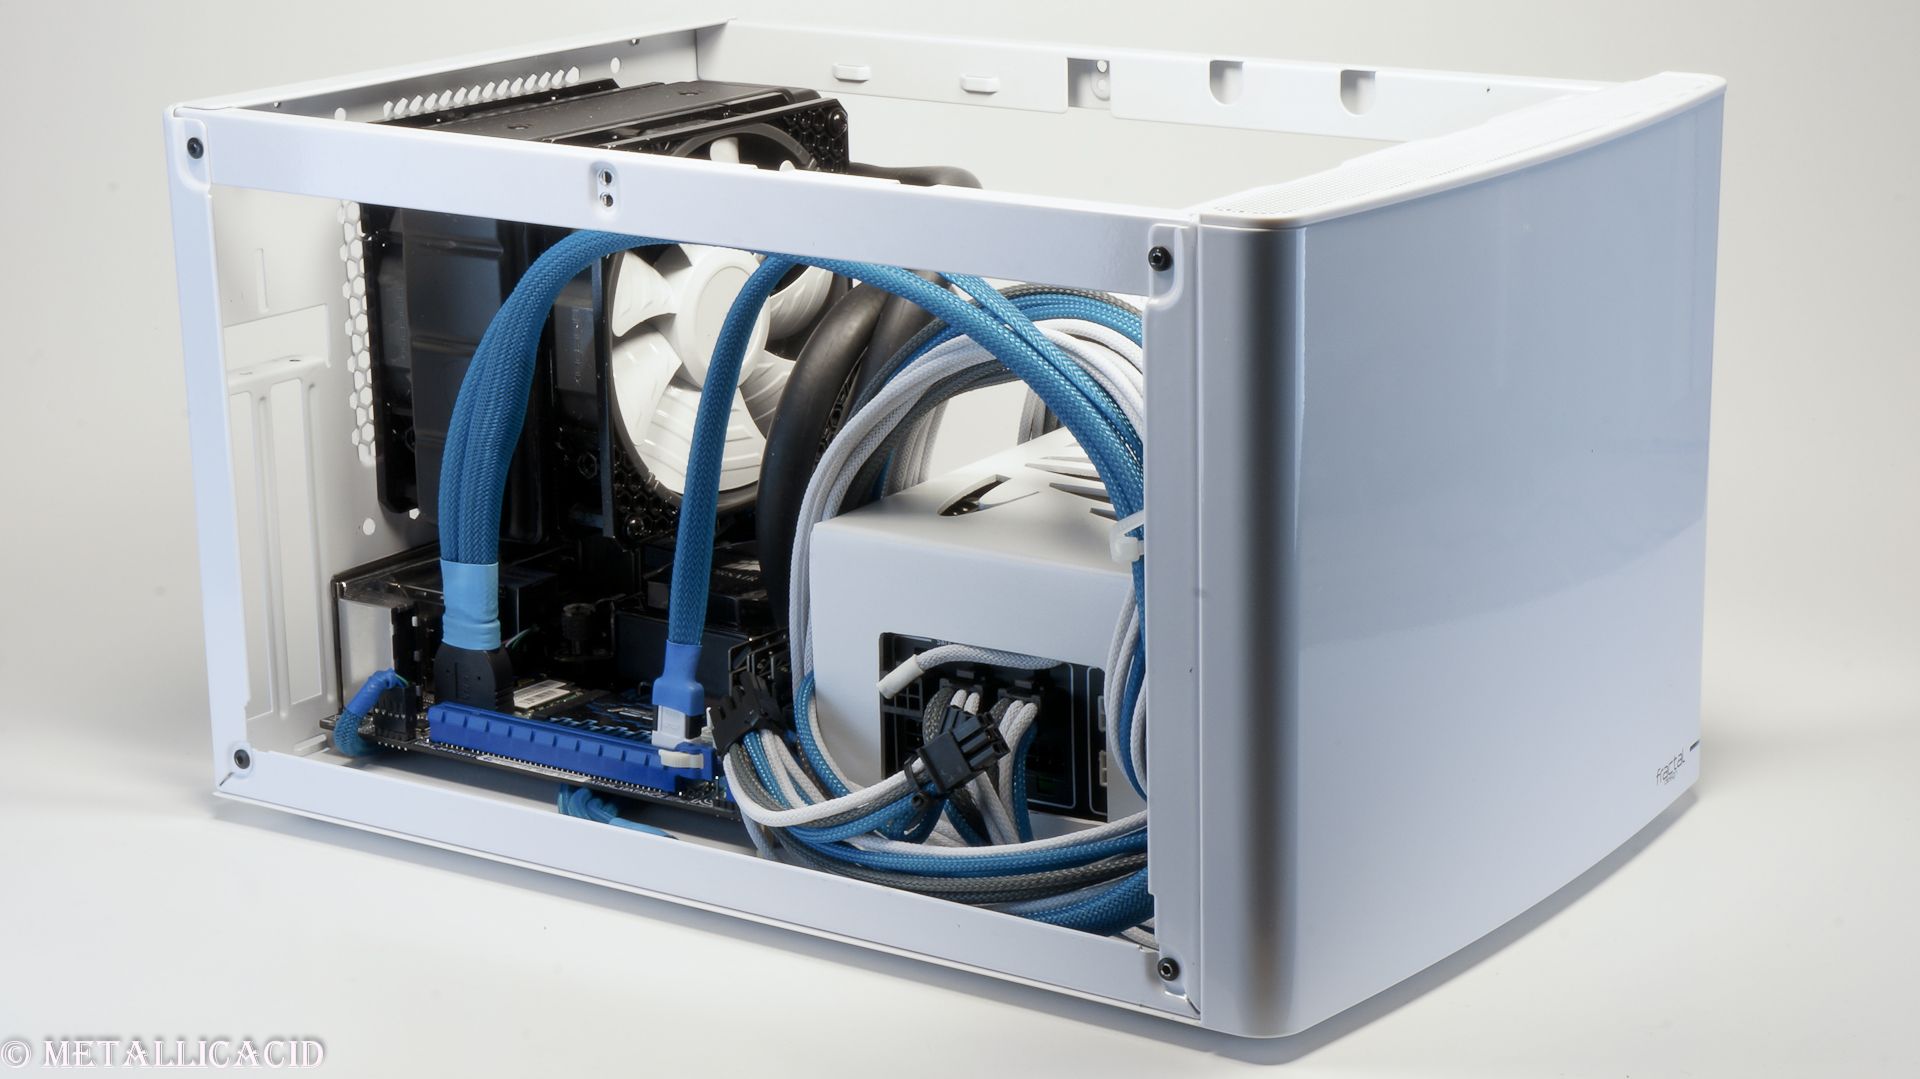
The building begins!

G'day guys and girls

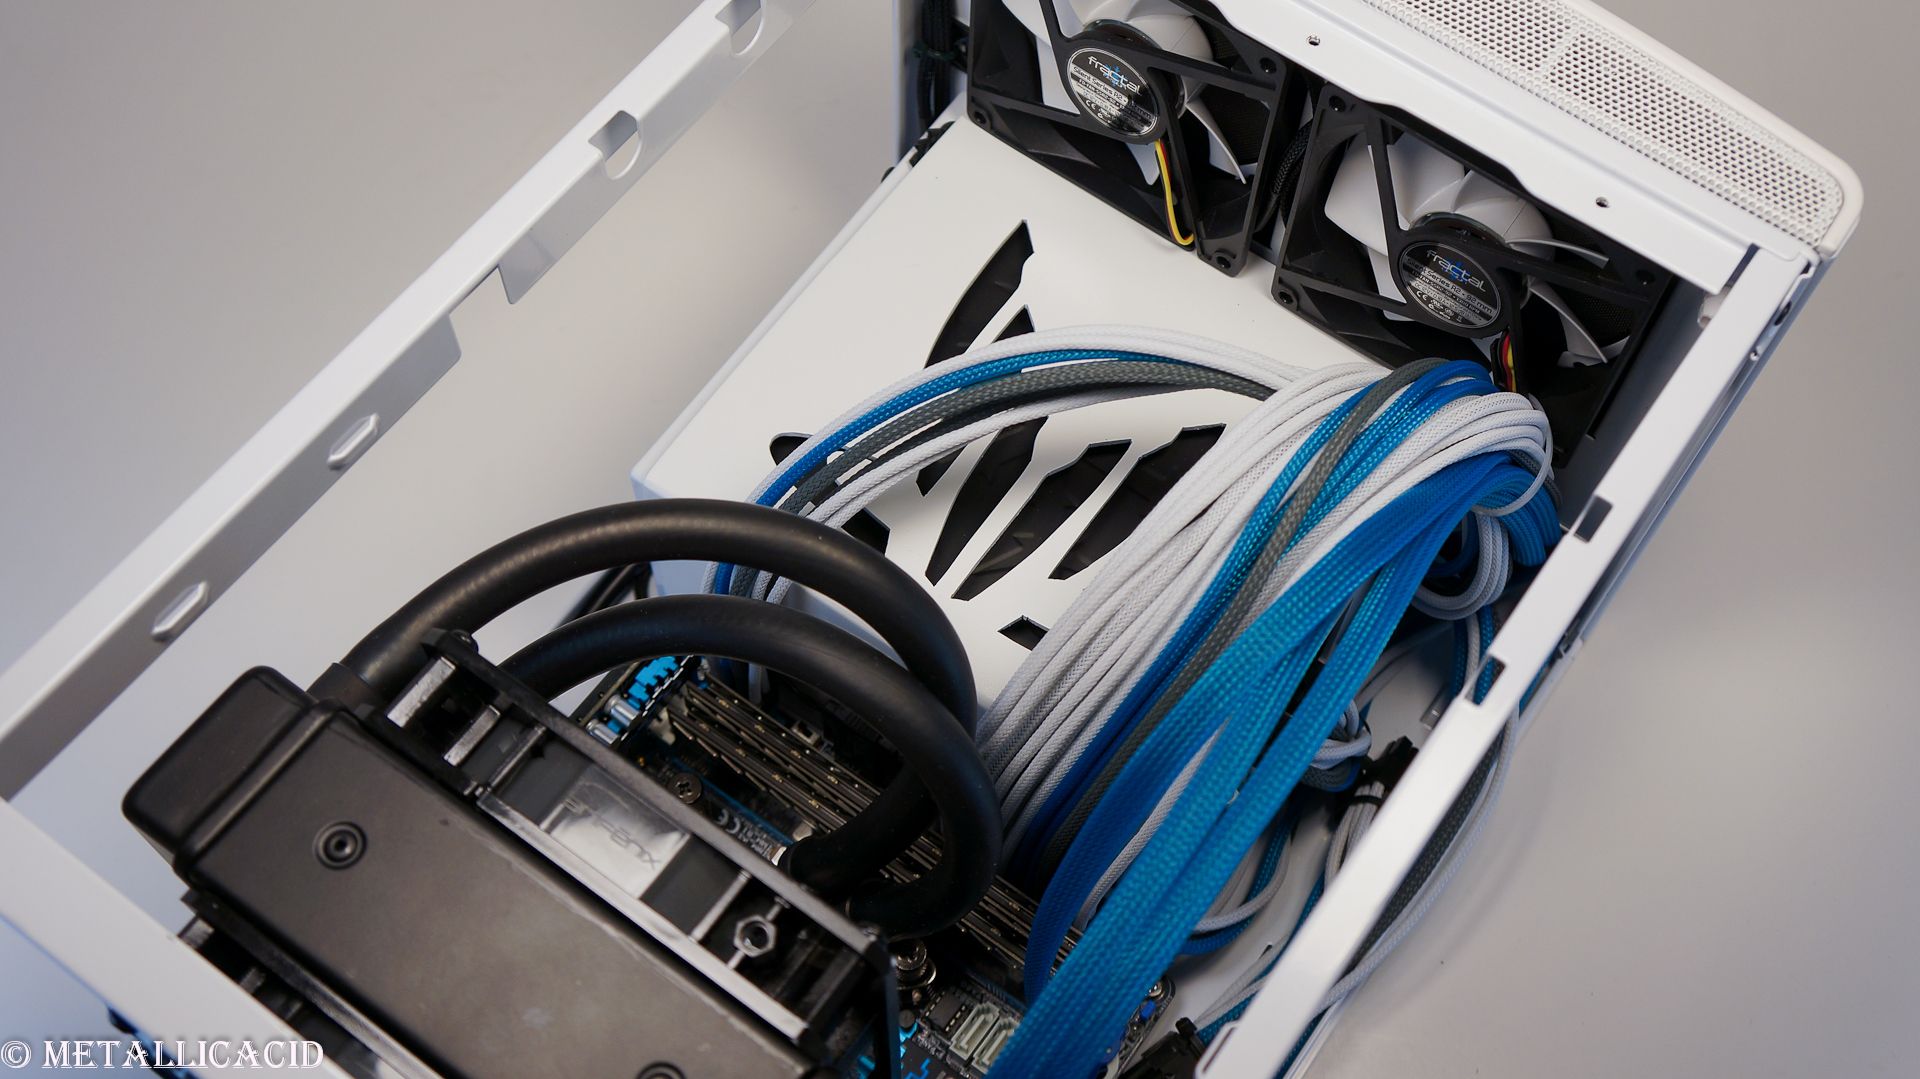
I have started installing some of the components, and wanted to show to you how everything should look, including cable routing. I am working on a couple of custom cables which will be for the two front fans, the LED lighting, and SSD.

So, in usual order, here comes some eye candy!

Things finished since last update:
Installed components.

In process of doing:
Installing H80i.
Installing PSU shroud.
Creating fan extension cable.
Installing LEDs.
Cable management.

Things left to do:
Paint top of case grey, and side of case red with black stripes.
Buy orange plexiglass.
Create GPU plexiglass shroud.
Attach the "armour" to the top of the Node 304.
Installation of LEDs.
Cable management.
Final photoshoot.

Thanks again for reading everyone! Please let me know what you think of the build so far, and don't forget to leave any criticism on how I can make this build even better!
MetallicAcid

Permalänk
Proffsmoddare

Update 15
Cool thrills, and Speed kills! (H80i and SSD installed)

Hello hello!!! Once again, I thank you all for an overwhelming response to my last update, and to the build log overall!

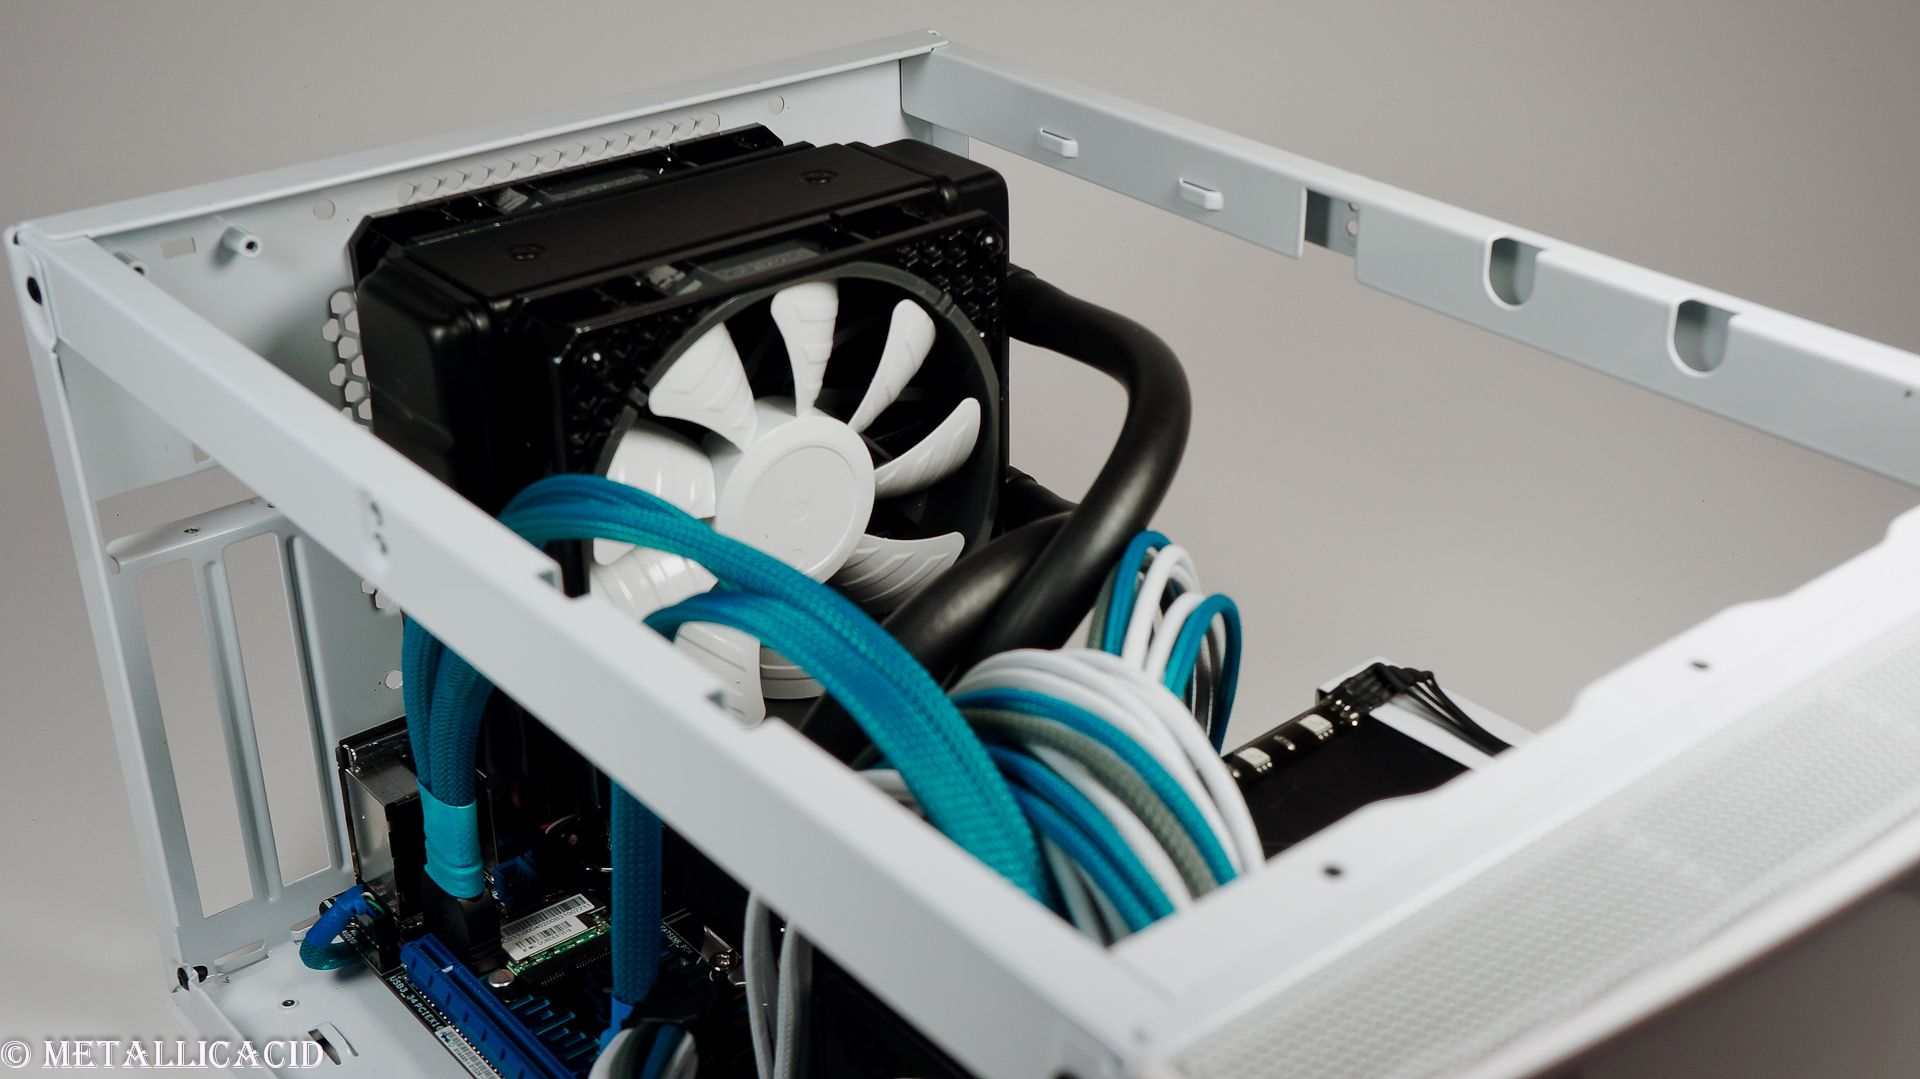
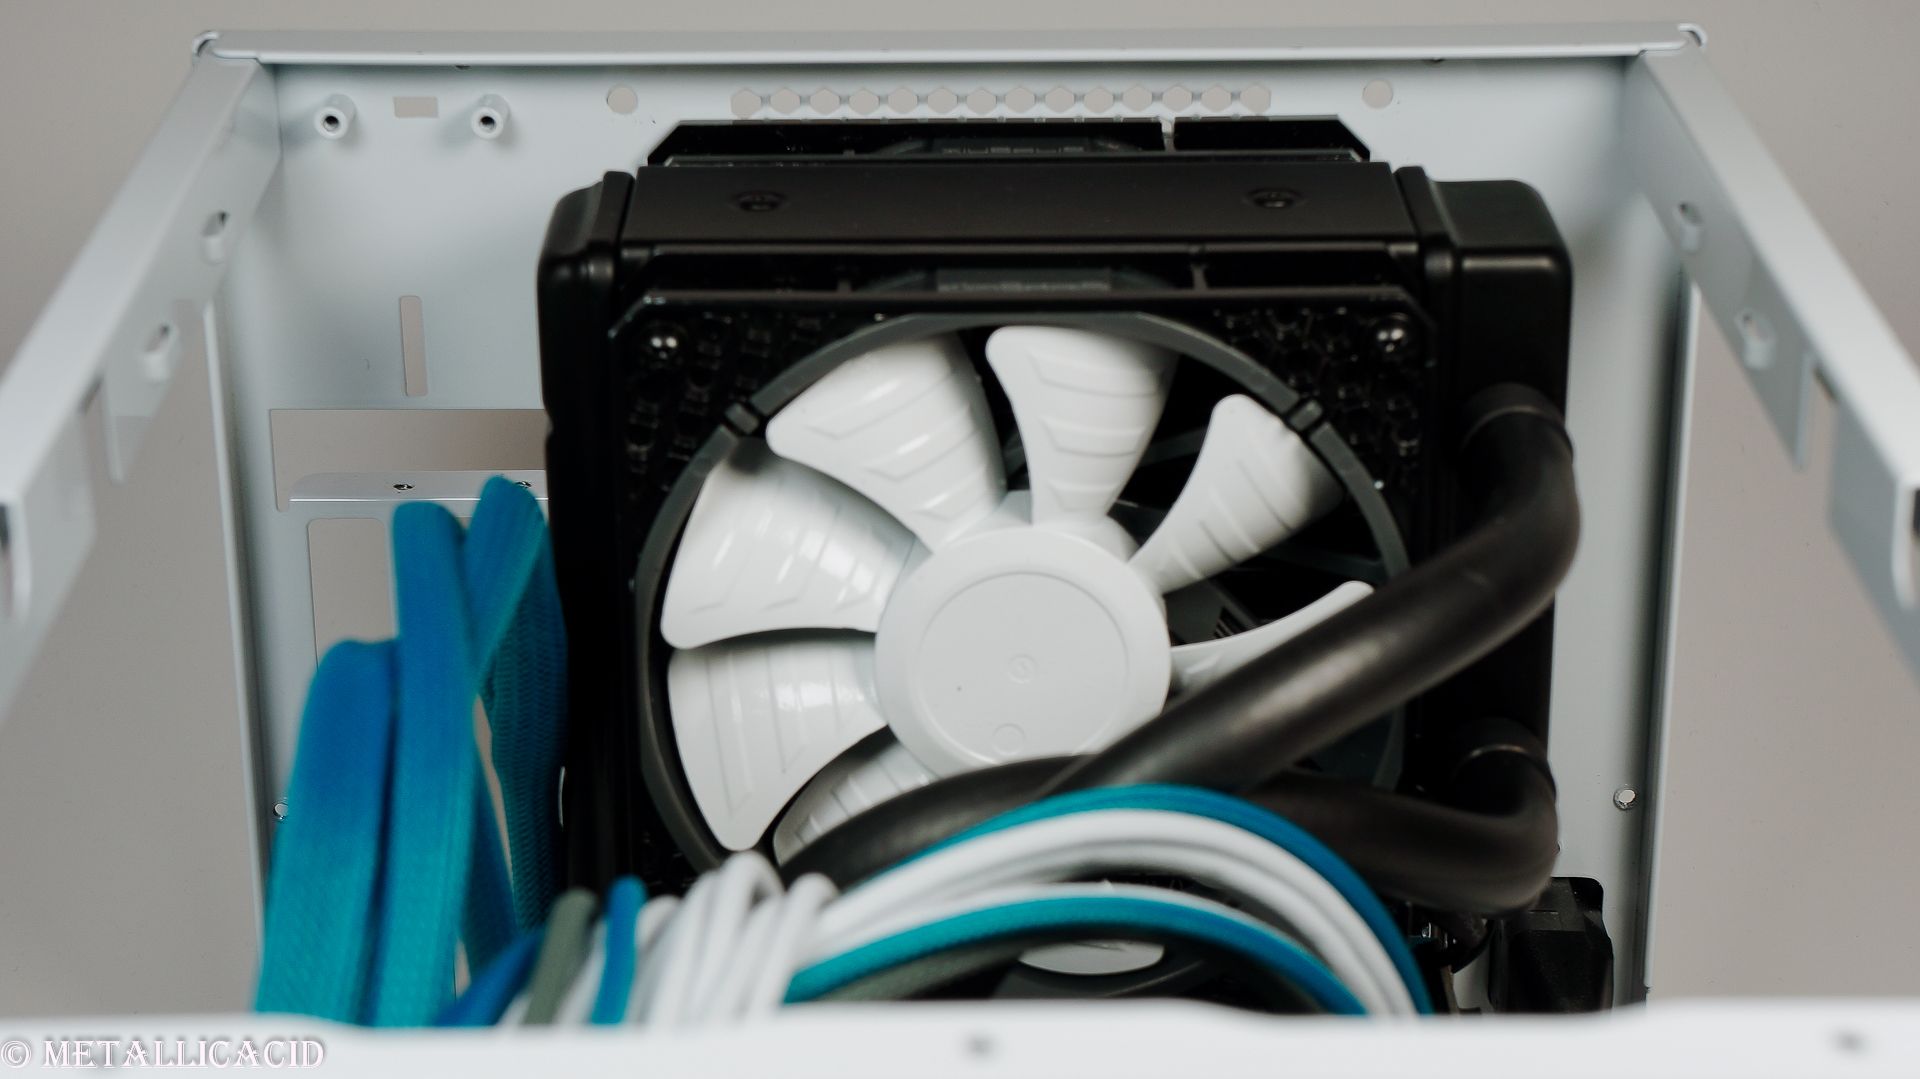
In this update I would like to present the installation of the Corsair H80i, and the Samsung 840 EVO 250GB SSD. The installation wasn't the ordinary installation of these 2 items... I ended up creating custom length SATA power cables for both the H80i and SSD, and of course had them sleeved to match the colour theme of the build. I was a little frustrated with the amount of cables which are required to get the H80i all connected up, and will probably stay away from the Corsair iLink series of products, and most likely choose a H90 if/when there is another build if I had to chose a closed loop cooling solution. But I got everything connected up and nice looking, so I am just glad that it is now out of the way.

In other news, I was going to drive out to my local supplier of plexiglass and pick up the orange plexiglass. I had called ahead just to announce that they could start the cuts so it was ready for me when I got to the shop (35mins drive away) but the guy just said "det är borta....." (it is gone...)!! I said "What the hell?! You know I was coming today to pick it up!". He just said that it was sold, and talked nothing more of that. He said that he had red or green if I wanted, but in a rage I just hung up on the jackarse!!

I am now speaking with baguette_2 on sweclockers.com about possibly laser cutting something up, so we will see where this leads. I have a backup plan with using some orange wrap over clear plexiglass in an aluminium U channel with white LEDs lighting from underneath. I will not be creating a whole shroud wrapping the entire GPU, as I have a non-reference card, so it needs to be able to expel the hot air. So rather I am thinking of 2 separate plates with one being for the front, and one as a backplate.

I have also started the painting of the top shell/panel. The black lines are first, then the red strip which runs in between those lines, then lastly the grey on top. This painting should take me around a week to complete.

The PSU shroud will be coming home on Monday, and photos due on Monday night. I wanted to make sure that the paint work was completely dry, so I left it in the server room for a couple of more days to remove any doubts I might have had.

Here is a couple of pictures on the SSD installation and the Corsair H80i installation:

Things finished since last update:
Installed H80i.
Installed SSD
Sleeved SATA data cable.
Made two SATA power cables. One for H80i and other for SSD.
Installed front fans and routed cables.
Installed PSU shroud LEDs.

In process of doing:
Installing PSU shroud.
Installing PSU shroud LEDs.
Cable management.

Things left to do:
Paint top of case grey, and side of case red with black stripes.
Buy orange plexiglass.
Create GPU plexiglass shroud.
Attach the "armour" to the top of the Node 304.
Cable management.
Final photoshoot.

I hope you have enjoyed this update guys. I know there is alot of text, but I want to make sure you are updated with what I am up to and what I am thinking
Best regards,
MetallicAcid
Permalänk
Medlem

I like the placement of the SSD. I saw it in another build and it seems like the perfect placement if you only have one SSD.

Skickades från m.sweclockers.com

Permalänk
Proffsmoddare
Skrivet av twk:

I like the placement of the SSD. I saw it in another build and it seems like the perfect placement if you only have one SSD.

Skickades från m.sweclockers.com

It is perfect although I had not known others have had their SSD in the same place. And here I thought I was a pioneer

Thanks for reading tek

MA

Permalänk
Medlem

Looks really good! I really enjoy this buildlog as I'll buy myself a 304 soon. Wont be anything crazy like this, but the speccs is about the same so this is basically a tutorial for me haha.

As I said, it looks really good!

Visa signatur

Node 804 | CPU: i7 4770k | RAM: Corsair vengeance LP 16gb | GPU: MSI GTX 780 SLi | MB: ROG Maximus VII Gene |
Node 304 | CPU: G3258 | RAM: HyperX 8gb | GPU: Nvidia GTX Asus 750Ti | MB: MSI Z97i-AC |

Permalänk
Proffsmoddare
Skrivet av Carlj:

Looks really good! I really enjoy this buildlog as I'll buy myself a 304 soon. Wont be anything crazy like this, but the speccs is about the same so this is basically a tutorial for me haha.

As I said, it looks really good!

Thanks man!!

I am just lucky that I have easy access to materials and workspace, and sometimes have the free time at work to get some work done on this. Most other mods I have done at home on my kitchen table

I hope you enjoy the future updates

MA

Permalänk
Proffsmoddare

Update 16
The PSU shroud. I am so proud! I'm floating on the 9th cloud. I hope you're WOWed! (part 2)

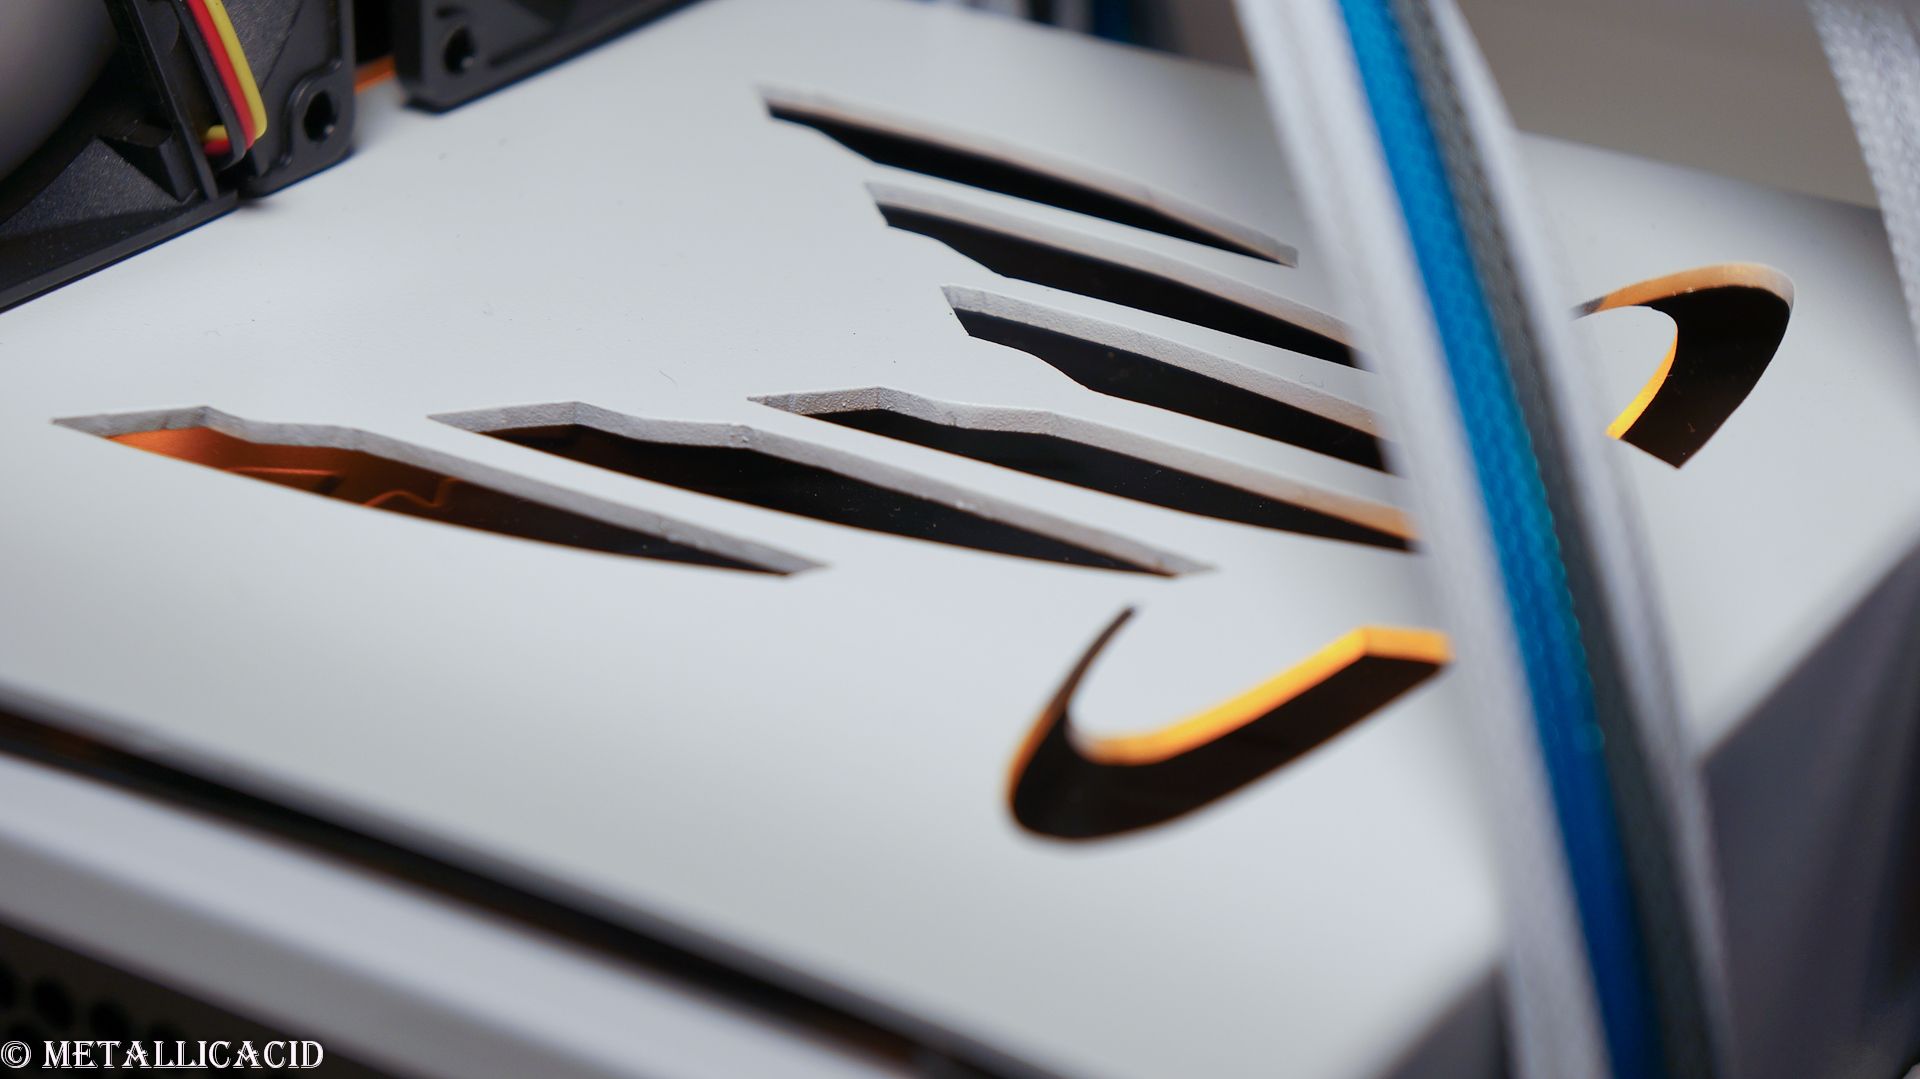
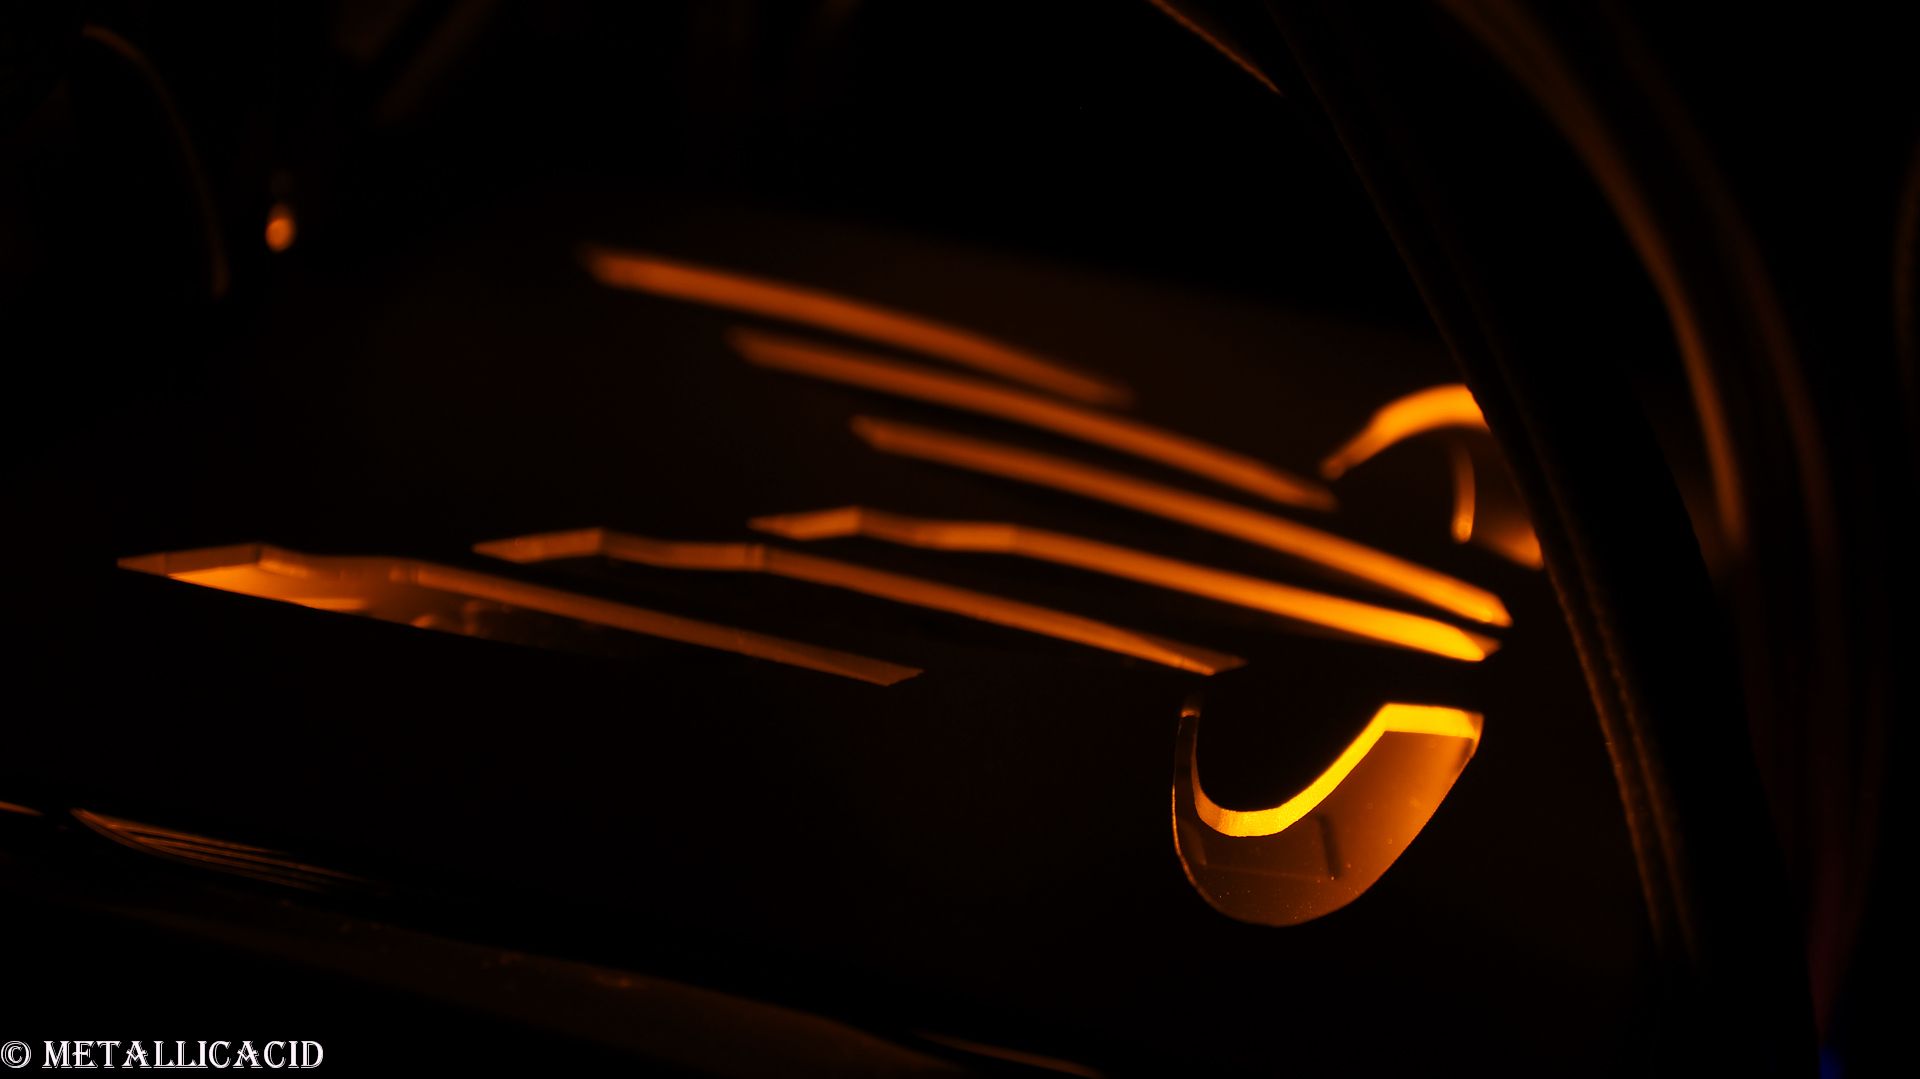
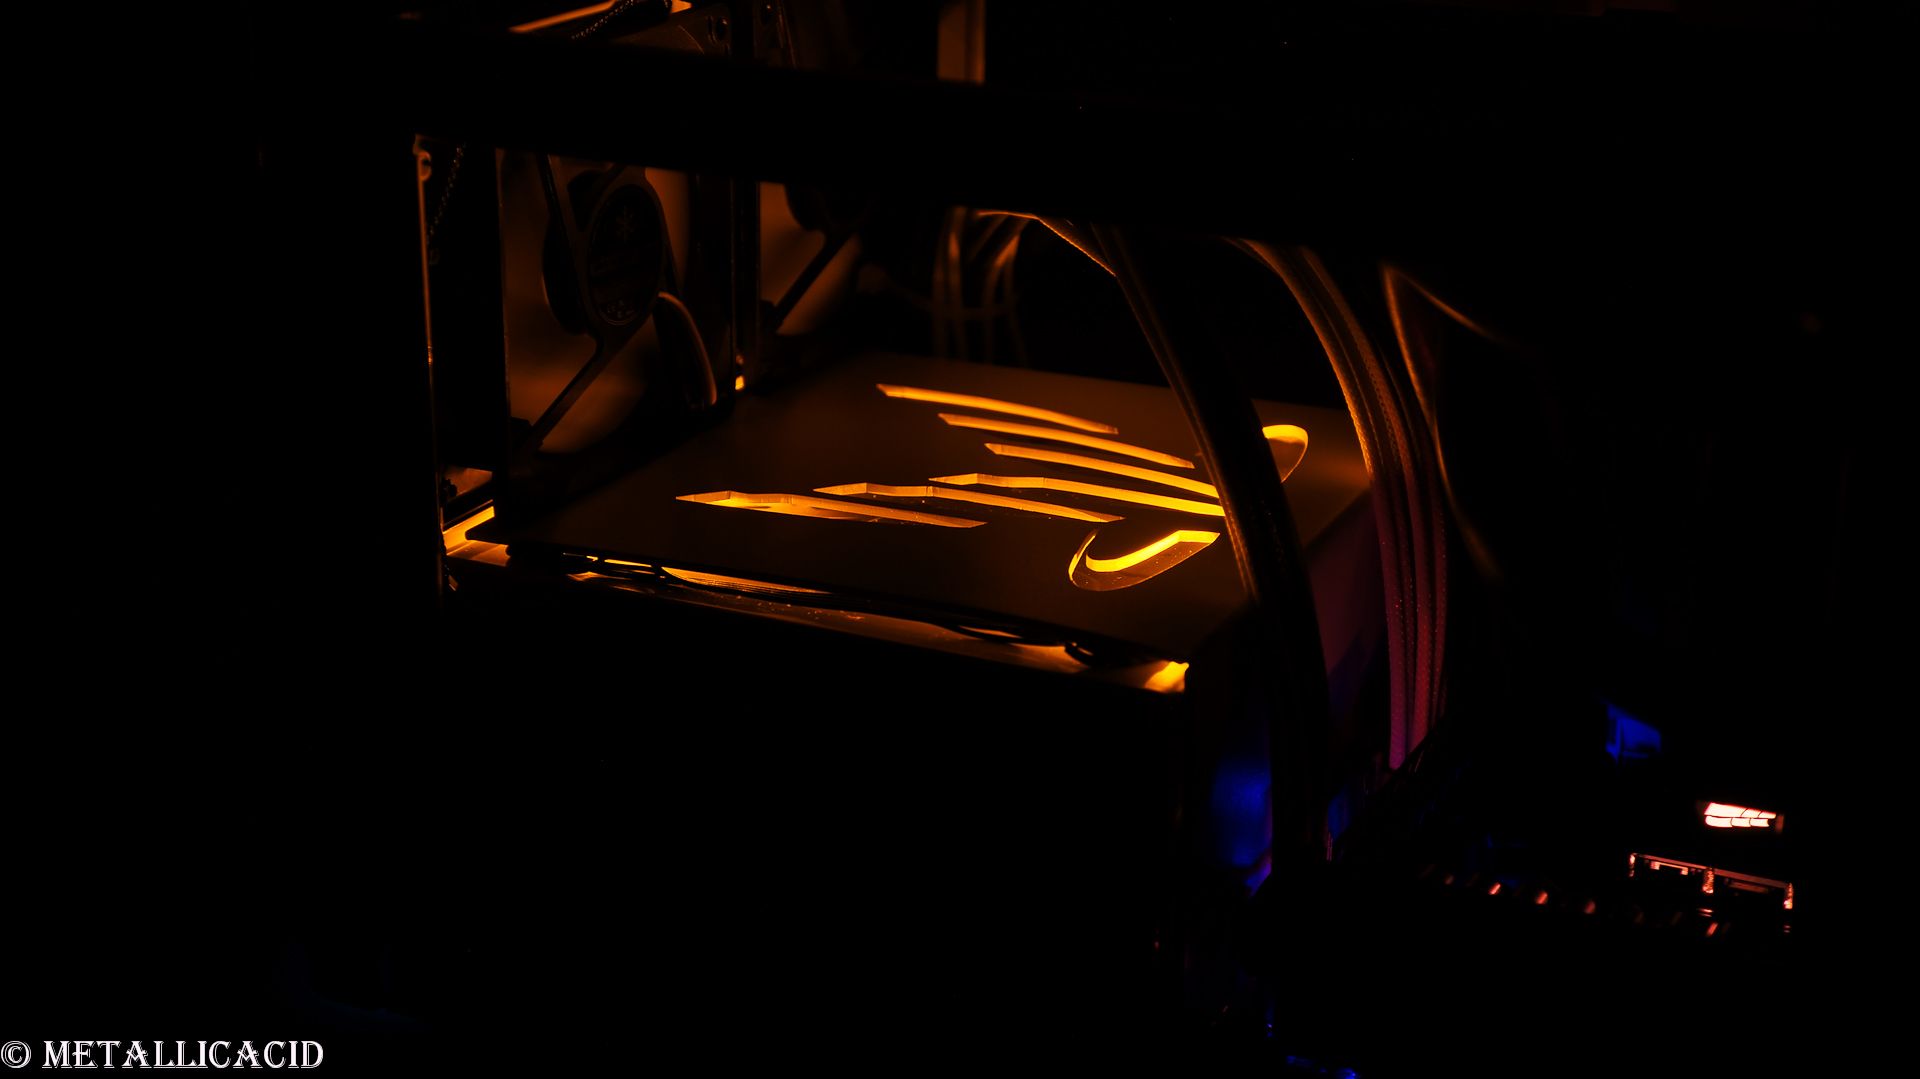
Hey!! Thanks for reading once again everyone! I have an awesome update that is the second and final part of the PSU shroud which is backlit with orange LEDs. If you are interested in reading part one of this update, click on this link and have a read.

I do not have so much more to say, so I will just bomb you guys with some photos. Enjoy

Things finished since last update:
Installed PSU shroud.
Installed PSU shroud LEDs.
Bought orange plexiglass.

In process of doing:
Painting side of case red with black strips.
Designing plexiglass shroud for laser cutting.

Things left to do:
Paint top of case grey.
Create GPU plexiglass shroud.
Attach the "armour" to the top of the Node 304.
Cable management.
Final photoshoot.

I hope you've enjoyed this update, and hopefully see you at the next one!

Best regards,
MetallicAcid
Permalänk
Medlem
Skrivet av MetallicAcid:

Thanks man!!

I am just lucky that I have easy access to materials and workspace, and sometimes have the free time at work to get some work done on this. Most other mods I have done at home on my kitchen table

I hope you enjoy the future updates

MA

Missed your update, looking sexy as hell!

I sure will! Sorry for hijacking your thread, but have you tried mounting the GPU? So you know how itll fit between the 80i and the GPU? If so,any problems with the gap between them? I had a slight panic attack today trying to figure out if itll fit or not.

Visa signatur

Node 804 | CPU: i7 4770k | RAM: Corsair vengeance LP 16gb | GPU: MSI GTX 780 SLi | MB: ROG Maximus VII Gene |
Node 304 | CPU: G3258 | RAM: HyperX 8gb | GPU: Nvidia GTX Asus 750Ti | MB: MSI Z97i-AC |

Permalänk
Bitfenix

Looks really good! Love the color of the sleeve and the theme of the mod, good job!

Permalänk
Medlem

Are you going to put in a graphics card? (it looks like it will be very tight)
Very nice build, I would like my node 304 to look like that

Visa signatur

Speldator: Ryzen 5800x3d | Asus B550m TUF Gaming Wi-Fi | G.Skill TridentZ Neo 2x16GB 3600MHz CL16 (hynix djr) | In Win 301 | Scythe Fuma 2 I Asus RTX 3070 Dual OC | Seasonic GX750 | Lots of unicorn vomit Laptop: Thinkpad E14 G2 4700U Kringutrustning: Cooler master Quickfire TK MX-Brown | Sennheiser HD598cs | Sony WH1000XM3 | Logitech G900 | ASUS PB278QR | Rift CV1 | Audio Pro Addon T14

Permalänk
Proffsmoddare
Skrivet av Carlj:

Missed your update, looking sexy as hell!

I sure will! Sorry for hijacking your thread, but have you tried mounting the GPU? So you know how itll fit between the 80i and the GPU? If so,any problems with the gap between them? I had a slight panic attack today trying to figure out if itll fit or not.

You're not hijacking. There is around 10mm clearance between the GPU and H80i. If you are planning on using an ATX PSU with a full length GPU, then you will have clearance issues.

Skrivet av BitFenix Sverige:

Looks really good! Love the color of the sleeve and the theme of the mod, good job!

Thanks Bitfenix.

Skrivet av infigo:

Are you going to put in a graphics card? (it looks like it will be very tight)
Very nice build, I would like my node 304 to look like that

The GPU has already been installed and working. It got 40fps with a mild overclock on Unigine Heaven benchmark, with all settings maxed out The biggest contributing factor to this build is the cables on the PSU. Invest a week into shortening the cables and sleeving, and your PC will look 1000x better

MA

Permalänk
Proffsmoddare

Update 17
Put on your armour soldier - We're going to battle!

Hello guys and girls of modding

Firstly I would like to send a massive thank you to Levik, who goes by the name baguette_2 on the sweclockers forum. Levik has kindly offered his services to this project, and is helping me with the cutting of the plexiglass window.

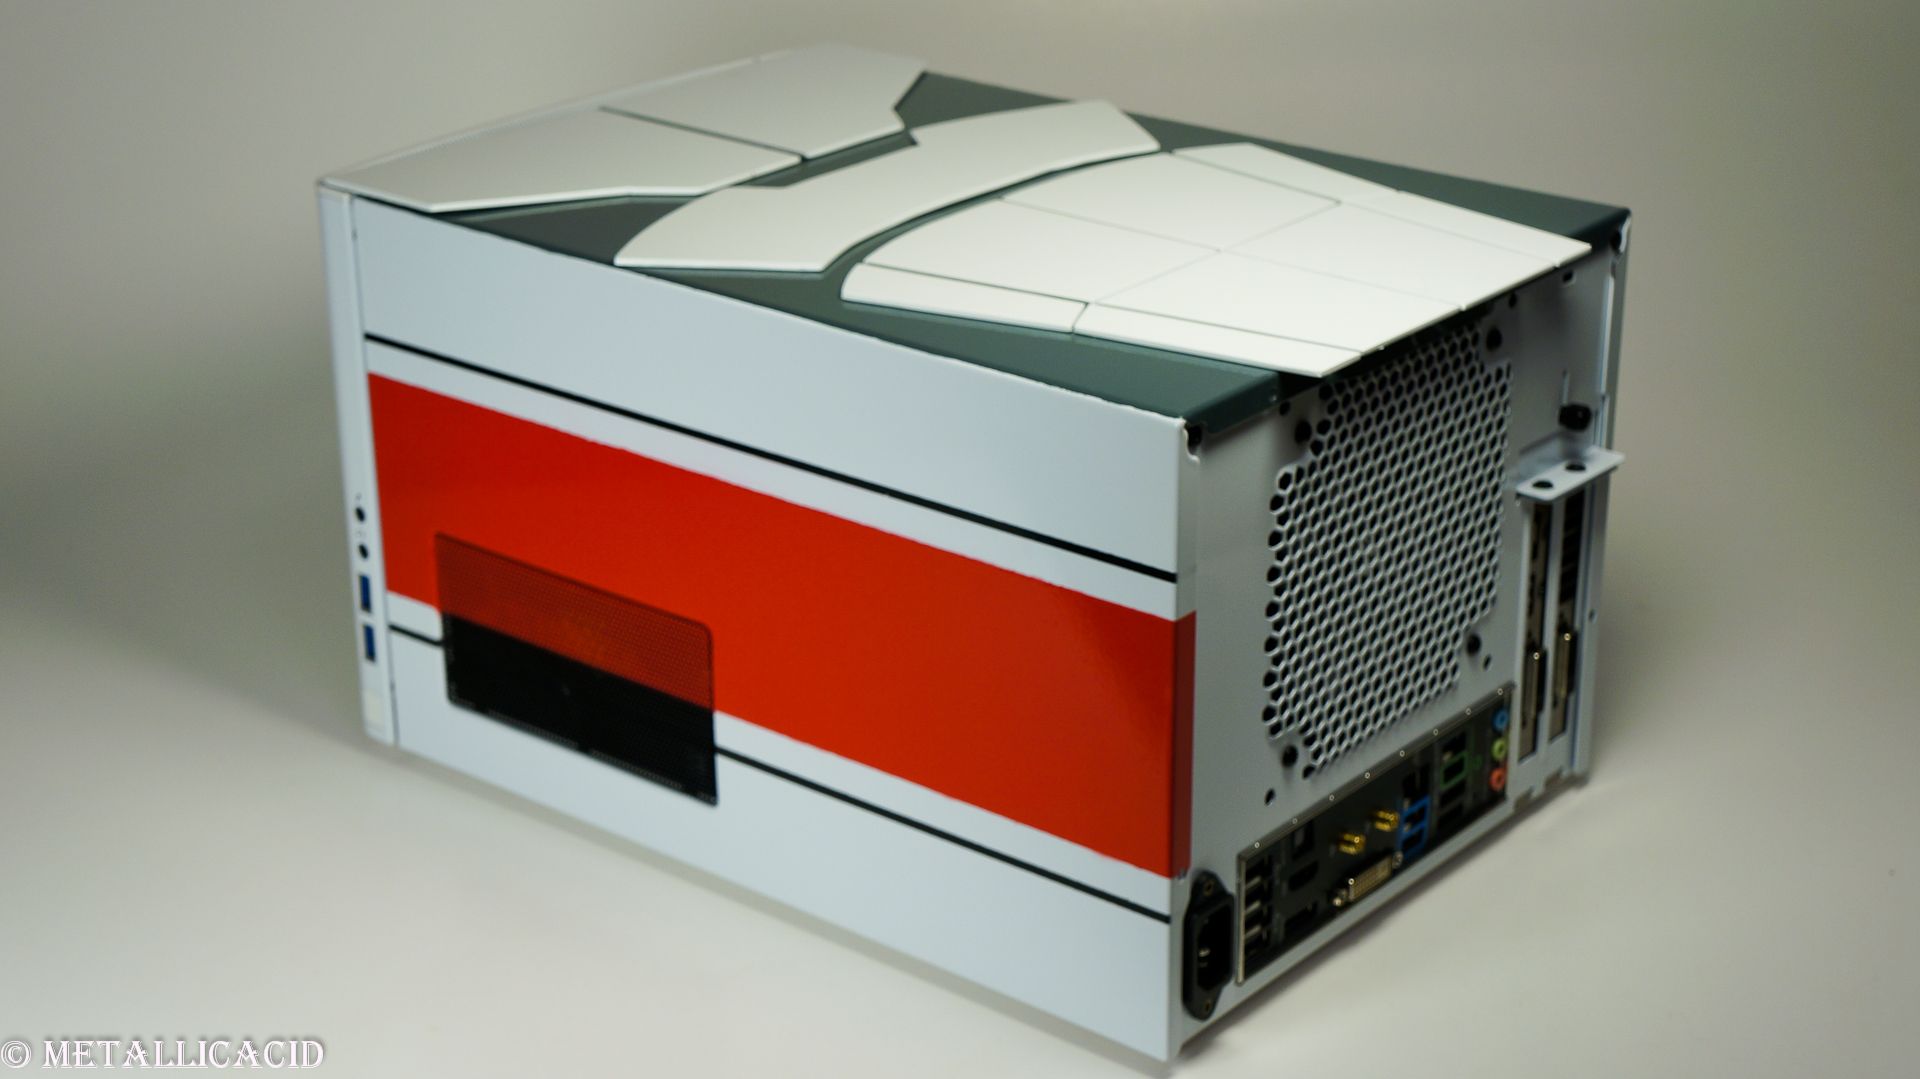
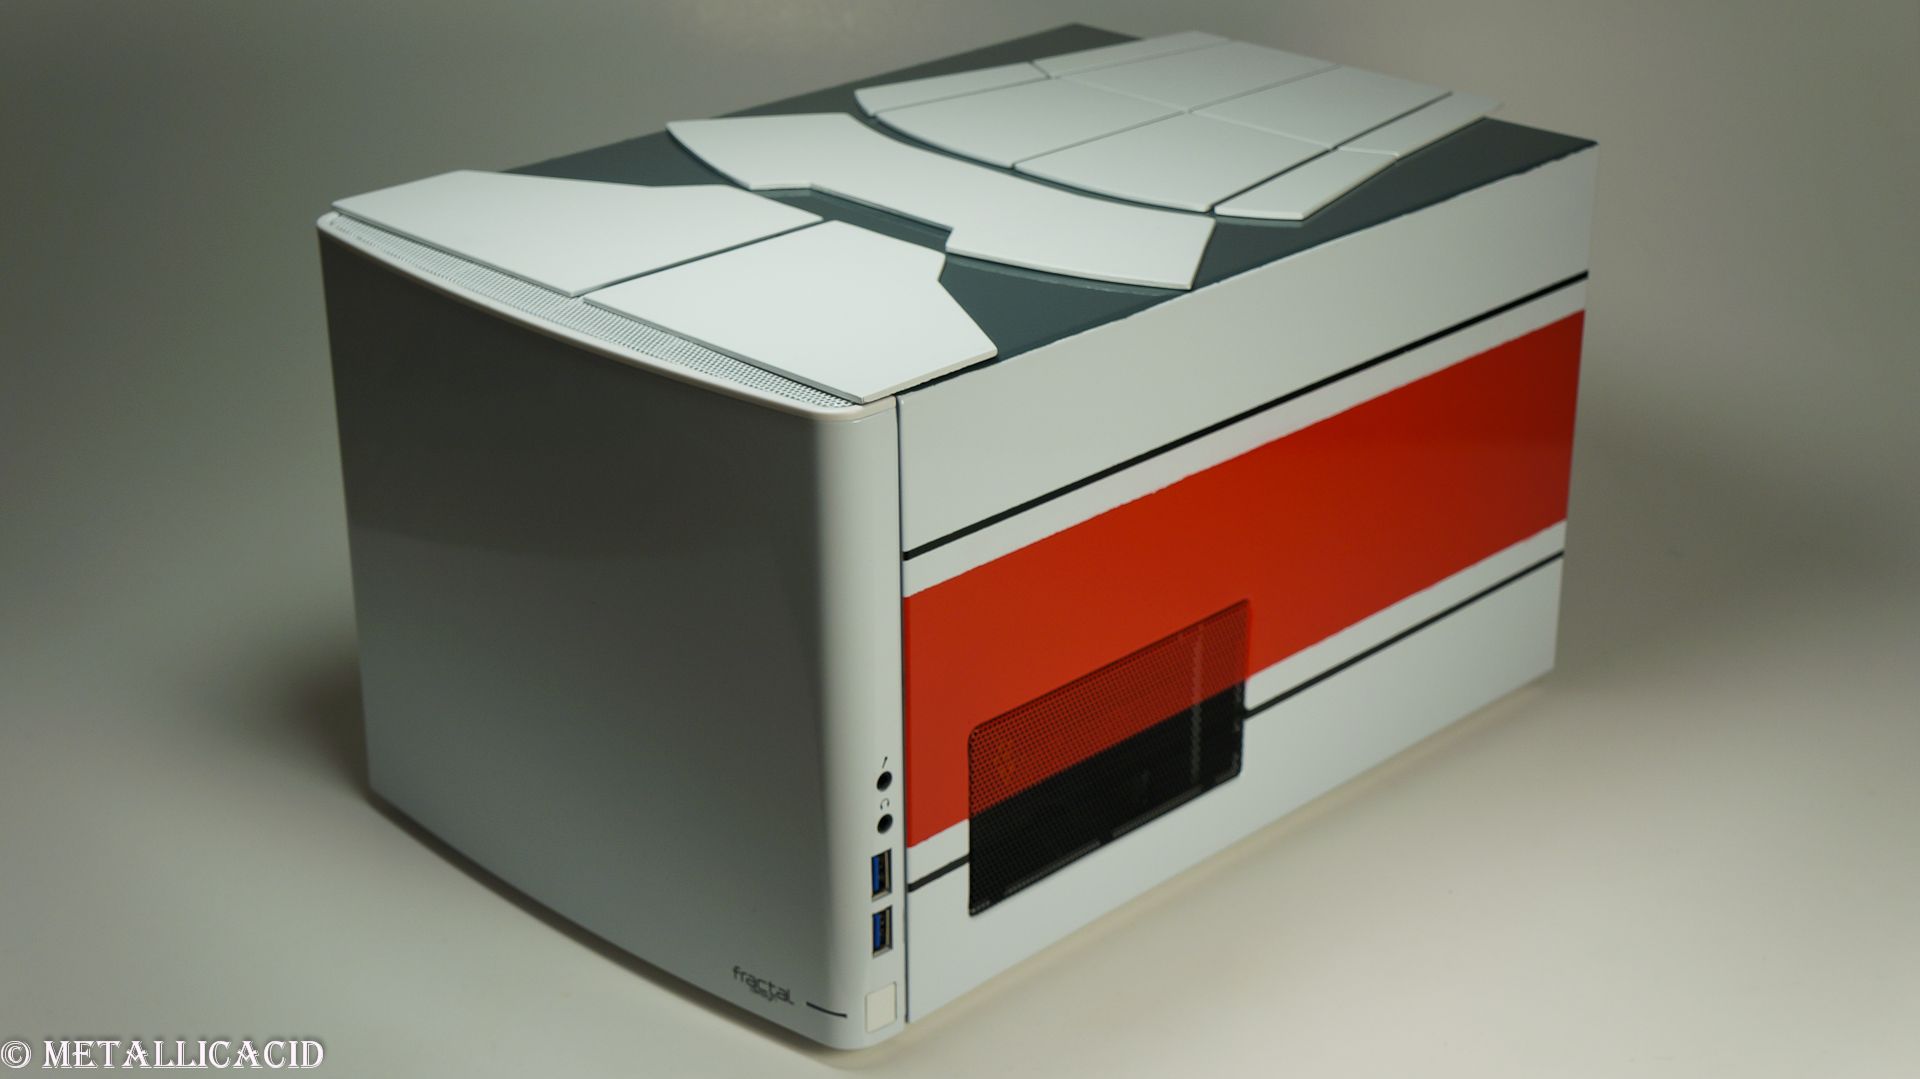
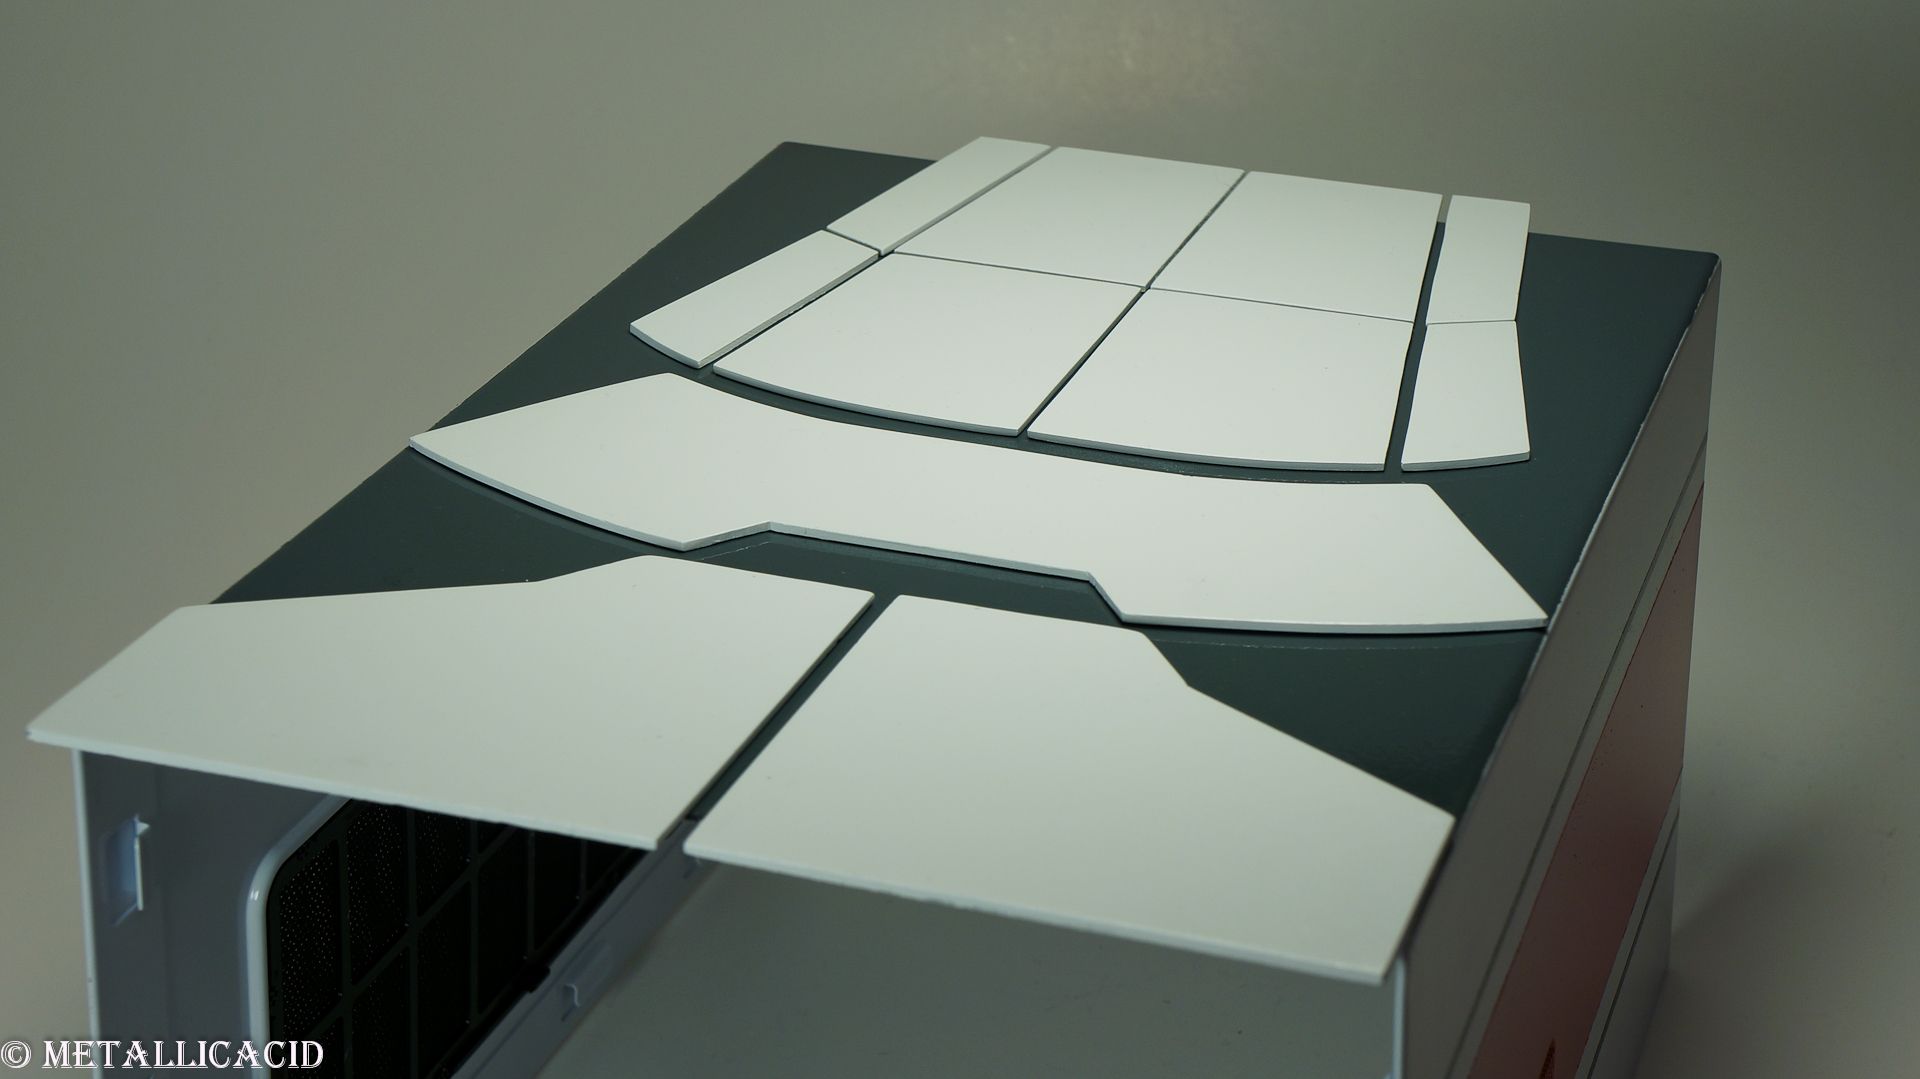
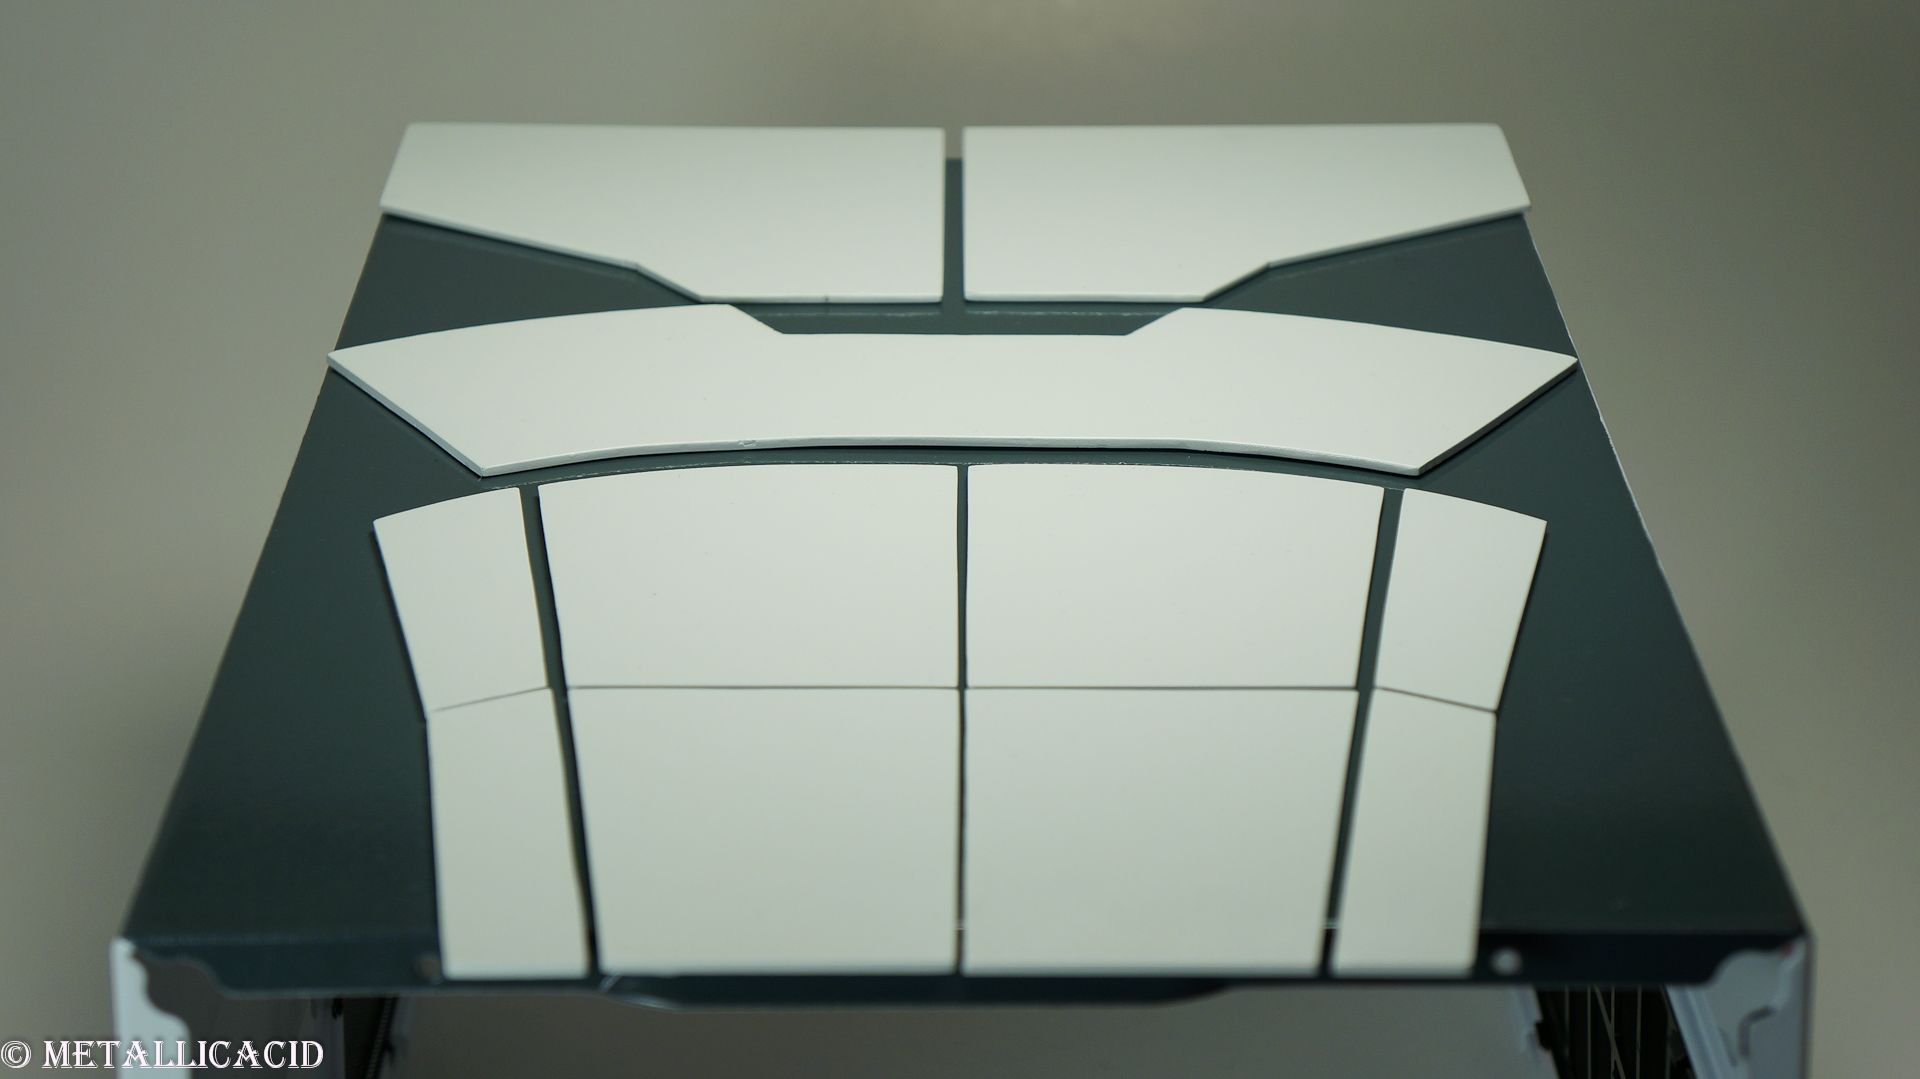
I would like to update you all on the completed "armour", which is the top and side sections of the Fractal Design Node 304. With this panel I have created the armour plates from aluminium and painted them white. I then painted the top of the panel dark grey, and the side with 2 black strips and a big red stripe in the middle.

Here you can see the end result:

Things finished since last update:
Painting the top of the case with grey, black and red.
Attach aluminium armour to top of case.
Take photos of armour.
Plexiglass window design is completed, and has been sent off to Levik (Baguette_2) for cutting.
Created LED lighting for plexiglass window.

In process of doing:
Cutting Plexiglass window.
Installing plexiglass LED lighting.

Things left to do:
Install plexiglass window.
Final photoshoot.

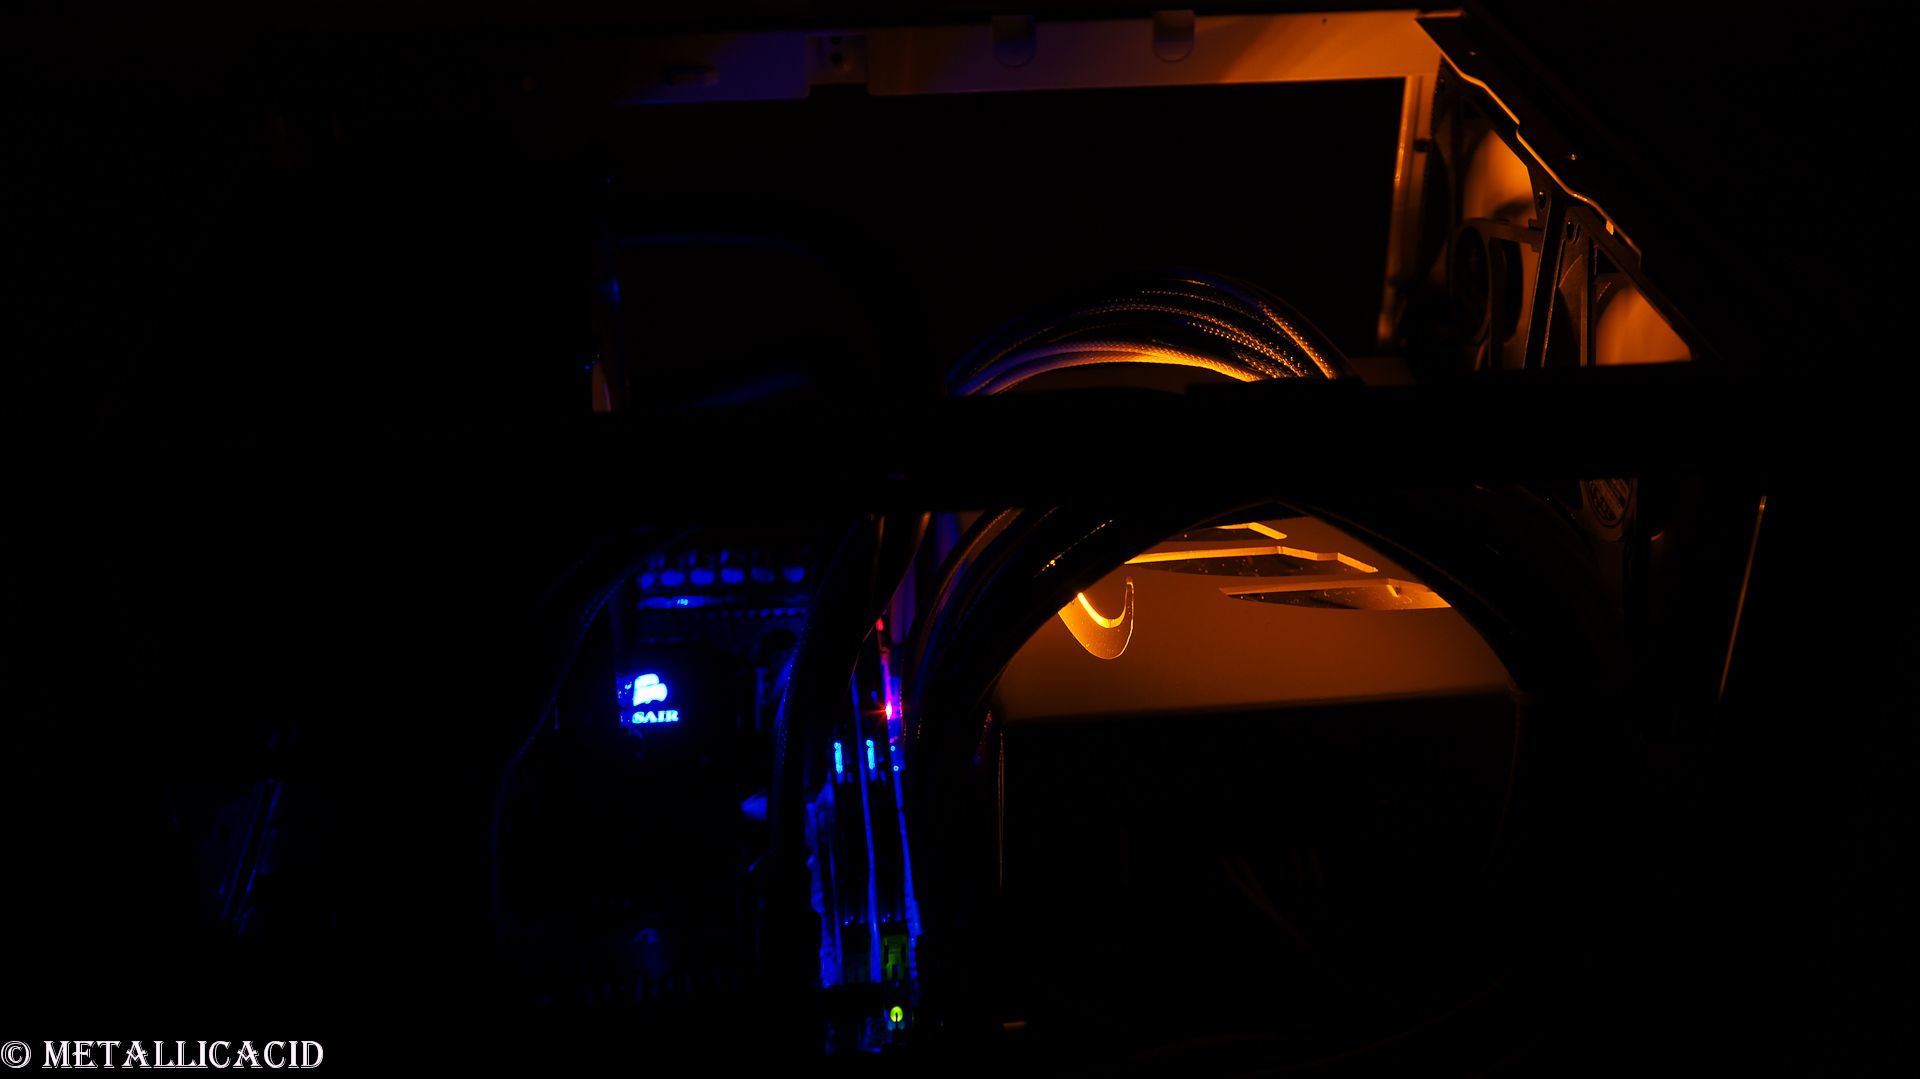
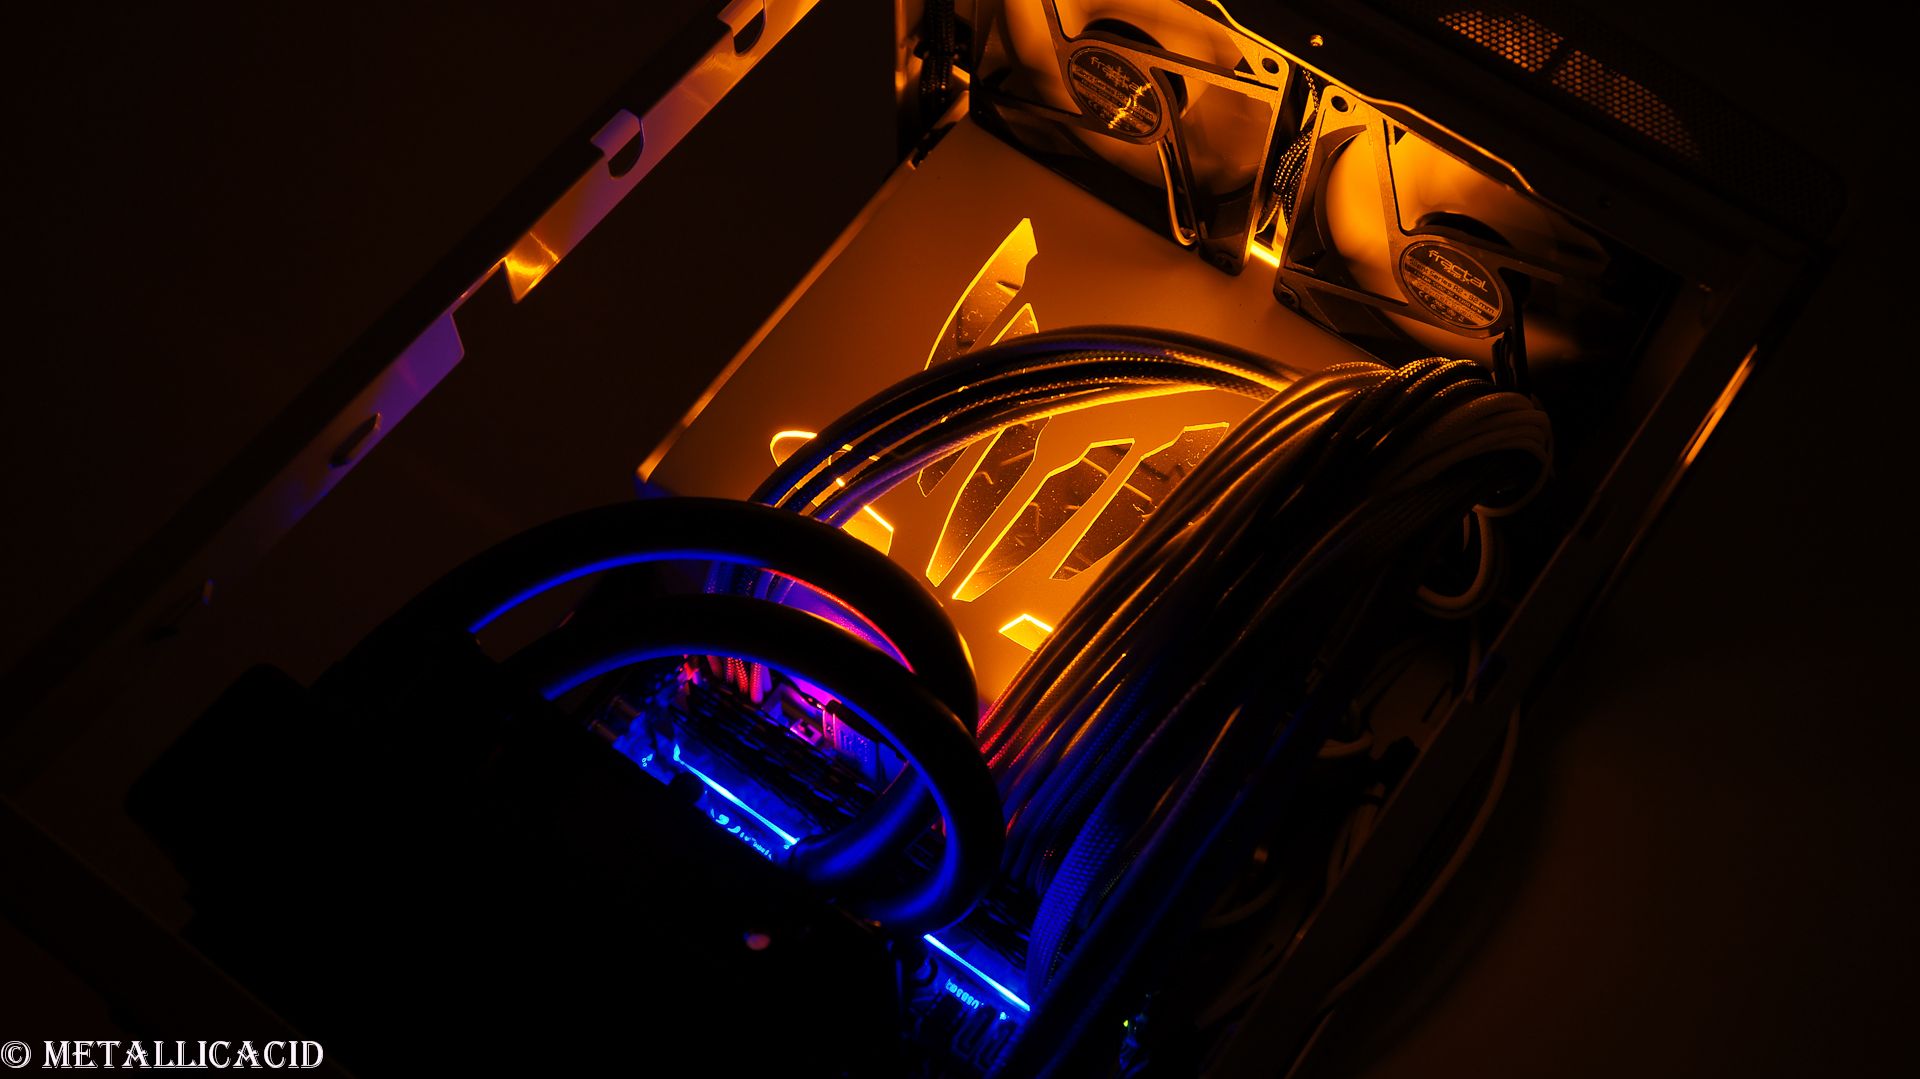
This build is almost at its end people. The window is the final touch... The crowning jewel if you will! I am hoping for the window to arrive on Friday, or even latest on Monday the 23rd. The final photoshoot will happen before Christmas Eve, and I will be borrowing some professional lighting equipment from my work. I hope they turn out great

That's it for tonight people. I hope you have enjoyed reading as much I have enjoyed posting!
MetallicAcid
Permalänk
Proffsmoddare

Update 18
The badge of honour.

G'day everybody!!

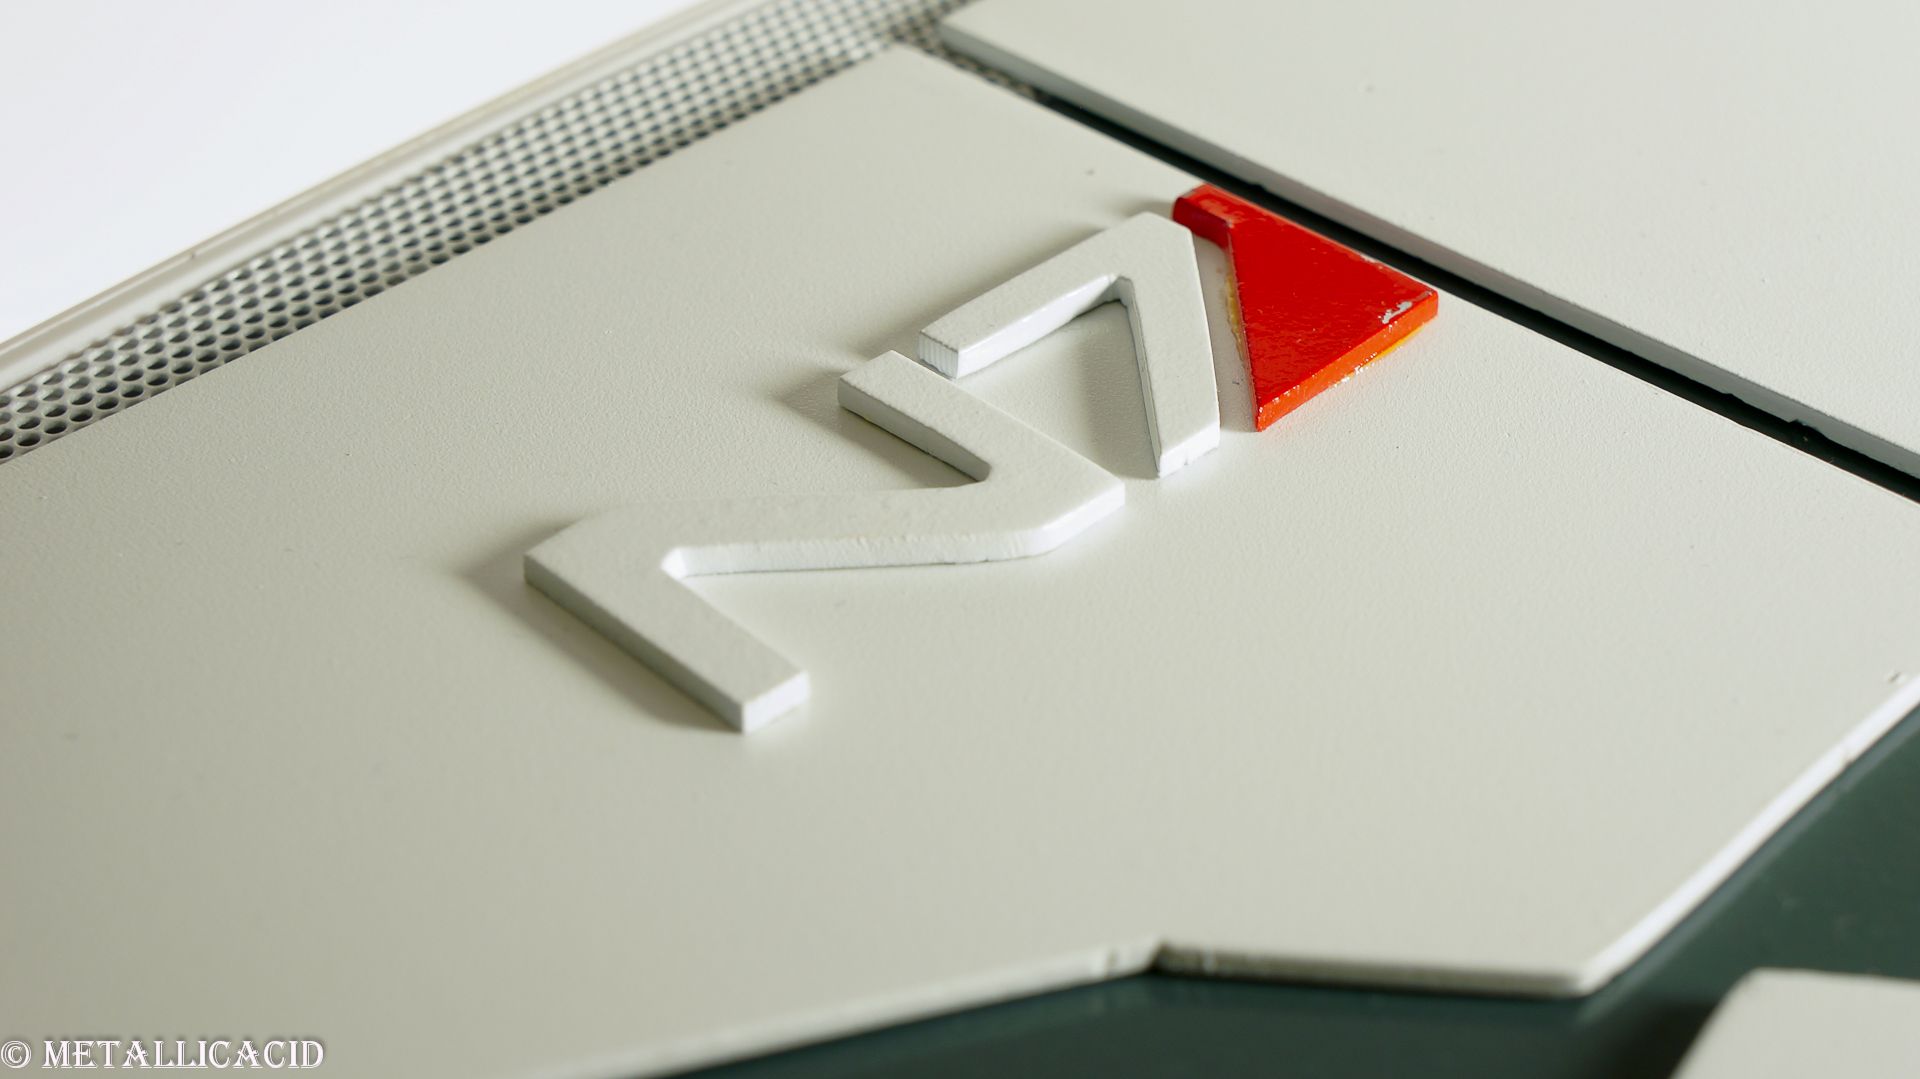
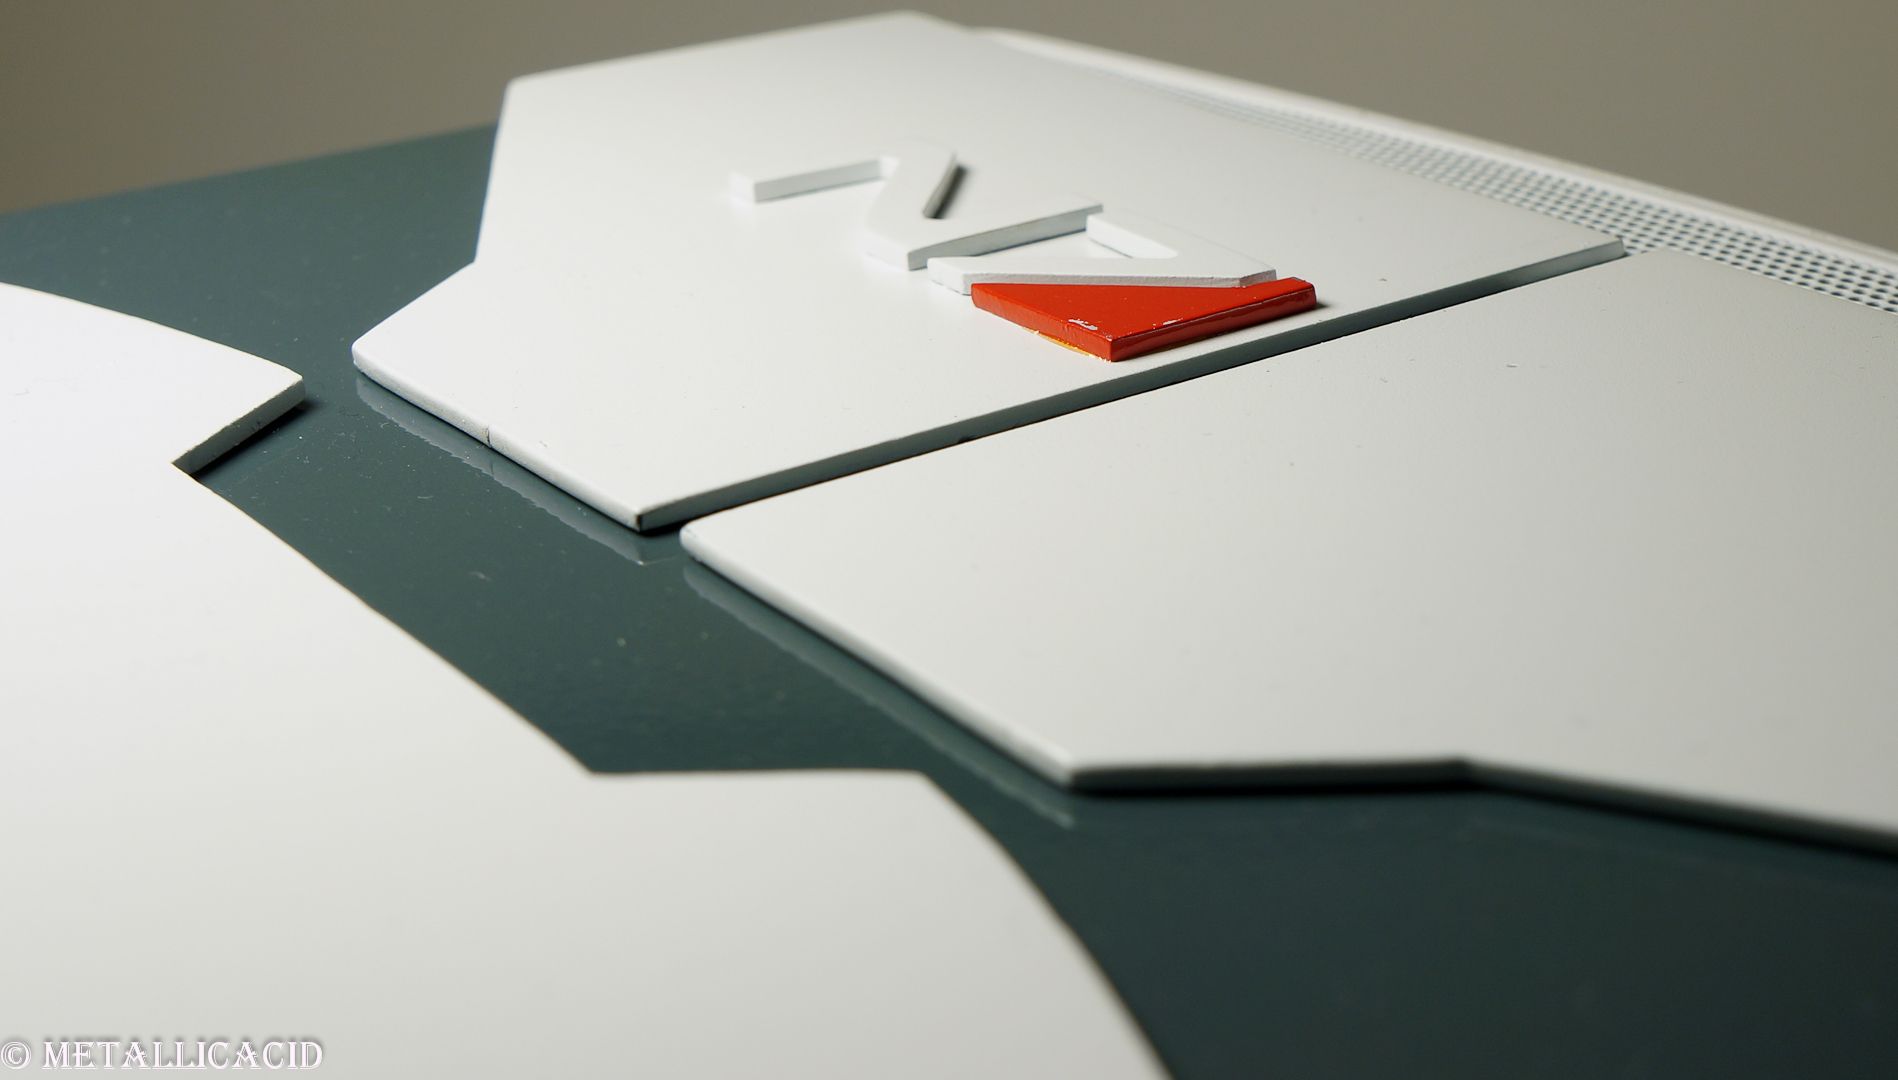
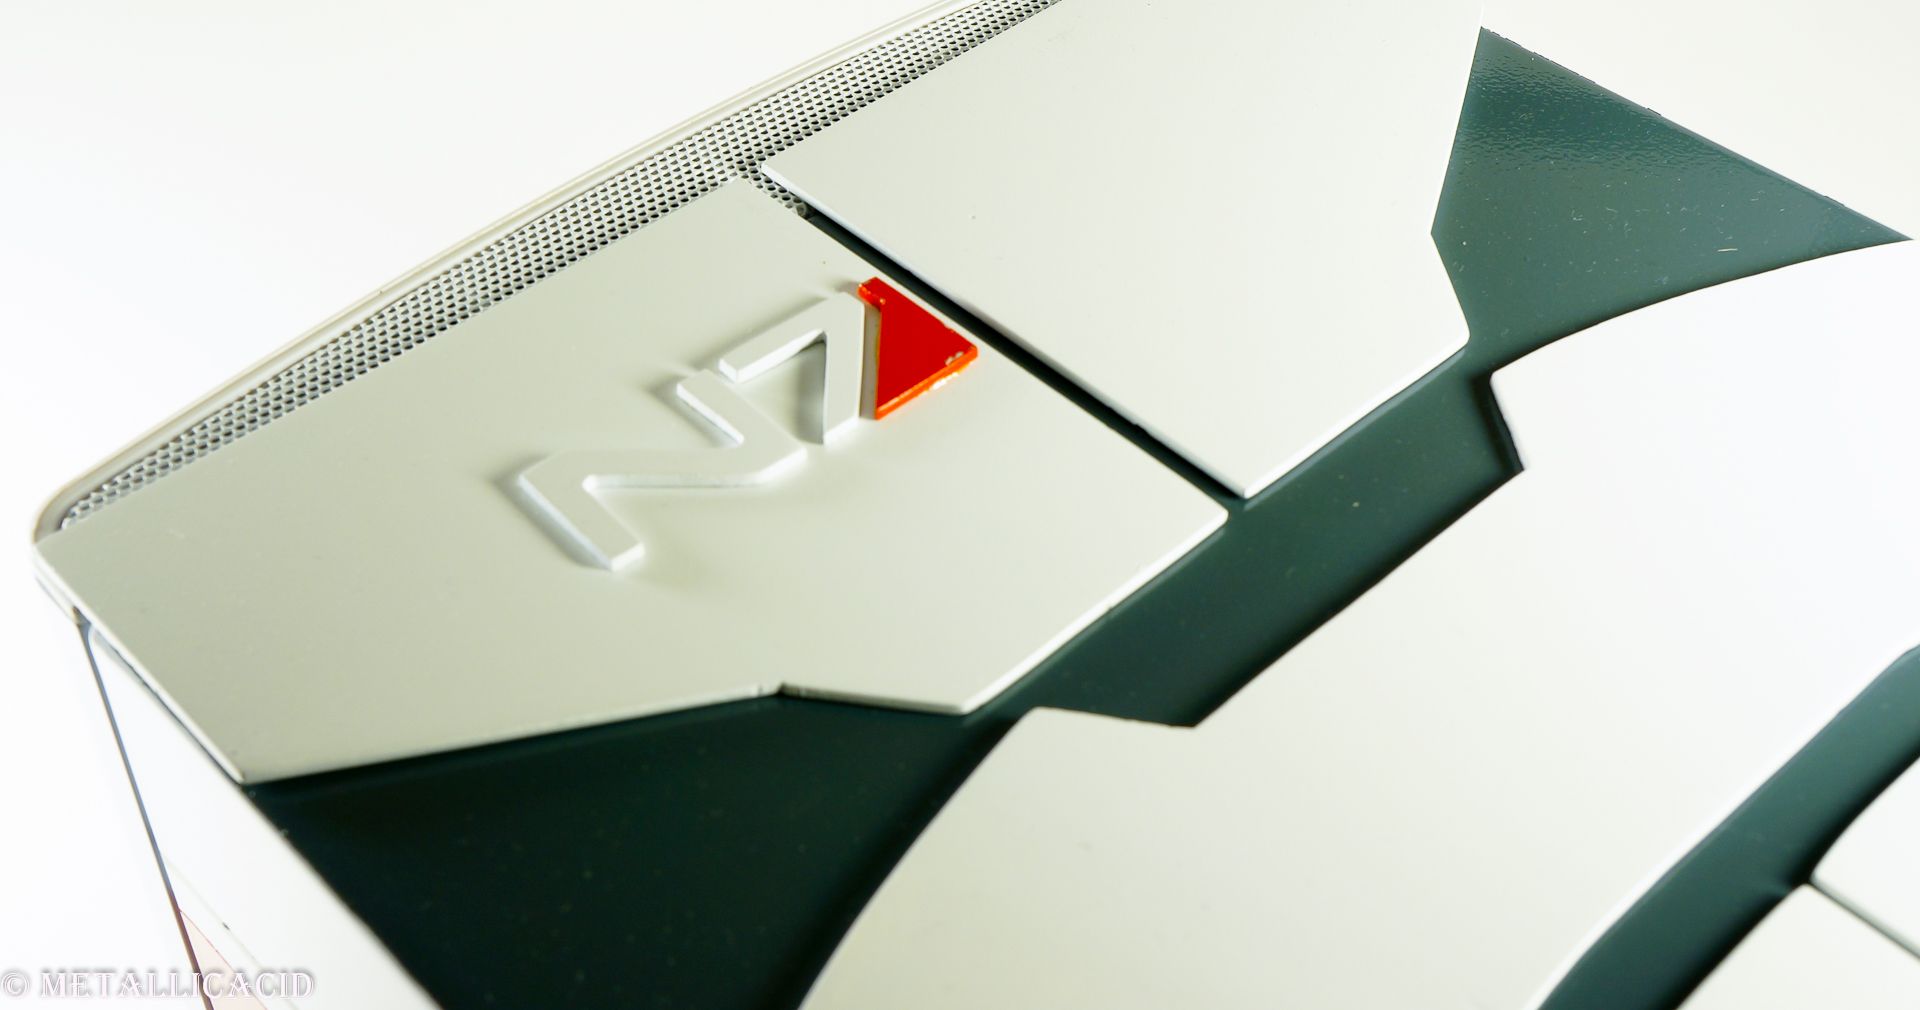
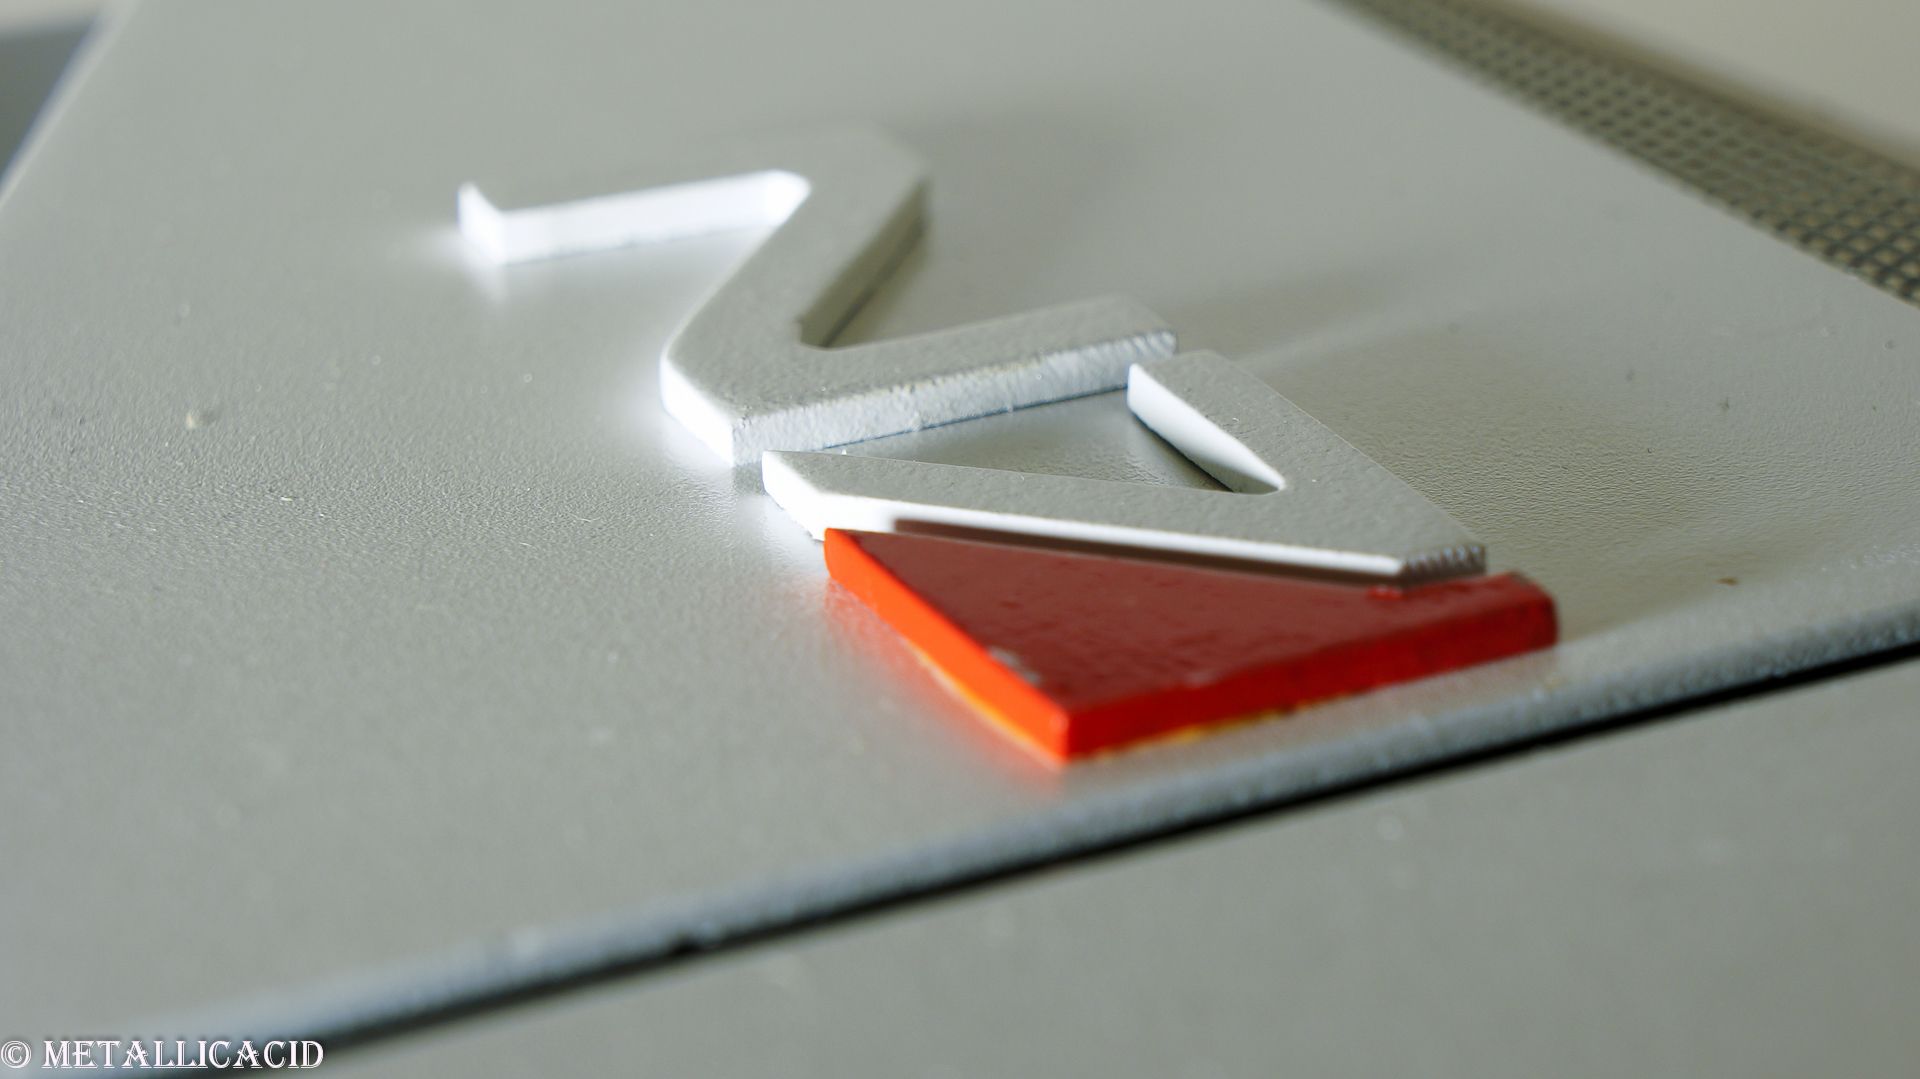
This little update is just to put a little personal touch to the armour which I think it deserves. Unfortunately I don't have much more to update on other than I am still waiting on the window, which is on its way back to me from baguette_2 on sweclockers as we speak. Let's just hope that it does not get caught up in the christmas chaos and comes late, otherwise the final photos will be finished in the 4th week of January

Anyways, here are a couple of photos of the logo

Things finished since last update:
Installed plexiglass LED lighting.
Cut, painted and glued the "N7" logo.

In process of doing:
Waiting for delivery of plexiglass window.

Things left to do:
Install plexiglass window.
Final photoshoot.

If I do not update before Christmas, I wish everyone of you the best day you possibly could have!

Best regards,
Justin/MetallicAcid
Permalänk
Medlem

This build is great! I got a node 304 as we'll and love it! Really fun to see some m-itx builds. Ggwp!
Skickades från m.sweclockers.com

Visa signatur

Chassi: Fractal Design Node 304 / Mobo: ASUS Z87I-PRO mITX / CPU: i5 4670k Haswell @ 4,3 Ghz / CPU-kylare: Noctua NH-9UB SE2 / GPU: Gigabyte r9 280x Windforce / RAM: A-Data 16GB CL9 1600MHz / PSU: Silverstone Strider ST65F-G 650W 80+ Gold

Permalänk
Proffsmoddare
Skrivet av Blorr:

This build is great! I got a node 304 as we'll and love it! Really fun to see some m-itx builds. Ggwp!

Skickades från m.sweclockers.com

Thanks Blorr. i was a little tired of all of the Cosmos 2 and 900D build which have dominated of late, so that is why I suggested ITX format to Henrik

MA

Permalänk
Proffsmoddare

Mini text update guys and girls!! I am happy to announce that I have received the plexiglass window today, and will install it when my family go home for the night. It is super sexy!! I can't wait to get this thing in and light it up!!

It looks like I will have an Christmas present for you guys in the form of some final photos!

Best regards,
Justin / MetallicAcid